I thought my workspace was organized, until it wasn’t. Over time, USB dongles, flash drives, SD cards, and microSD cards began to pile up. I kept trying different ways to corral them: boxes, drawers, even small pouches. Each attempt worked for a while, but the clutter always came creeping back. Eventually, I realized I needed a solution that would stick.
That’s when I turned to my 3D printer. For about $2 worth of filament and a couple of hours of print time, I created a simple desktop organizer. It has slots for USB drives, SD cards, microSD cards, and even a few small adapters. Now, everything is easy to find and out of the way. This one small print made my entire setup feel 100 percent cleaner. I just can’t believe I didn’t do it sooner.
Why a dedicated organizer makes sense
The small items that cause big clutter
It’s funny how much clutter small items can create. USB dongles and memory cards take up very little space individually, but they tend to multiply. Before long, you end up with a collection of them scattered across your workspace. Even if you tuck them into a drawer or box, finding the one you need can still be a hassle. That leads to wasted time and ongoing frustration.
A 3D-printed organizer elegantly solves this problem. Most designs provide individual slots for each item, keeping everything visible and accessible. I like that I can glance at the organizer and immediately see if something is missing. That small visual cue helps me stay on top of things. It also prevents accidental duplicates. How many times have you bought a new USB stick only to find the one you already had?
The best part is how flexible these organizers are. Many designs are modular or customizable, allowing you to tailor them to your exact needs. If you primarily use microSD cards for Raspberry Pi projects, print one with lots of tiny slots. If you have a collection of full-size USB drives, choose a layout that accommodates them instead. The ability to adapt the design is something off-the-shelf organizers just can’t match.
What you need to print your own
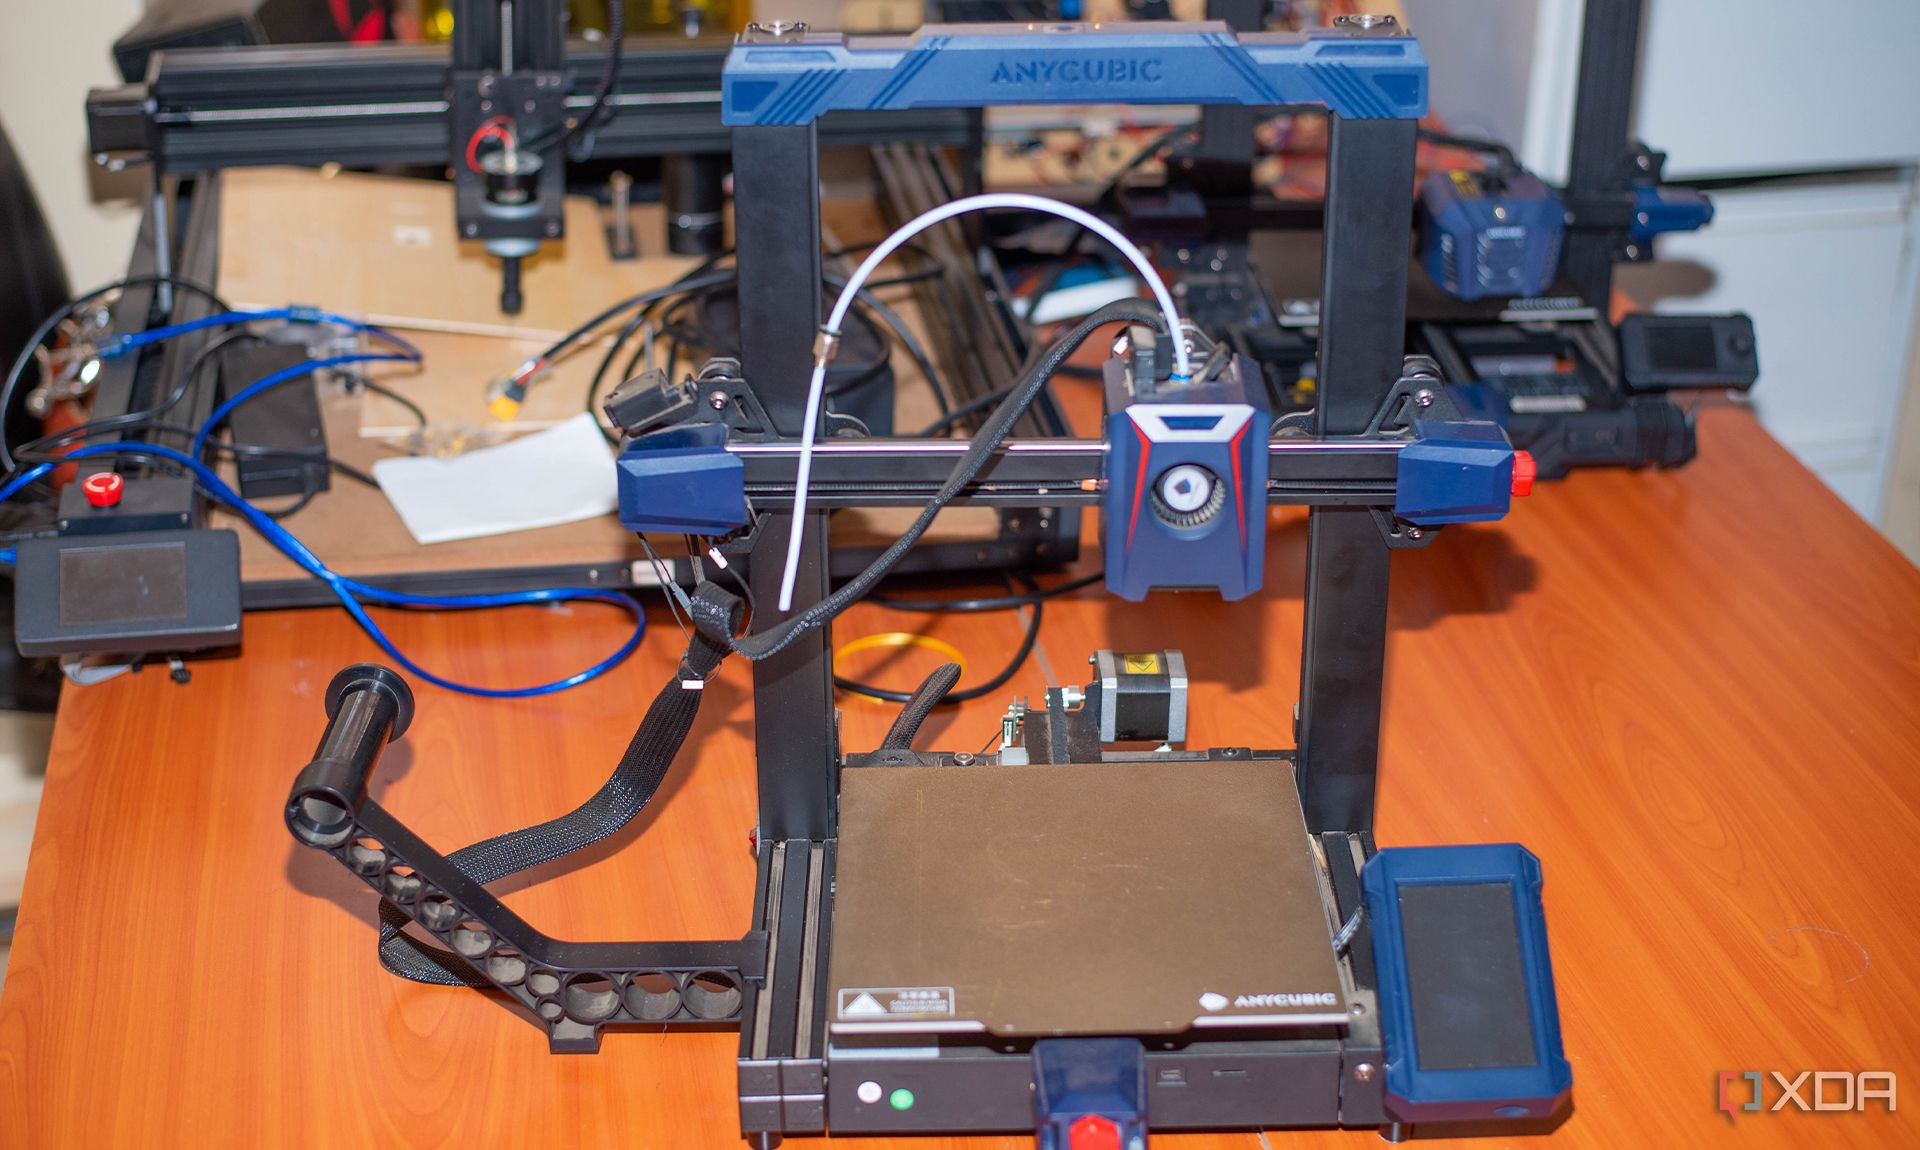
A basic project for any 3D printer
One reason I recommend this project is that it’s effortless to print. There’s no need for exotic materials or advanced settings. I used regular PLA filament, roughly $2 worth. The total print time came in at just under three hours. The model I selected came from Printables, but you’ll find dozens of good options on other design sites. It’s a fun way to get more use out of your printer with minimal effort.
If you’d like to try this yourself, here’s what you’ll need to get started:
- 3D printer: Any FDM printer with a typical build size will work.
- Filament: PLA is perfect for this. PETG or other materials are fine, too, but unnecessary.
- Design file: Download from Printables, MakerWorld, or another model repository.
- Slicing software: Standard settings work well, with a layer height of 0.2 mm, 15% infill, and no supports required.
- Print time: Expect roughly 2 to 4 hours, depending on your chosen design.
After printing, you can leave the organizer plain or personalize it as desired. The model I chose has various types of slots labeled within the STL file; however, you could also use a label maker to mark each section. Others have used adhesive vinyl, paint markers, or even dual-color filament to enhance the look. However you finish it, the result will be both practical and visually satisfying.
There are even more uses for 3D-printed organizers than you think
These organizers are surprisingly versatile
Once I had my USB and memory card clutter under control, I started thinking about other uses for such organizers. The first idea was to print one to hold adapters, such as USB-A to USB-C, microSD, and HDMI dongles. That could clear out another annoying section of my desk. I could also print a smaller version to store miscellaneous Raspberry Pi components and camera batteries. It turns out this simple print can solve more problems than I expected.
Another benefit is portability. If you travel with a laptop or conduct fieldwork, a printed organizer can fit neatly into a tech bag. You’ll always know where your memory cards and dongles are, without having to fish through random compartments. You could print a compact version with a lid, and it would be a game-changer for staying organized on the go. It’s lightweight, inexpensive, and fully customizable.
Finally, these prints make great first projects for anyone new to 3D printing. They’re small, easy to slice, and forgiving of minor imperfections. Even if your printer isn’t perfectly tuned yet, the results will still be useful. I often recommend this type of print to friends who’ve just gotten their first machine. It’s satisfying to create something practical, and once you see how much cleaner your desk looks, you’ll be hooked.
This small print made a big difference
For all the complex things I’ve 3D printed, this humble organizer has had the biggest impact on my daily setup. It solved an ongoing frustration and helped me maintain a cleaner workspace. Now I spend less time hunting for drives or cards and more time getting actual work done.
If you have a 3D printer and a growing pile of USB gadgets, I highly recommend giving this project a try. It takes very little time or money, and the results speak for themselves. Sometimes the simplest prints turn out to be the most valuable.
.png)





 English (US) ·