.png)
Chapter 19: Harbor of Souls in Doom: The Dark Ages takes a sharp turn with Prince Ahzrak now armed with the Heart of Argent that he gained control over in the previous chapter. We now move away from the Lovecraftian themes, and go into a darker section of hell. You can read in our review of the game how impressed it left us.
In order to get 100% completion, make sure you complete the mission challenges for this level.
Chapter 19’s mission challenges are-
- Killing 75 demons under the influence of Berserk
- Smashing open 3 gold chests
- Performing an Execution on 25 demons
Related
DOOM: The Dark Ages Chapter 17: Temple of Lomarith — 100% completion guide
Chapter 17 in Doom: The Dark Ages takes the Slayer to the Temple of Lomarith, where travelers from across realms are lost forever.
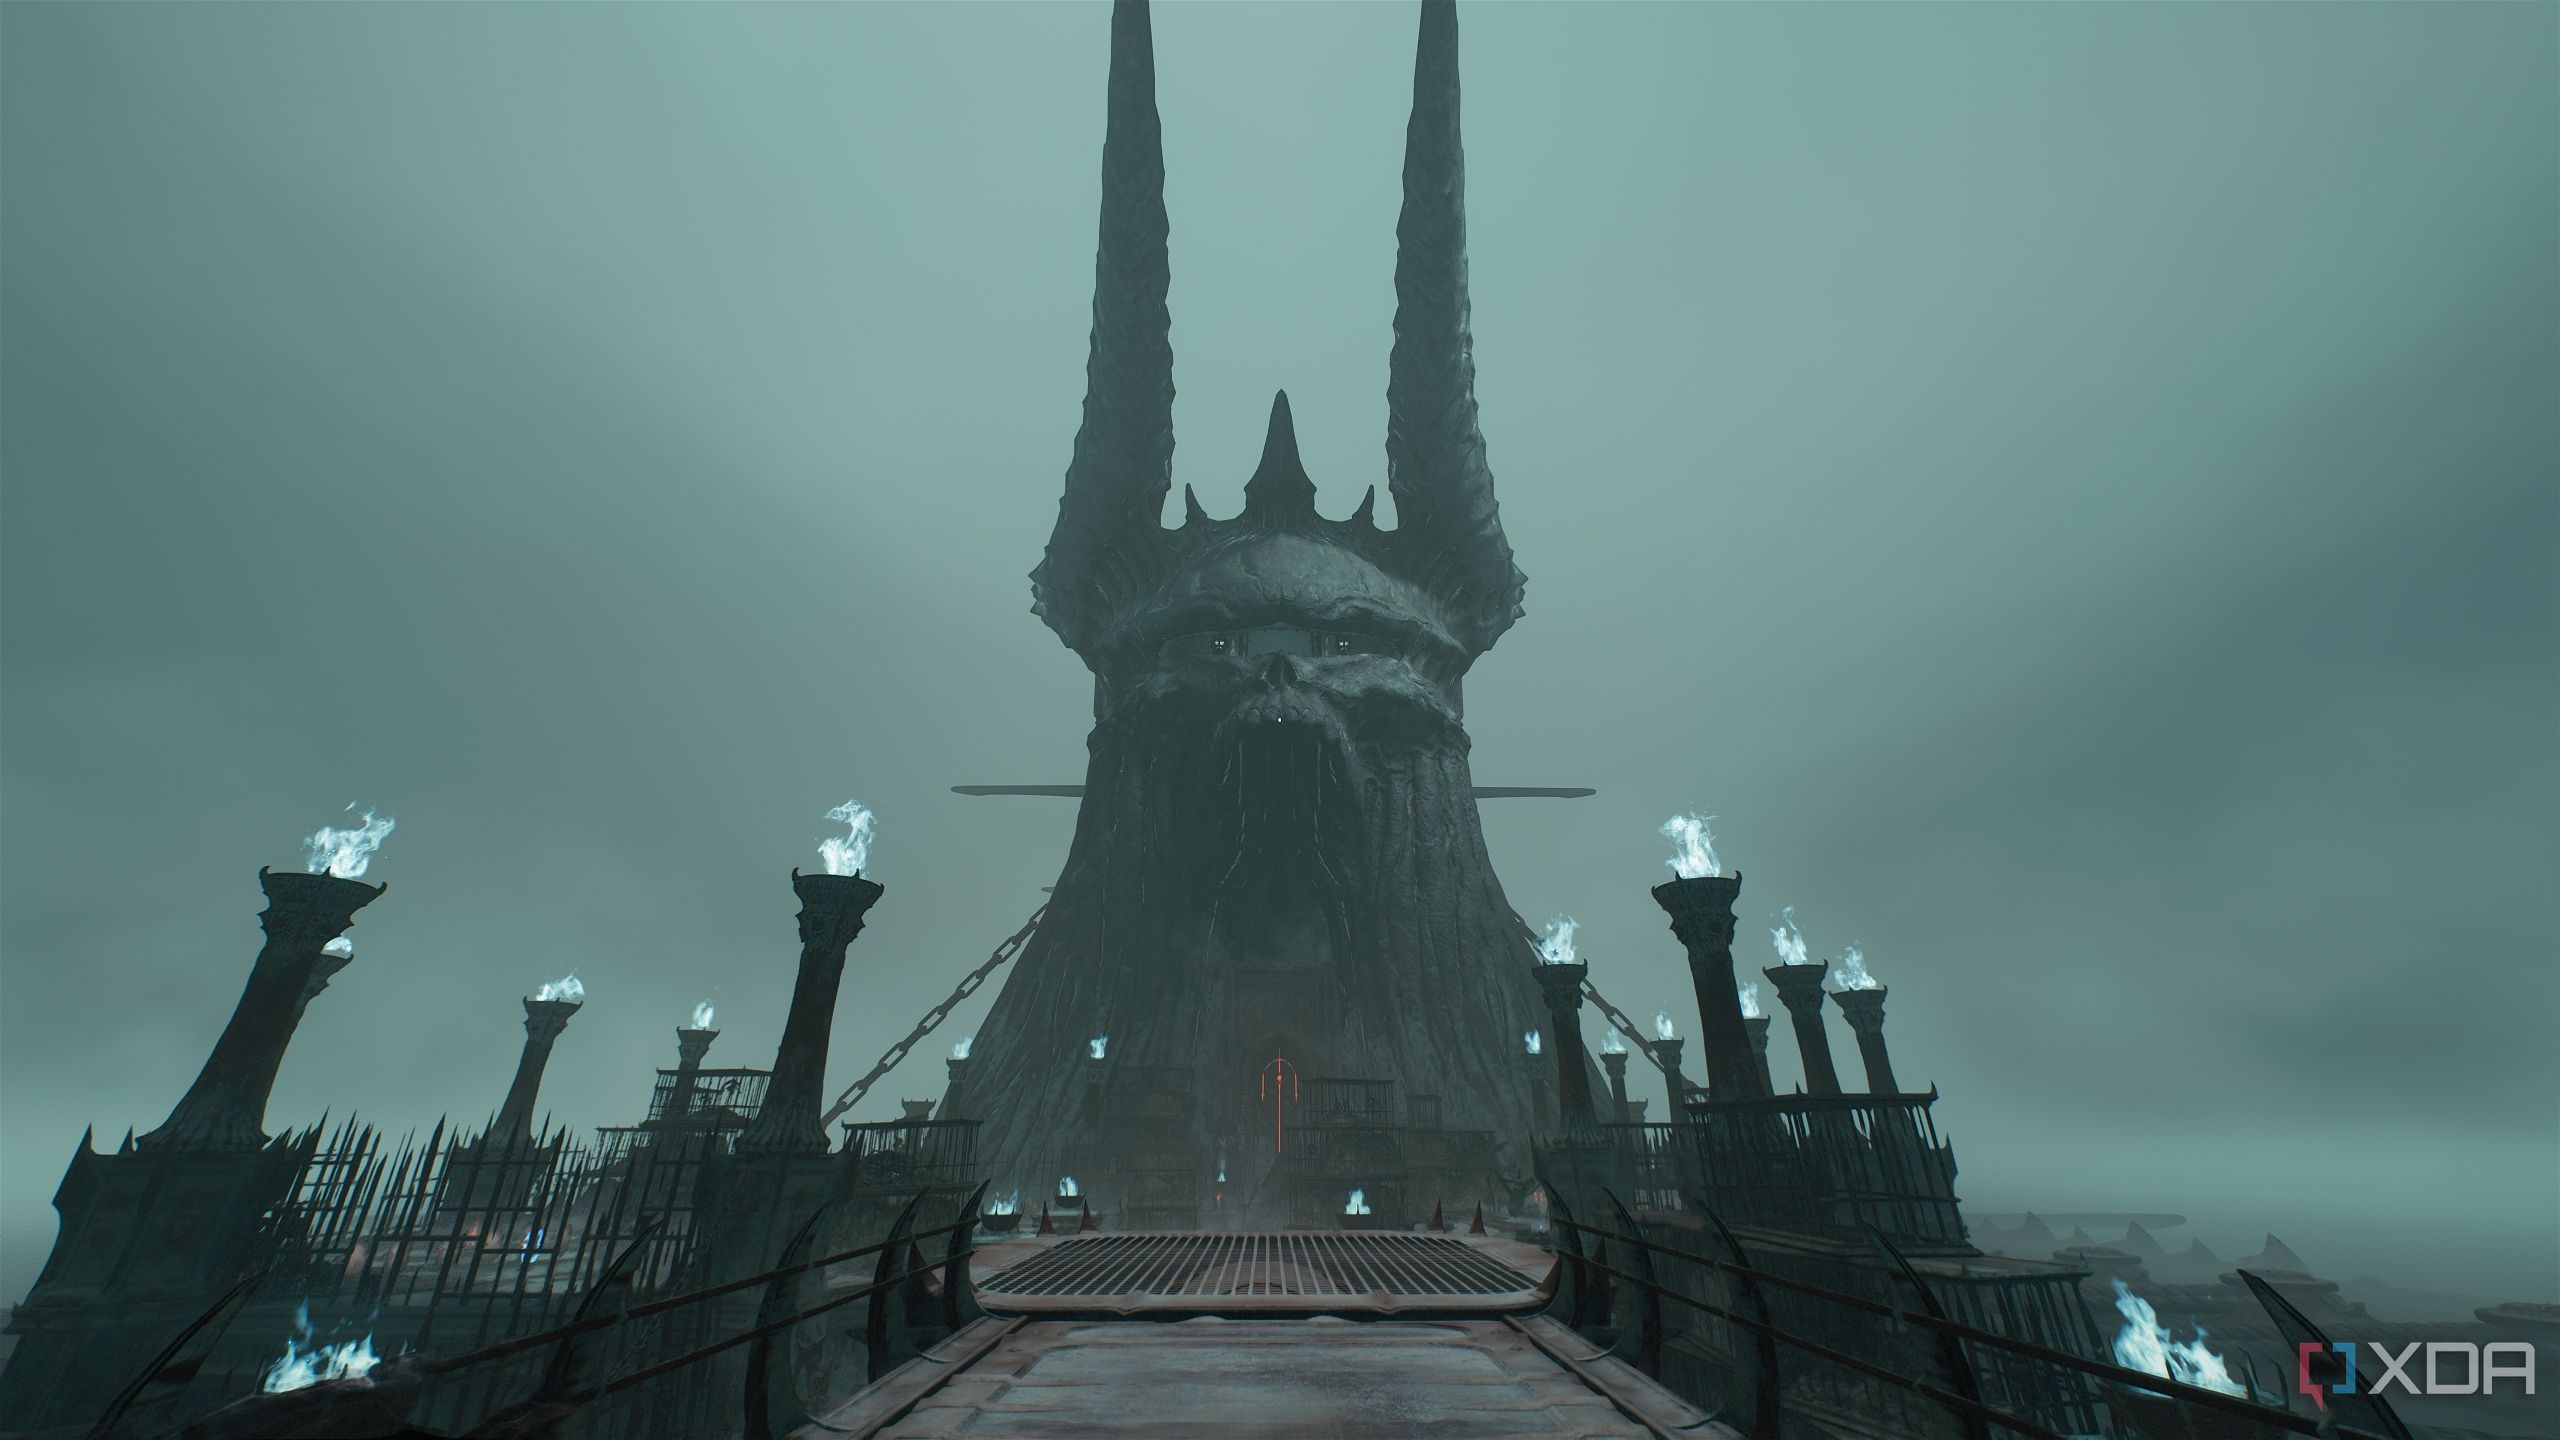
Chapter 19 of Doom: The Dark Ages gives the Slayer an unprecedented look
Local man too angry to die
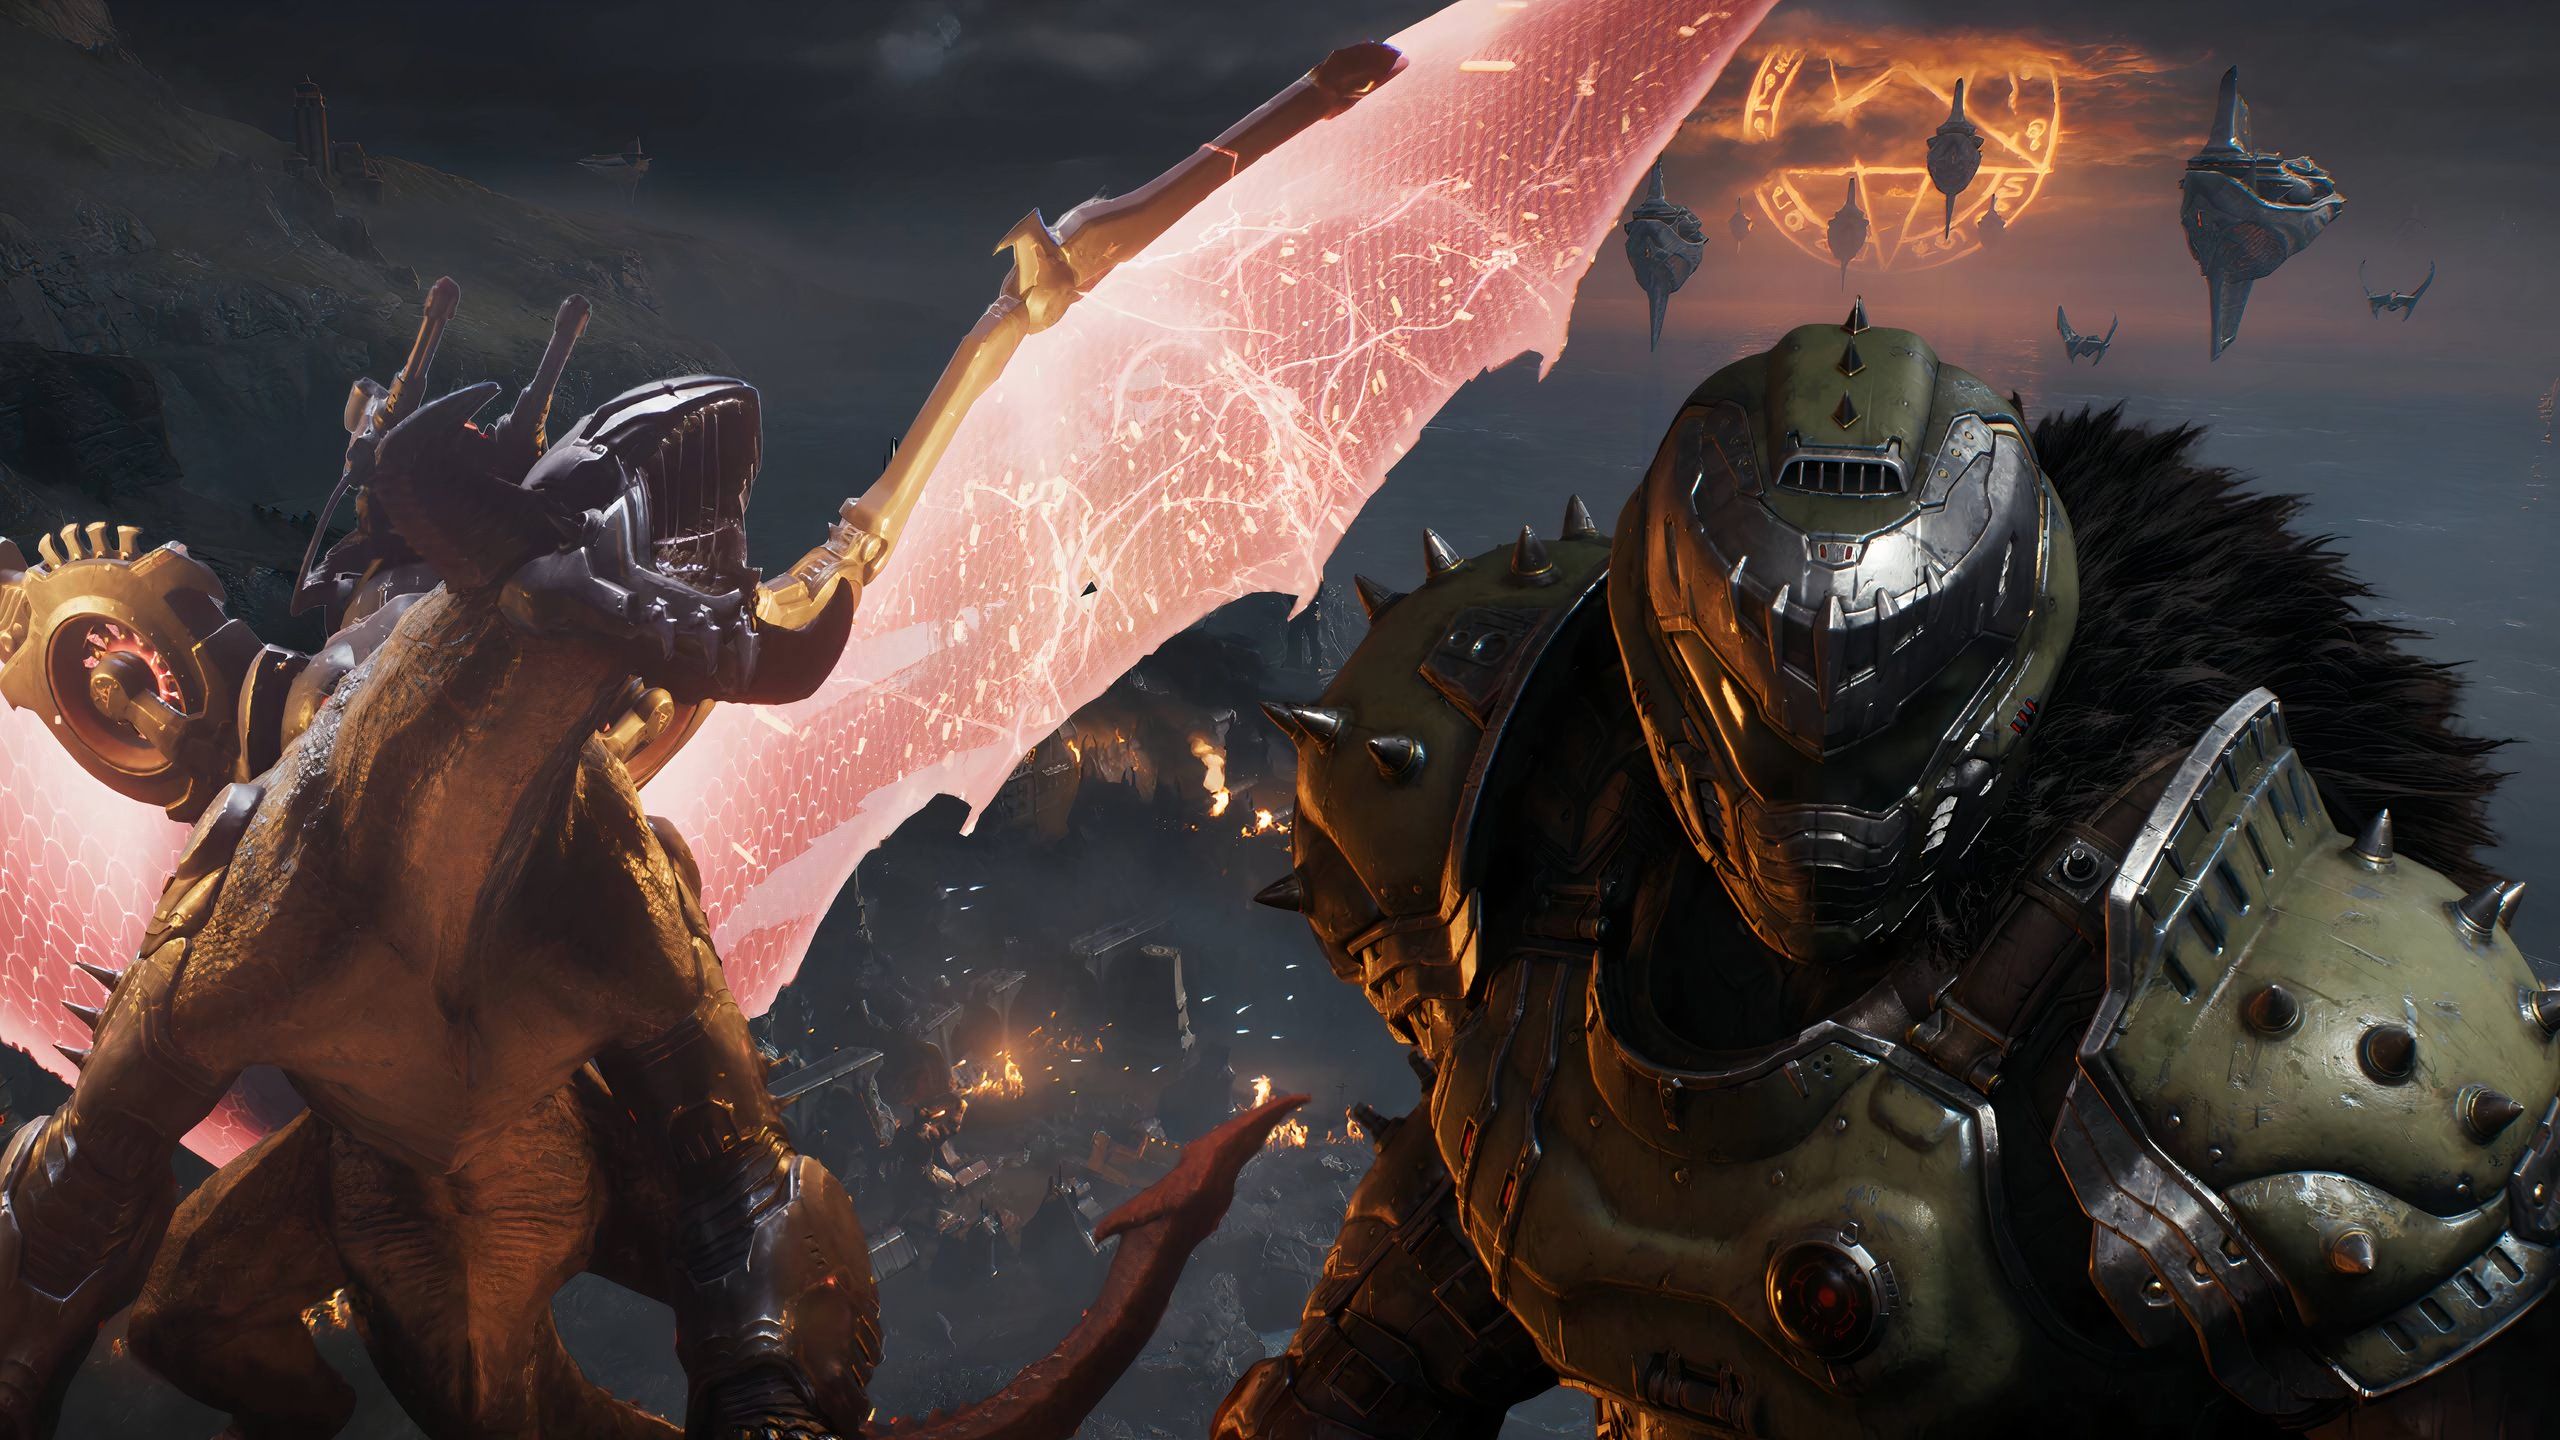
In chapter 19, the Slayer must now contend with a transformed Prince Ahzrak, who is now armed with the Heart of Argent using the powers of Commander Thira. Following the objectives in the chapter along with the instructions provided below, it won't be long before you can claim that sweet 100% completion tag for the level.
Path tracing hasn’t arrived in the game yet, but the Lovecraftian horrors are a spectacle to behold, thanks to the id Tech engine 8.
This guide covers each collectible required for 100% level completion in chronological order. It is recommended to follow this guide in the order stated.
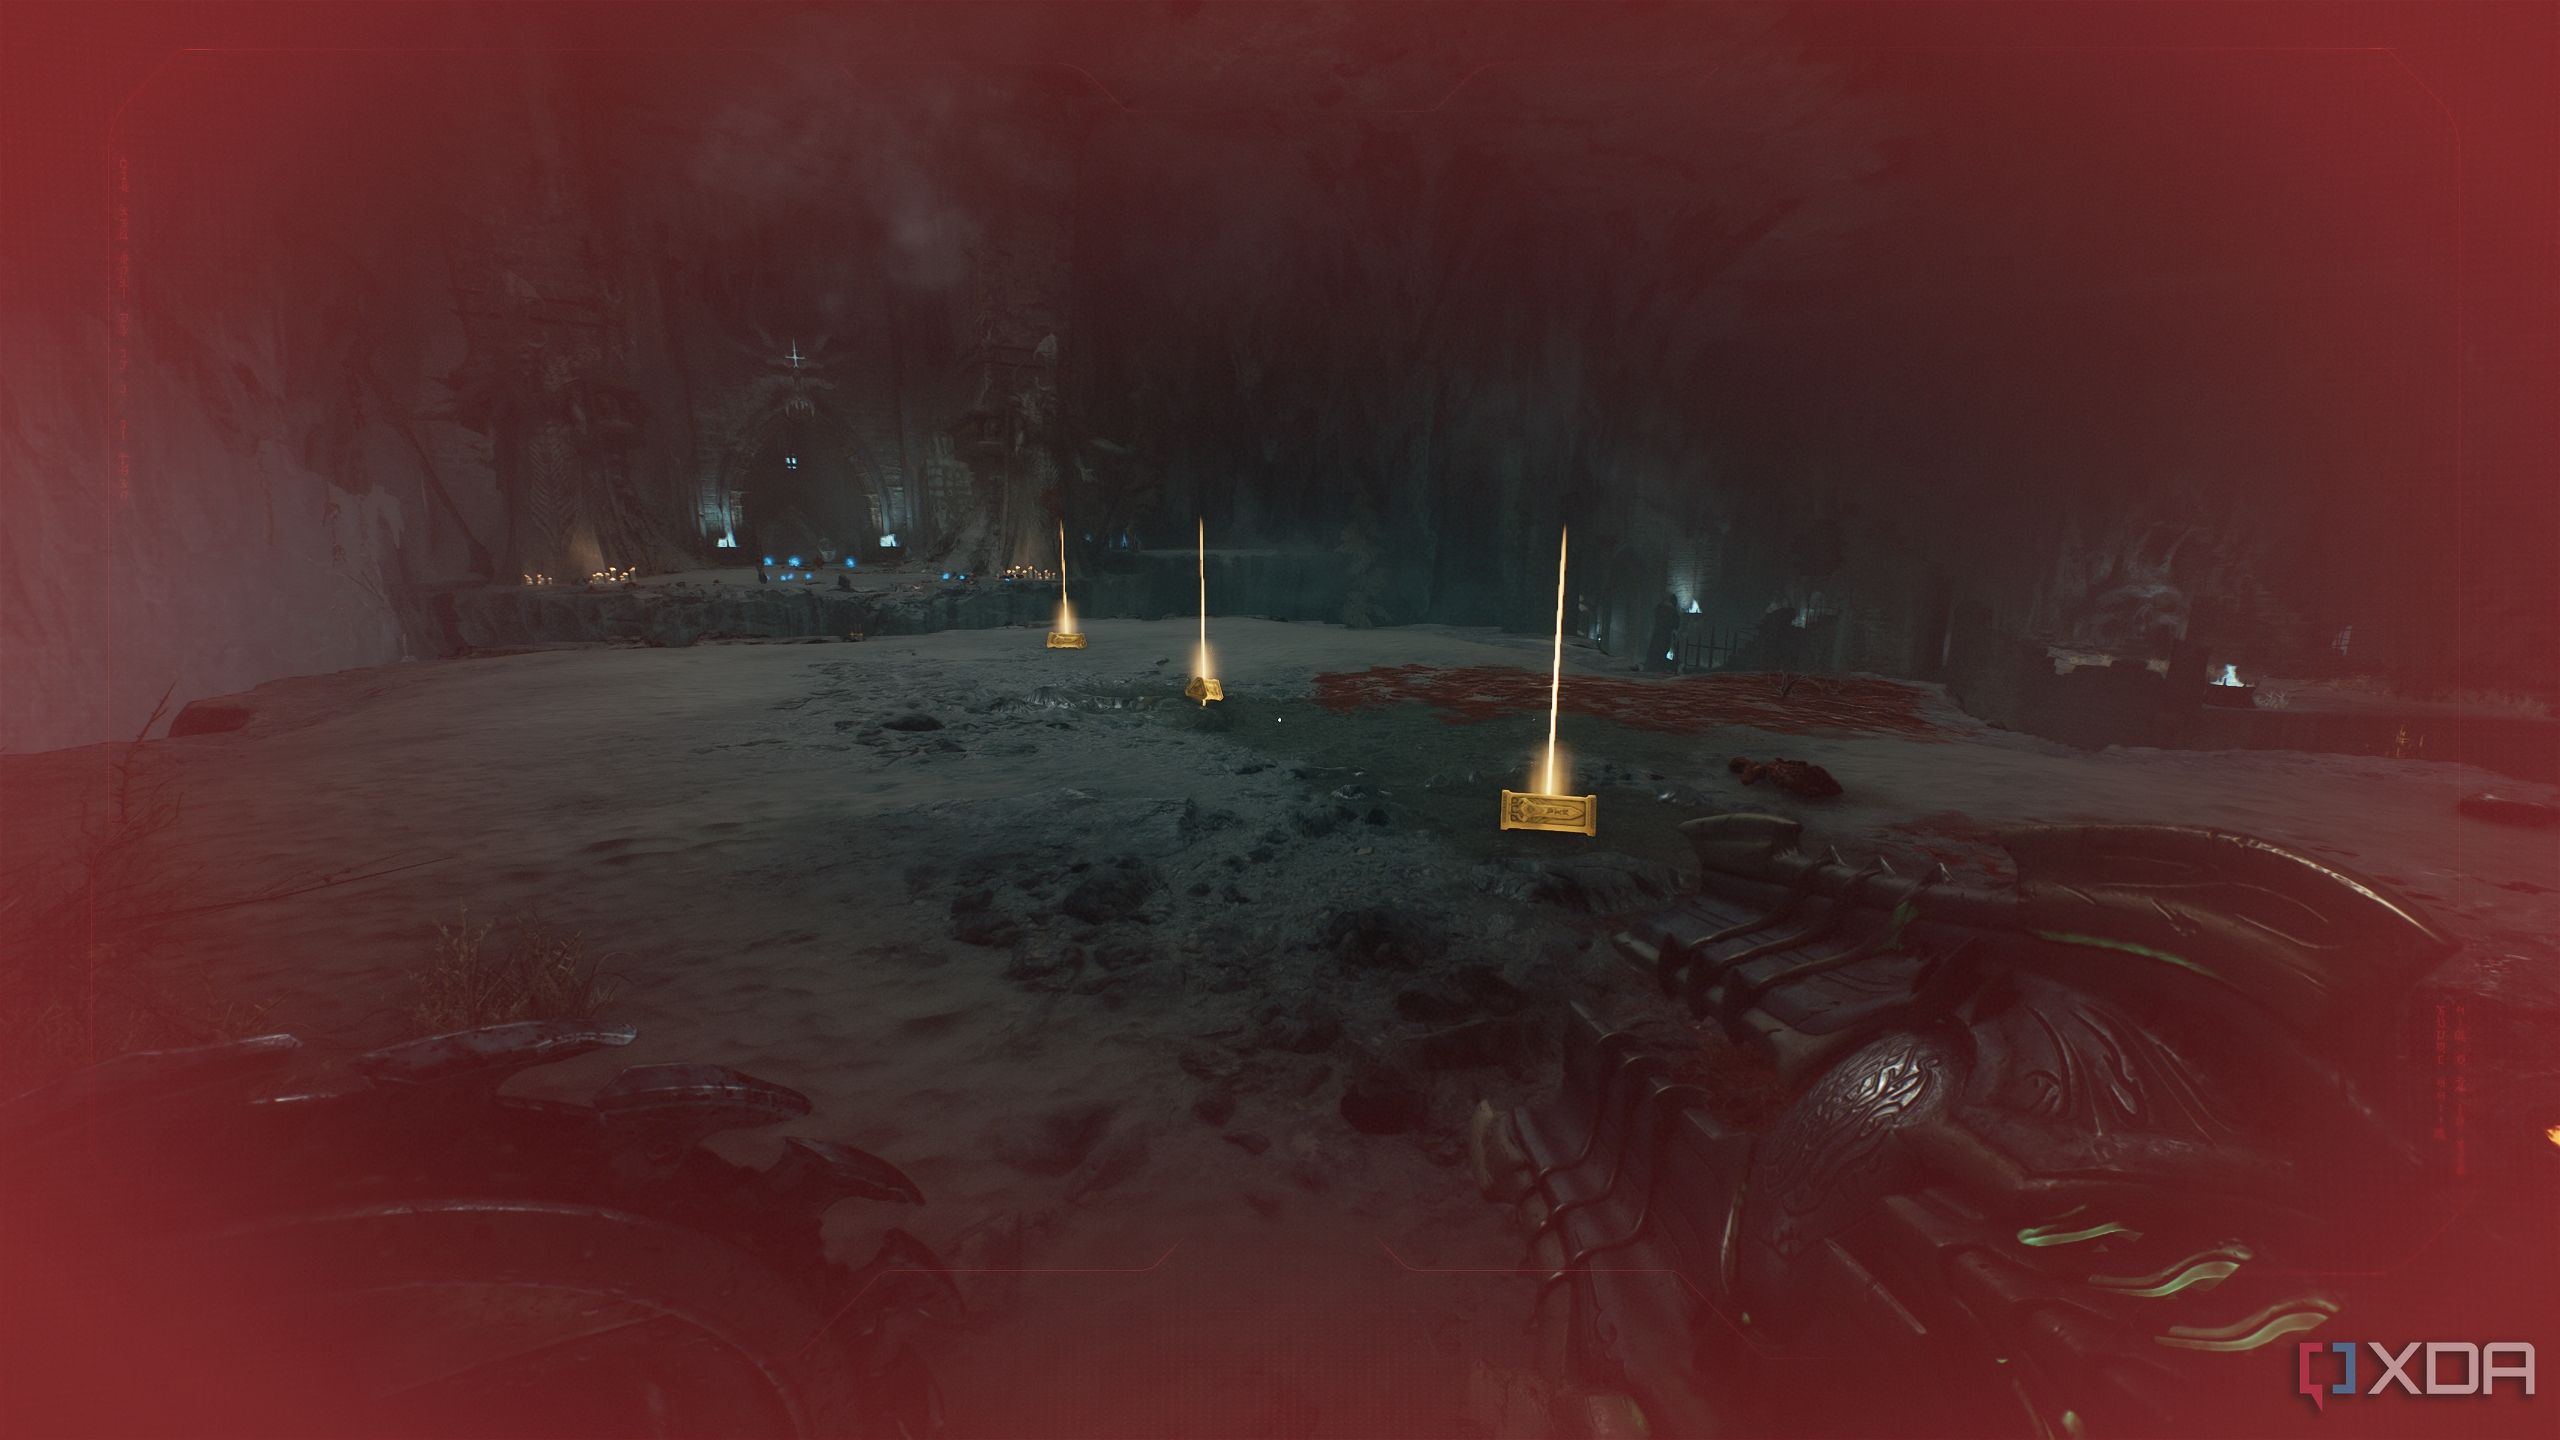
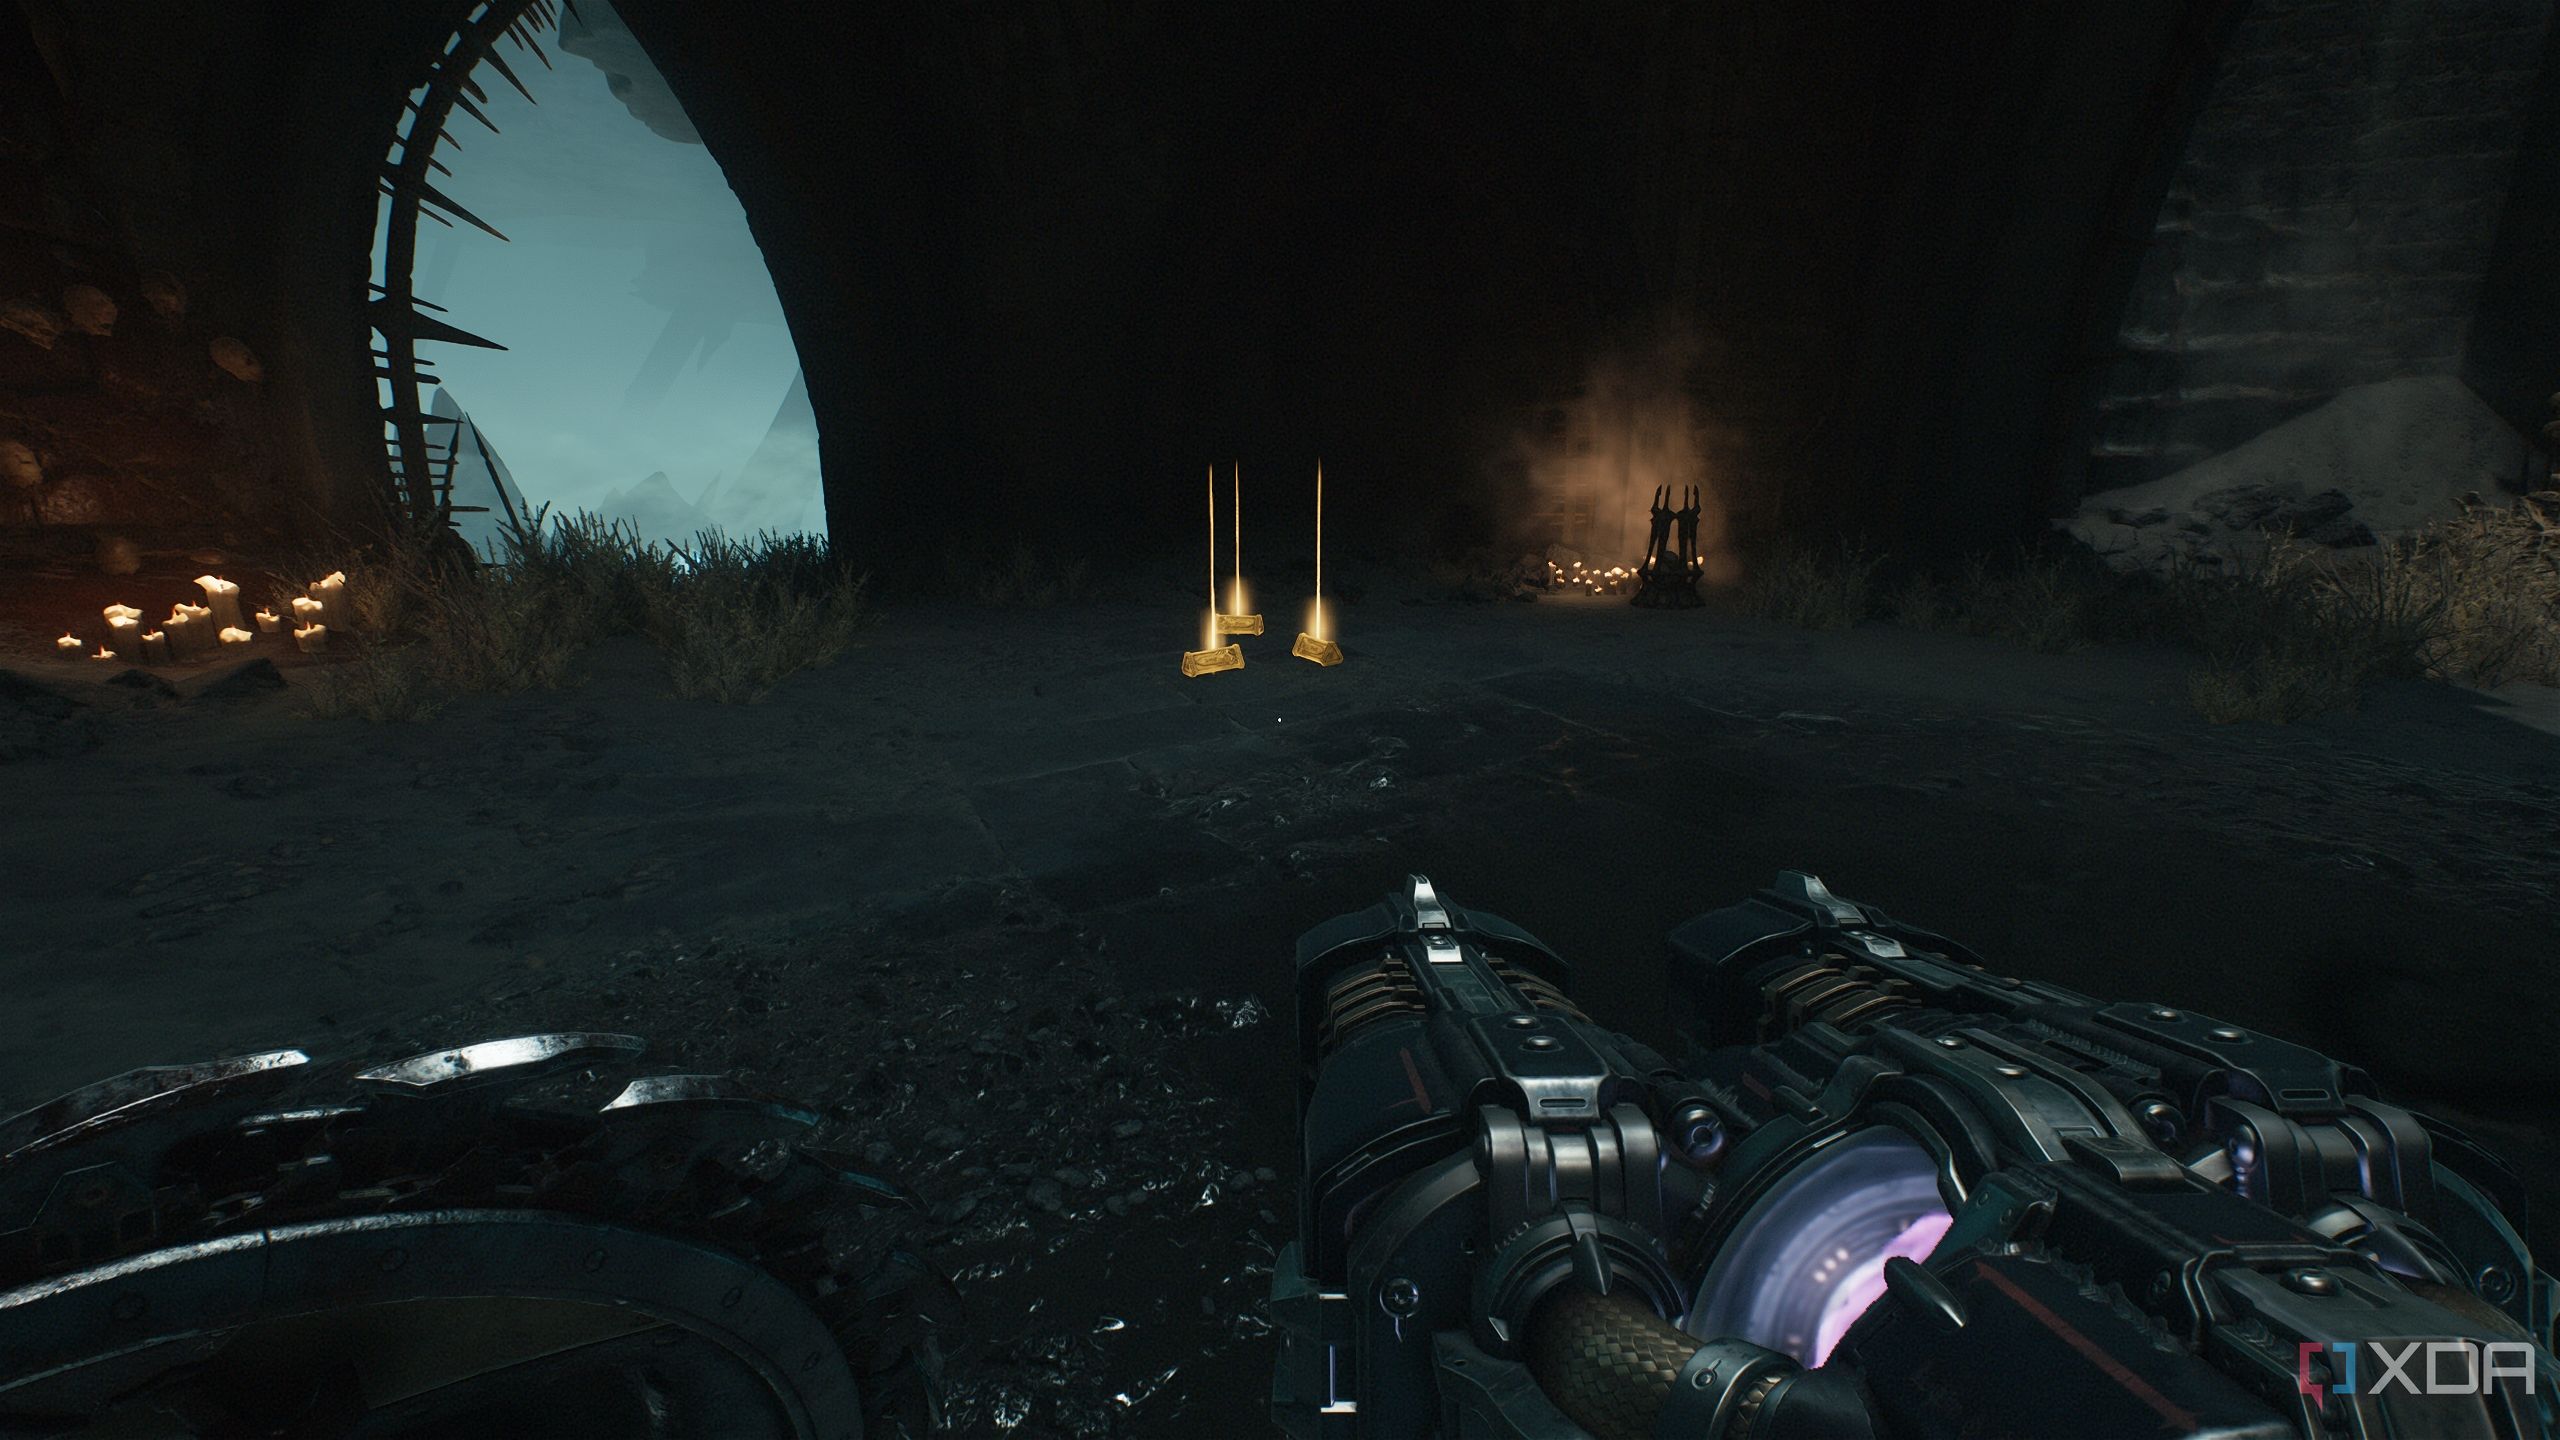
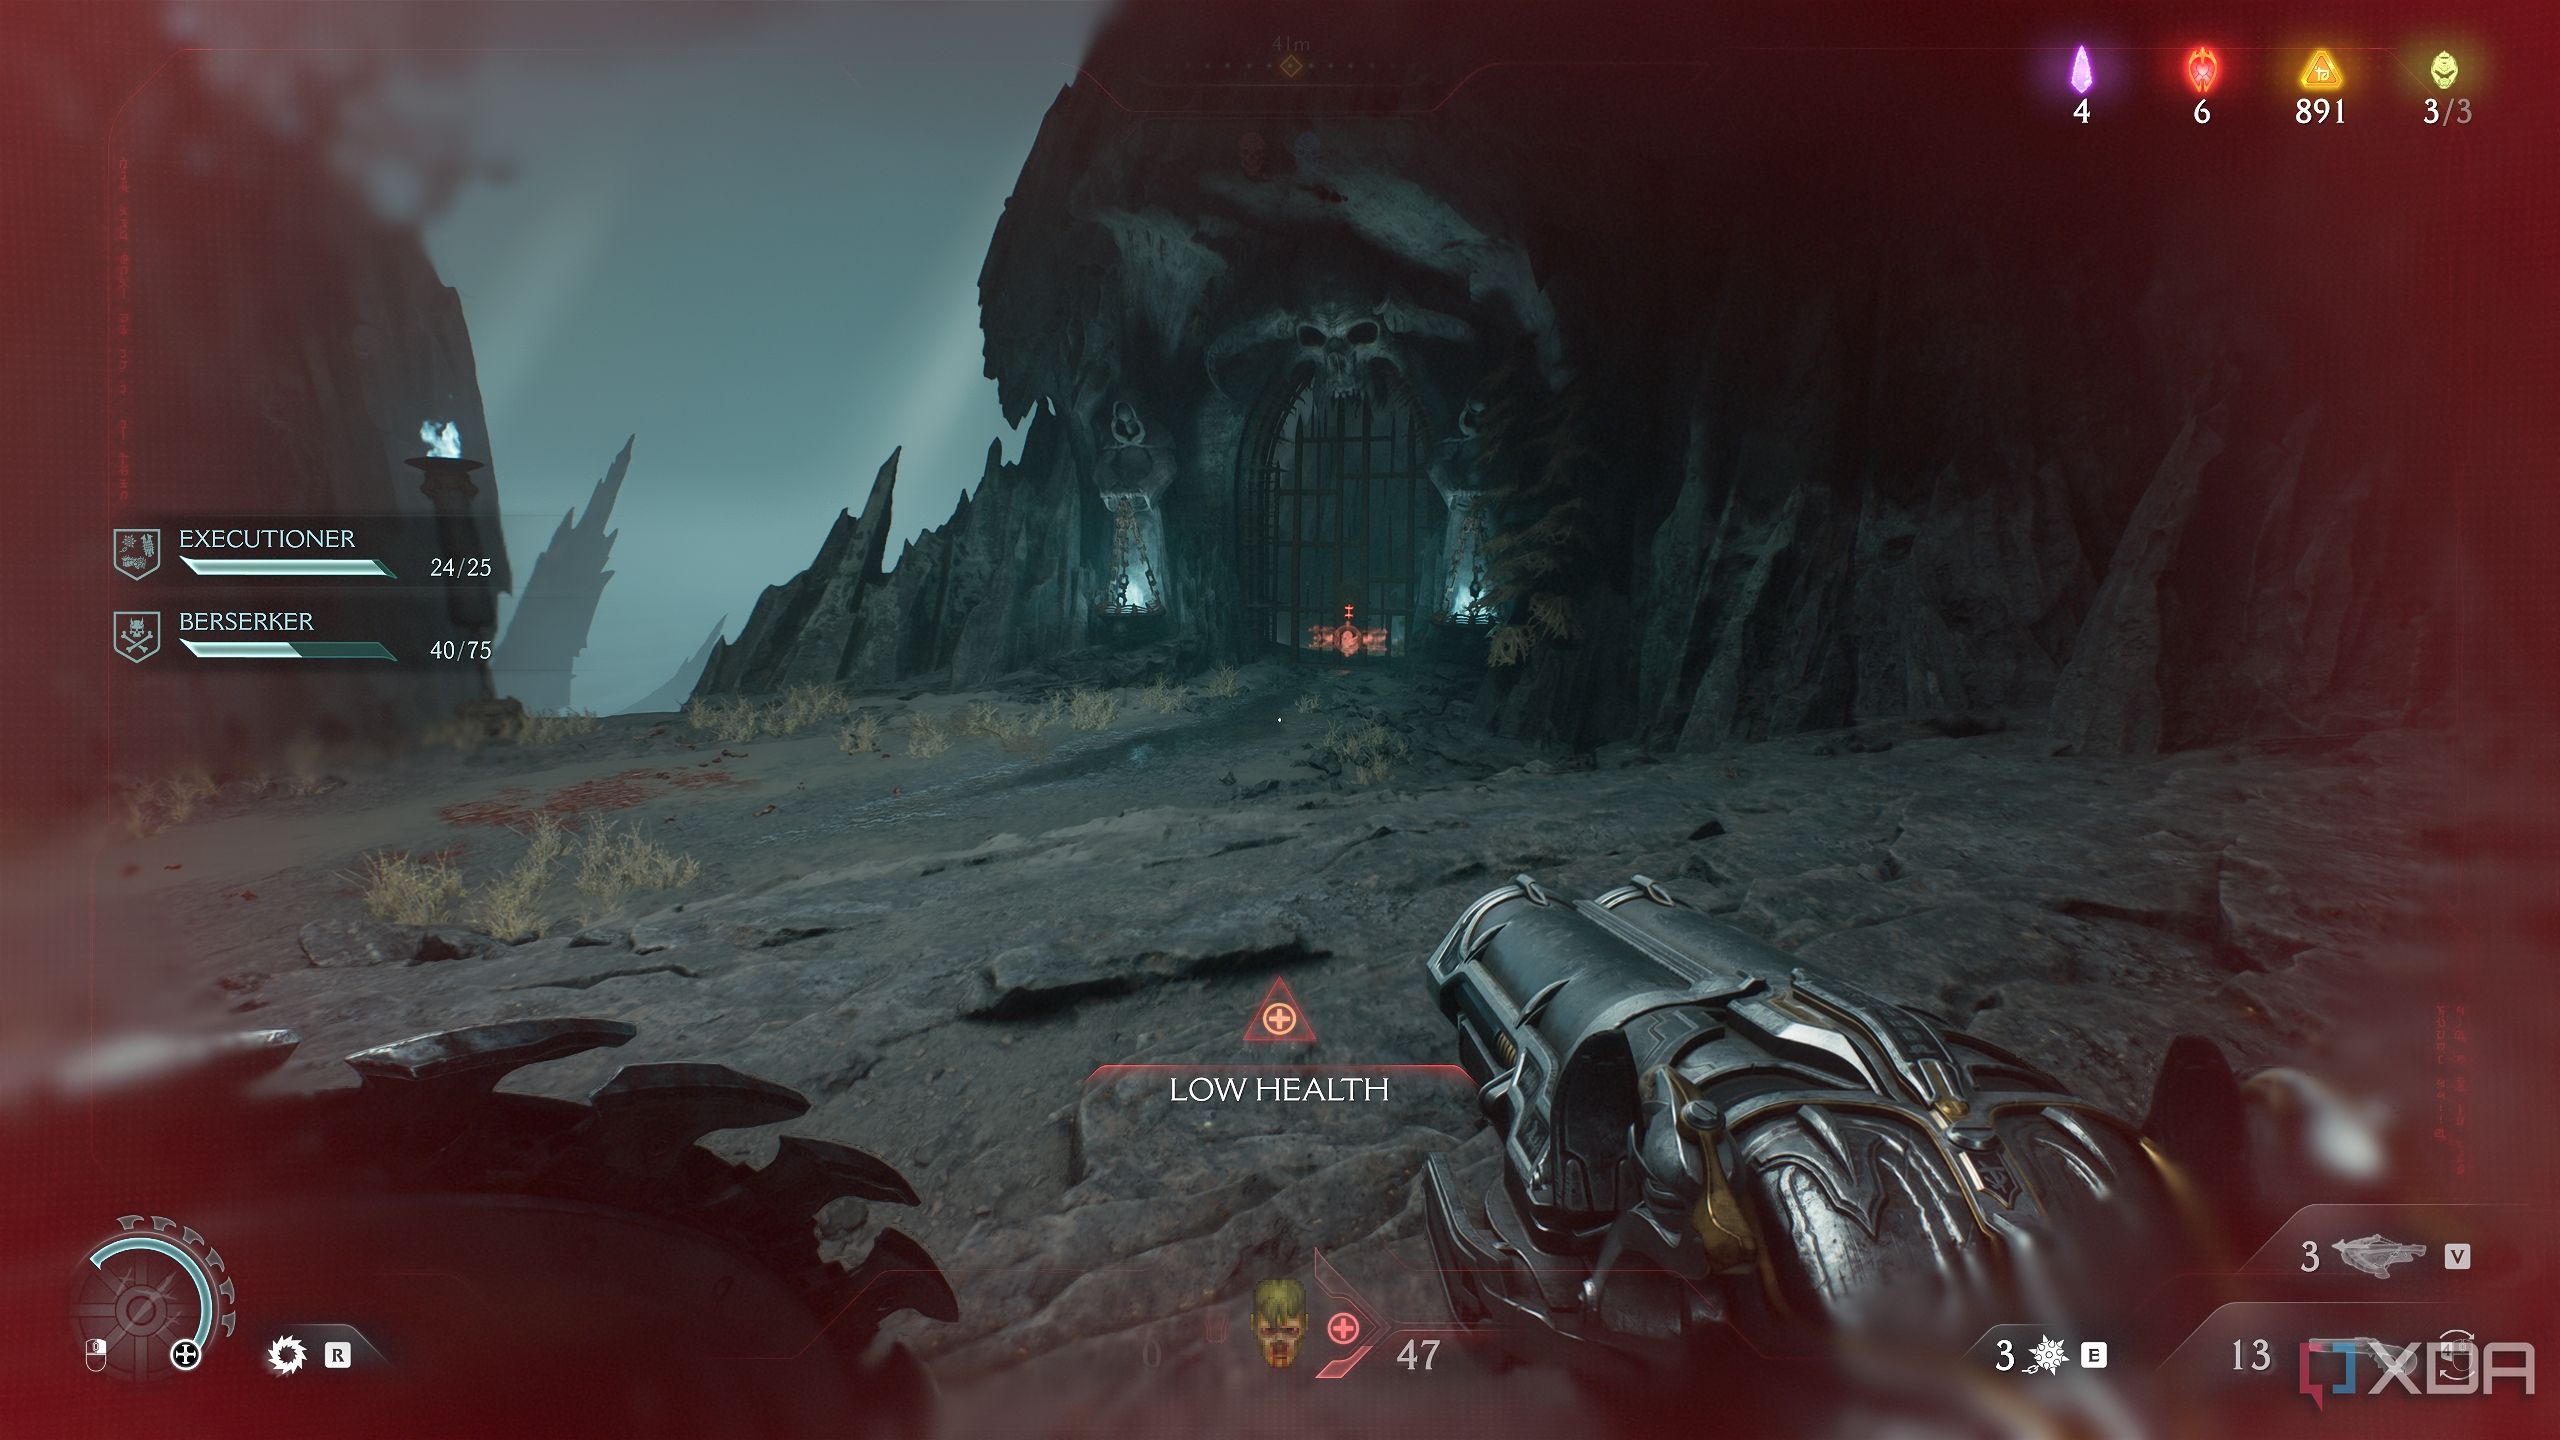
Escaping the prison and first gold bars
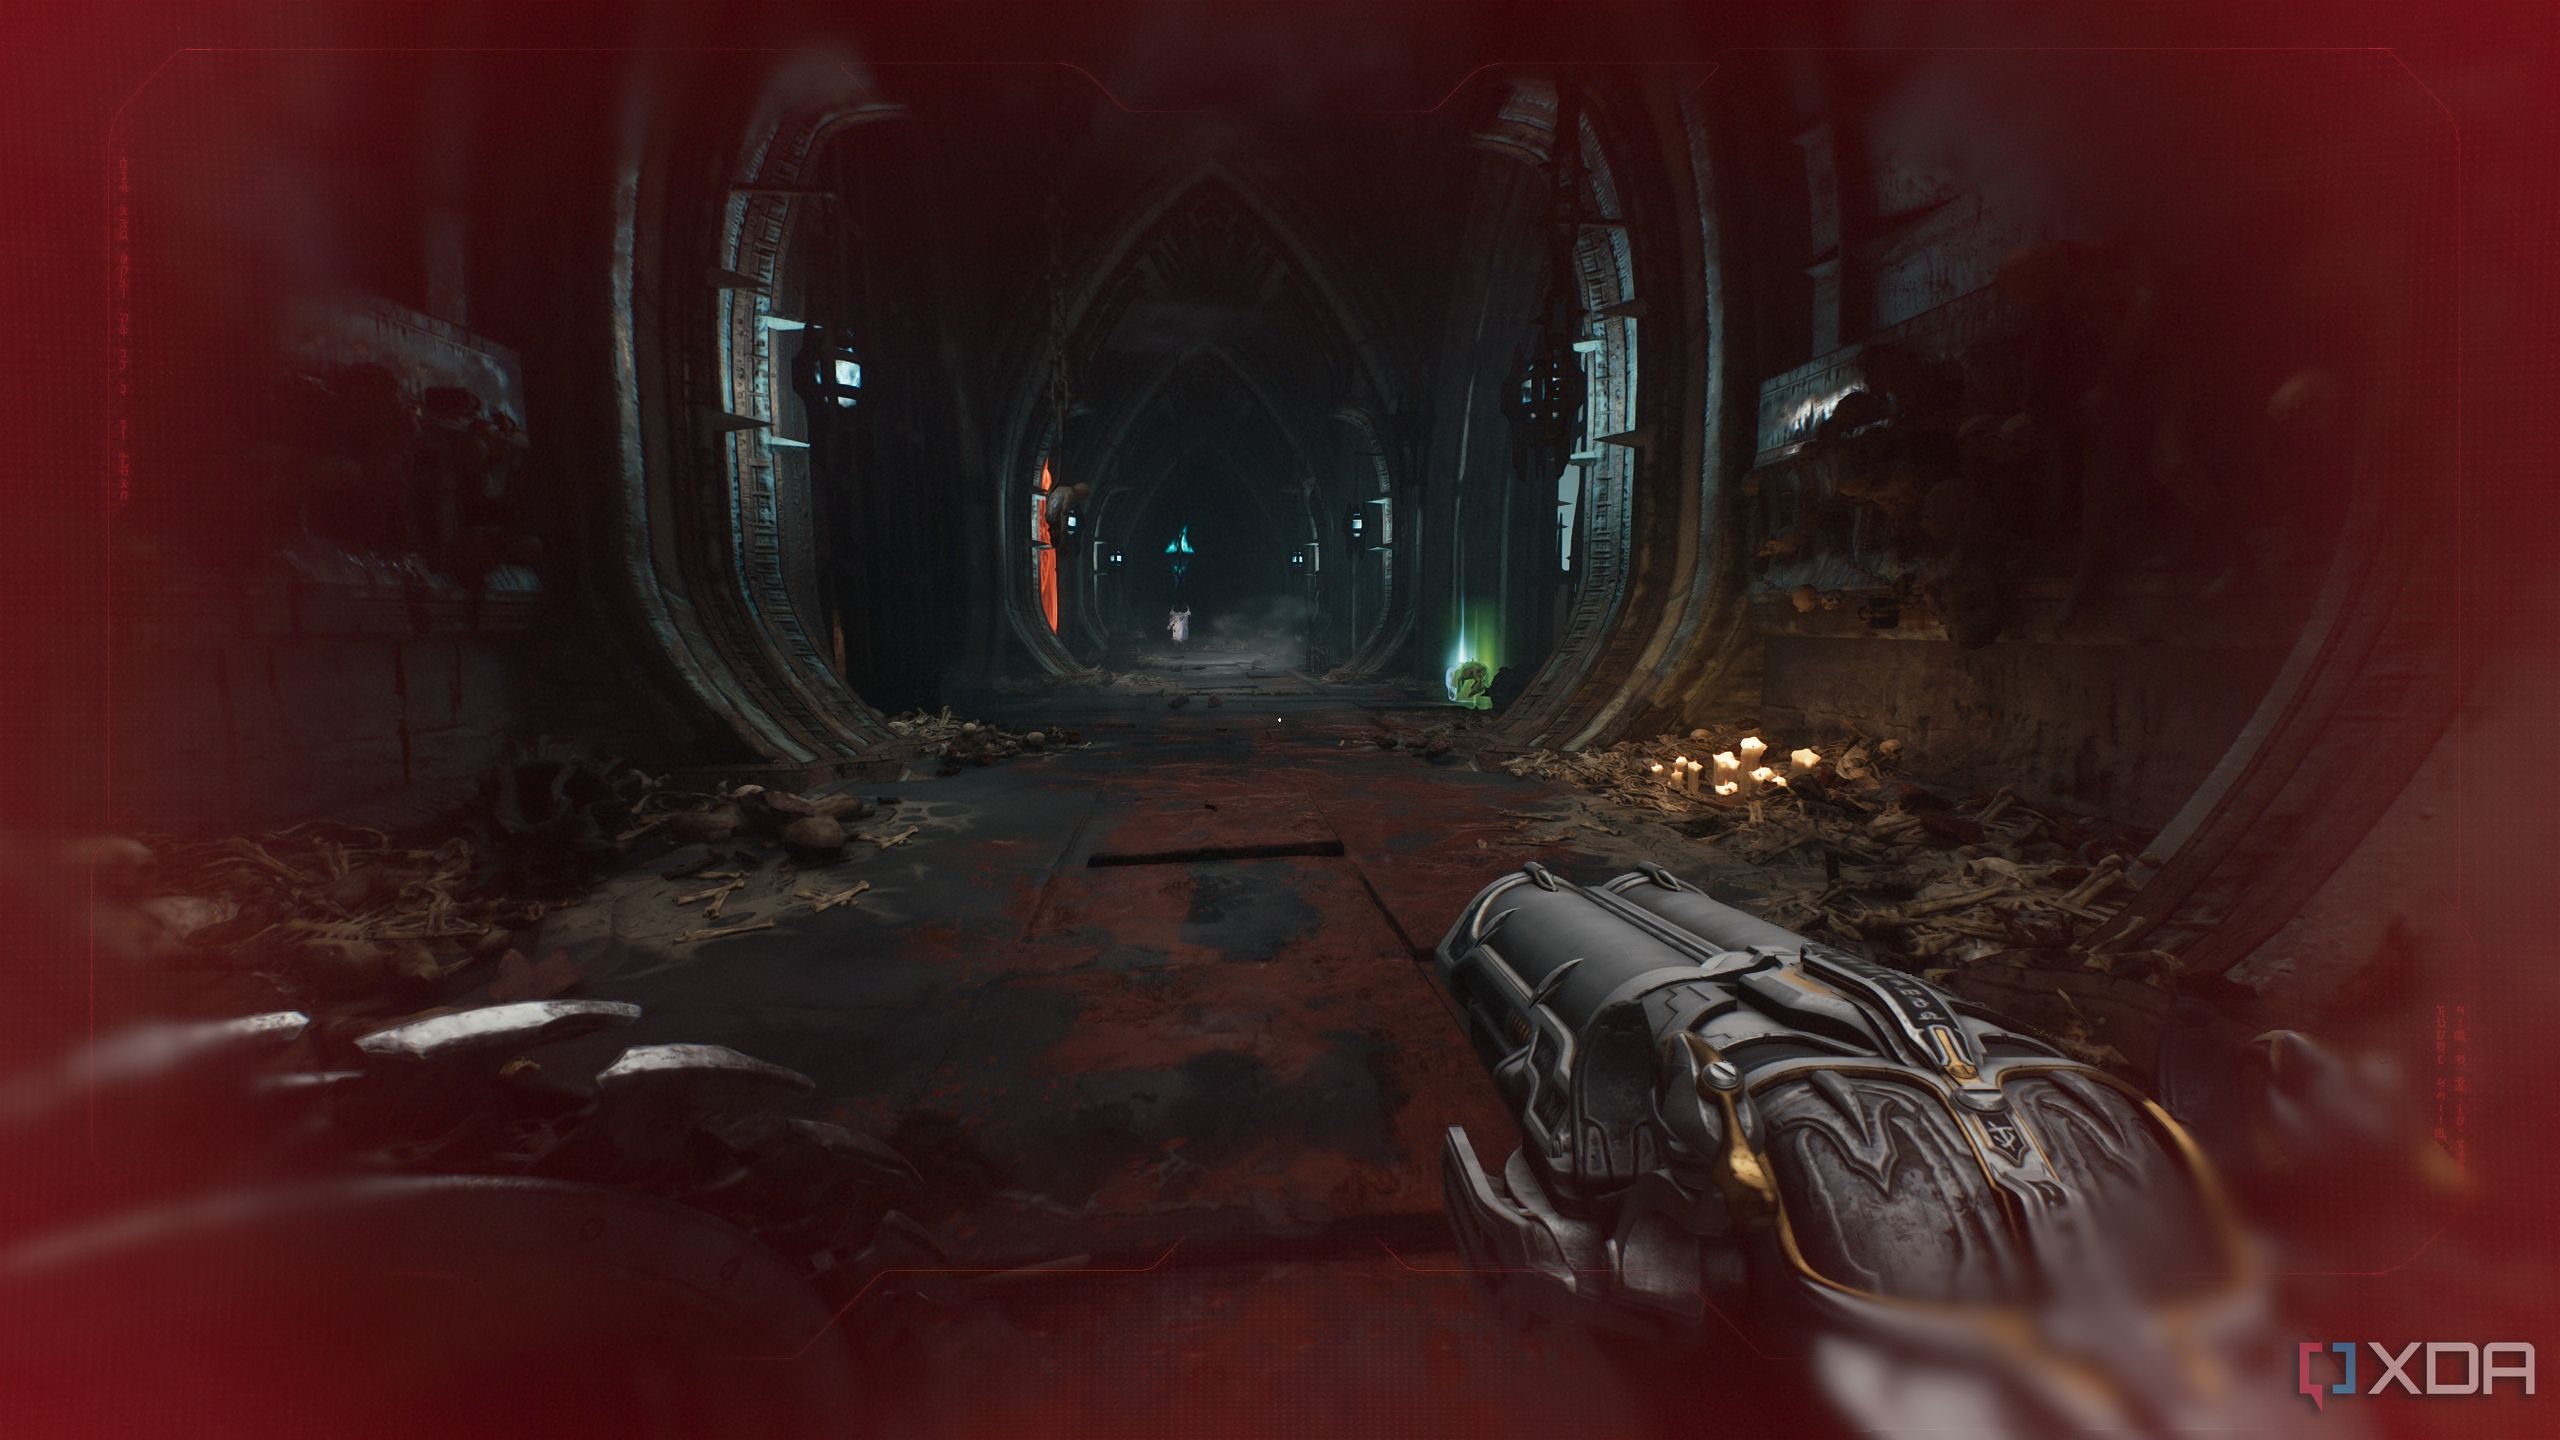
The first Berserk segment in the game
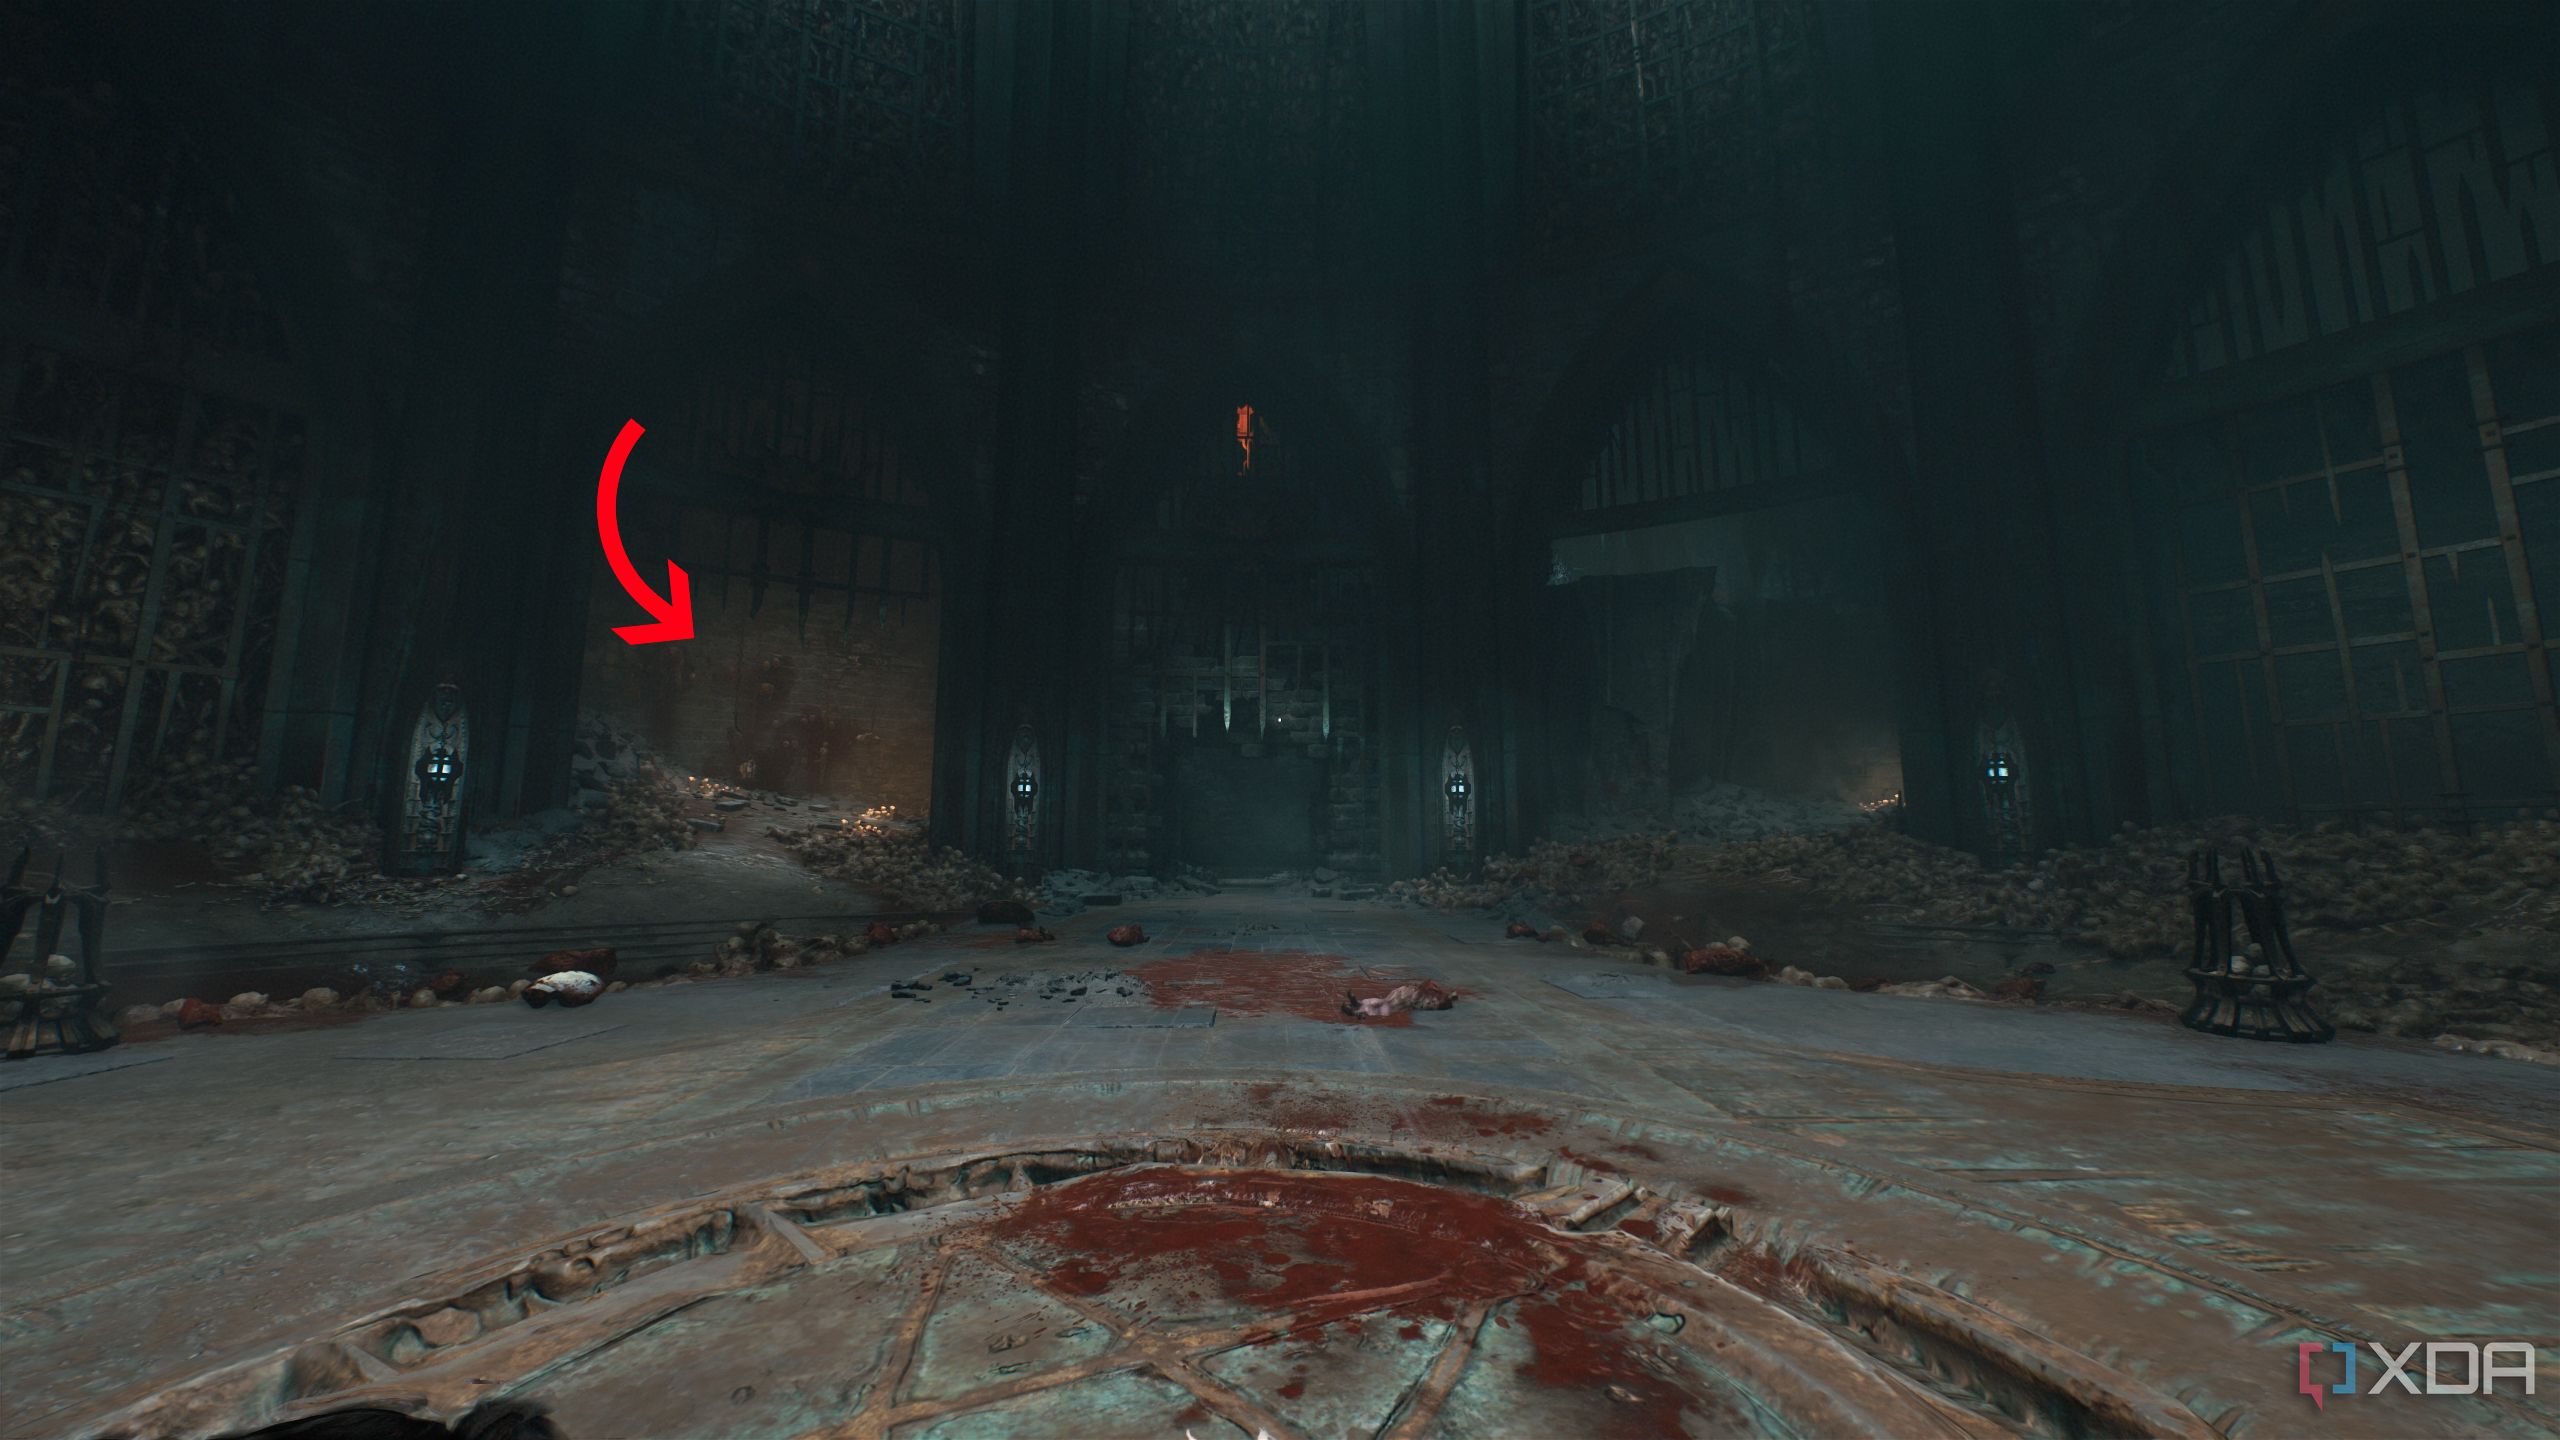
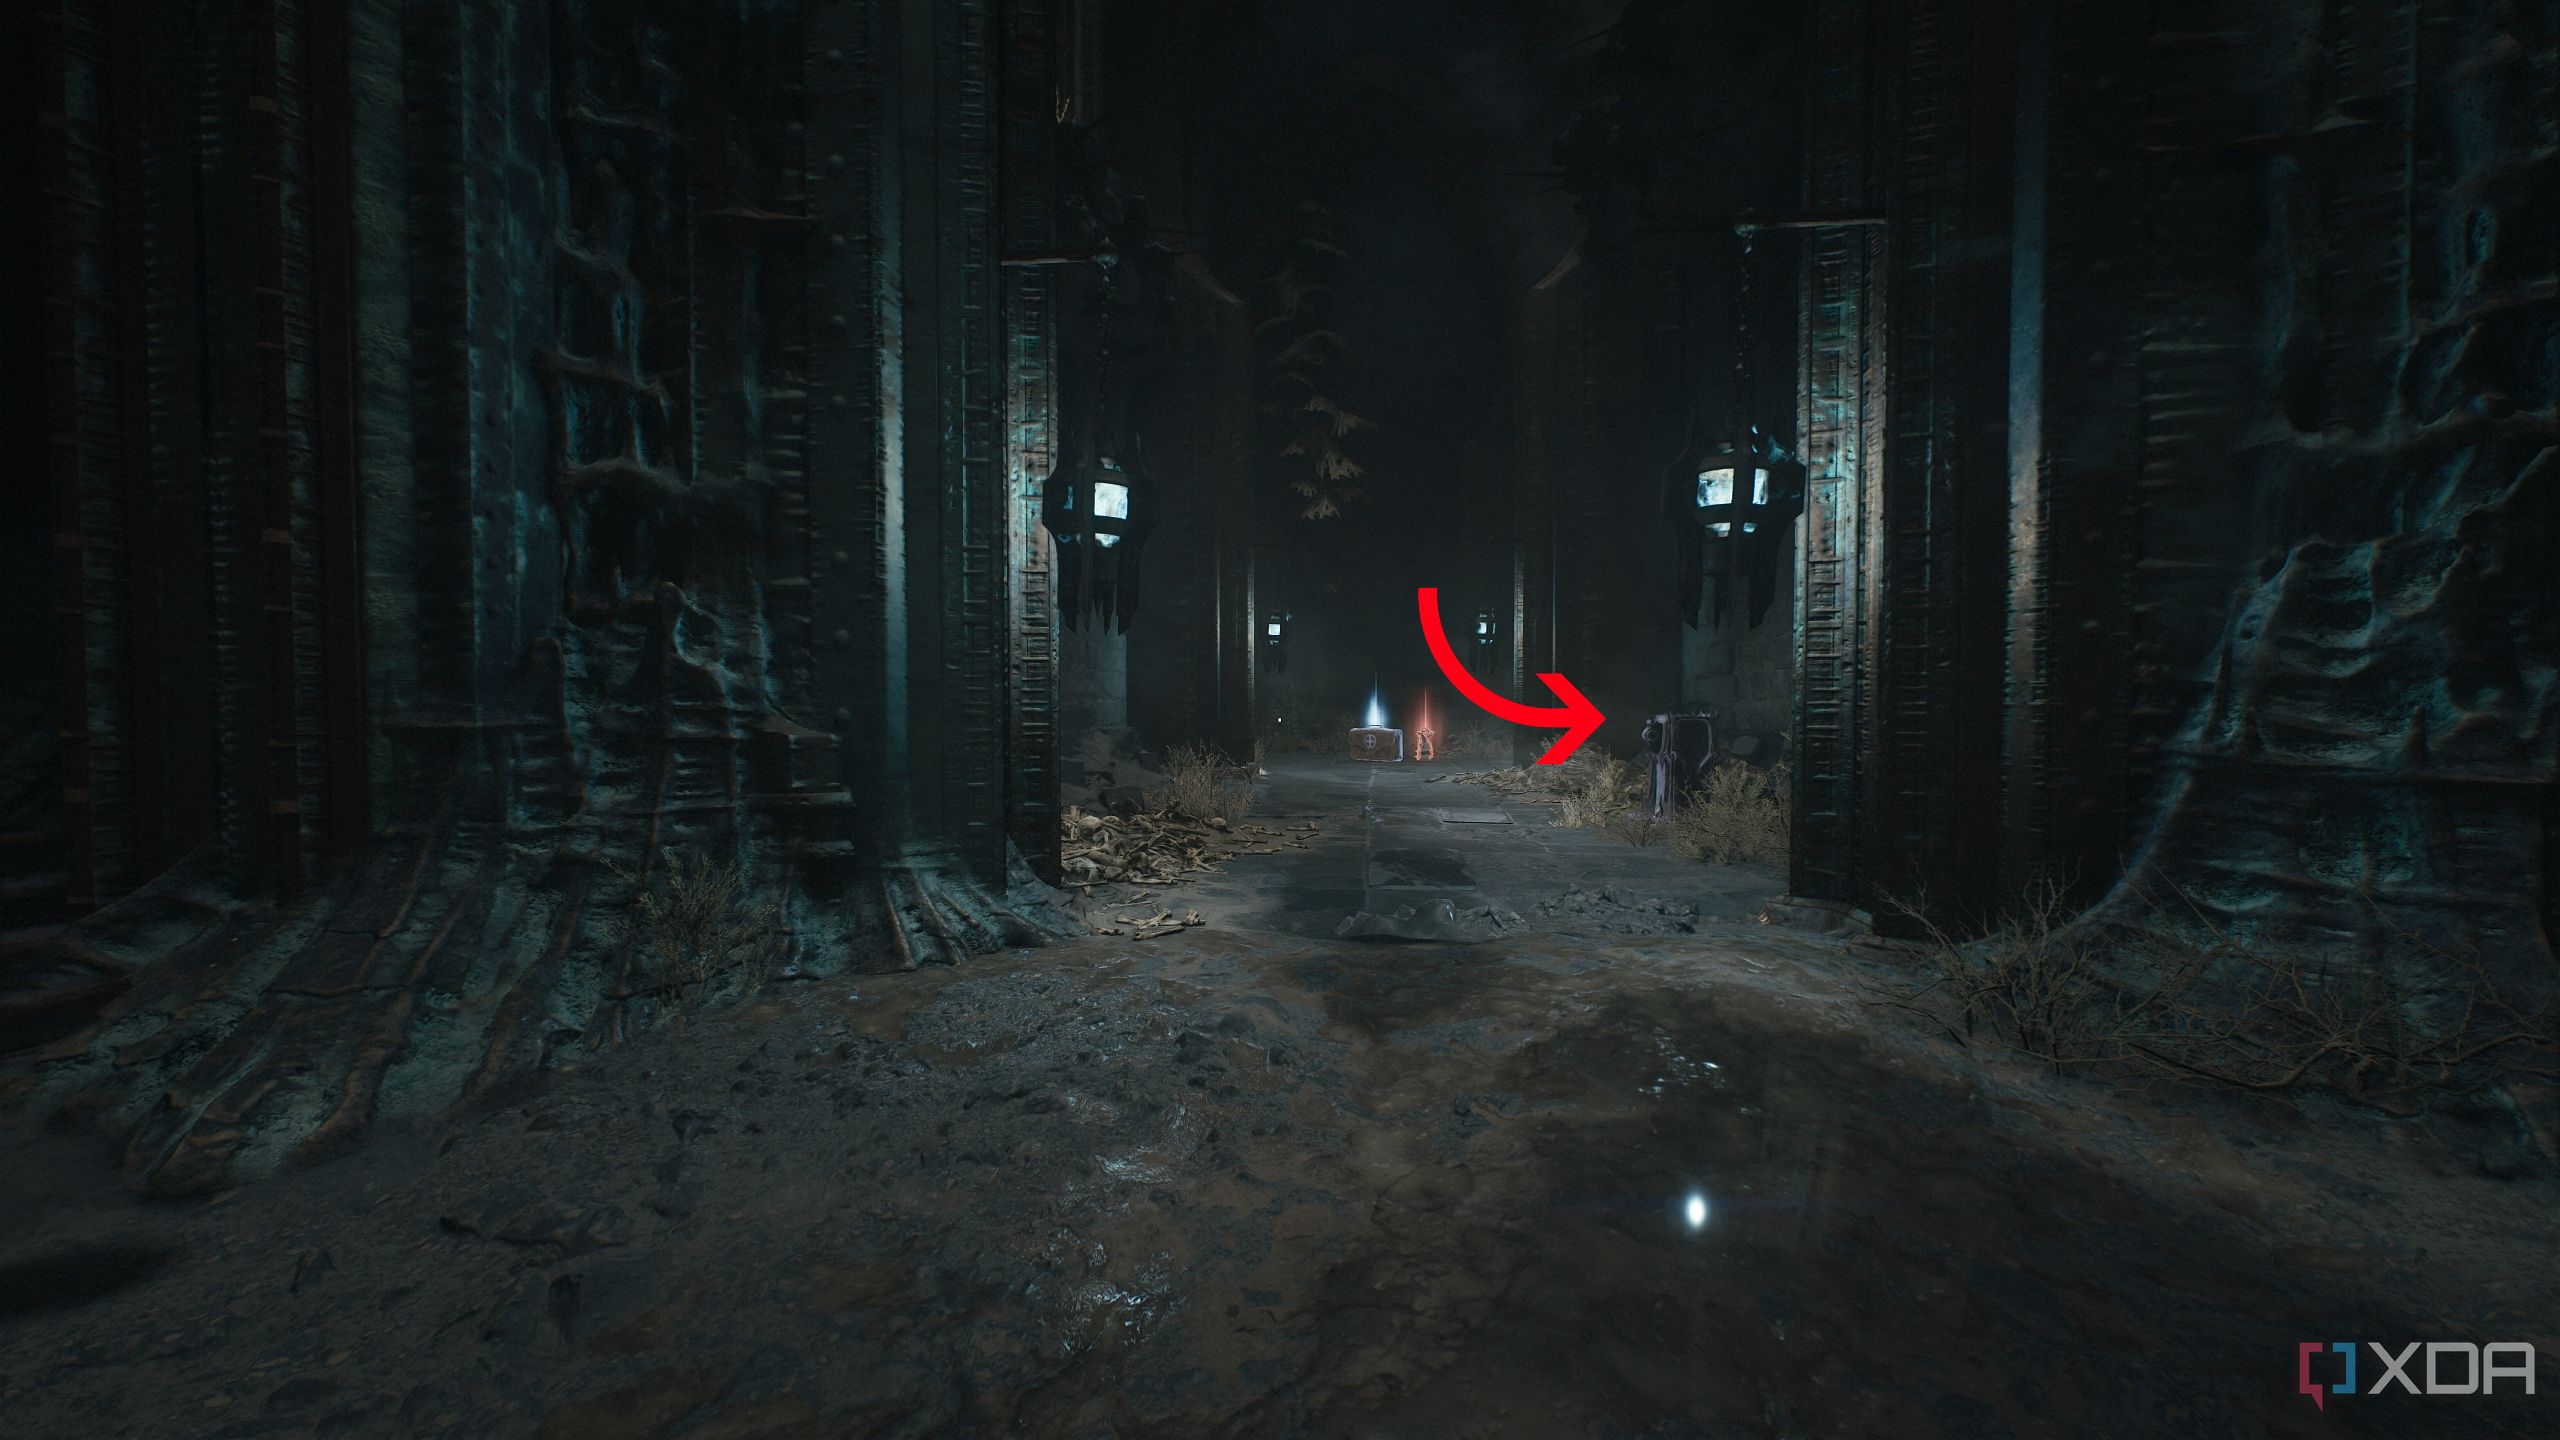
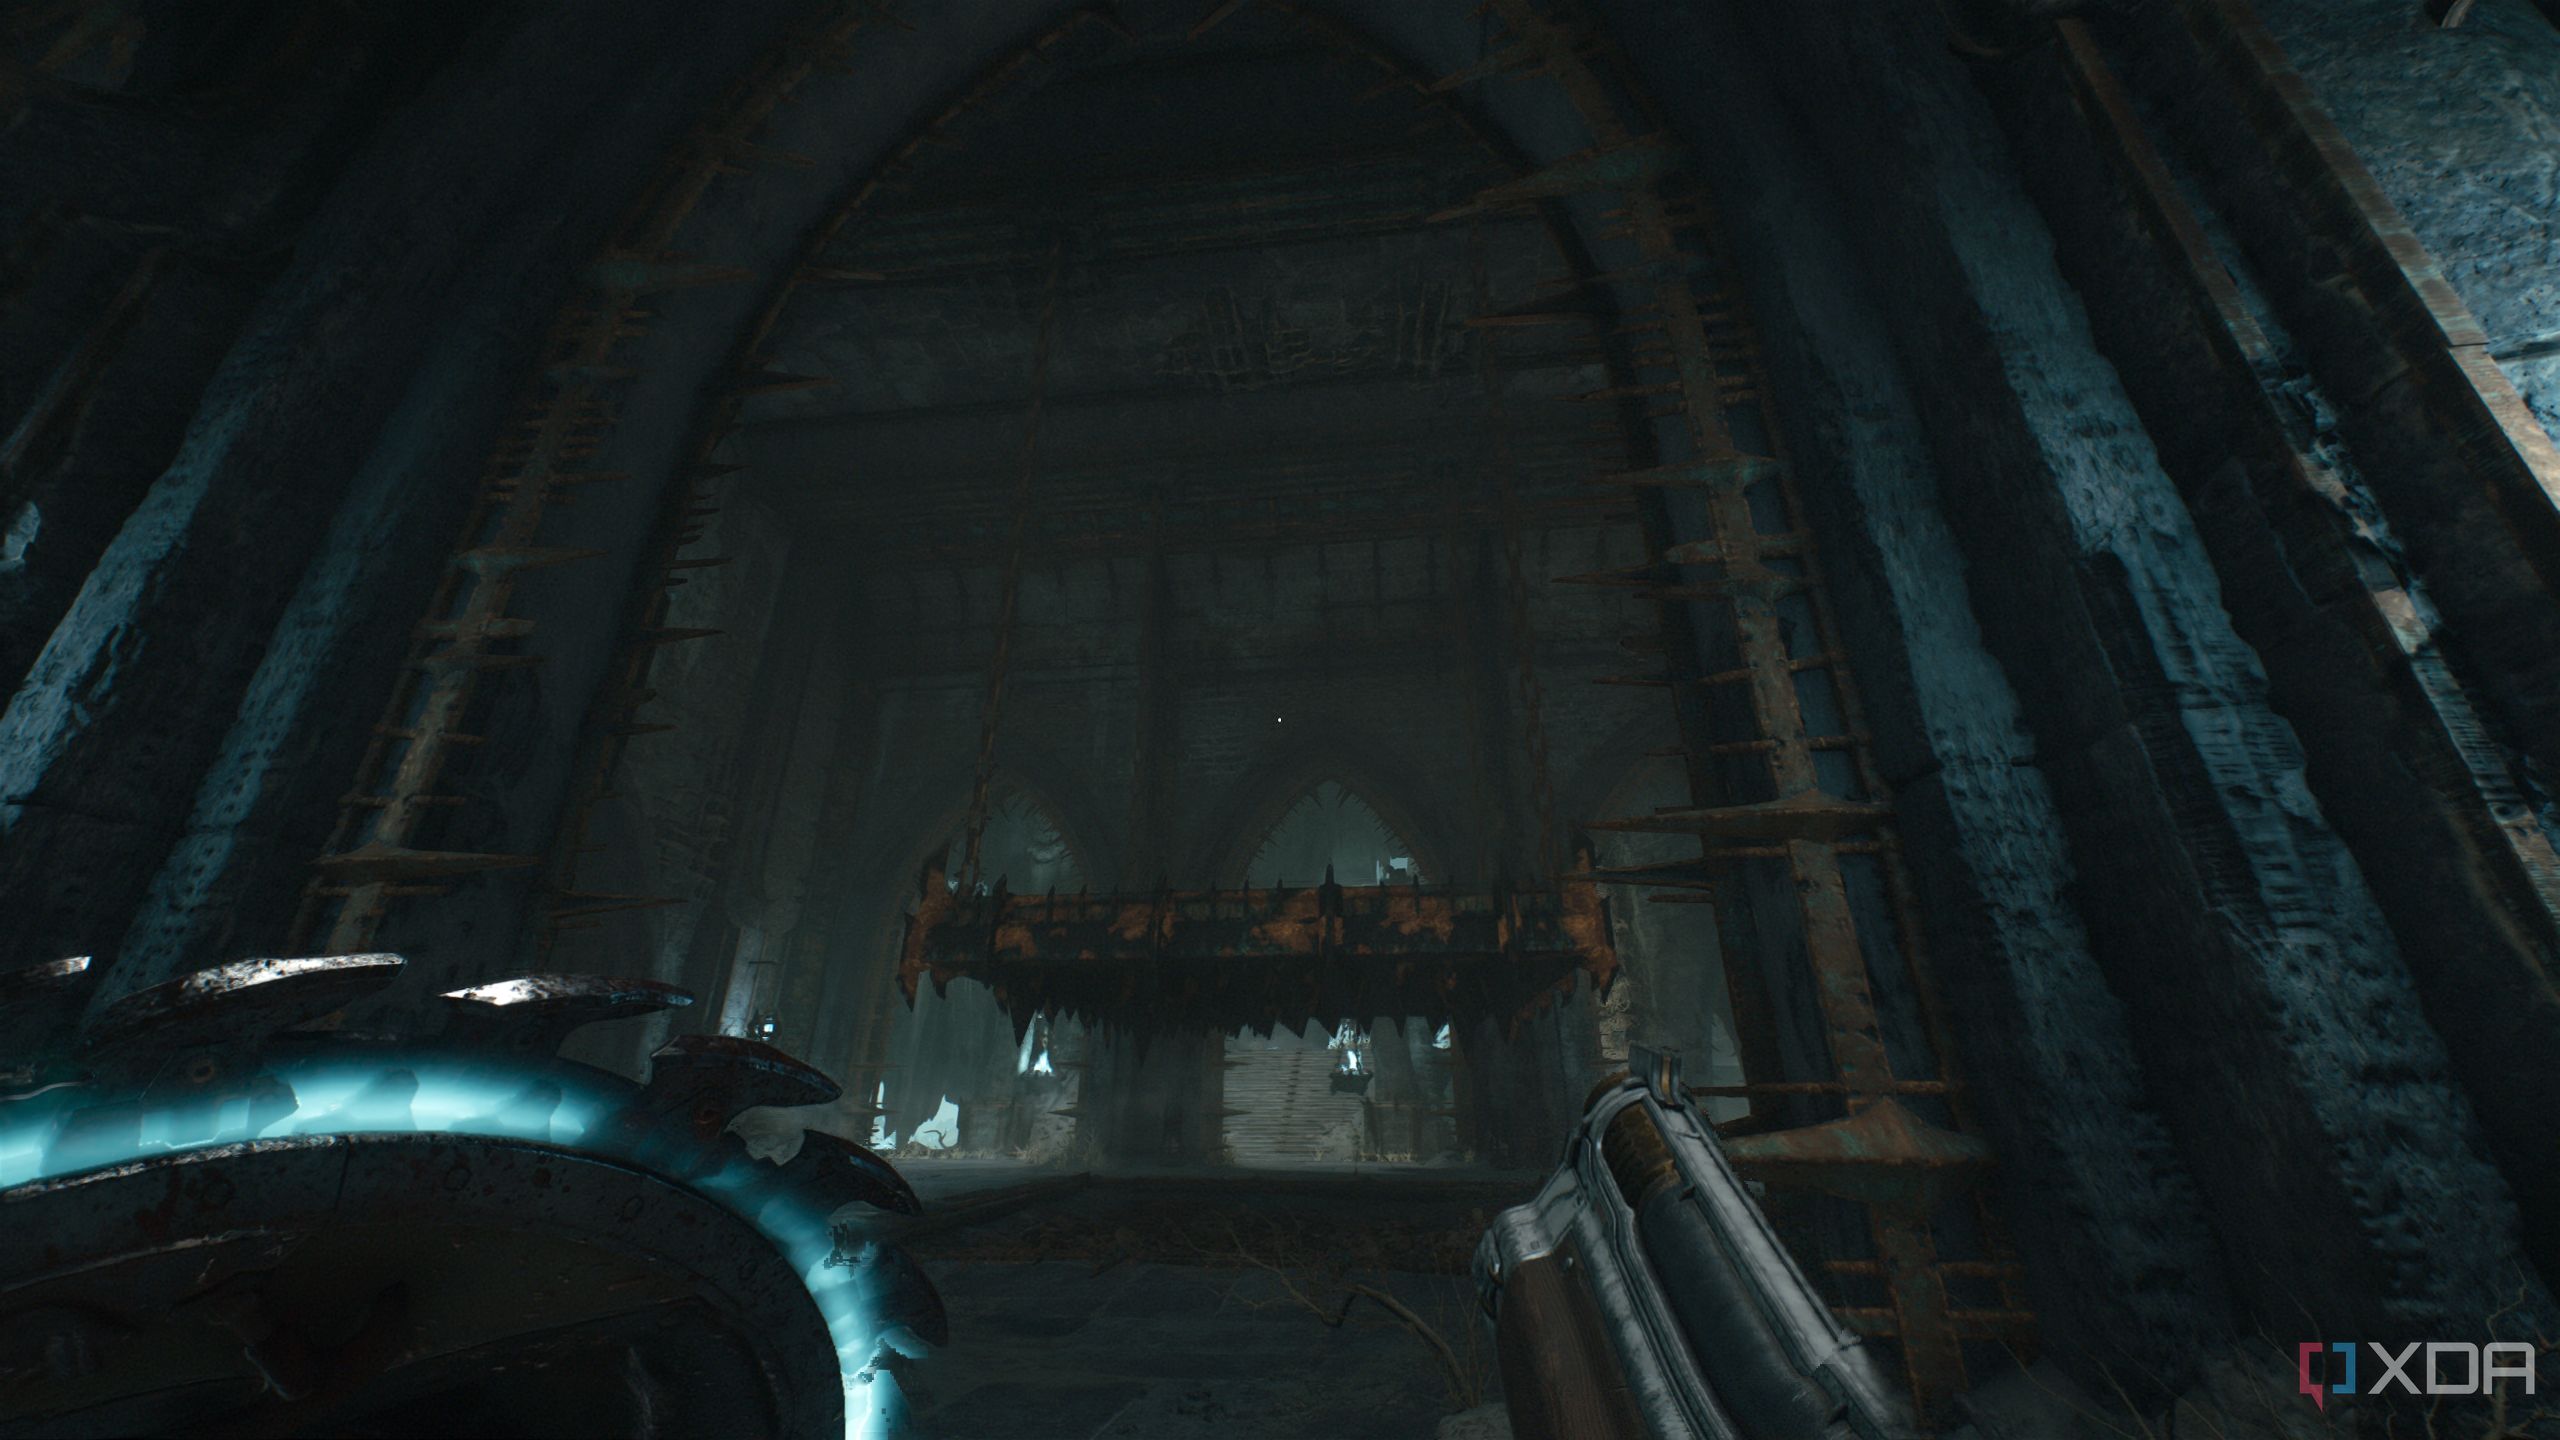
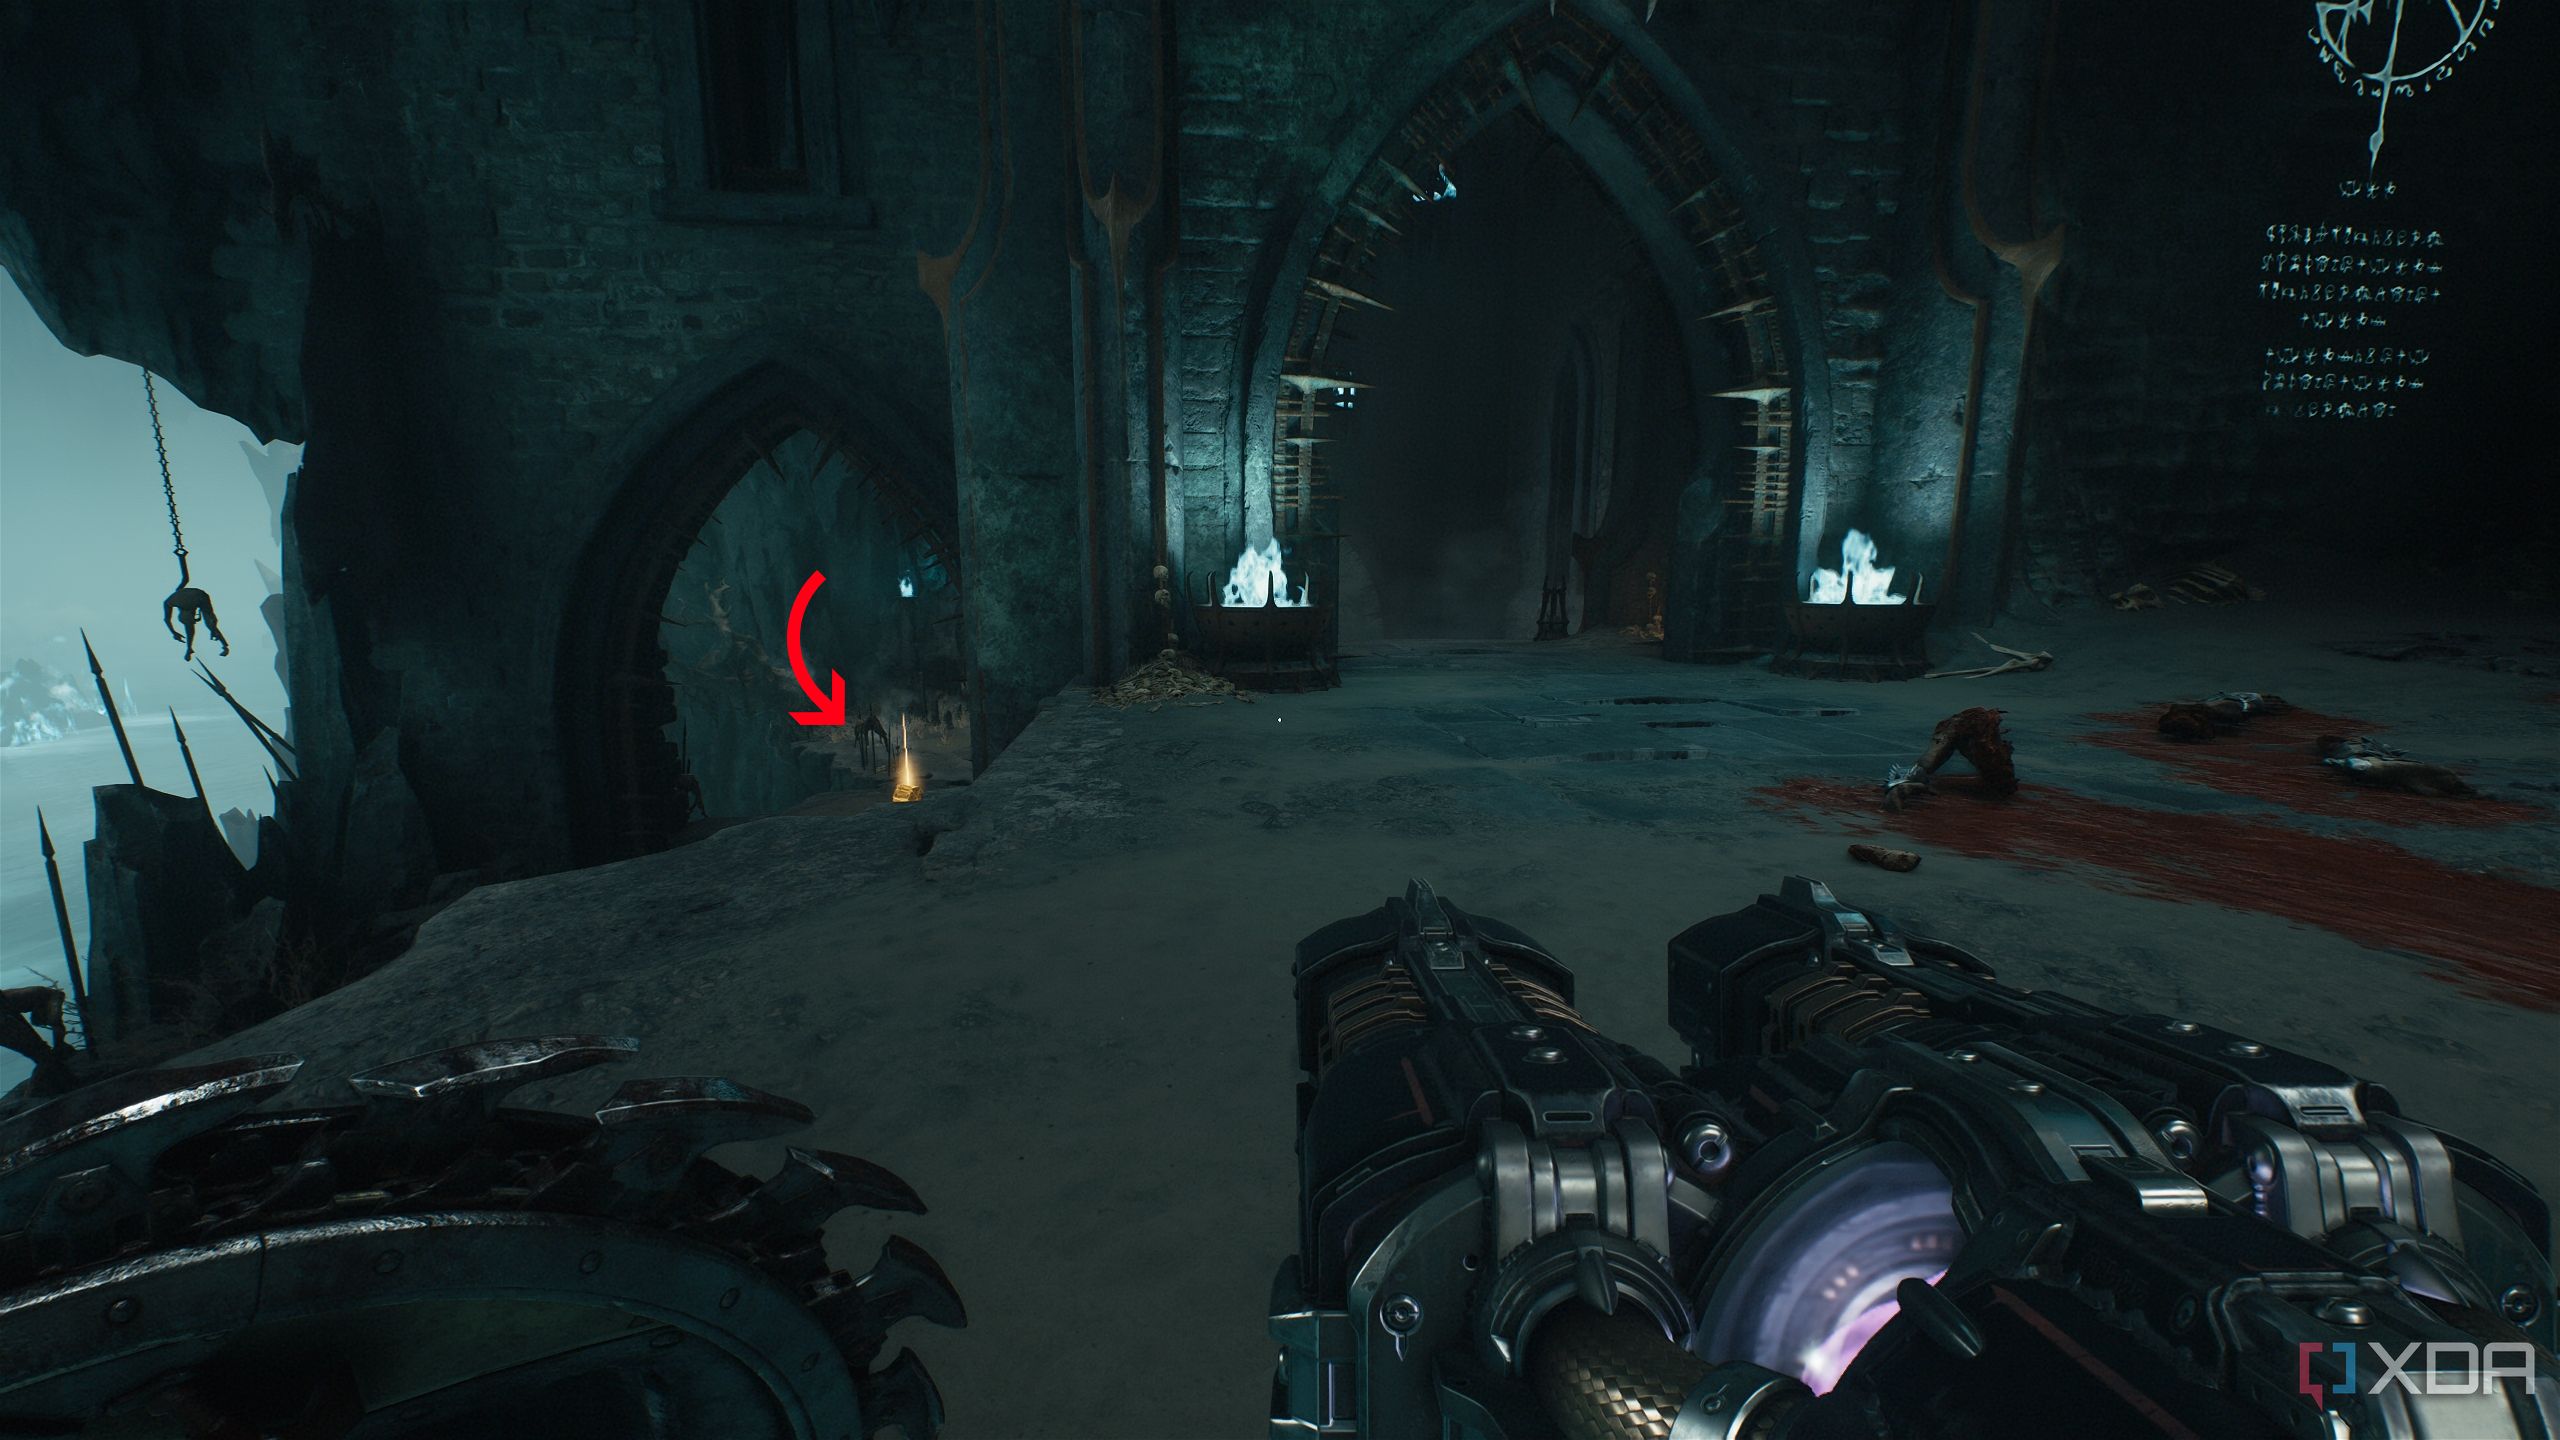
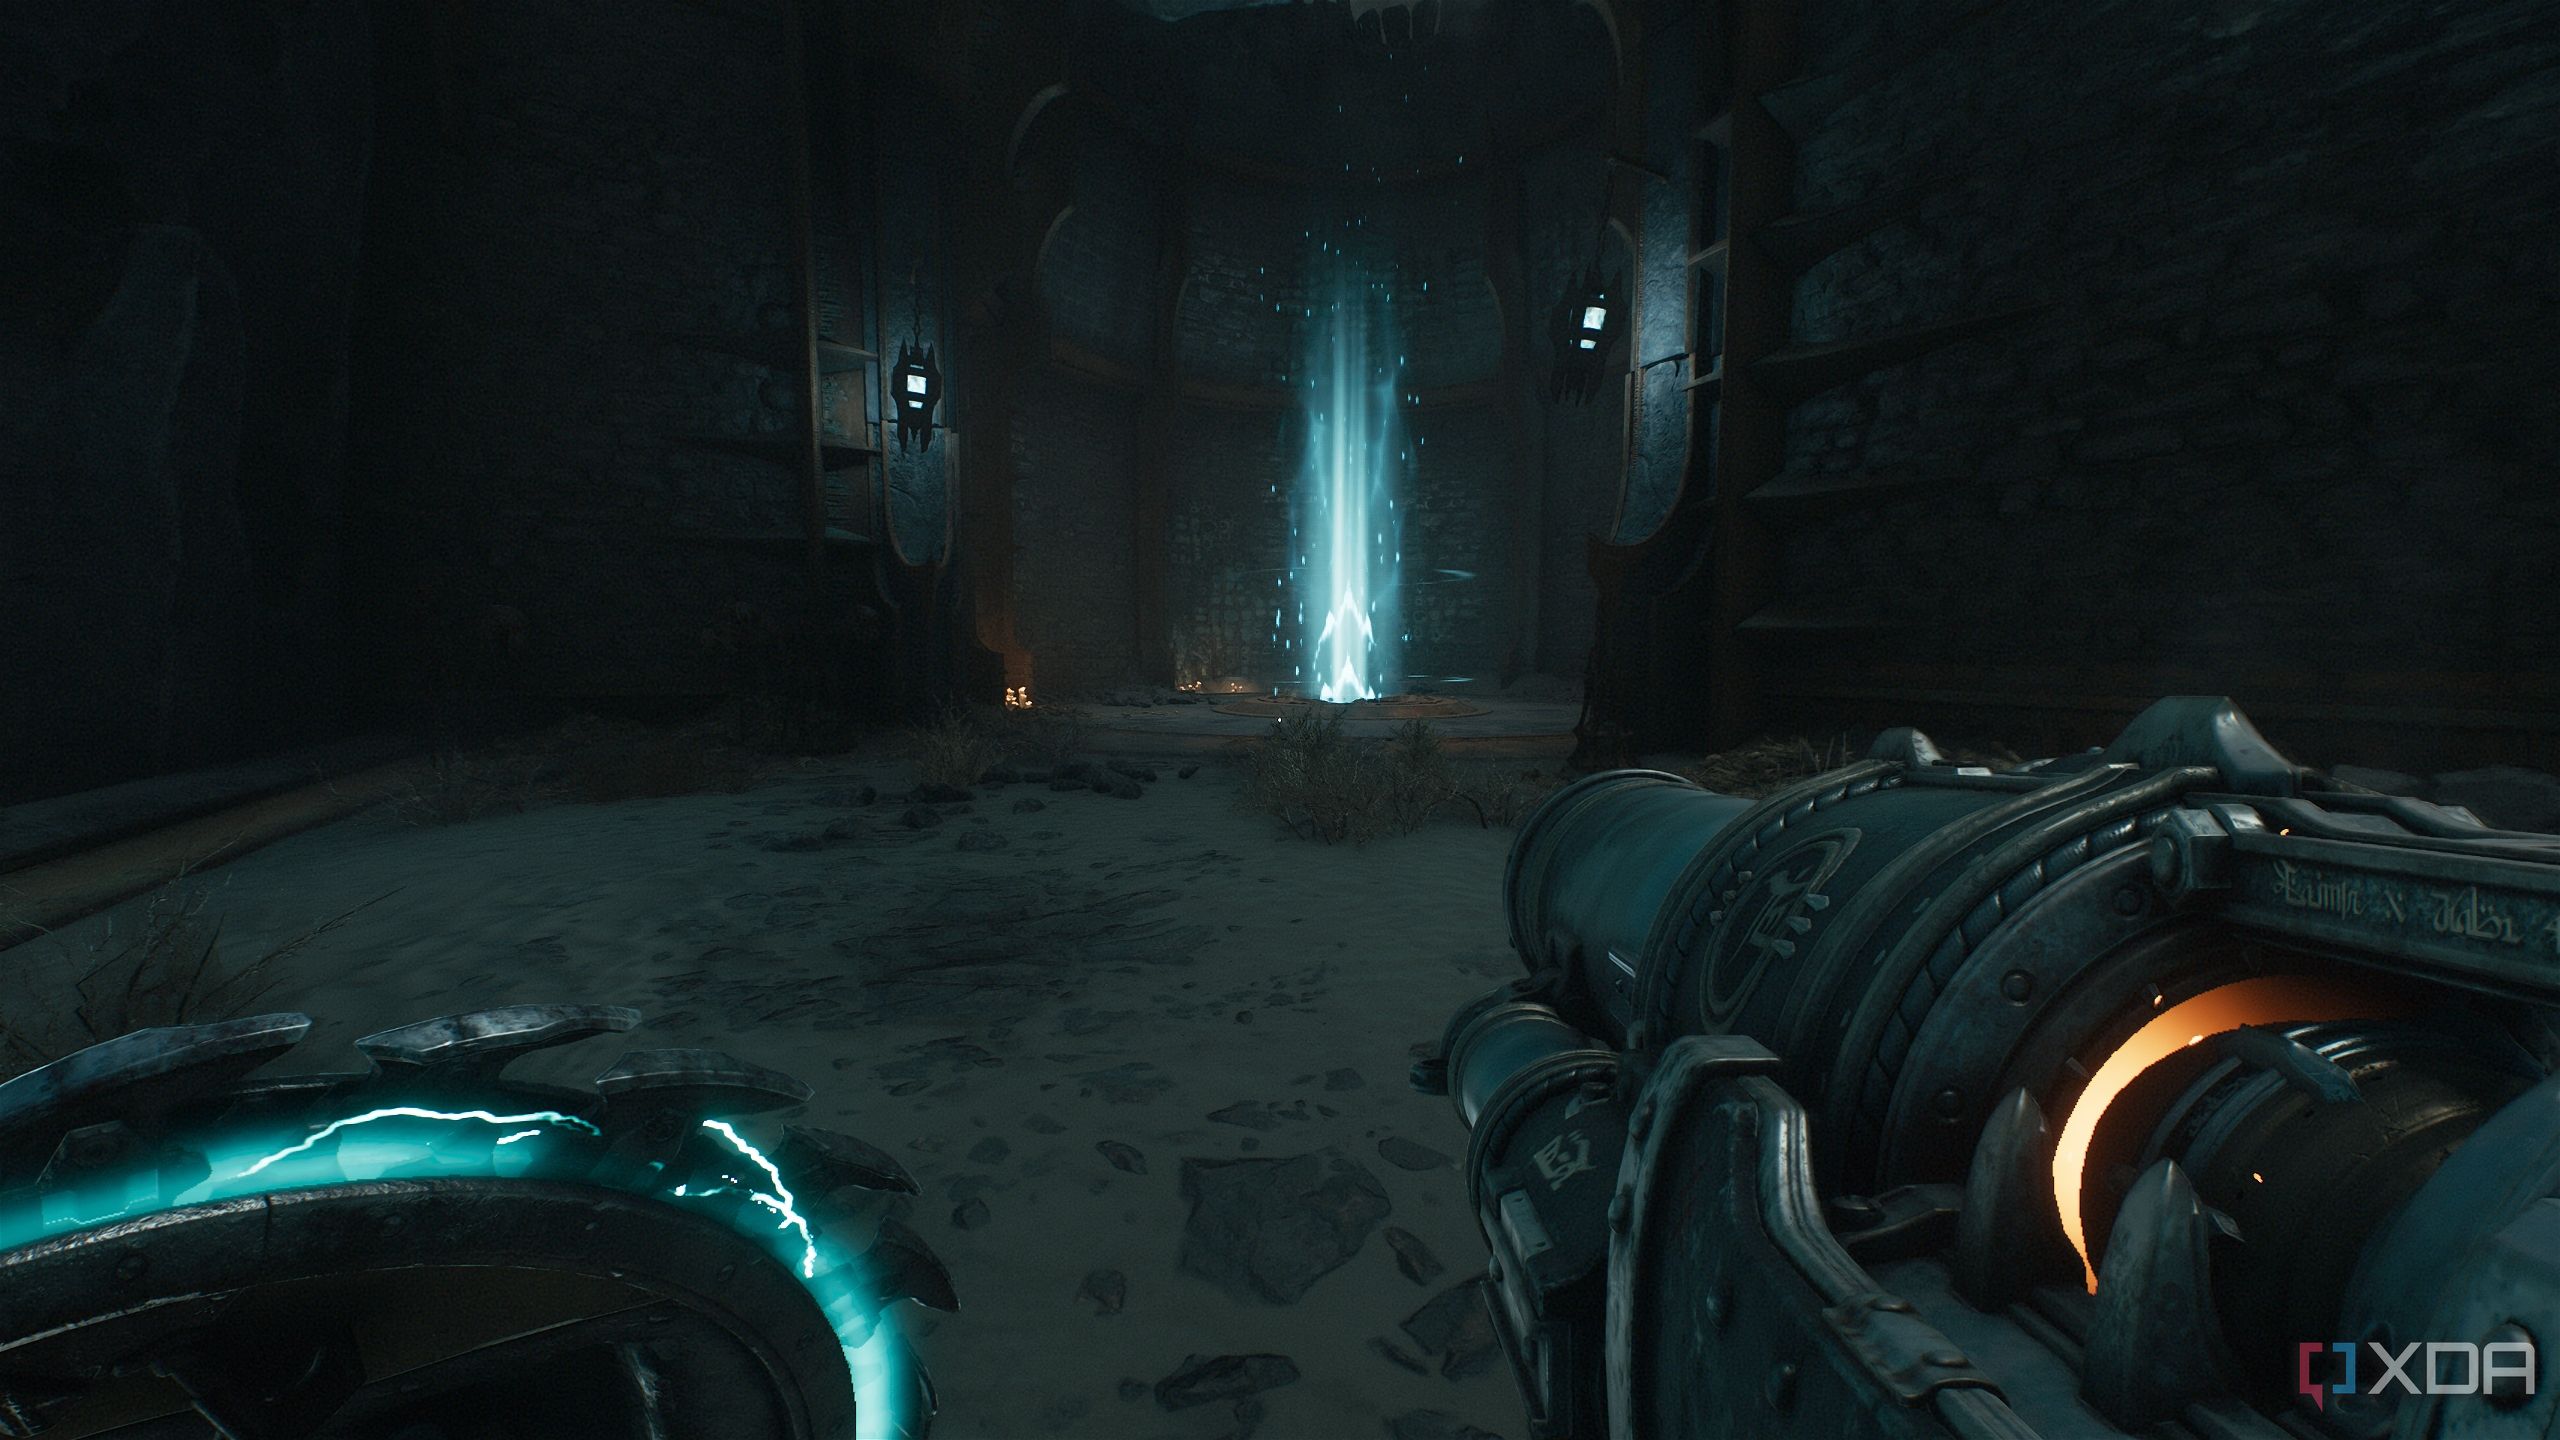
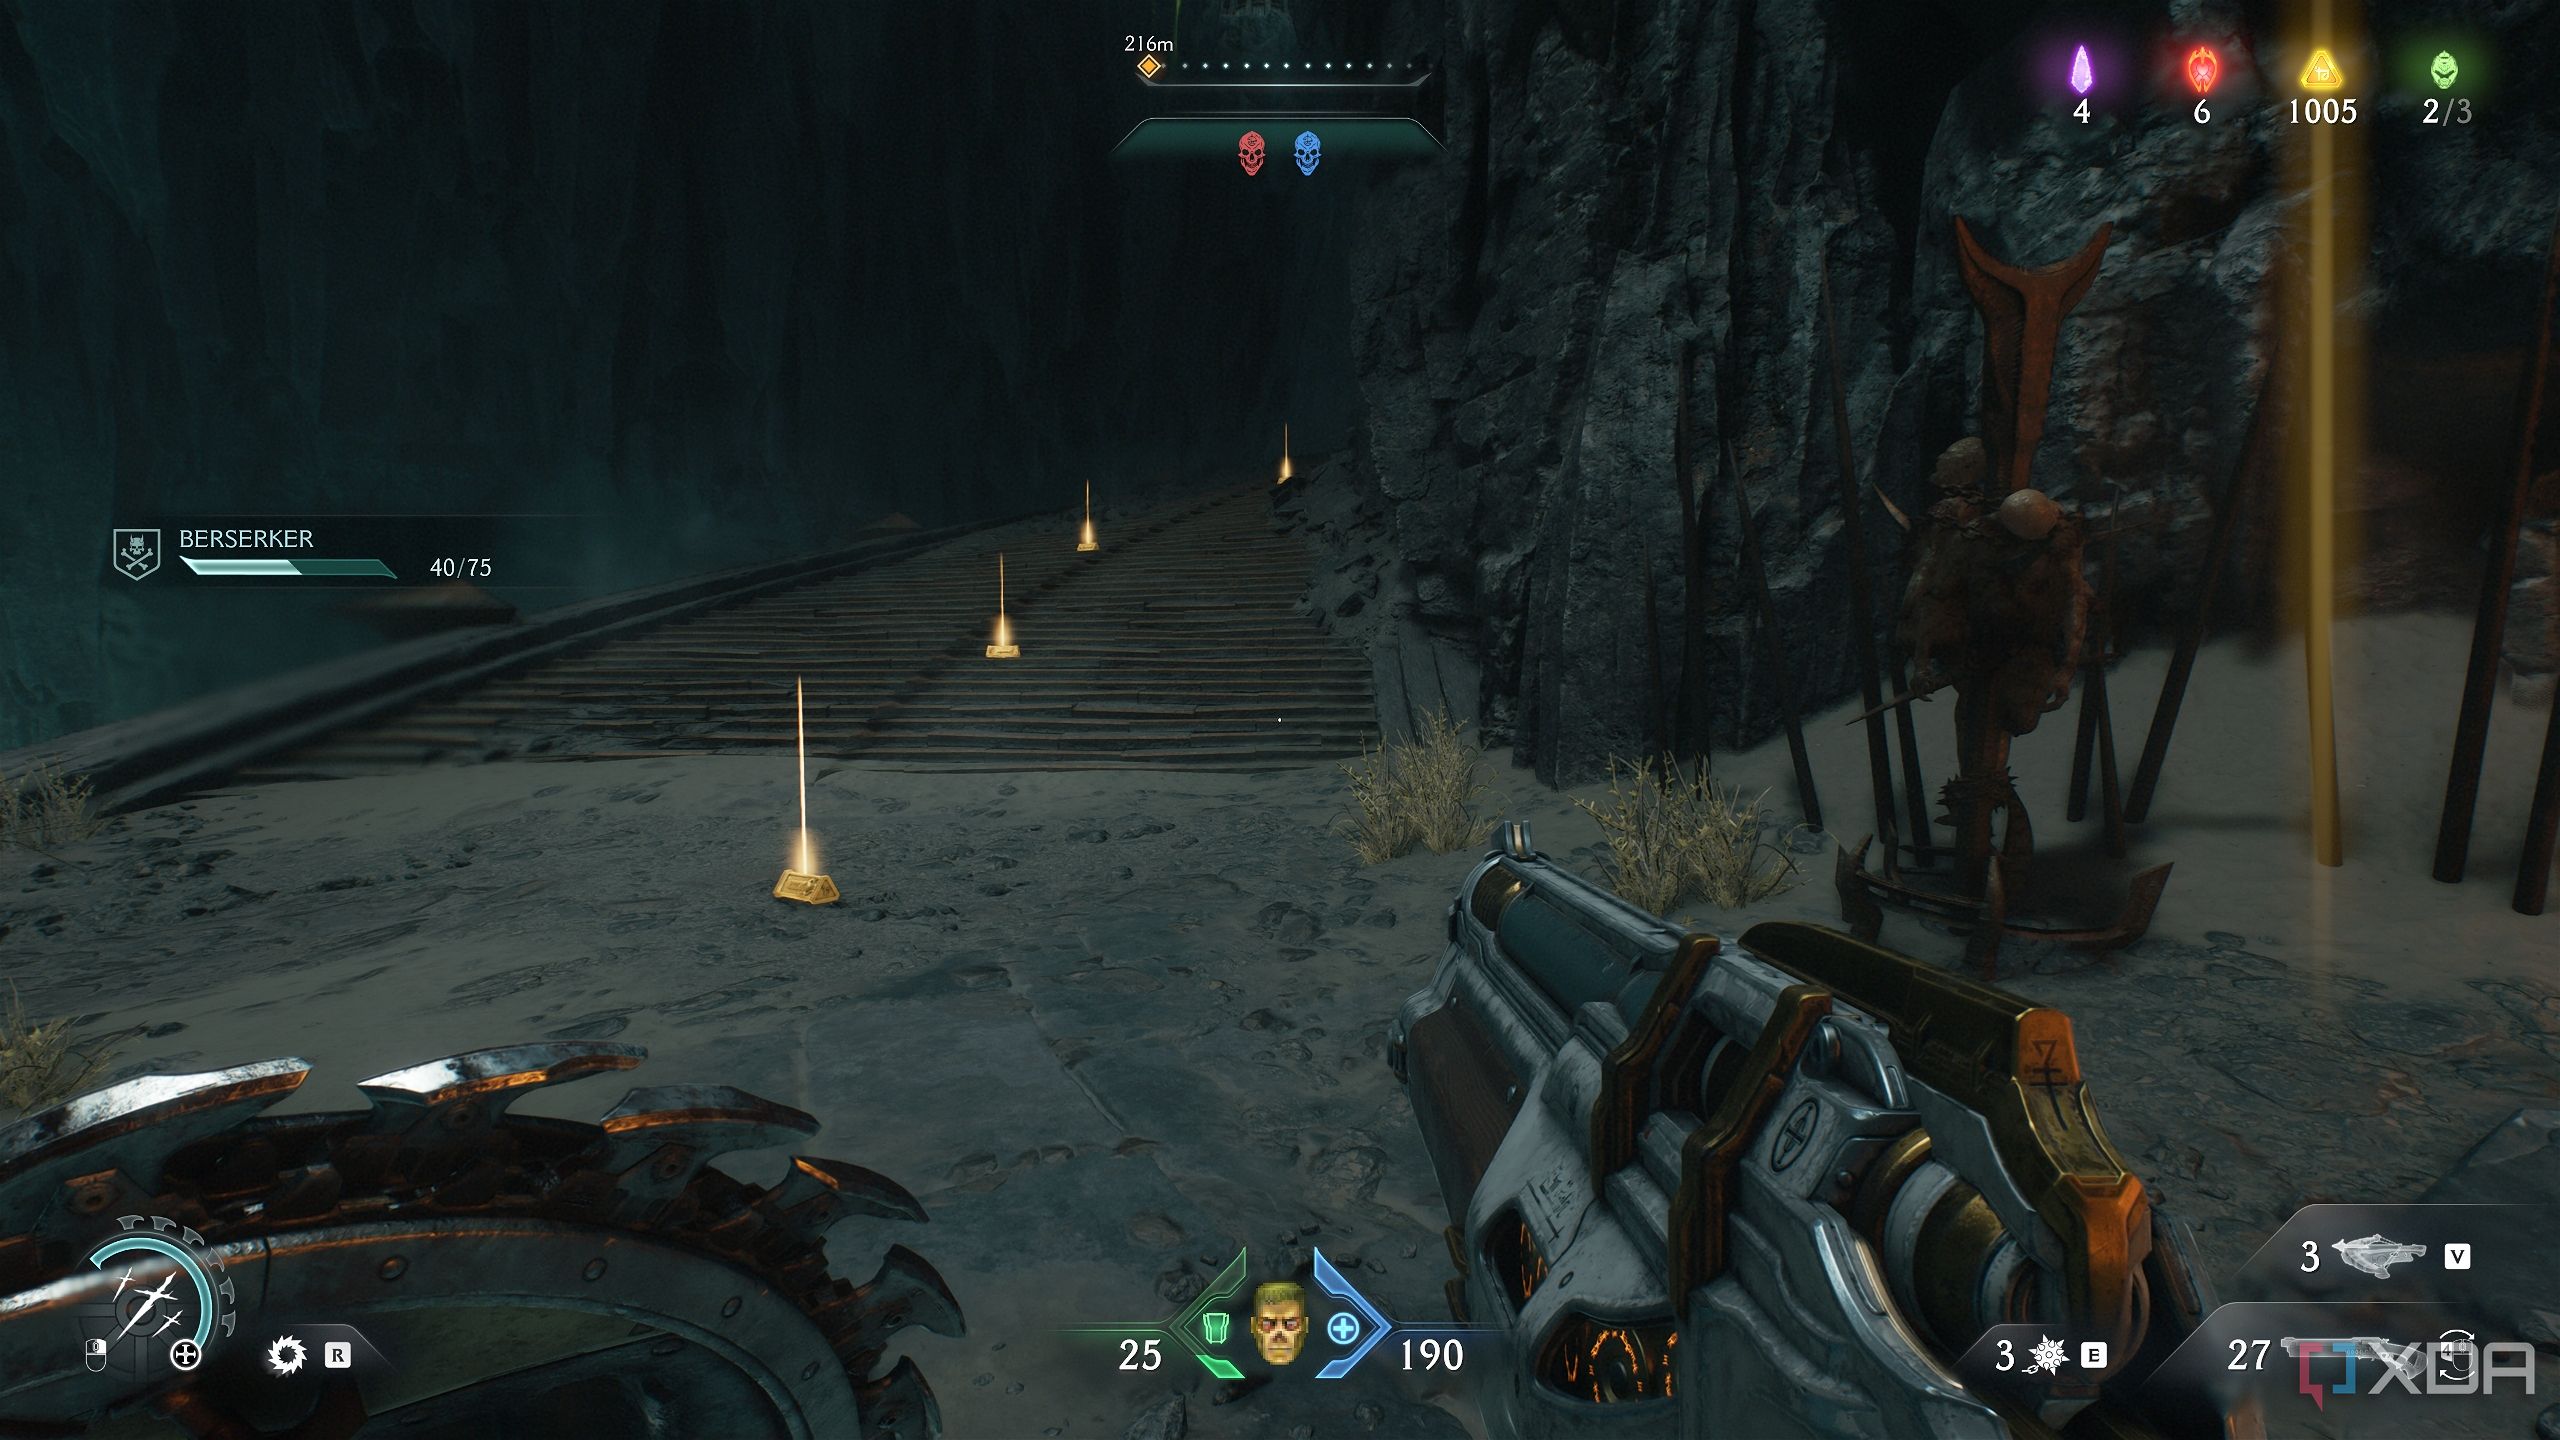
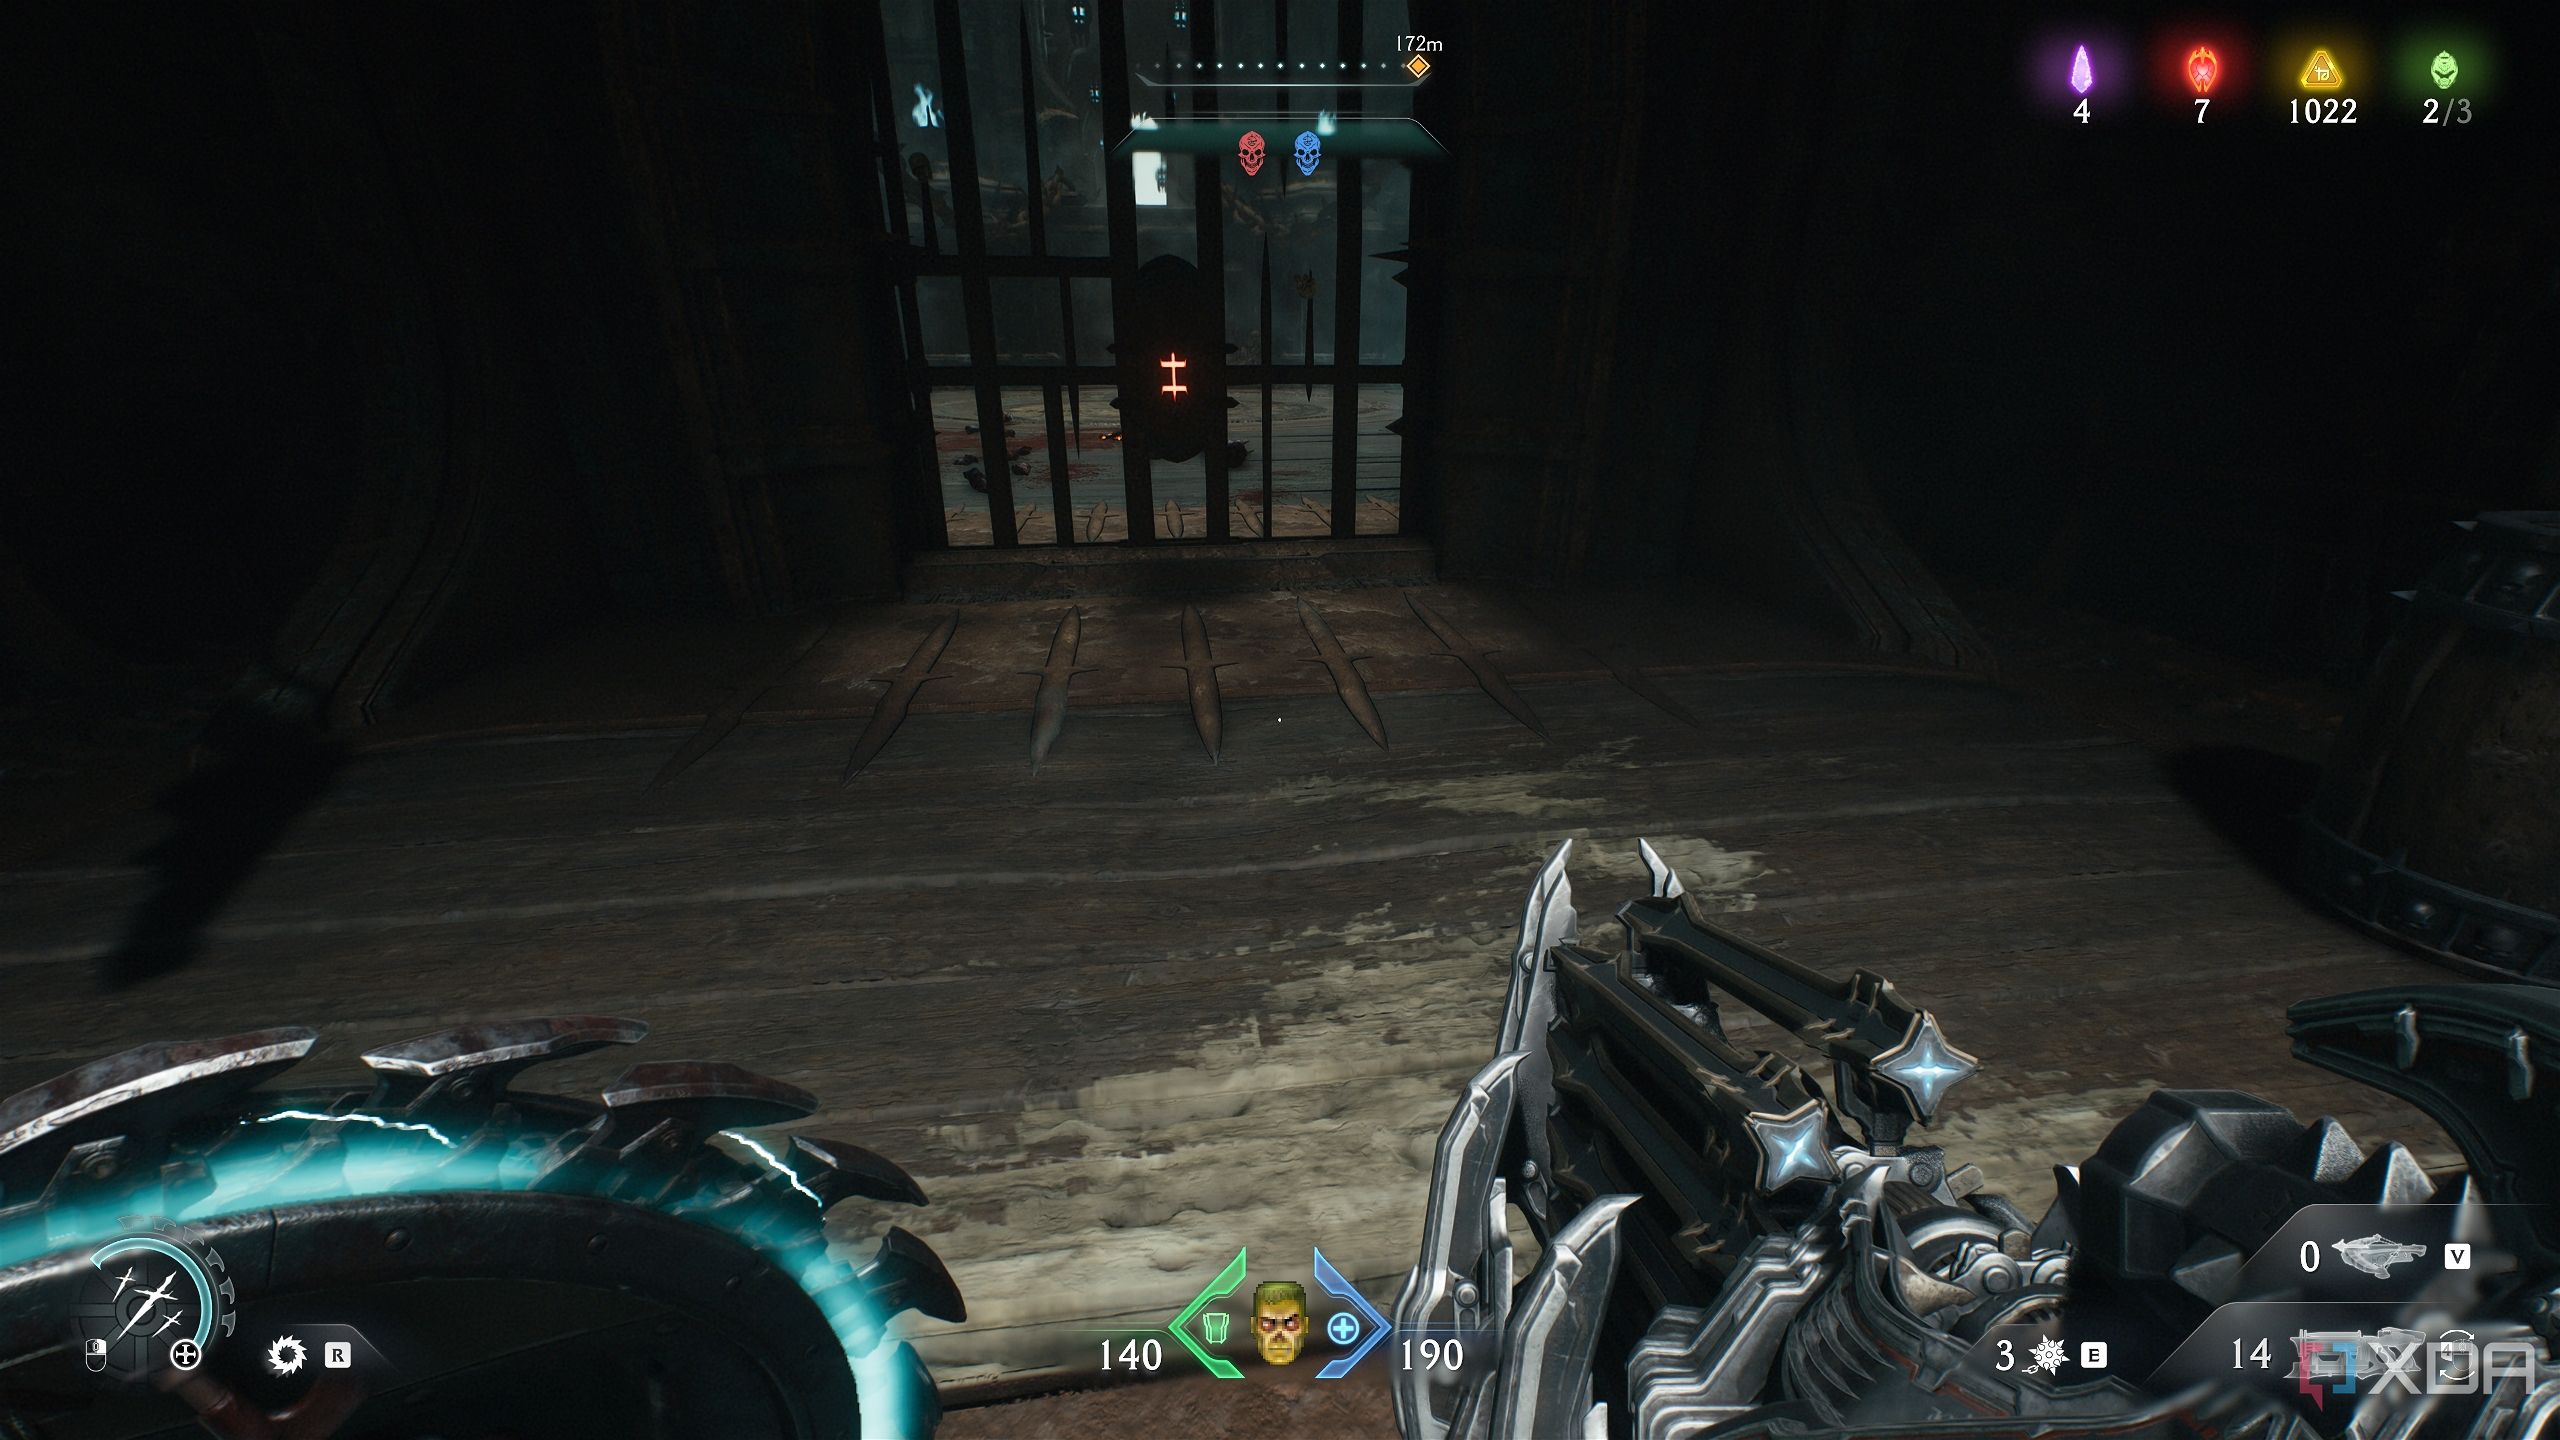
Once the player gets control, the Slayer goes berserk, taking down all sorts of demons in just a few hits. Then, to get out of here, look towards the objective. You’ll see a small cove in the wall with lit candles on the left and right.
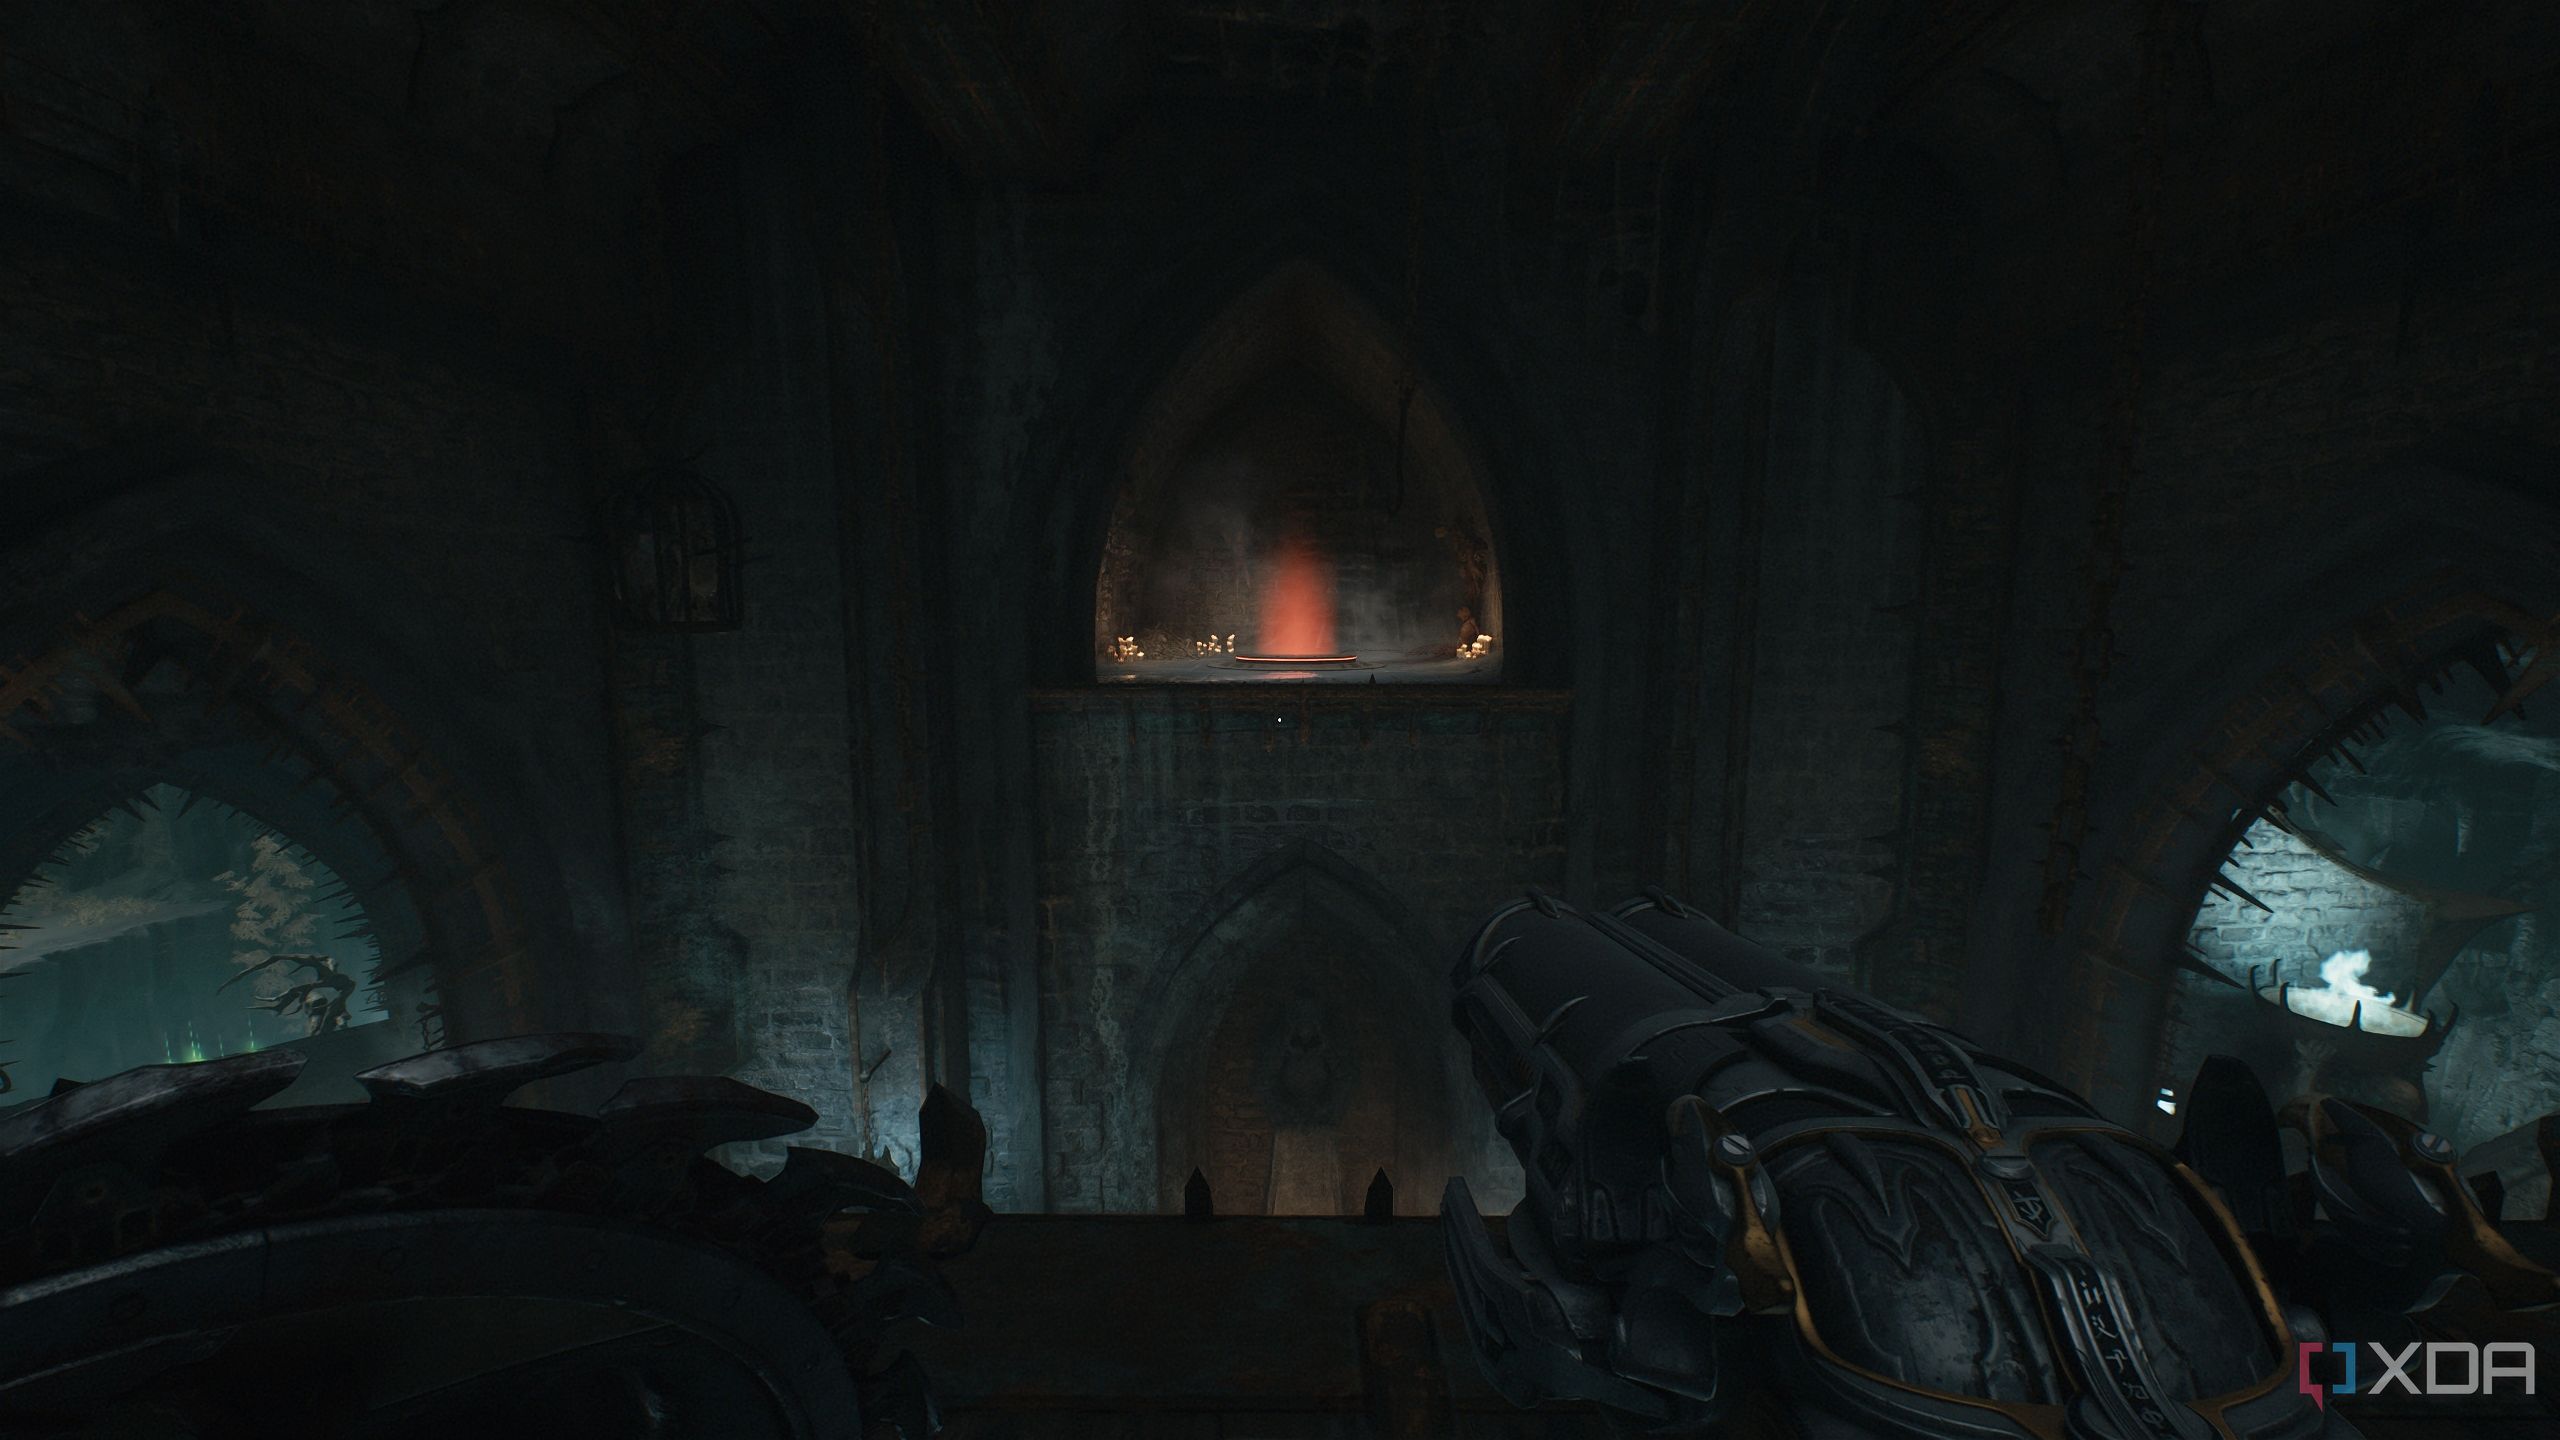
Enter the one on your left, and look towards the central path. There’s a heated metal cross to bring down.
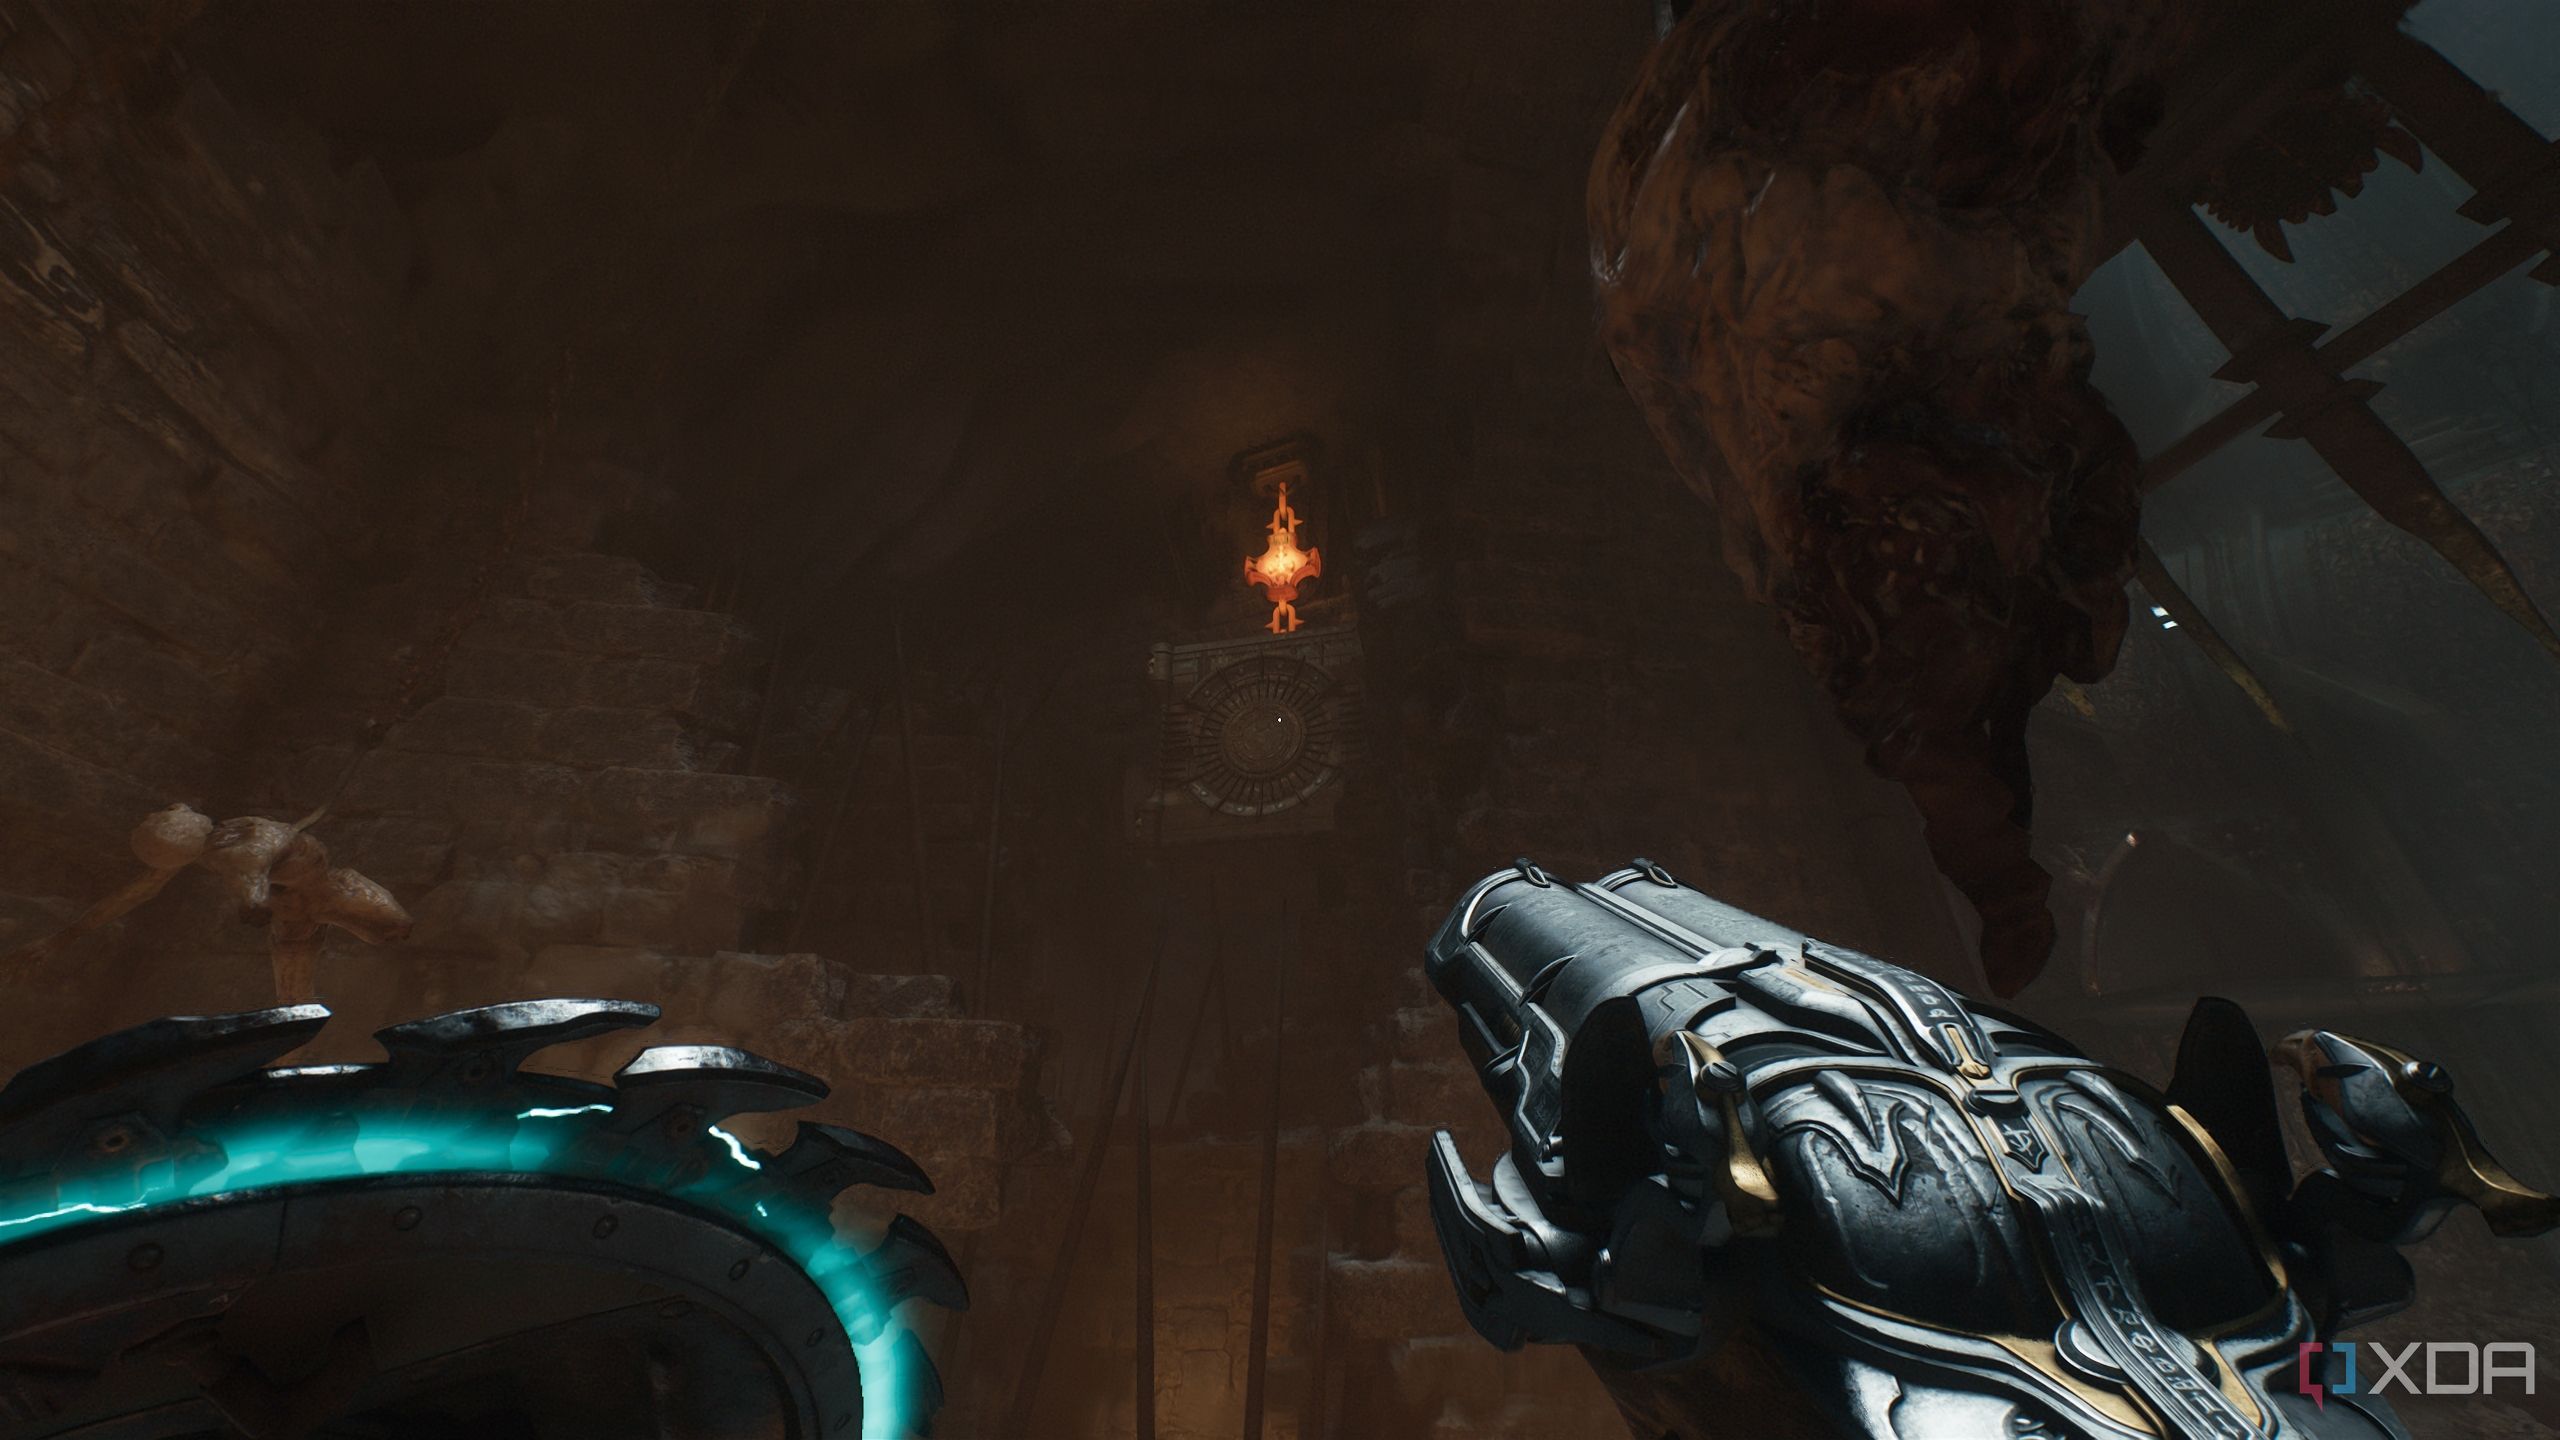
This will also activate a roof spike trap in the candle-lit cove that was on the right. Now, enter that one, wait for the spiked trap to land, and get on it to go up.
Fight a couple of demons here and land behind the big box you just brought down. Shield Charge into this box, and follow it to a scramble wall to get out of here.
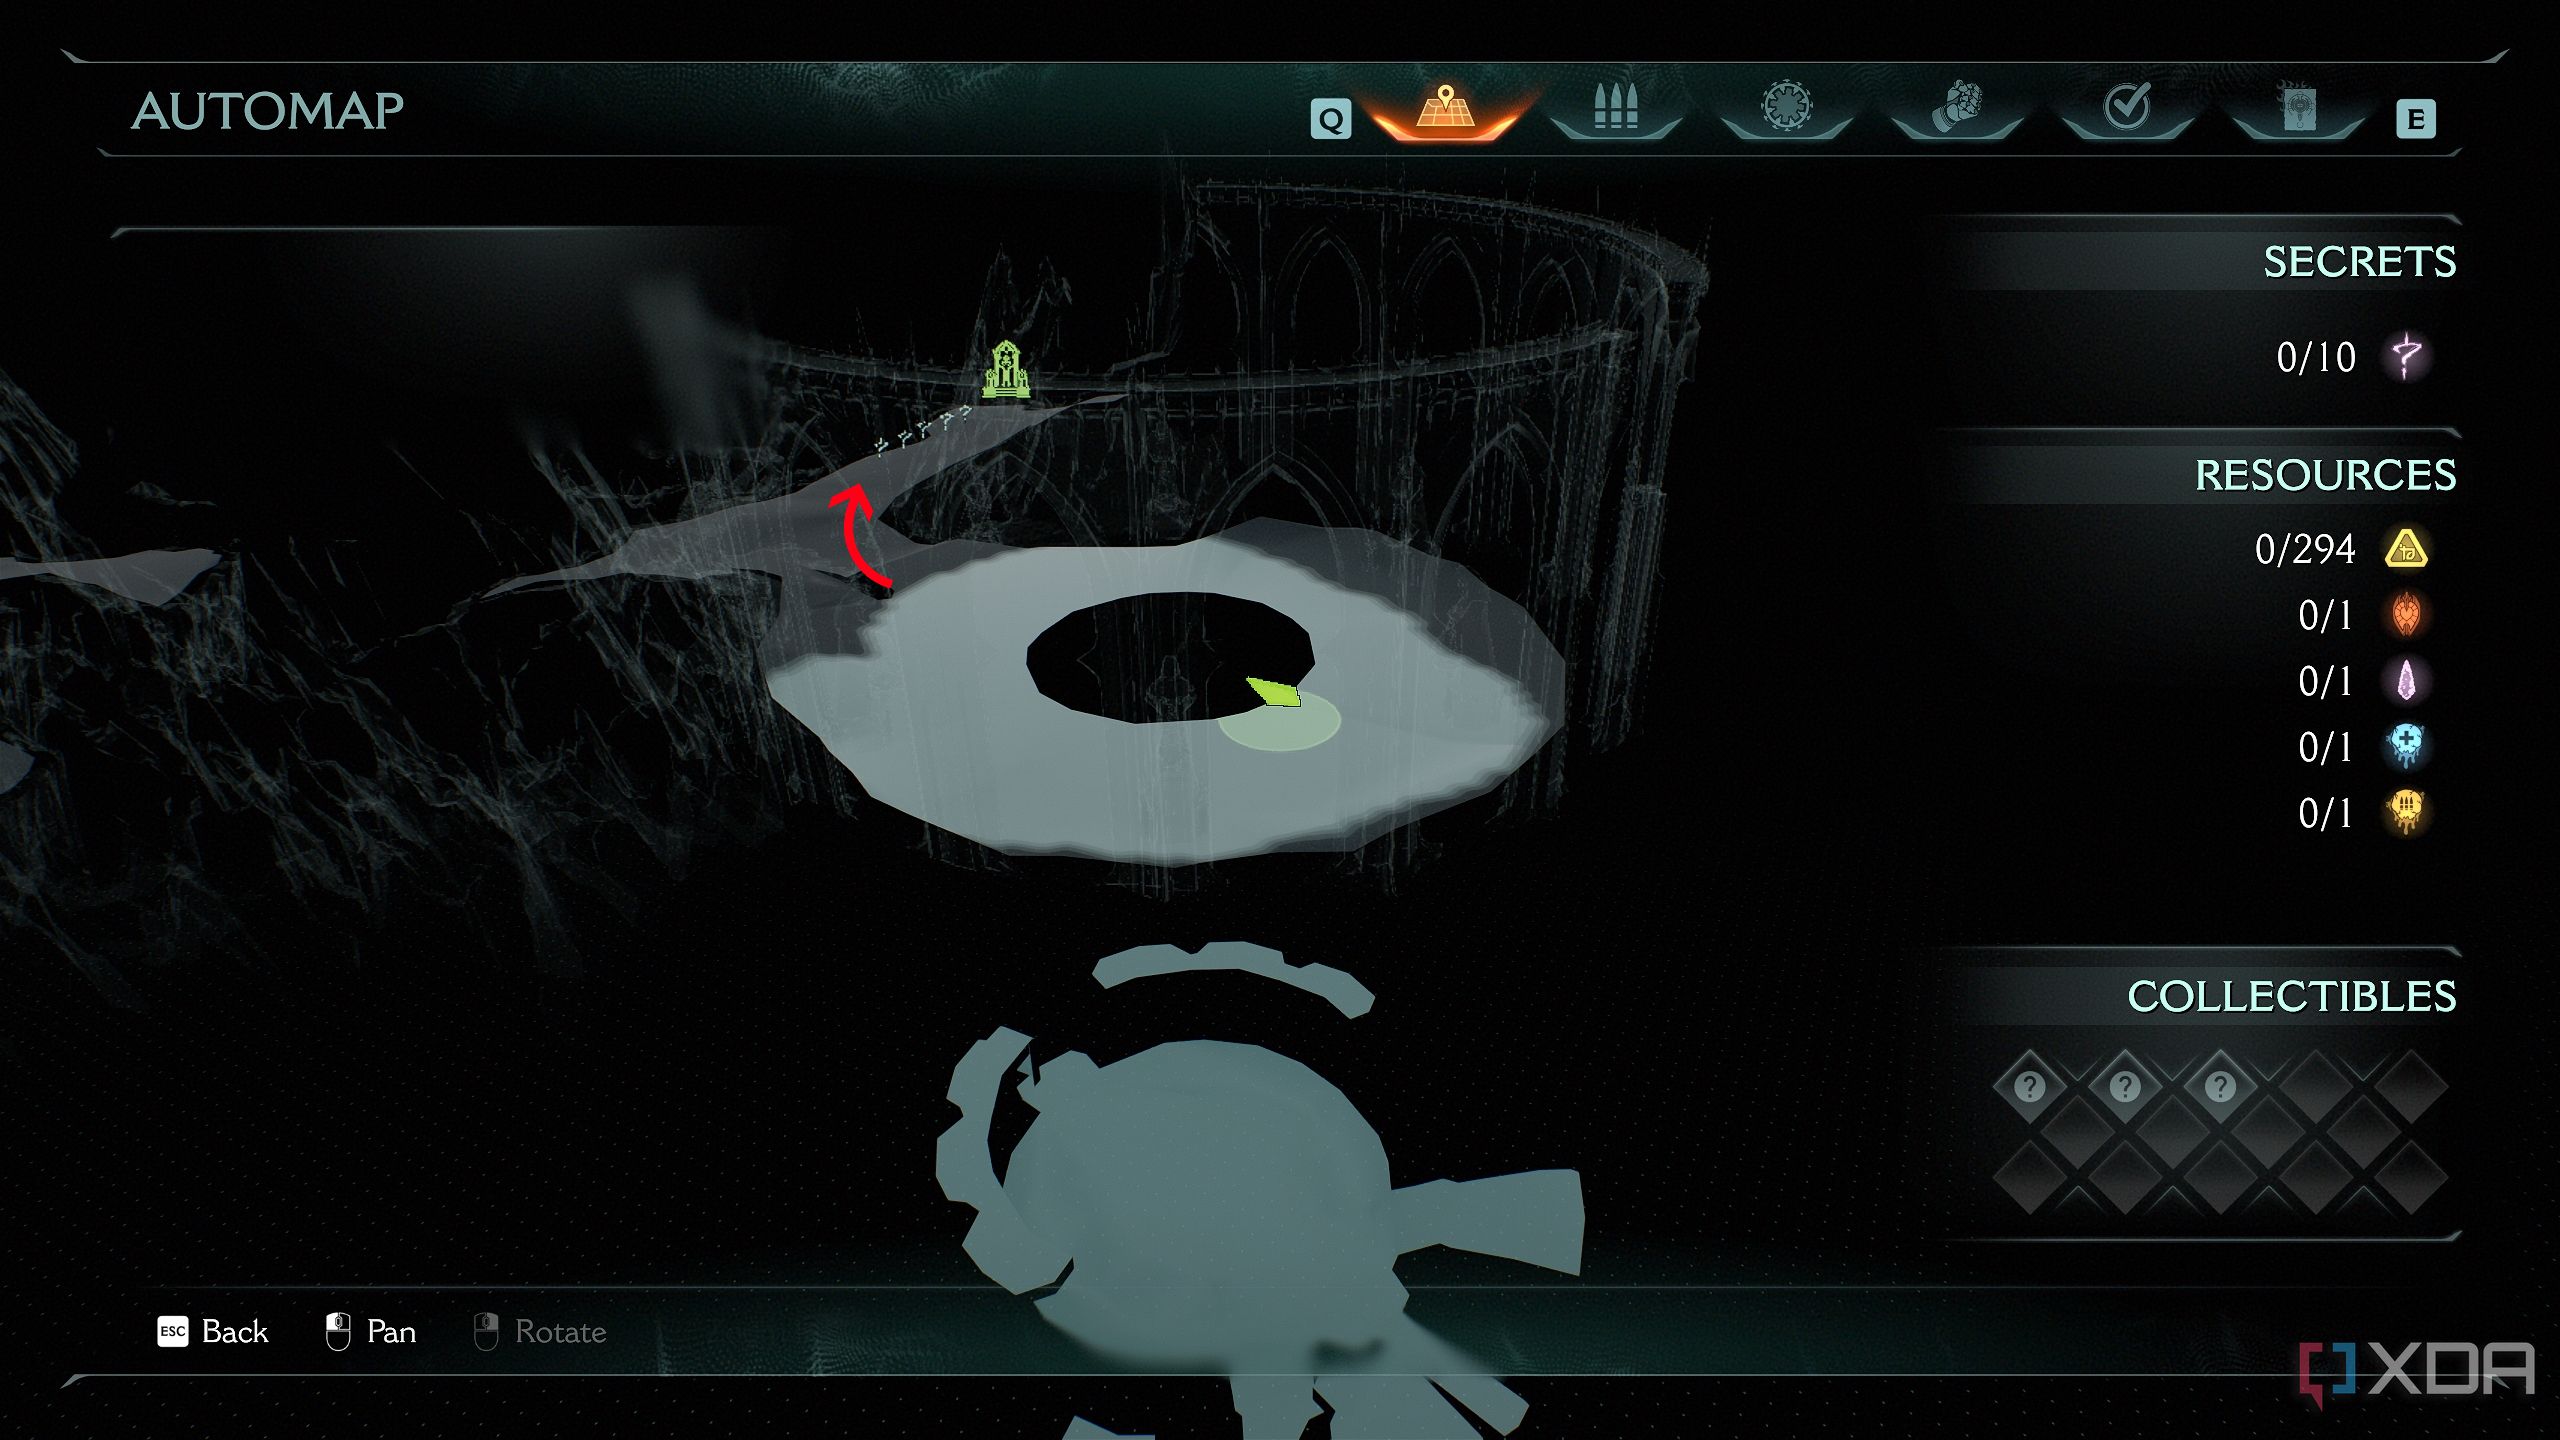
Once you do, you’ll reach this location on the map.

Make sure you look to the right in order to unlock a Sentinel Shrine and pick up the first trail of gold bars.
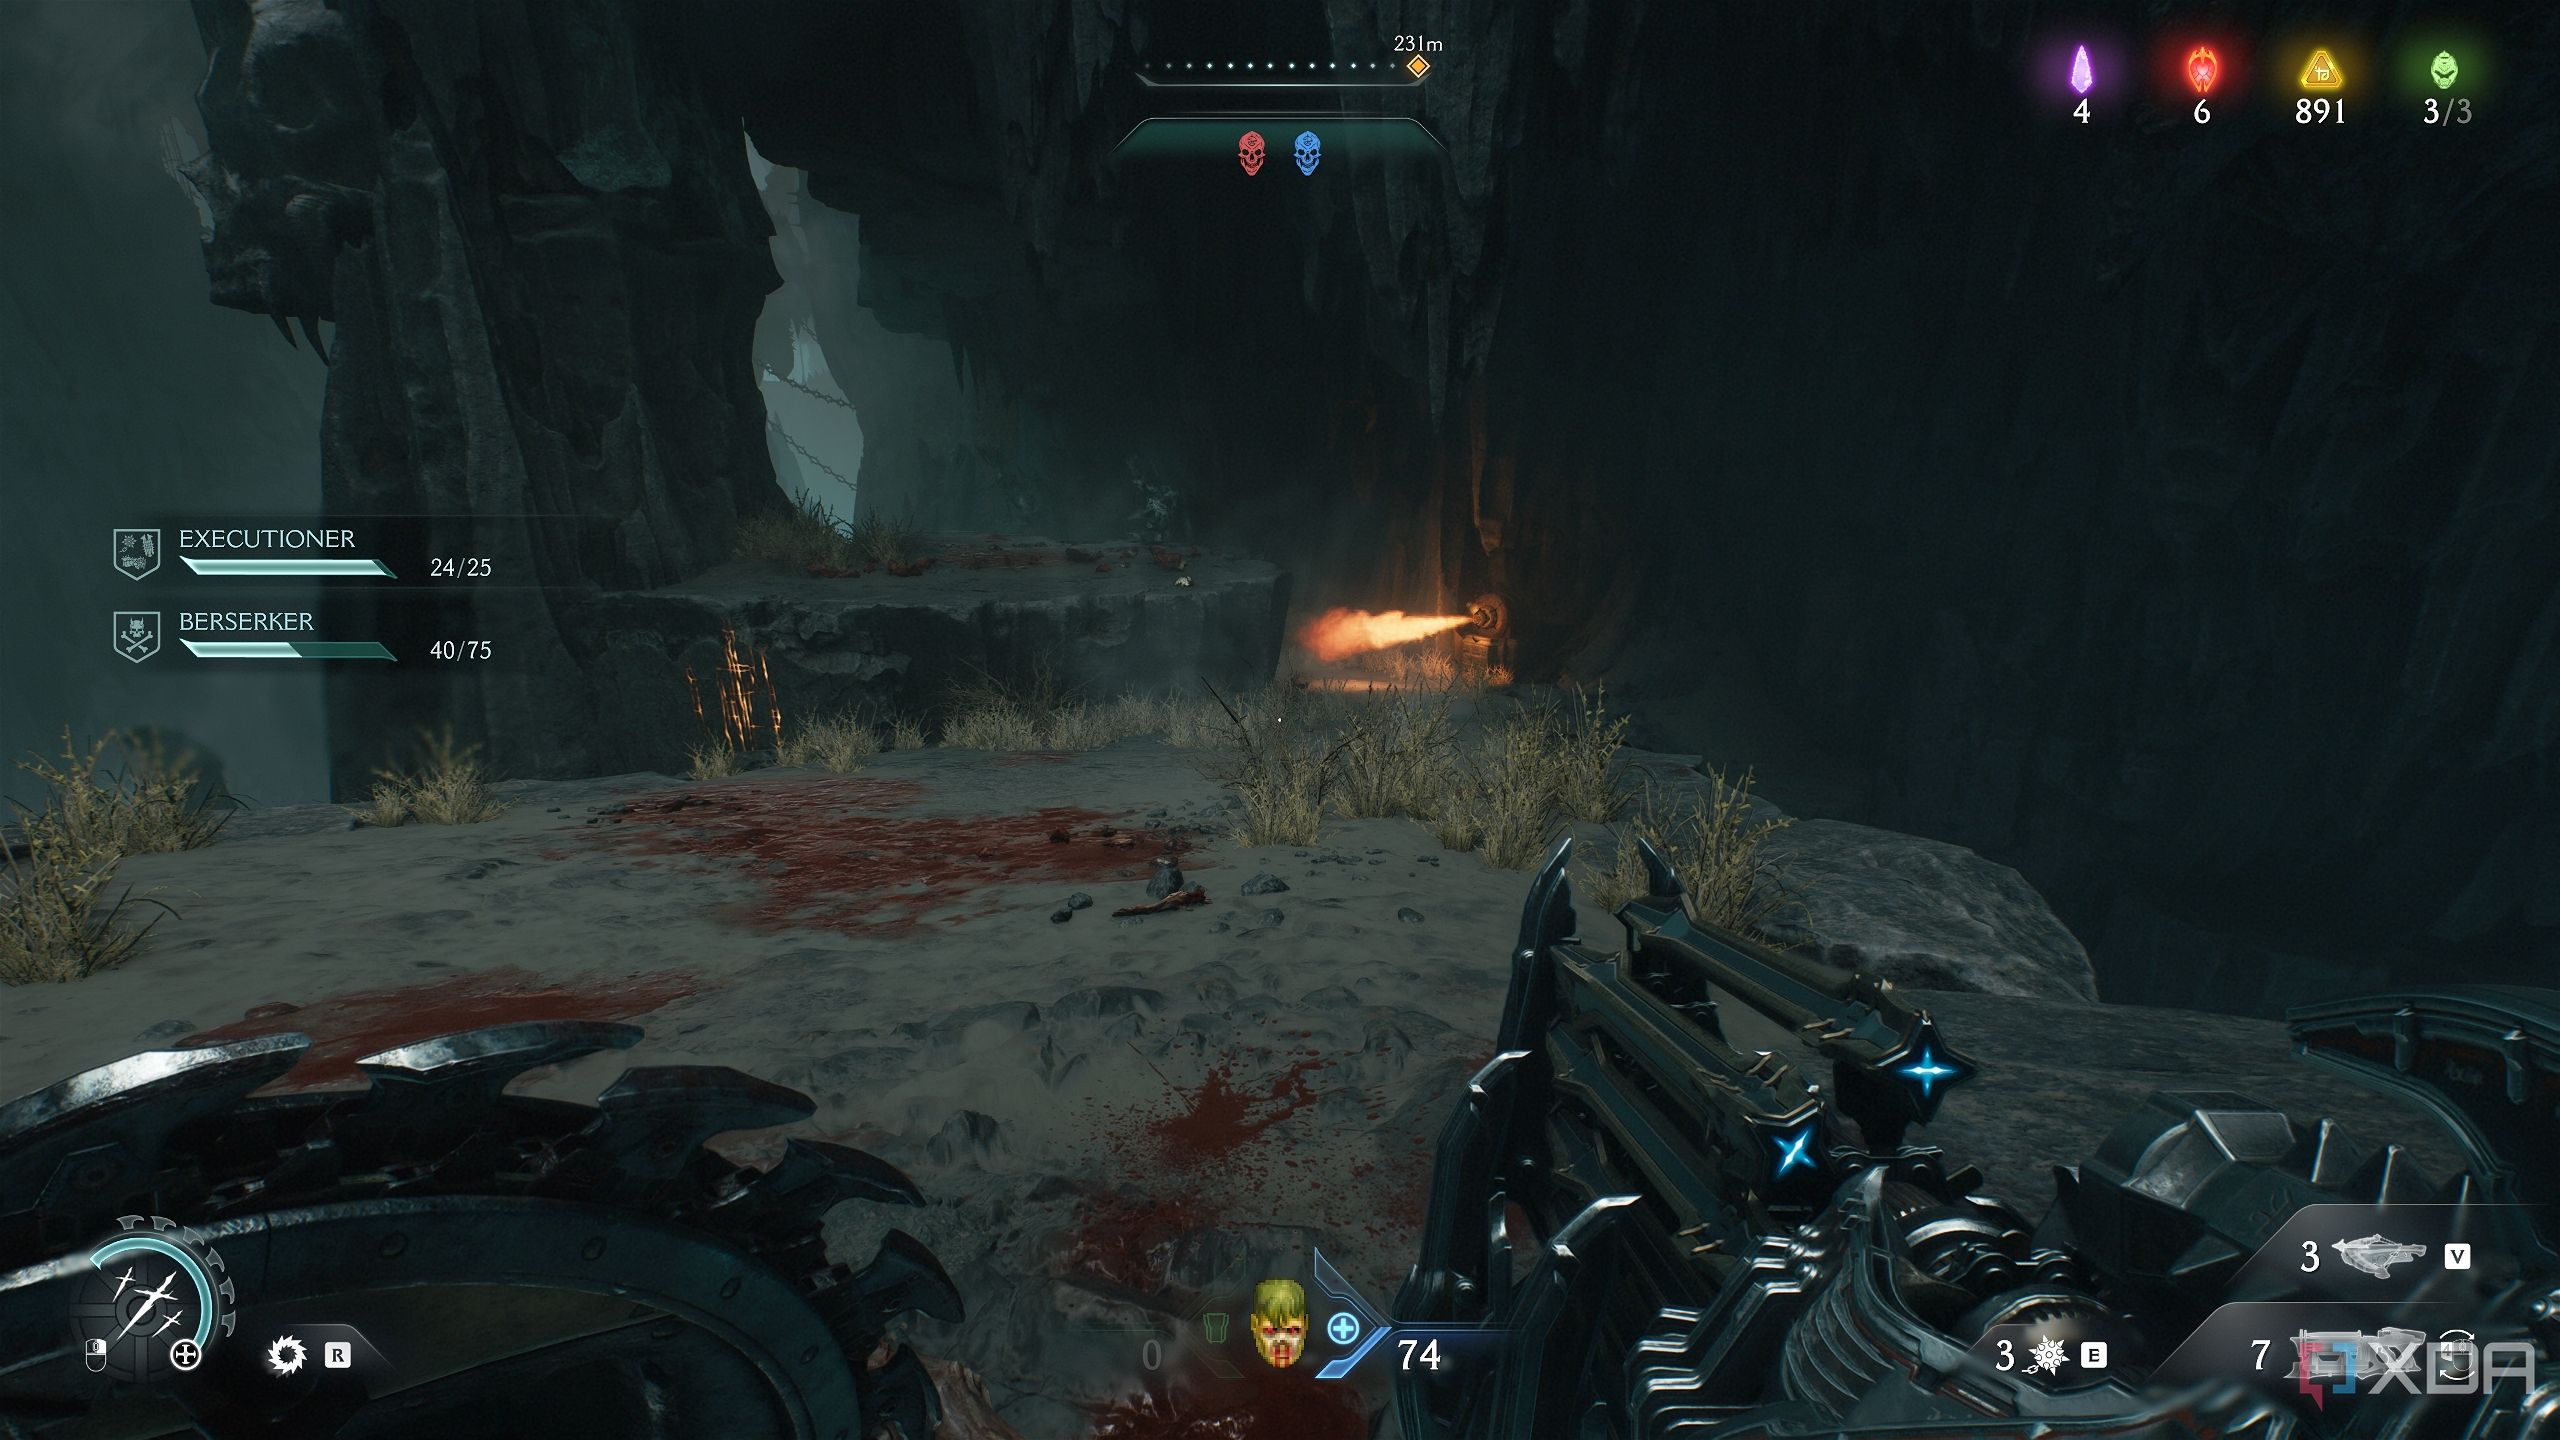
Secret area 1 and a gold chest
Fighting through the fire
You’ll enter a huge arena with multiple demons to bring down, finishing at a Vagary and a Battleknight. There’s nothing you can collect here… yet. +
Once that’s done, head inside, and you’ll once again have to fight more demons in a circular arena.
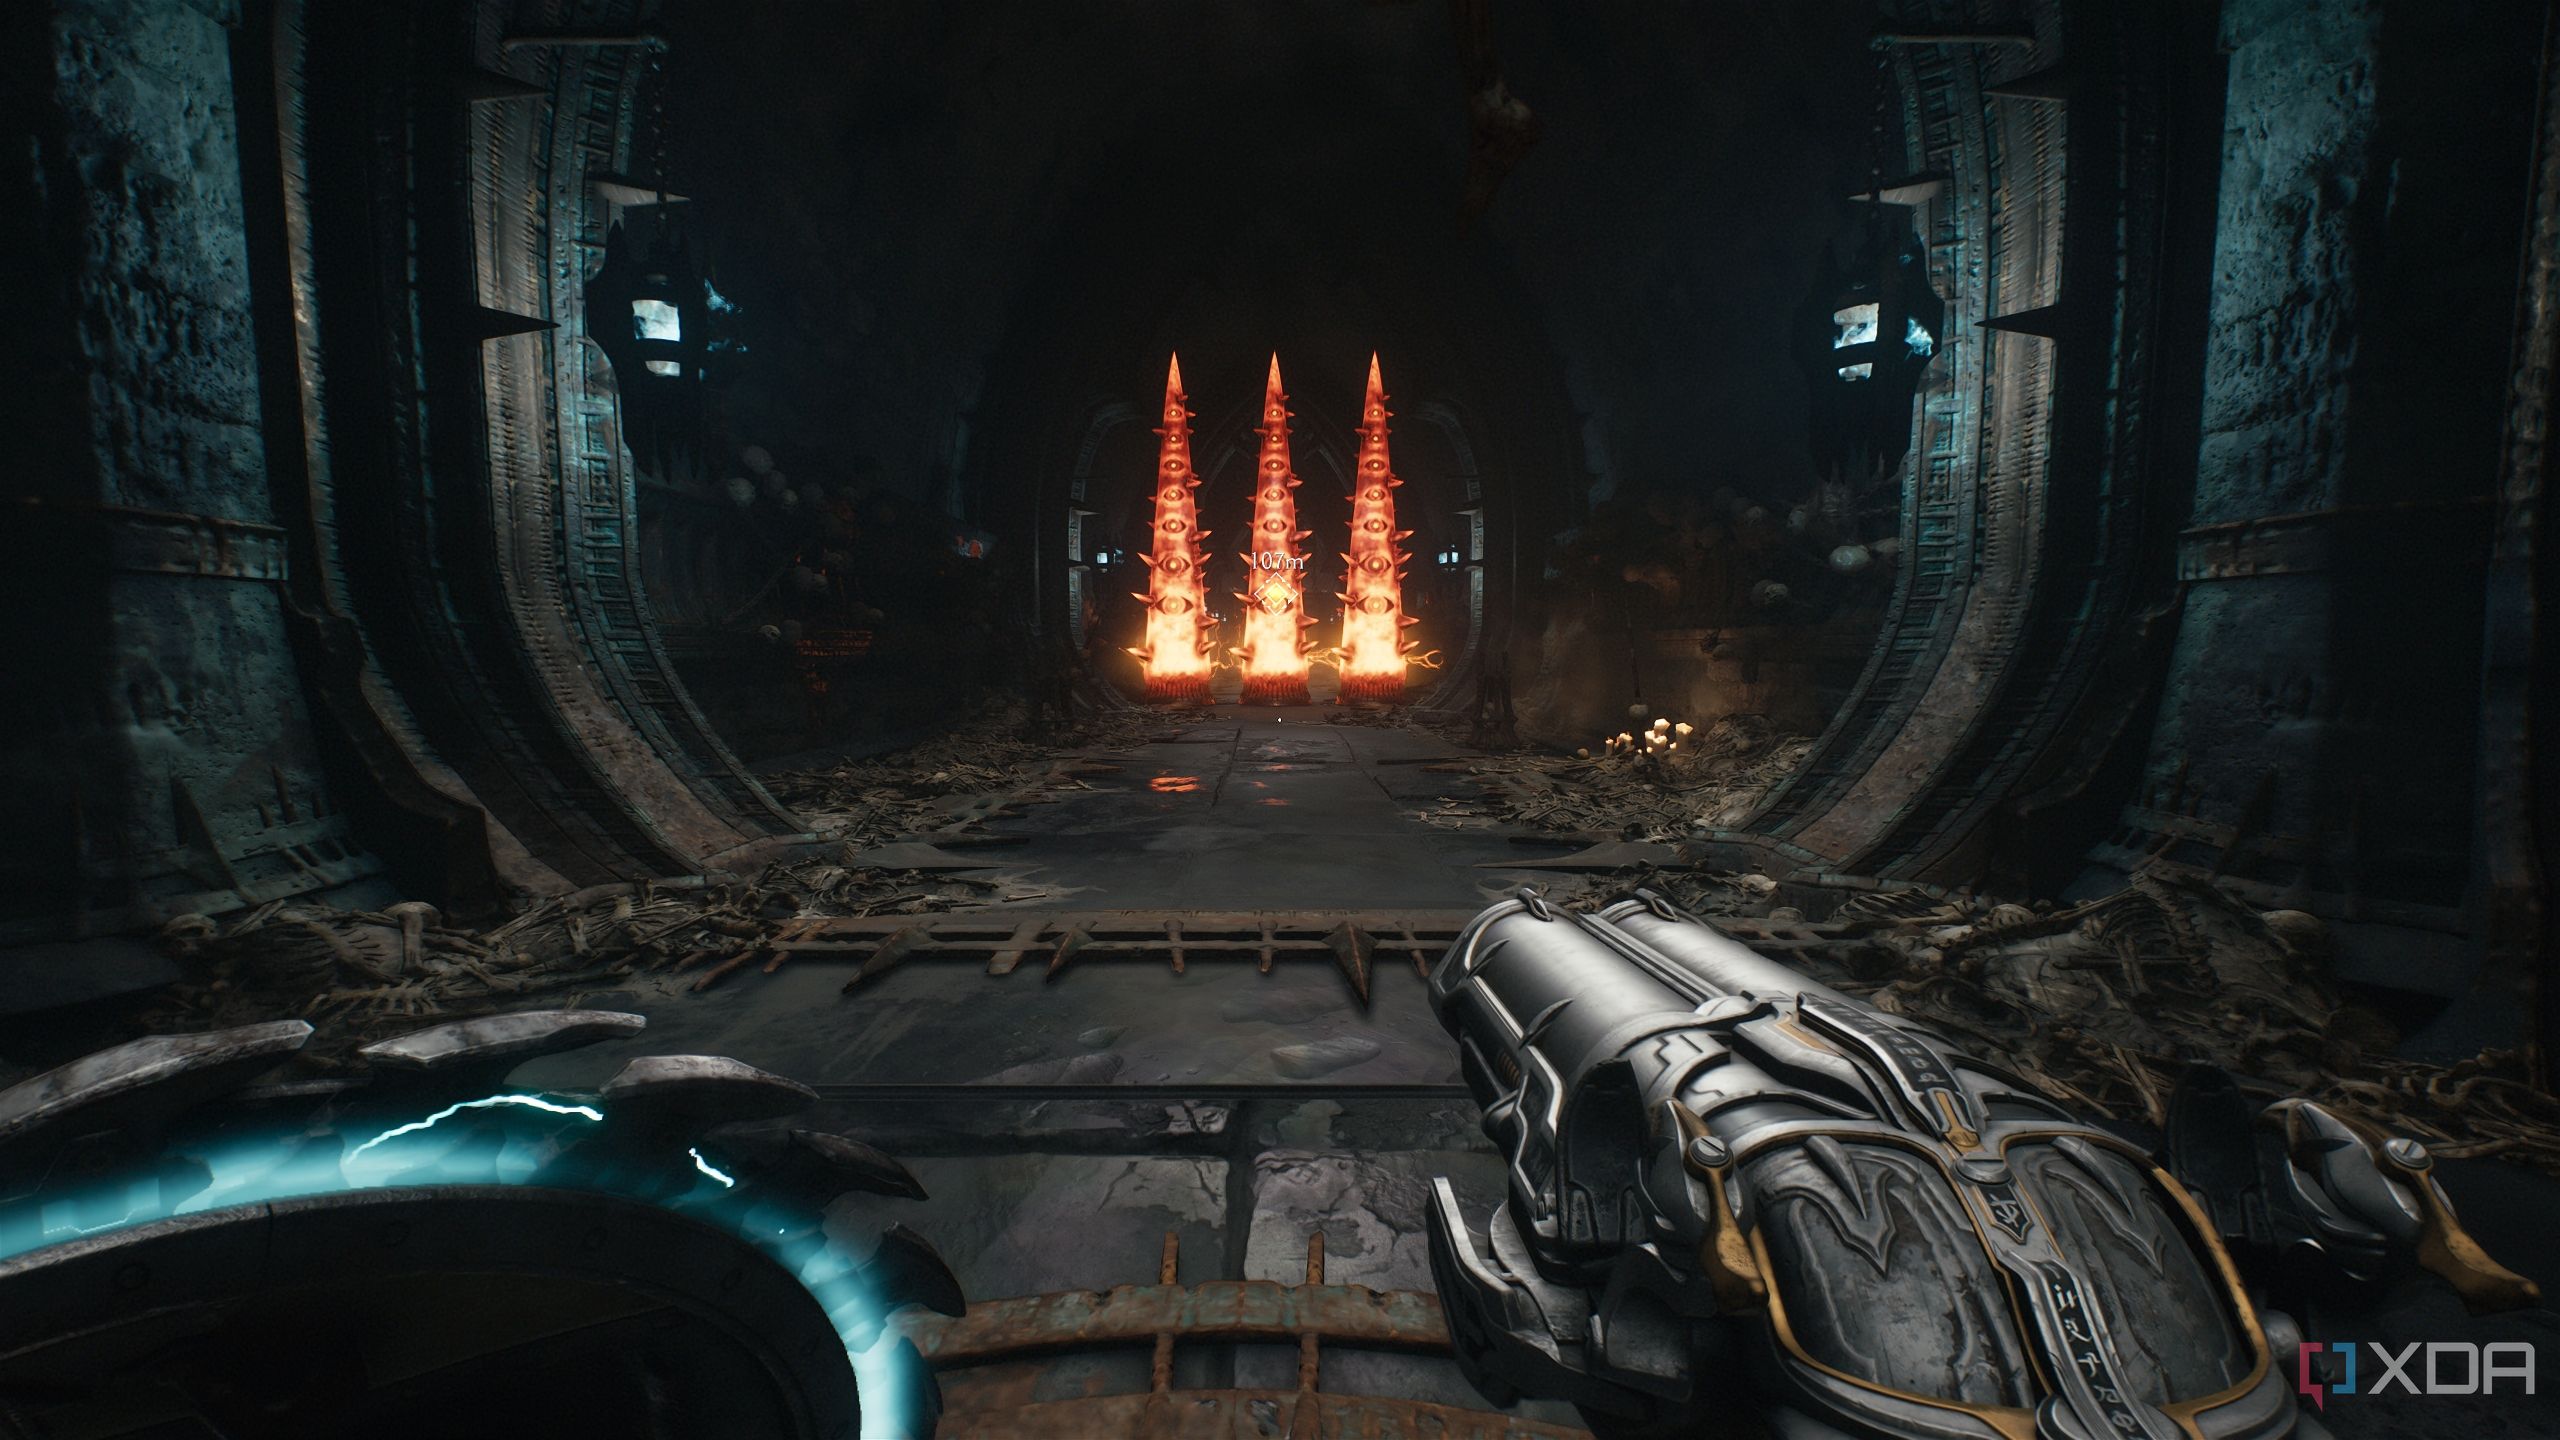
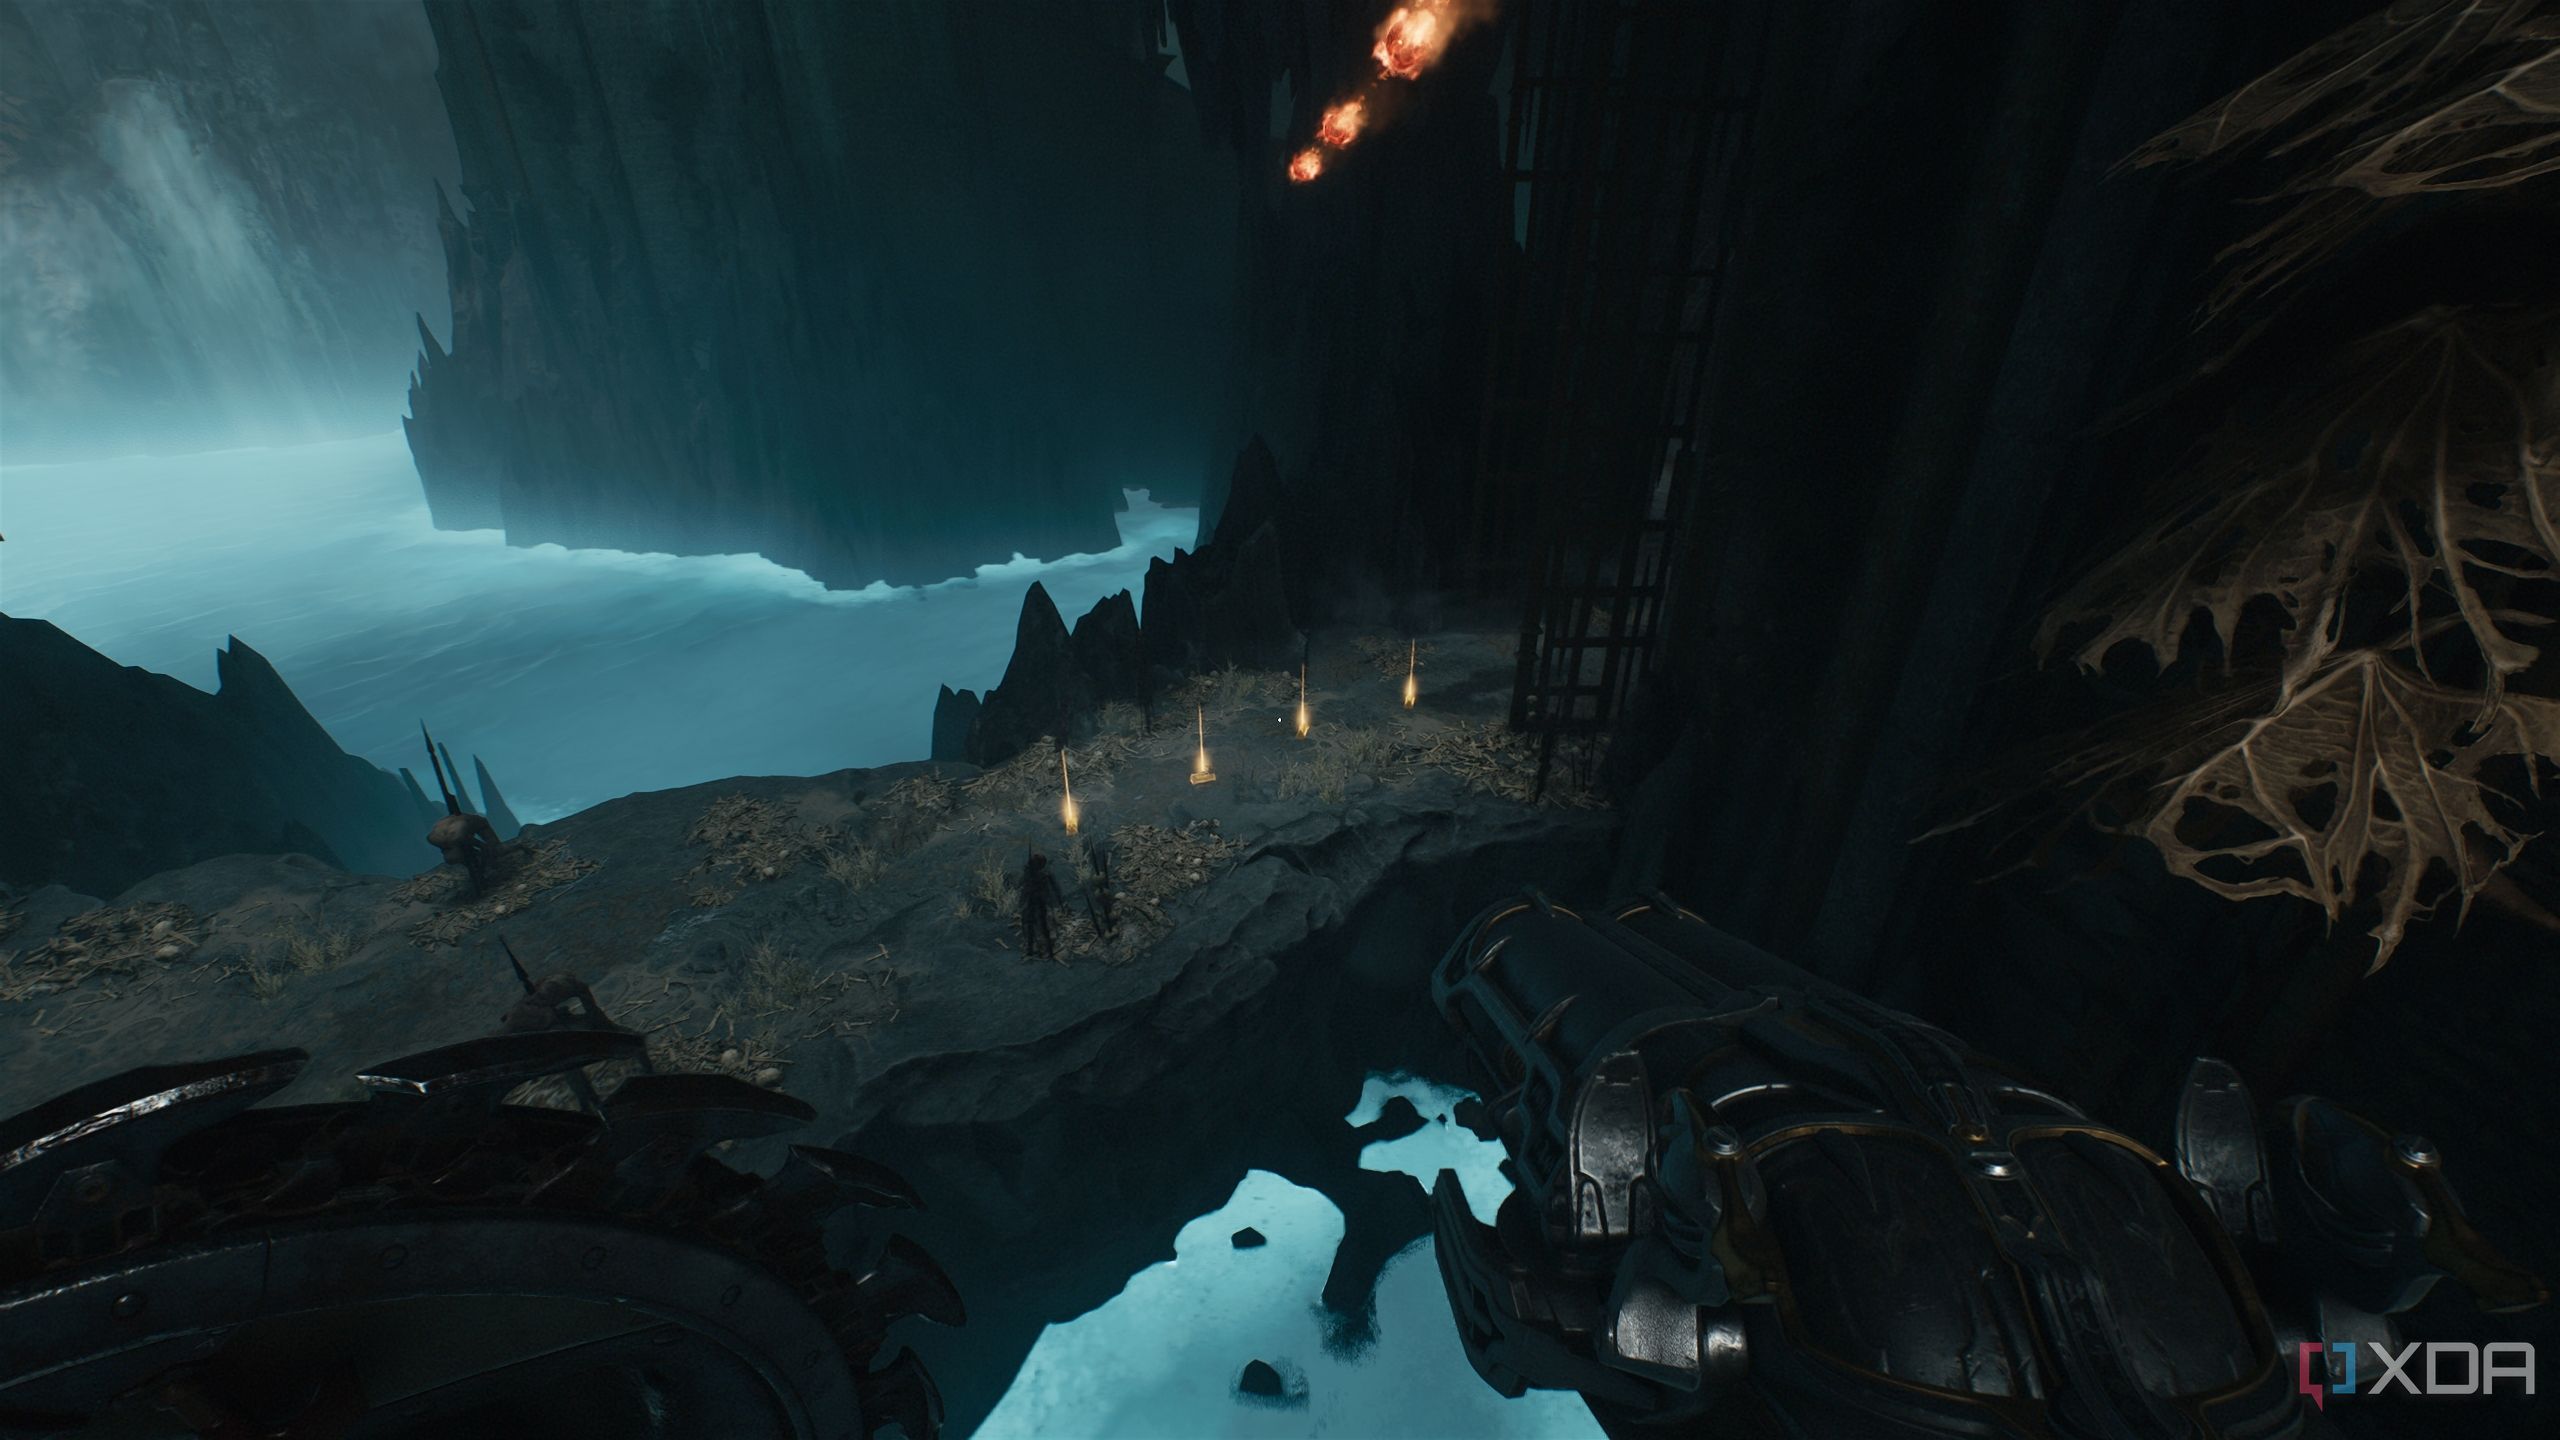
Once that’s done, you’ll escape but not before you see three huge spikes in the ground.
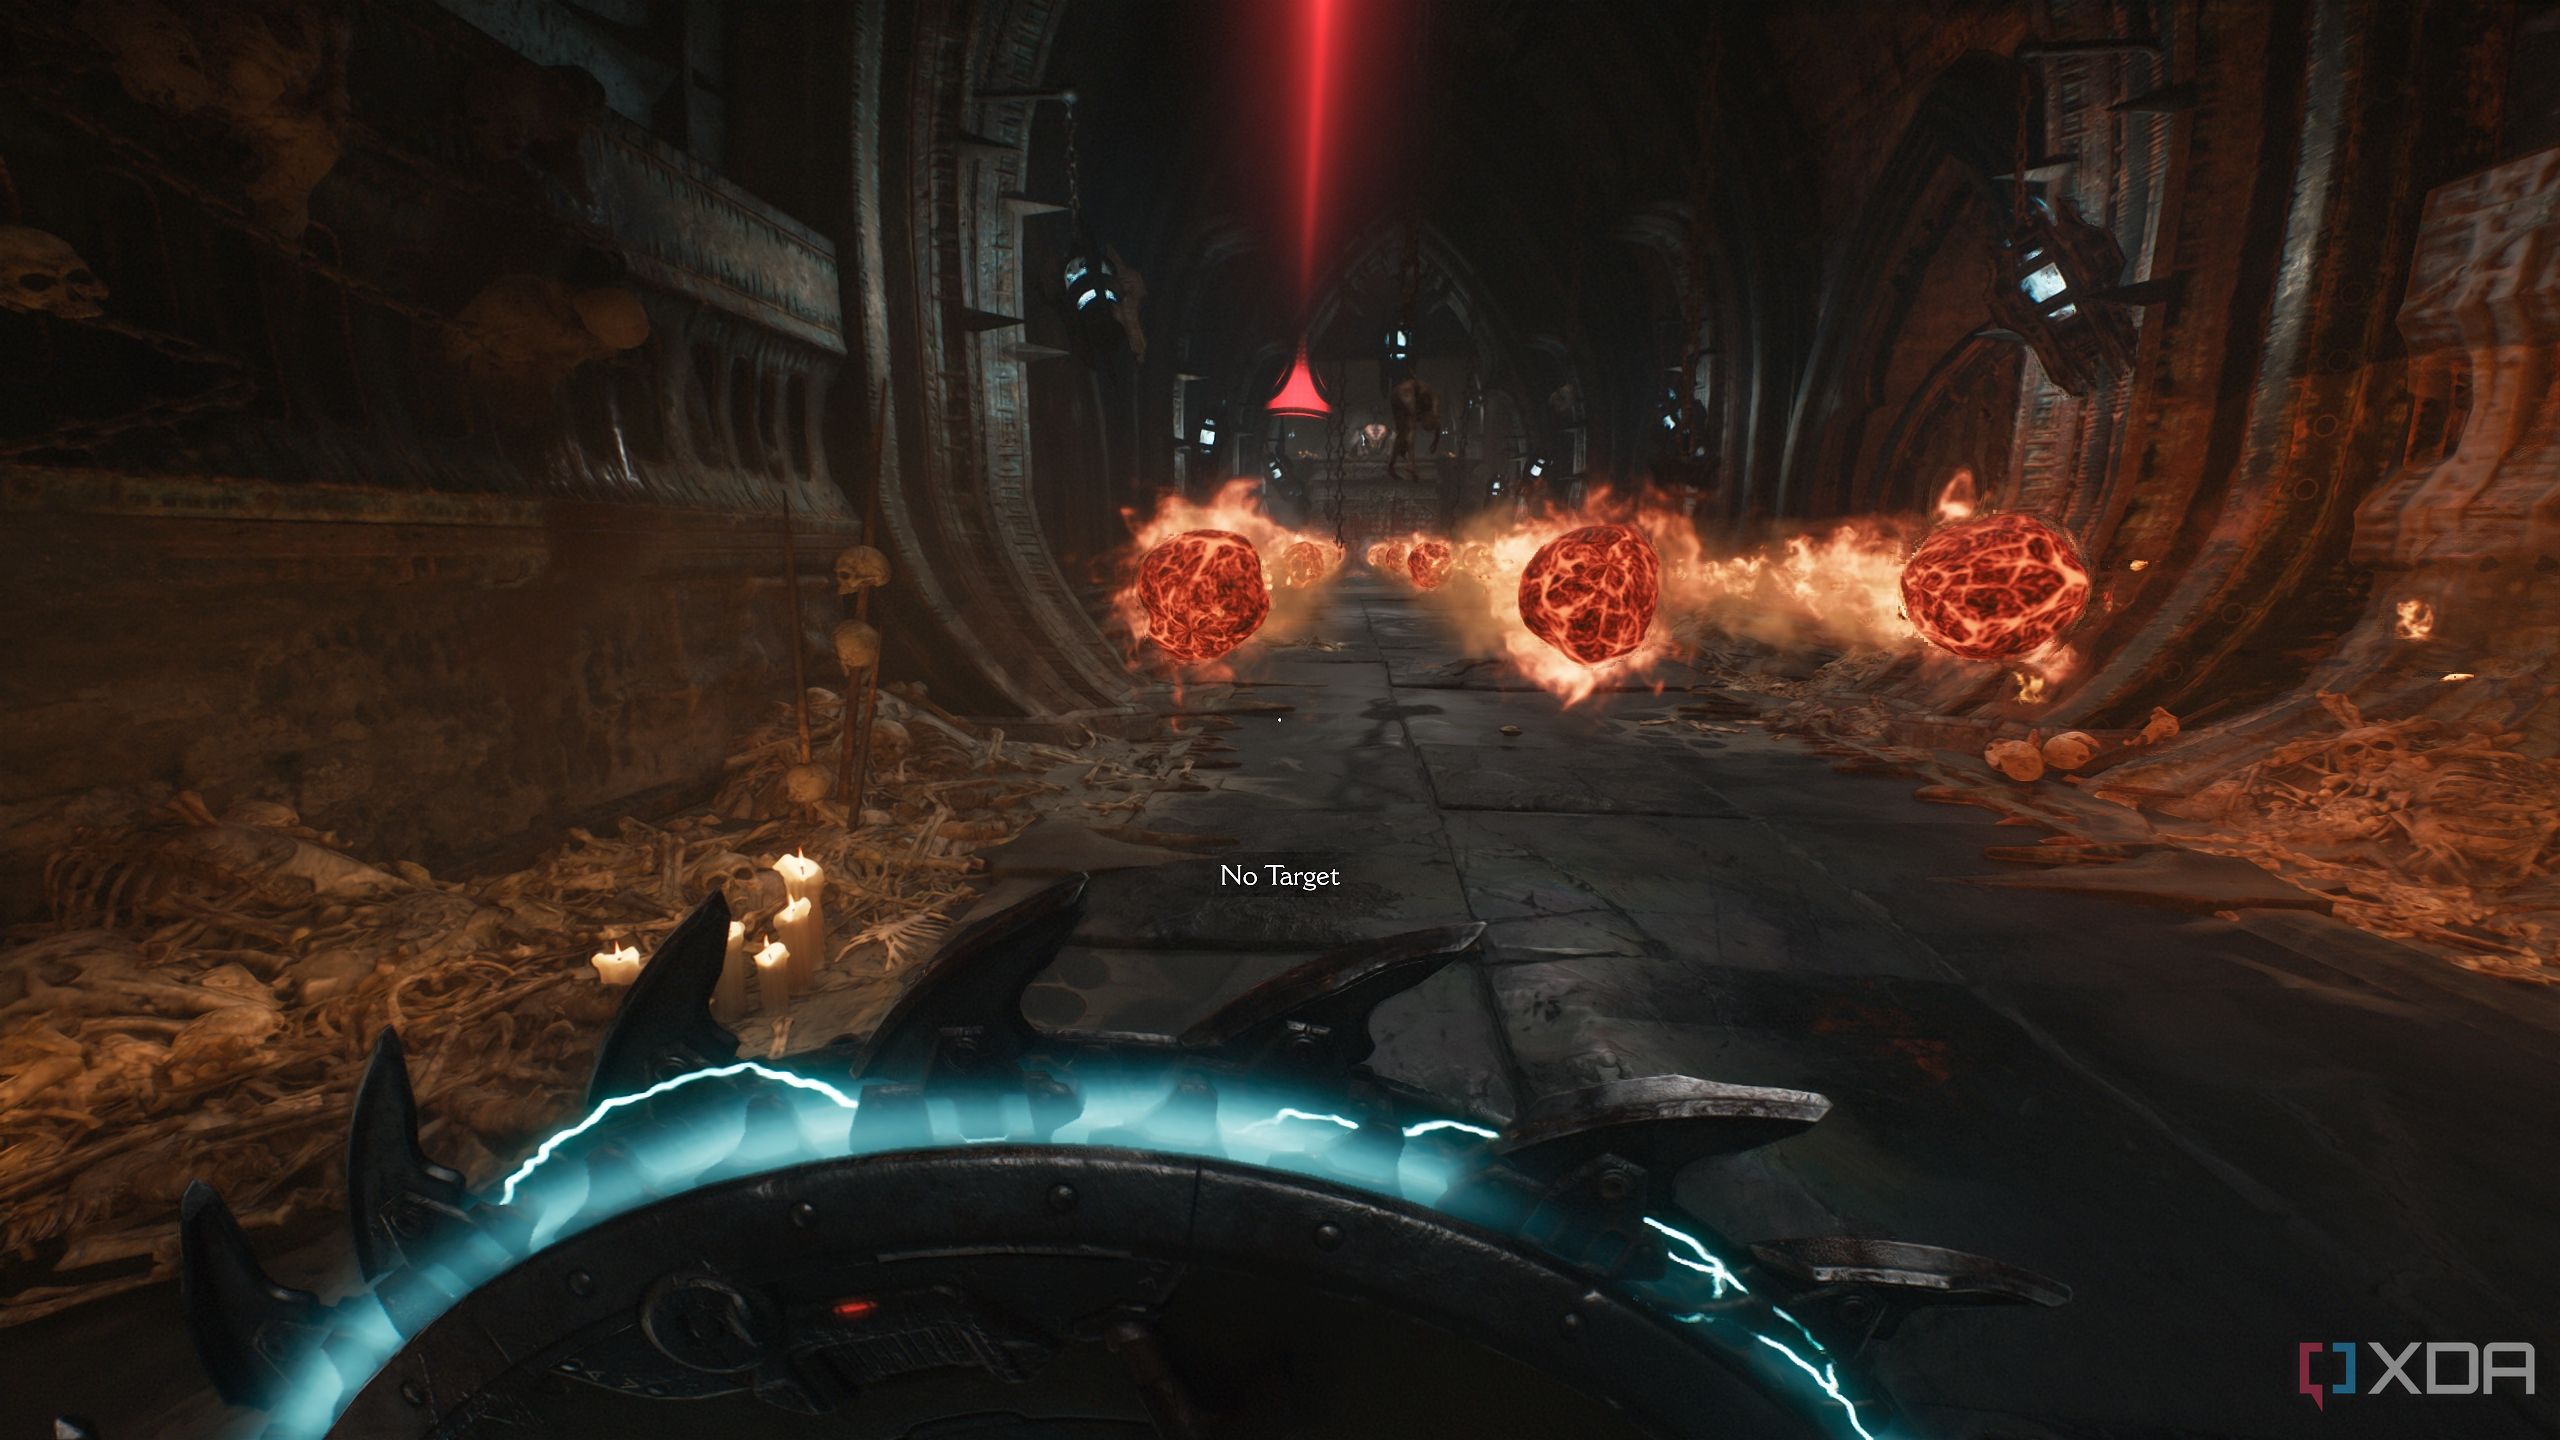
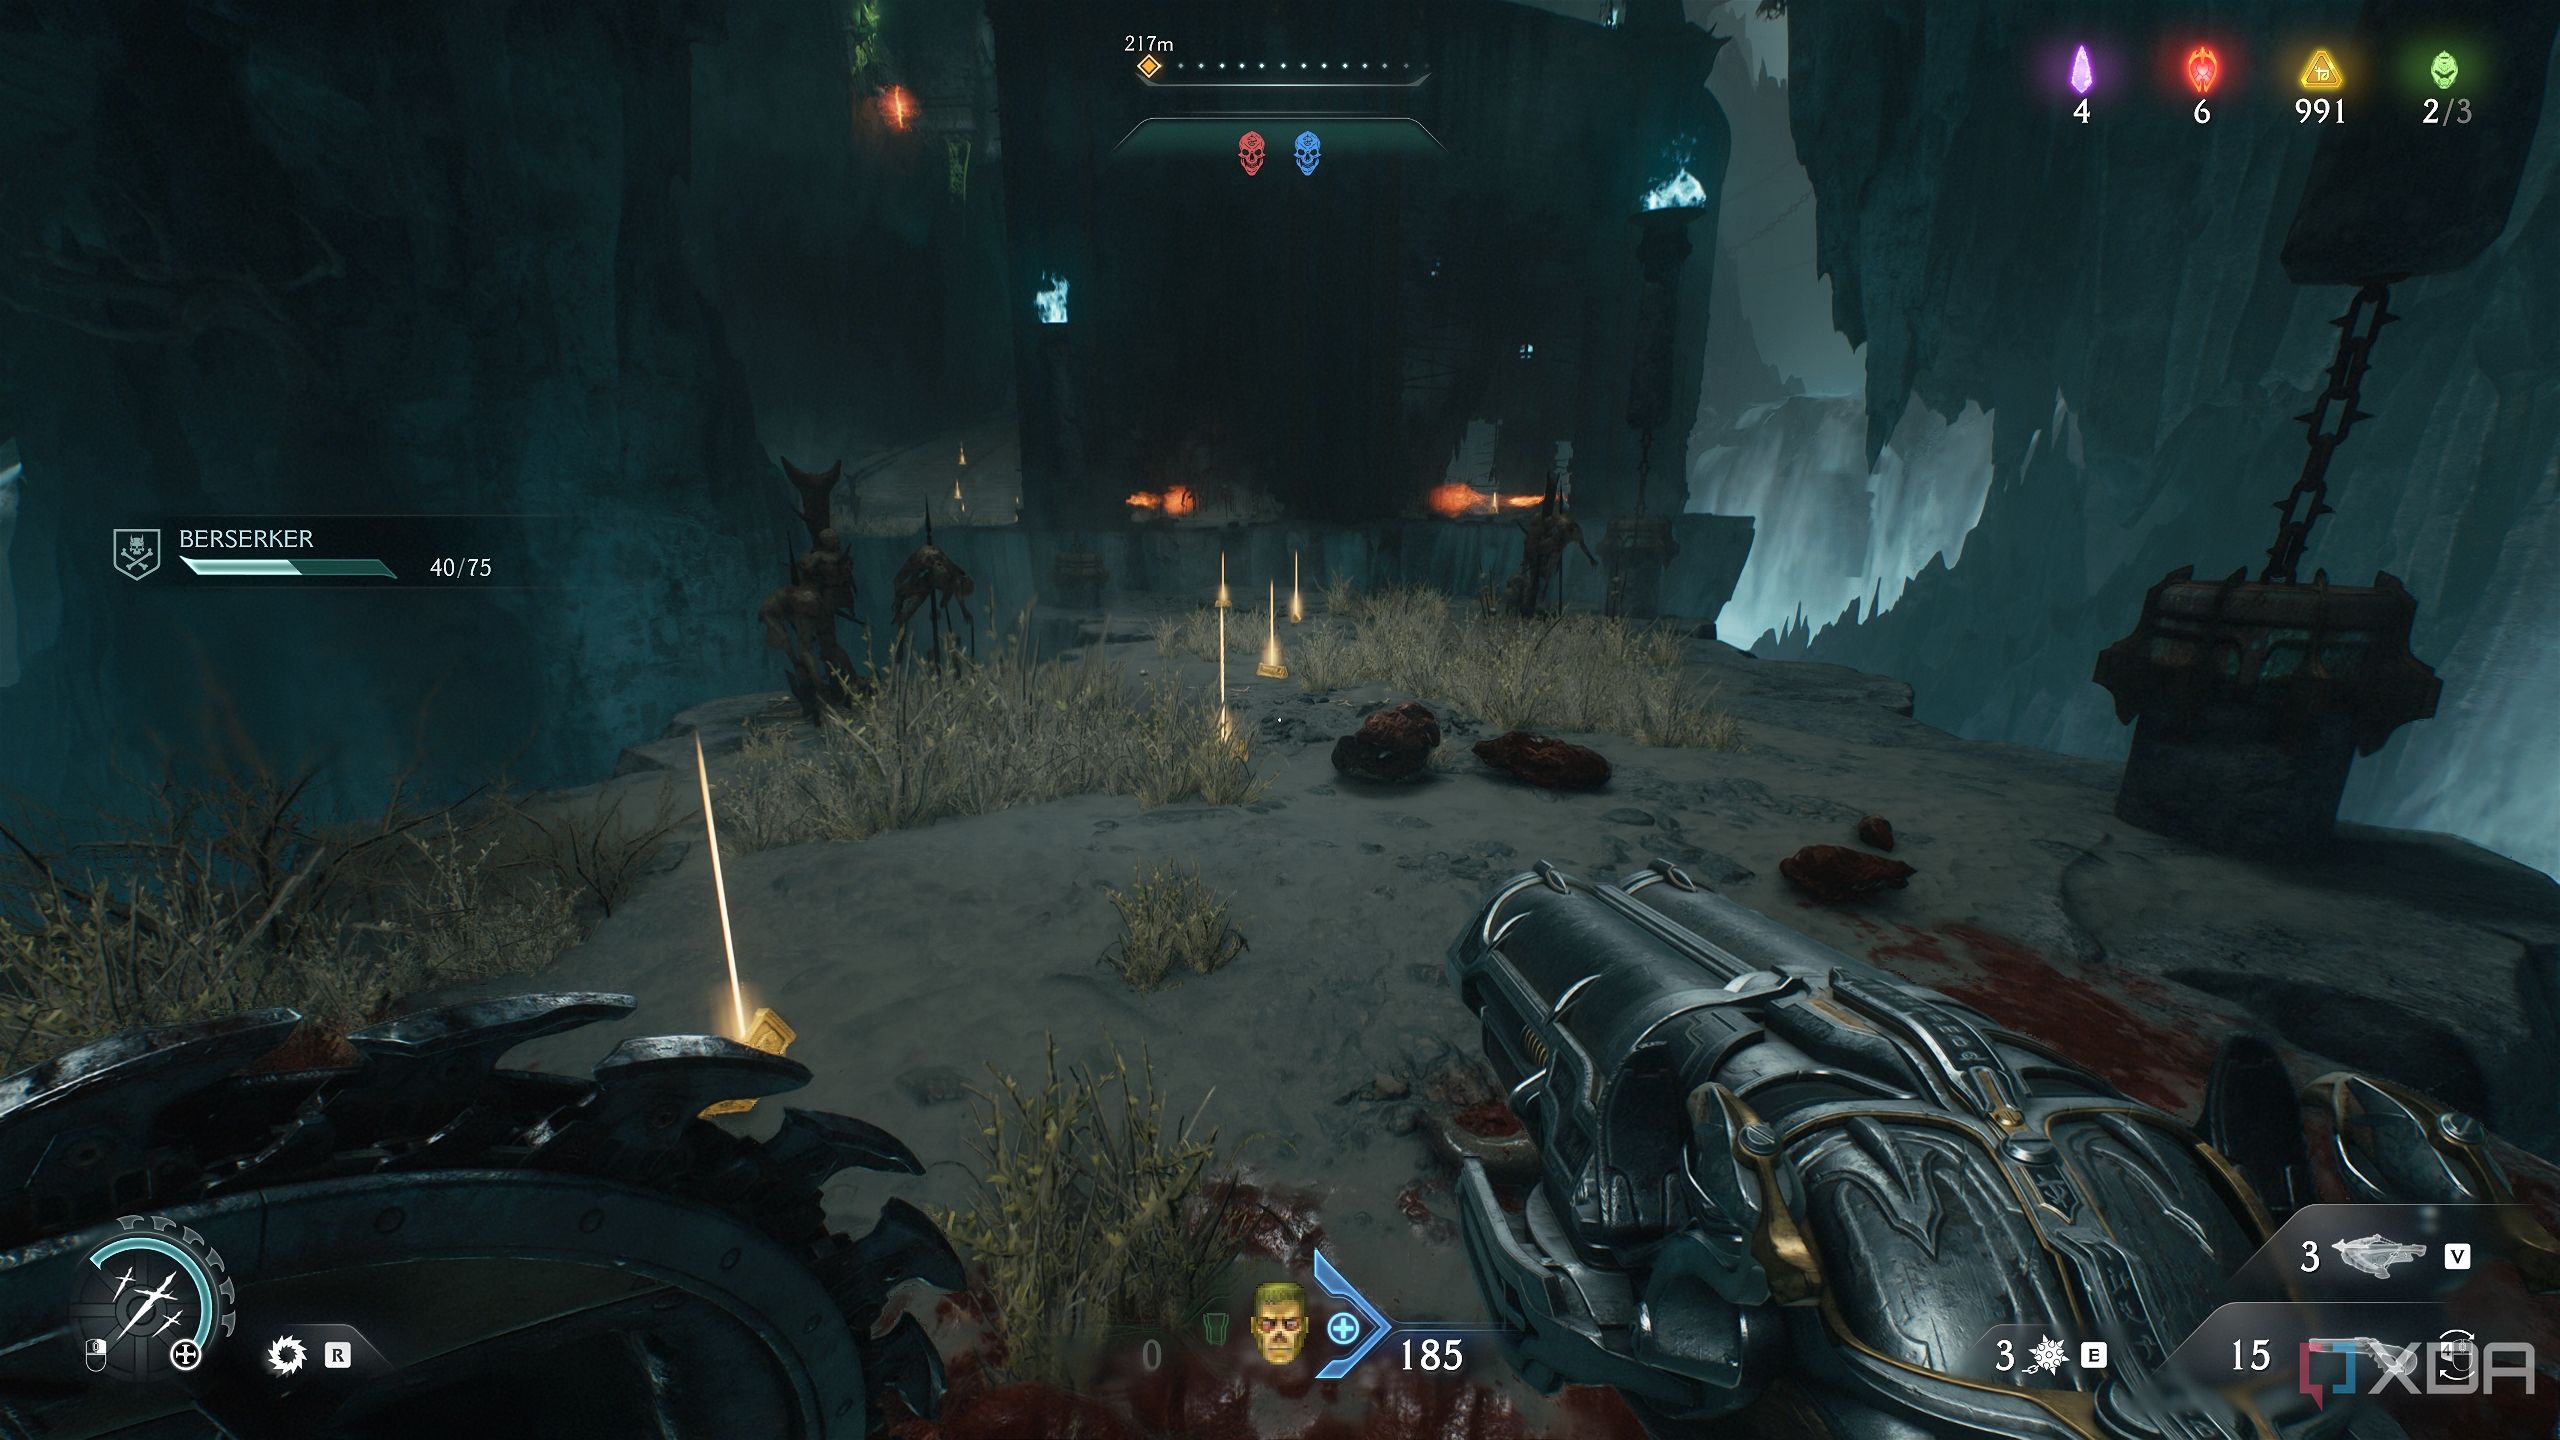
Break these with your shield, and you’ll be met by a barrage of fire projectiles headed your way.
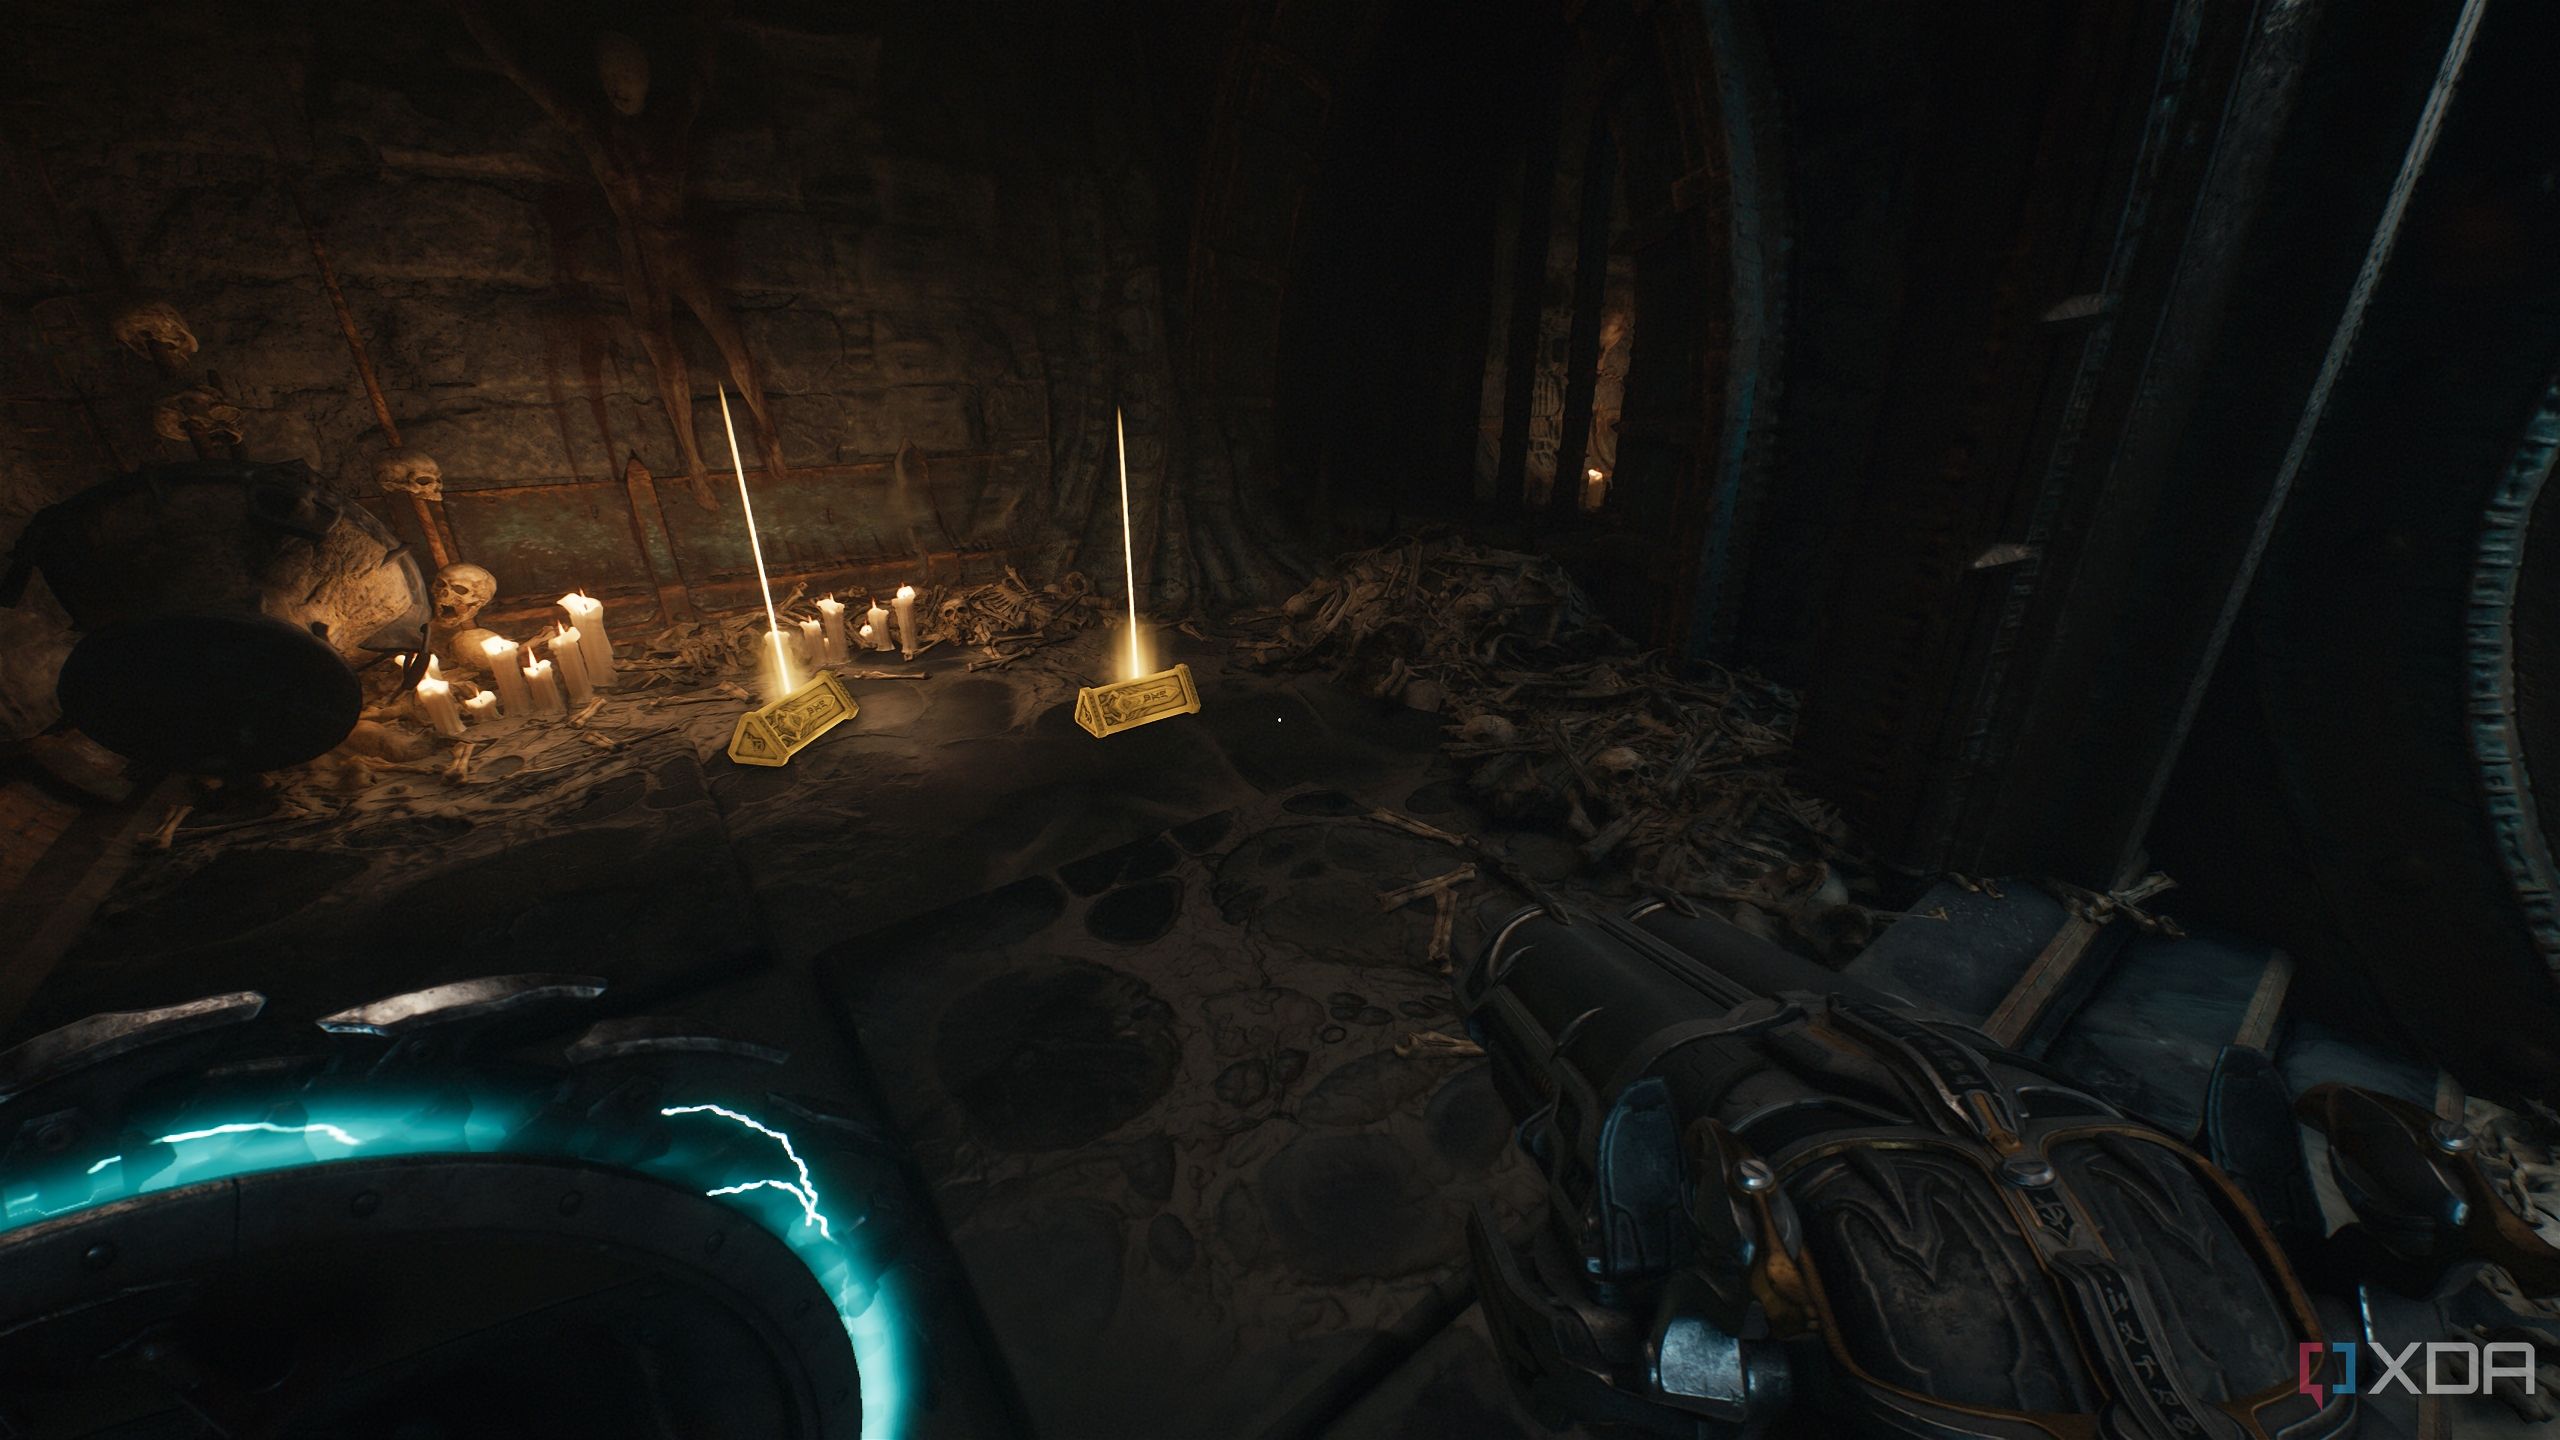
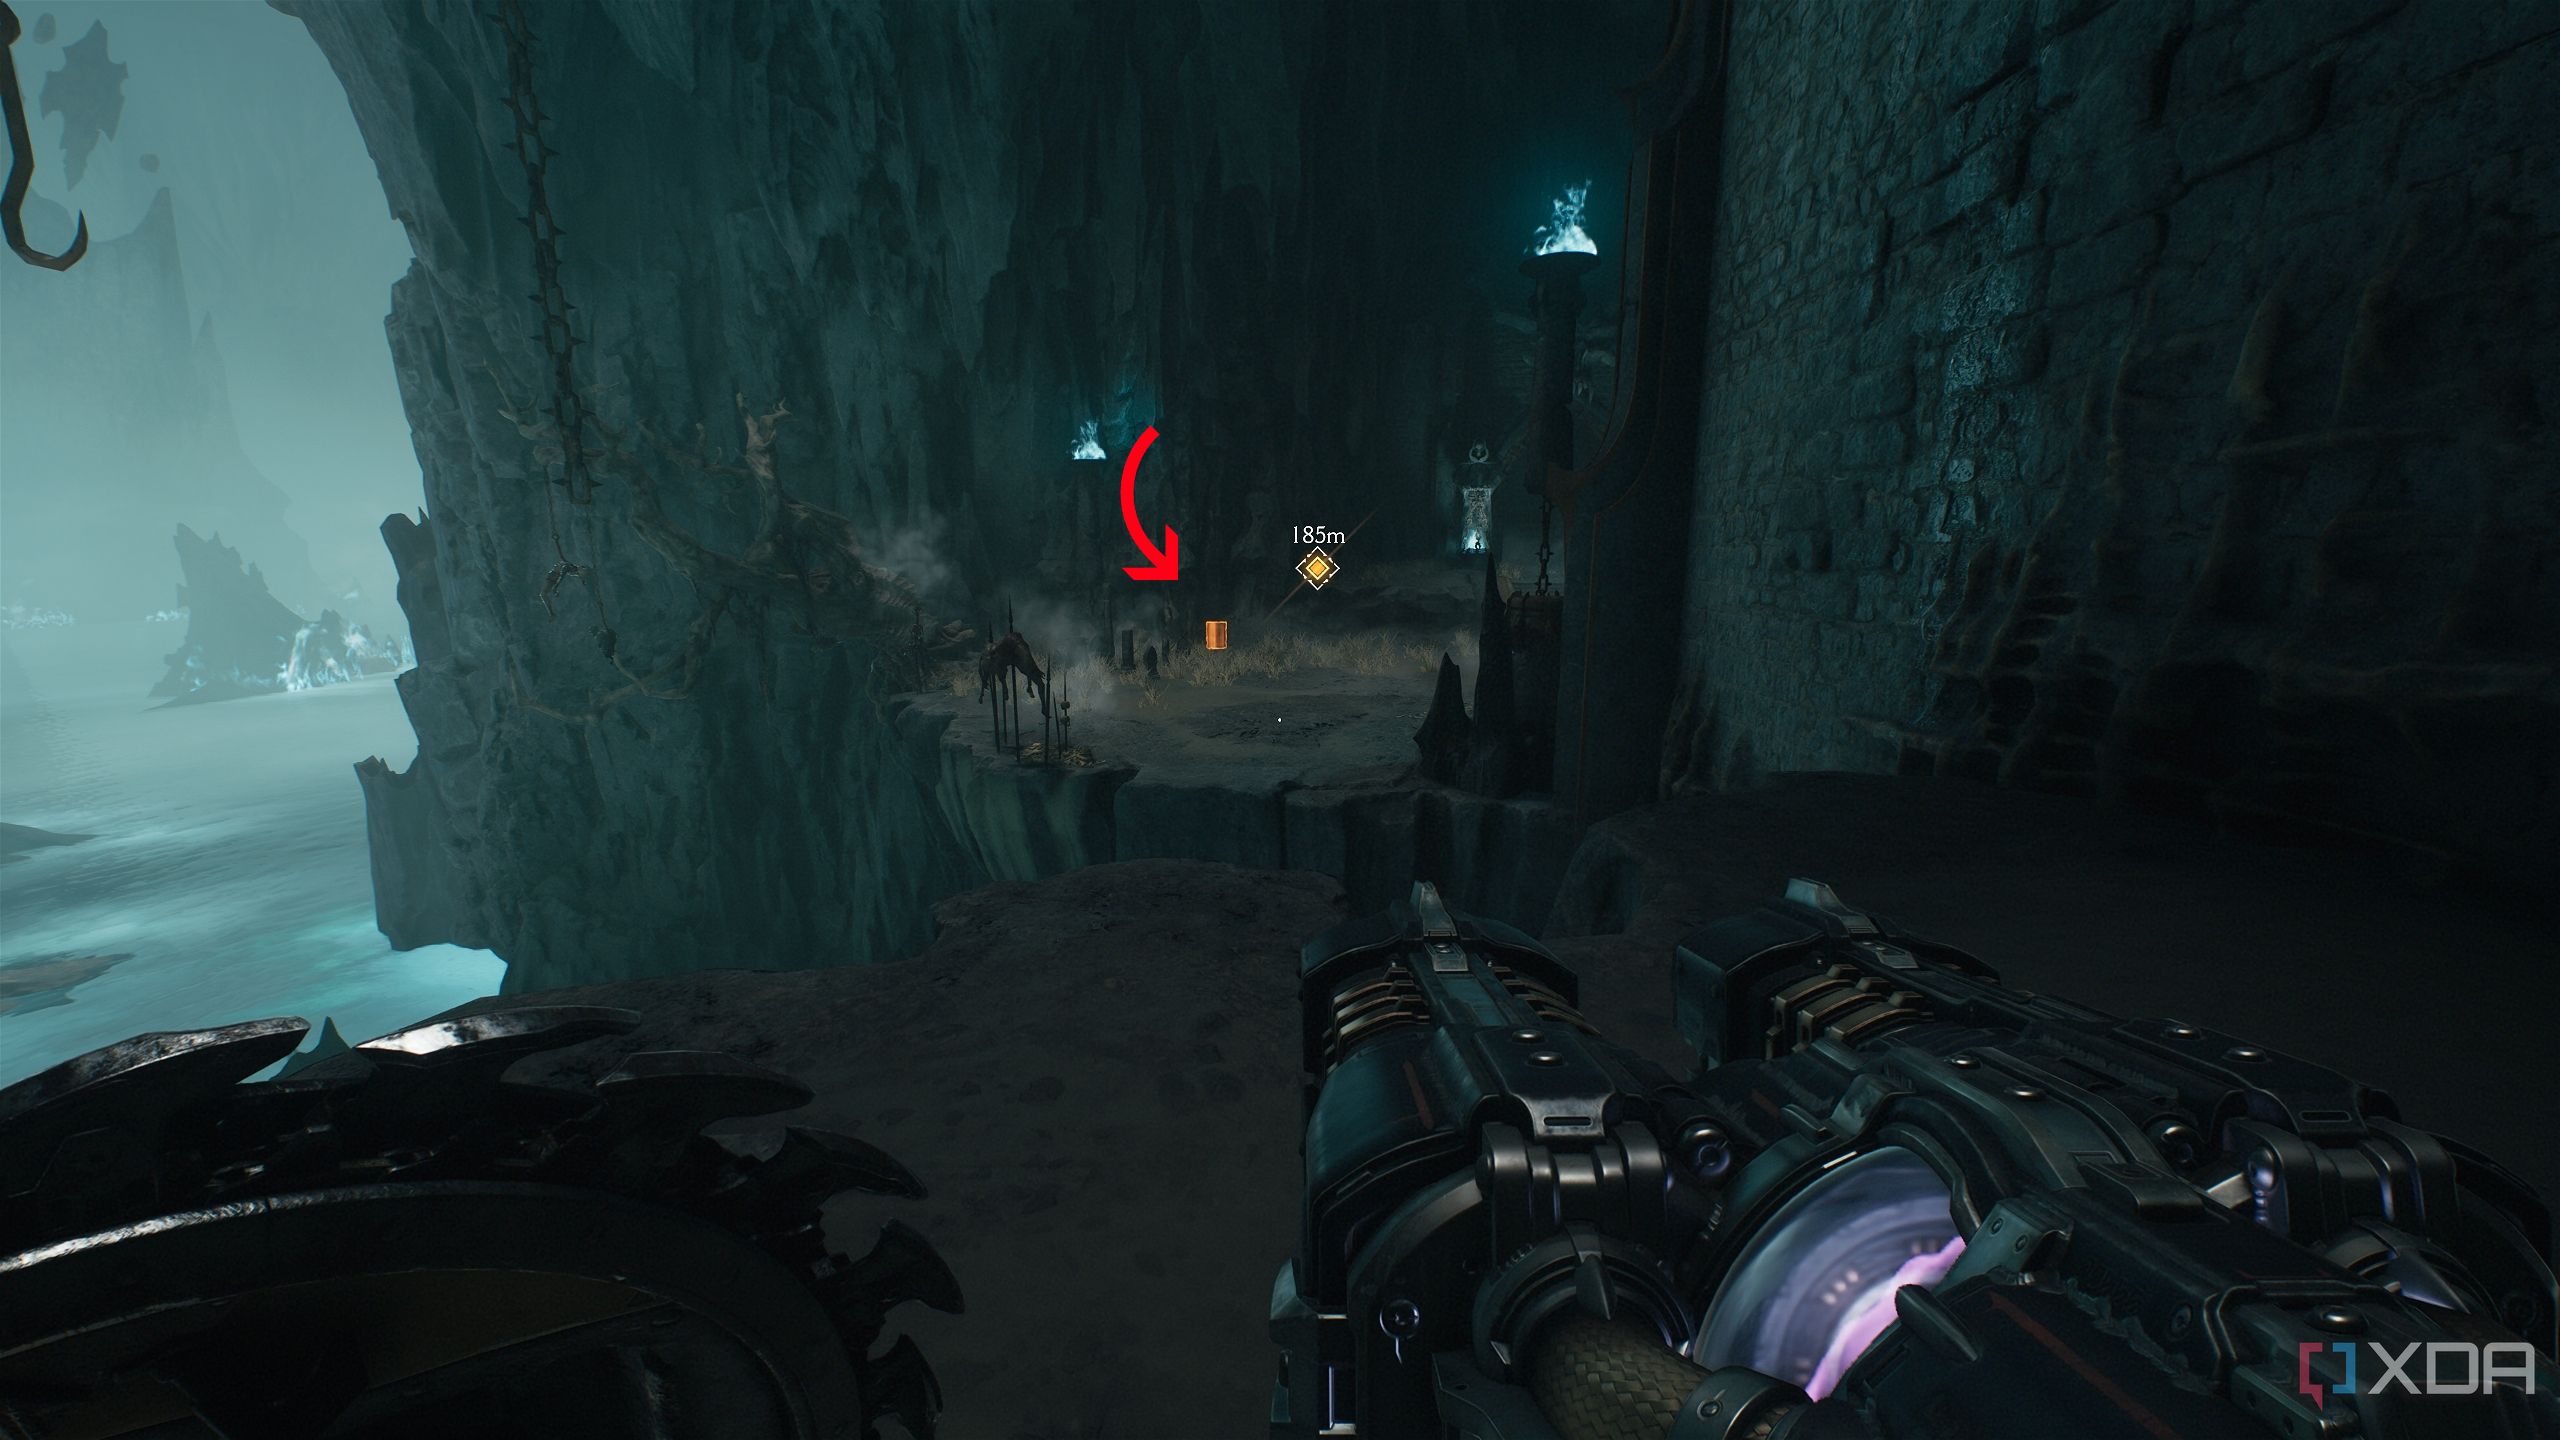
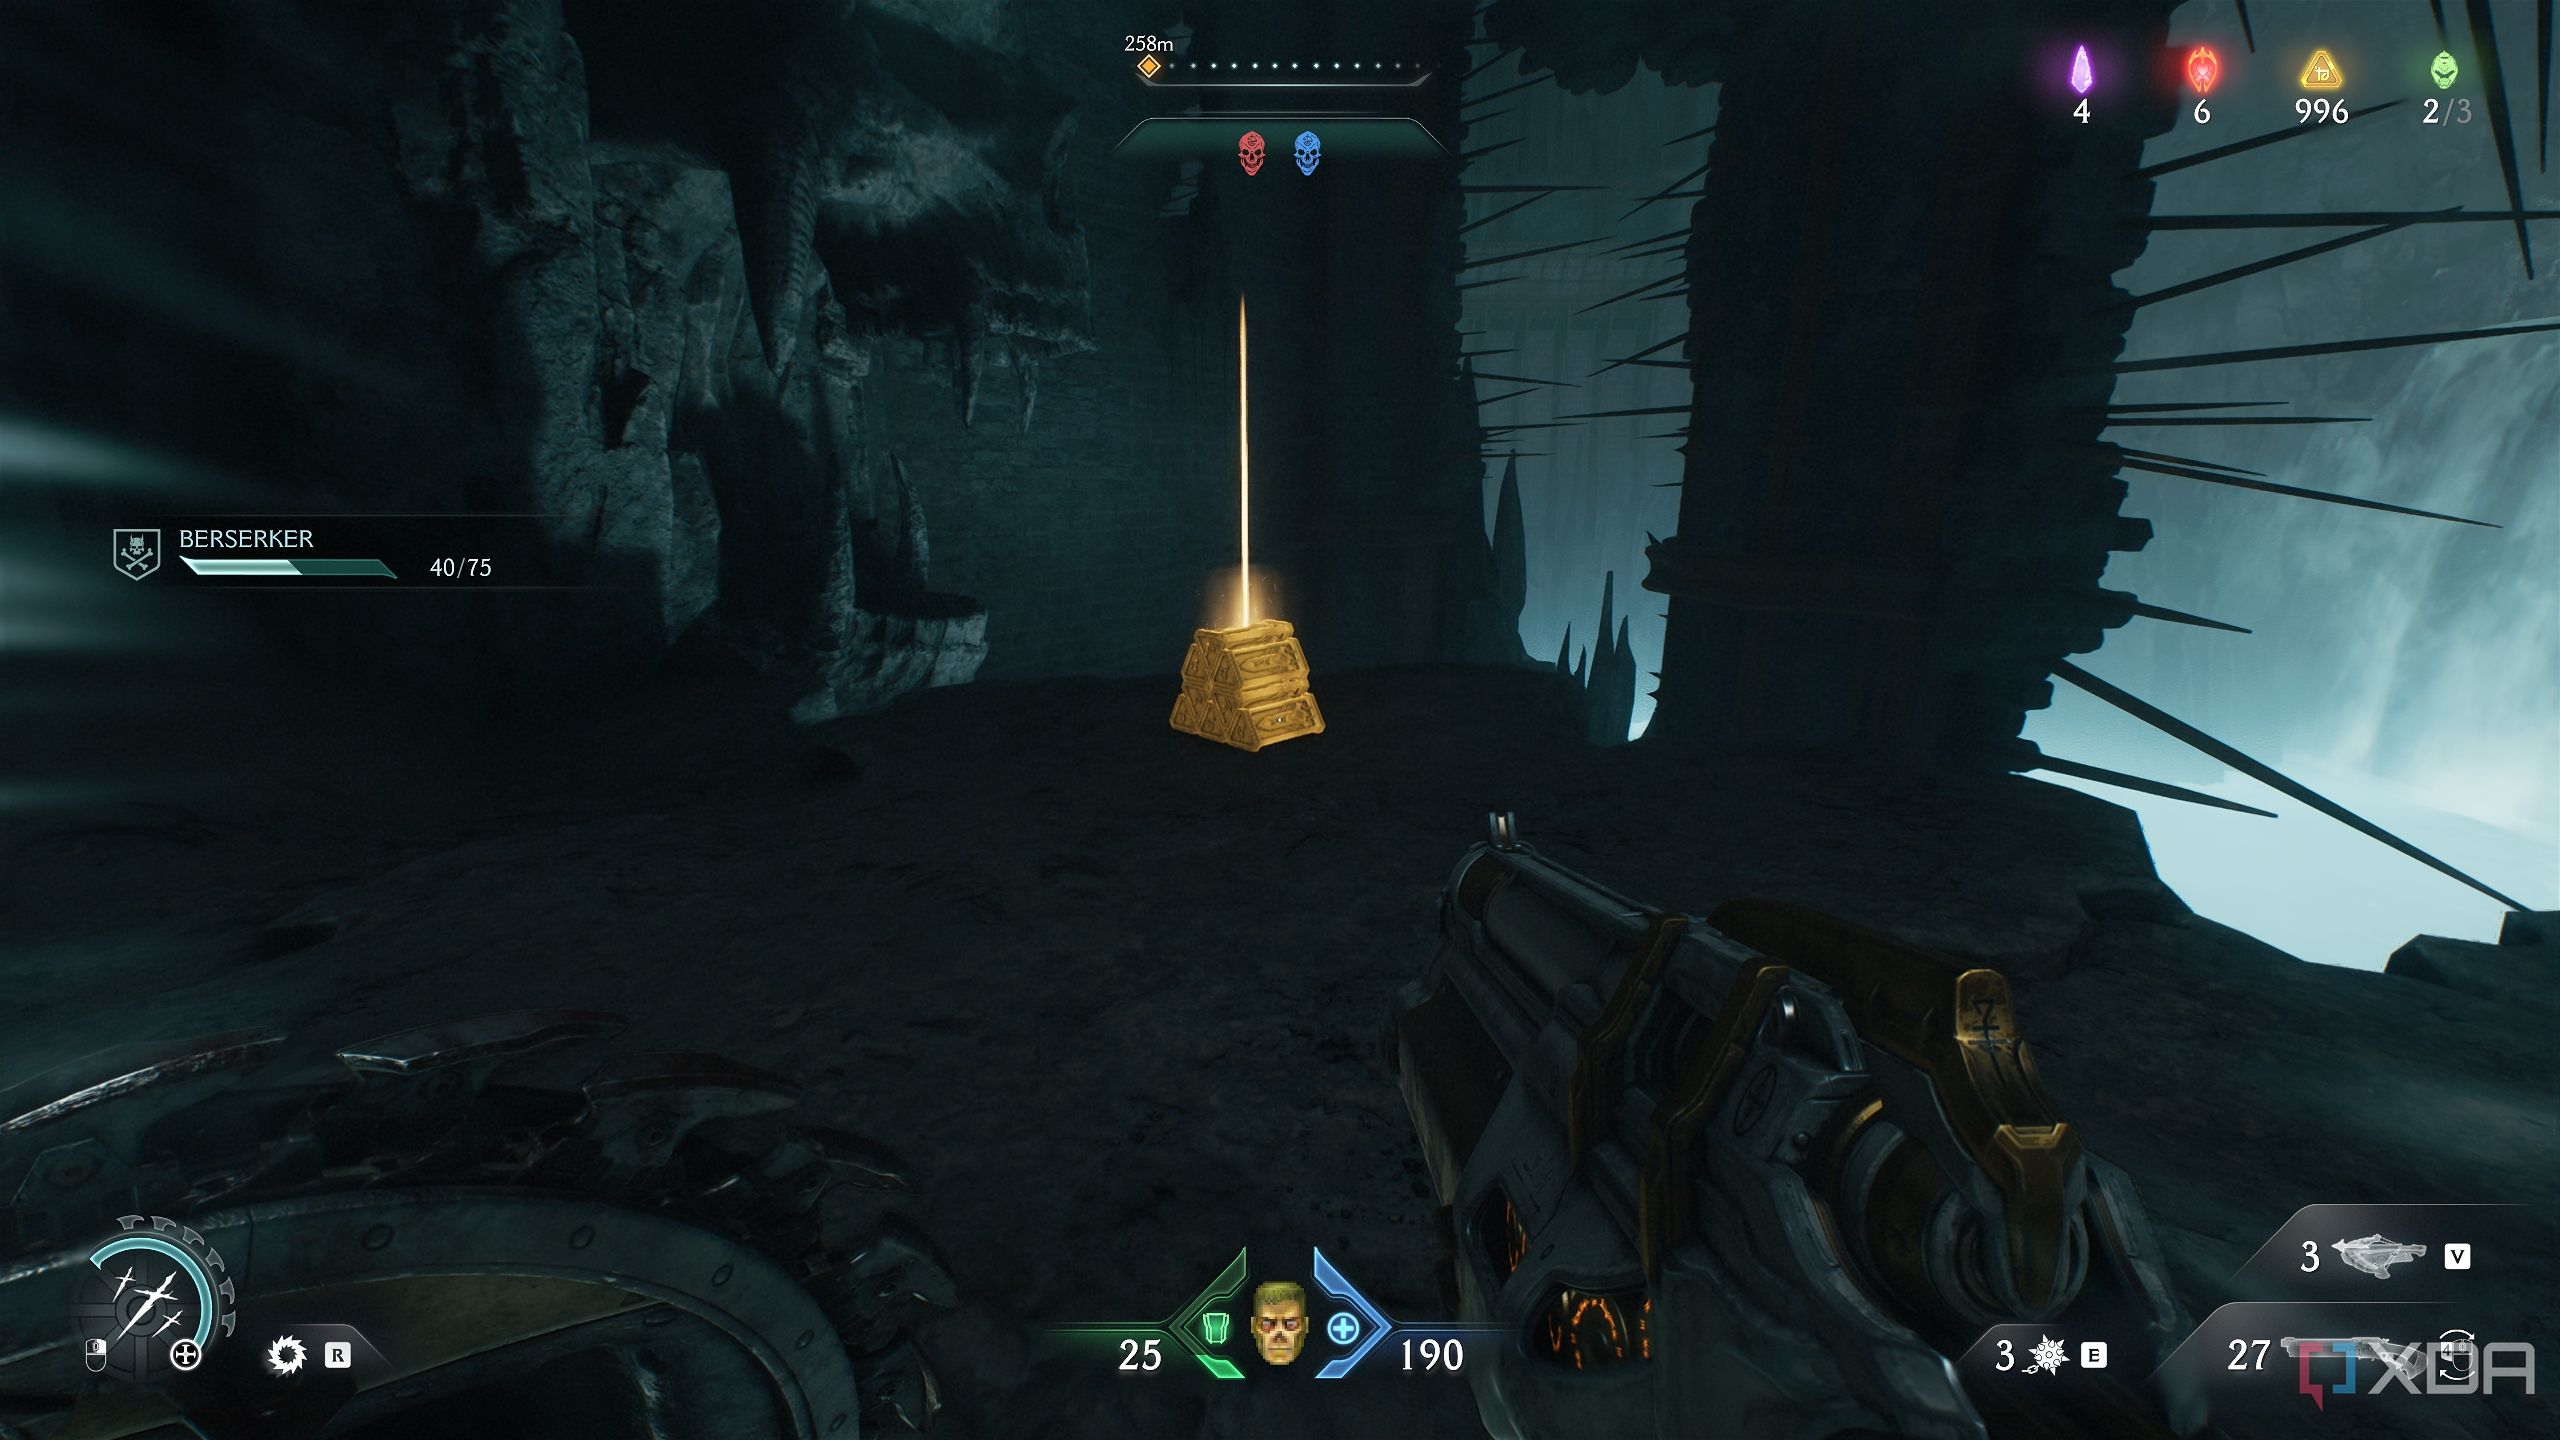
Duck into the first cove in the wall on your left, and you’ll pick up some gold bars.

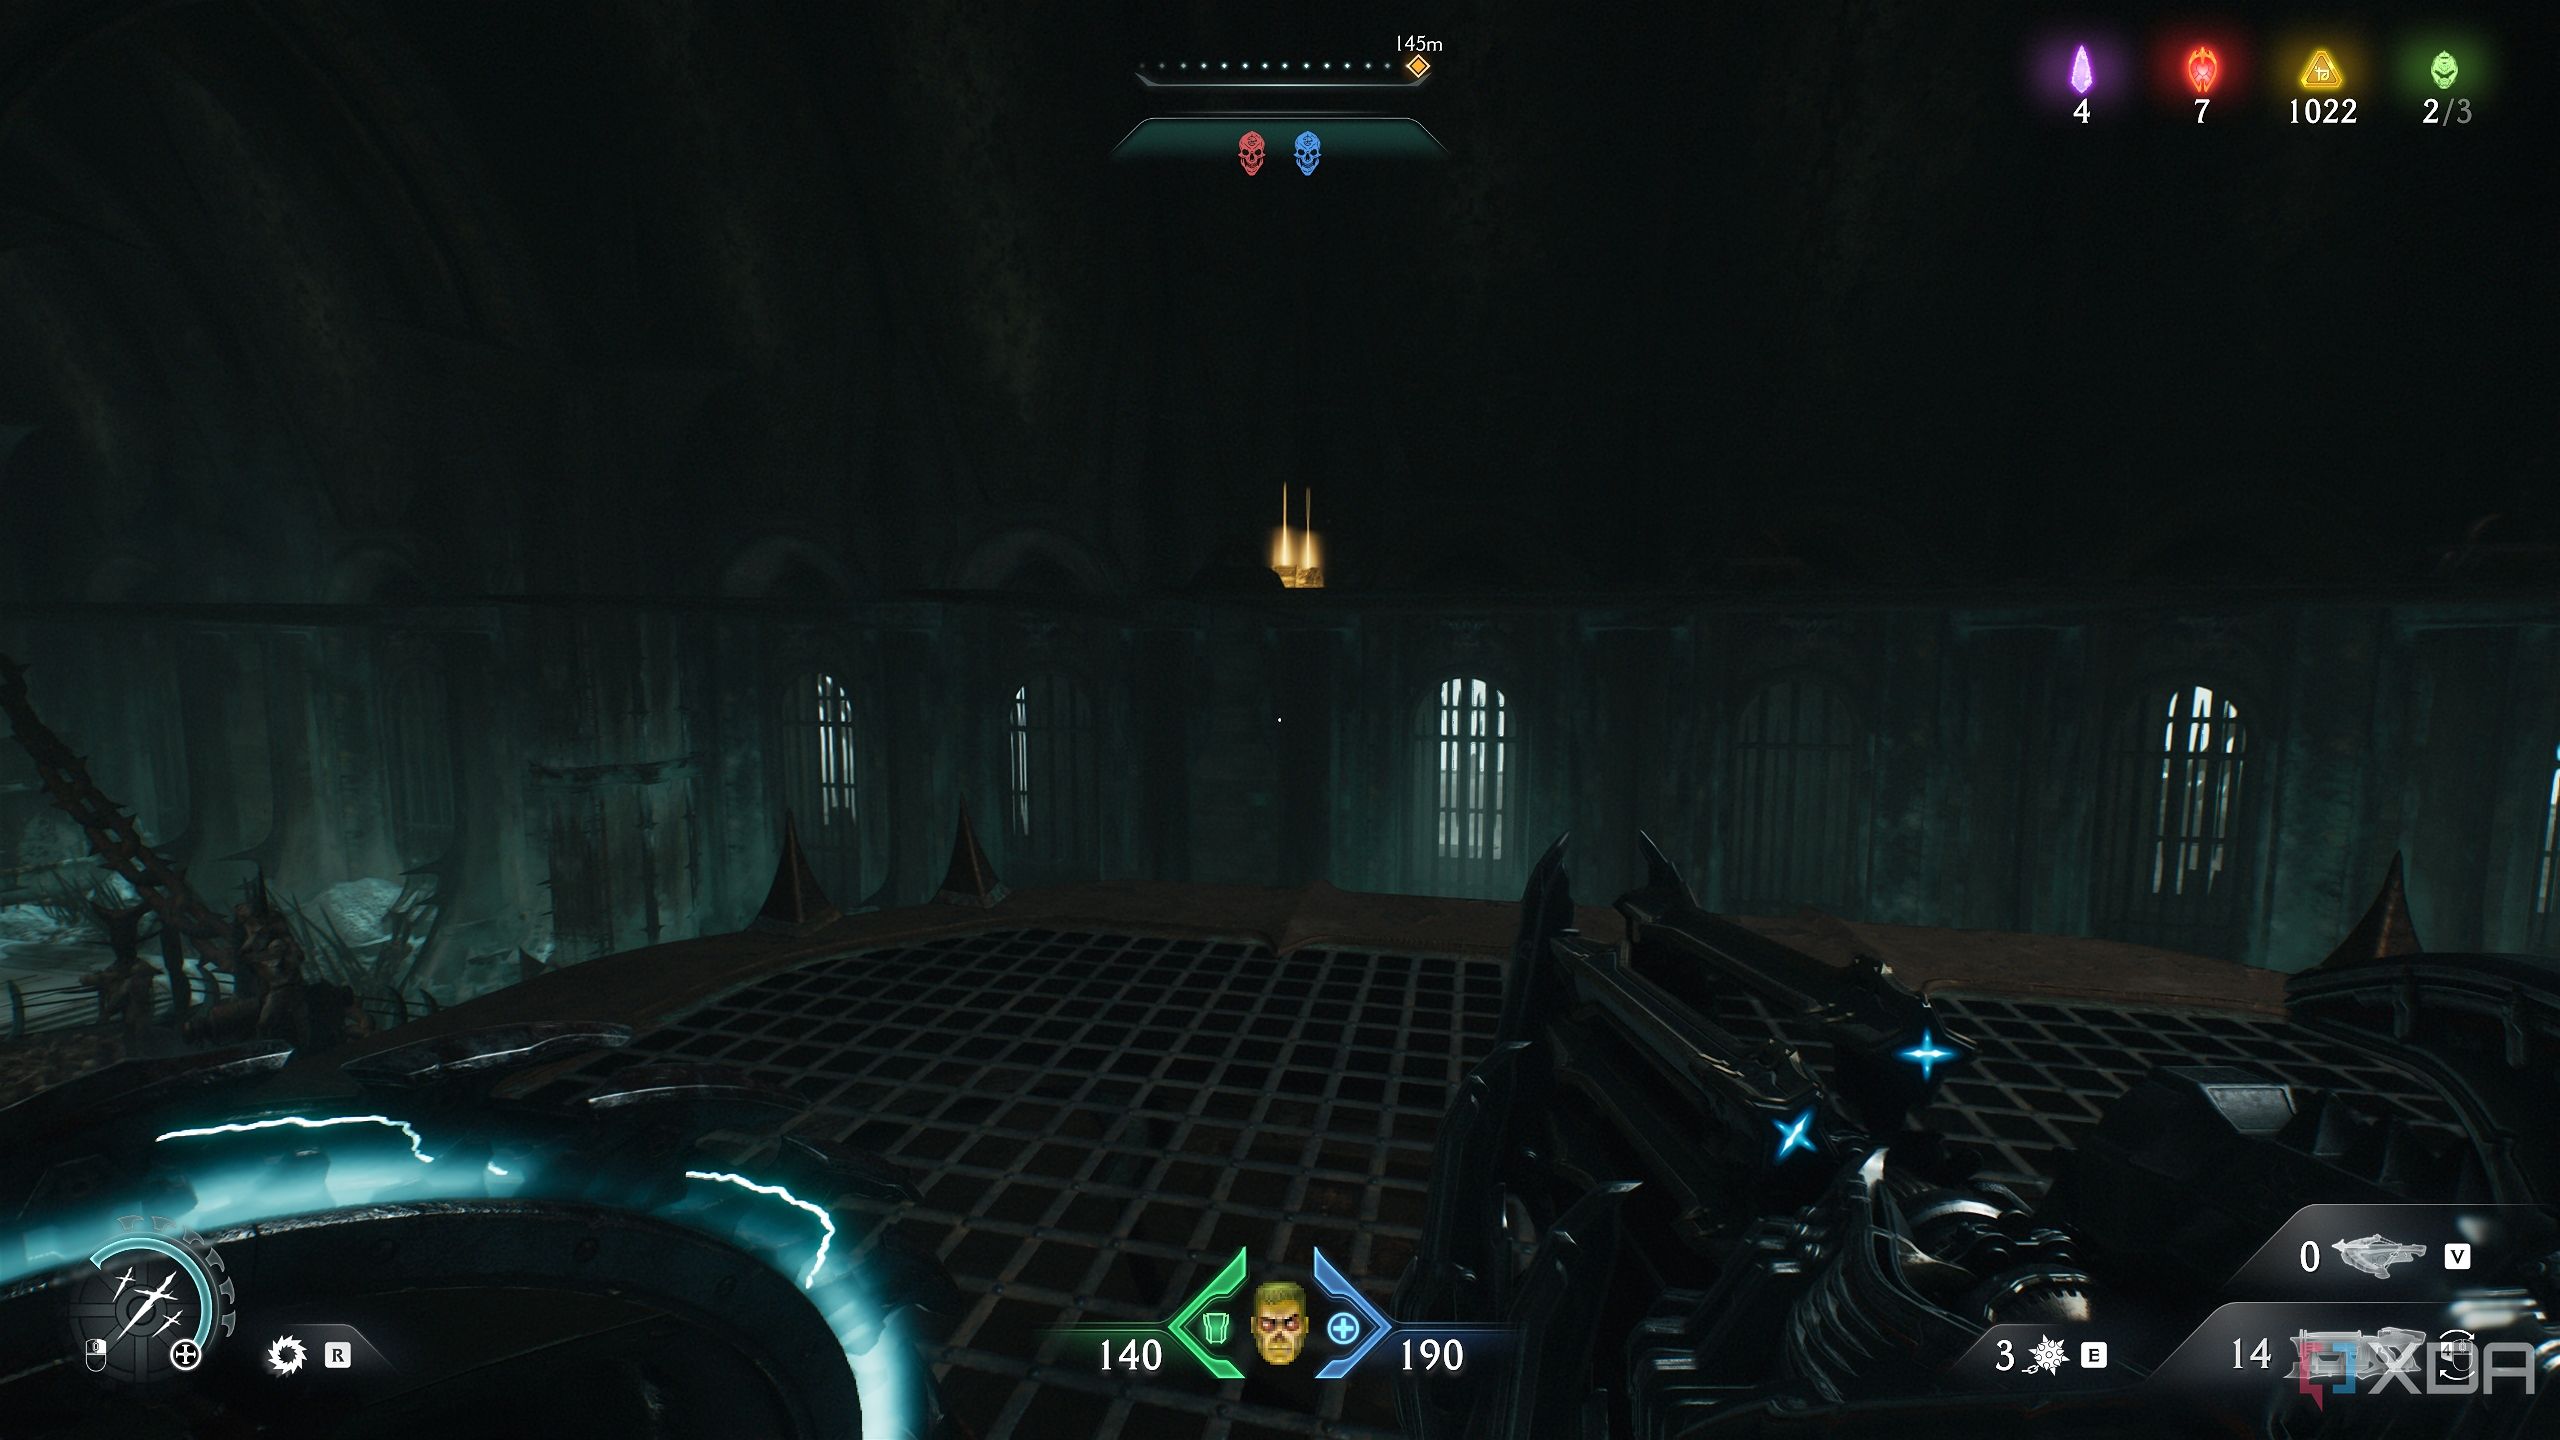
Next, stay shielded and head towards the machines blasting you with fire along with an Arachnotron above them. Reach the Arachnotron and tell it to shut up with your weapon of choice.
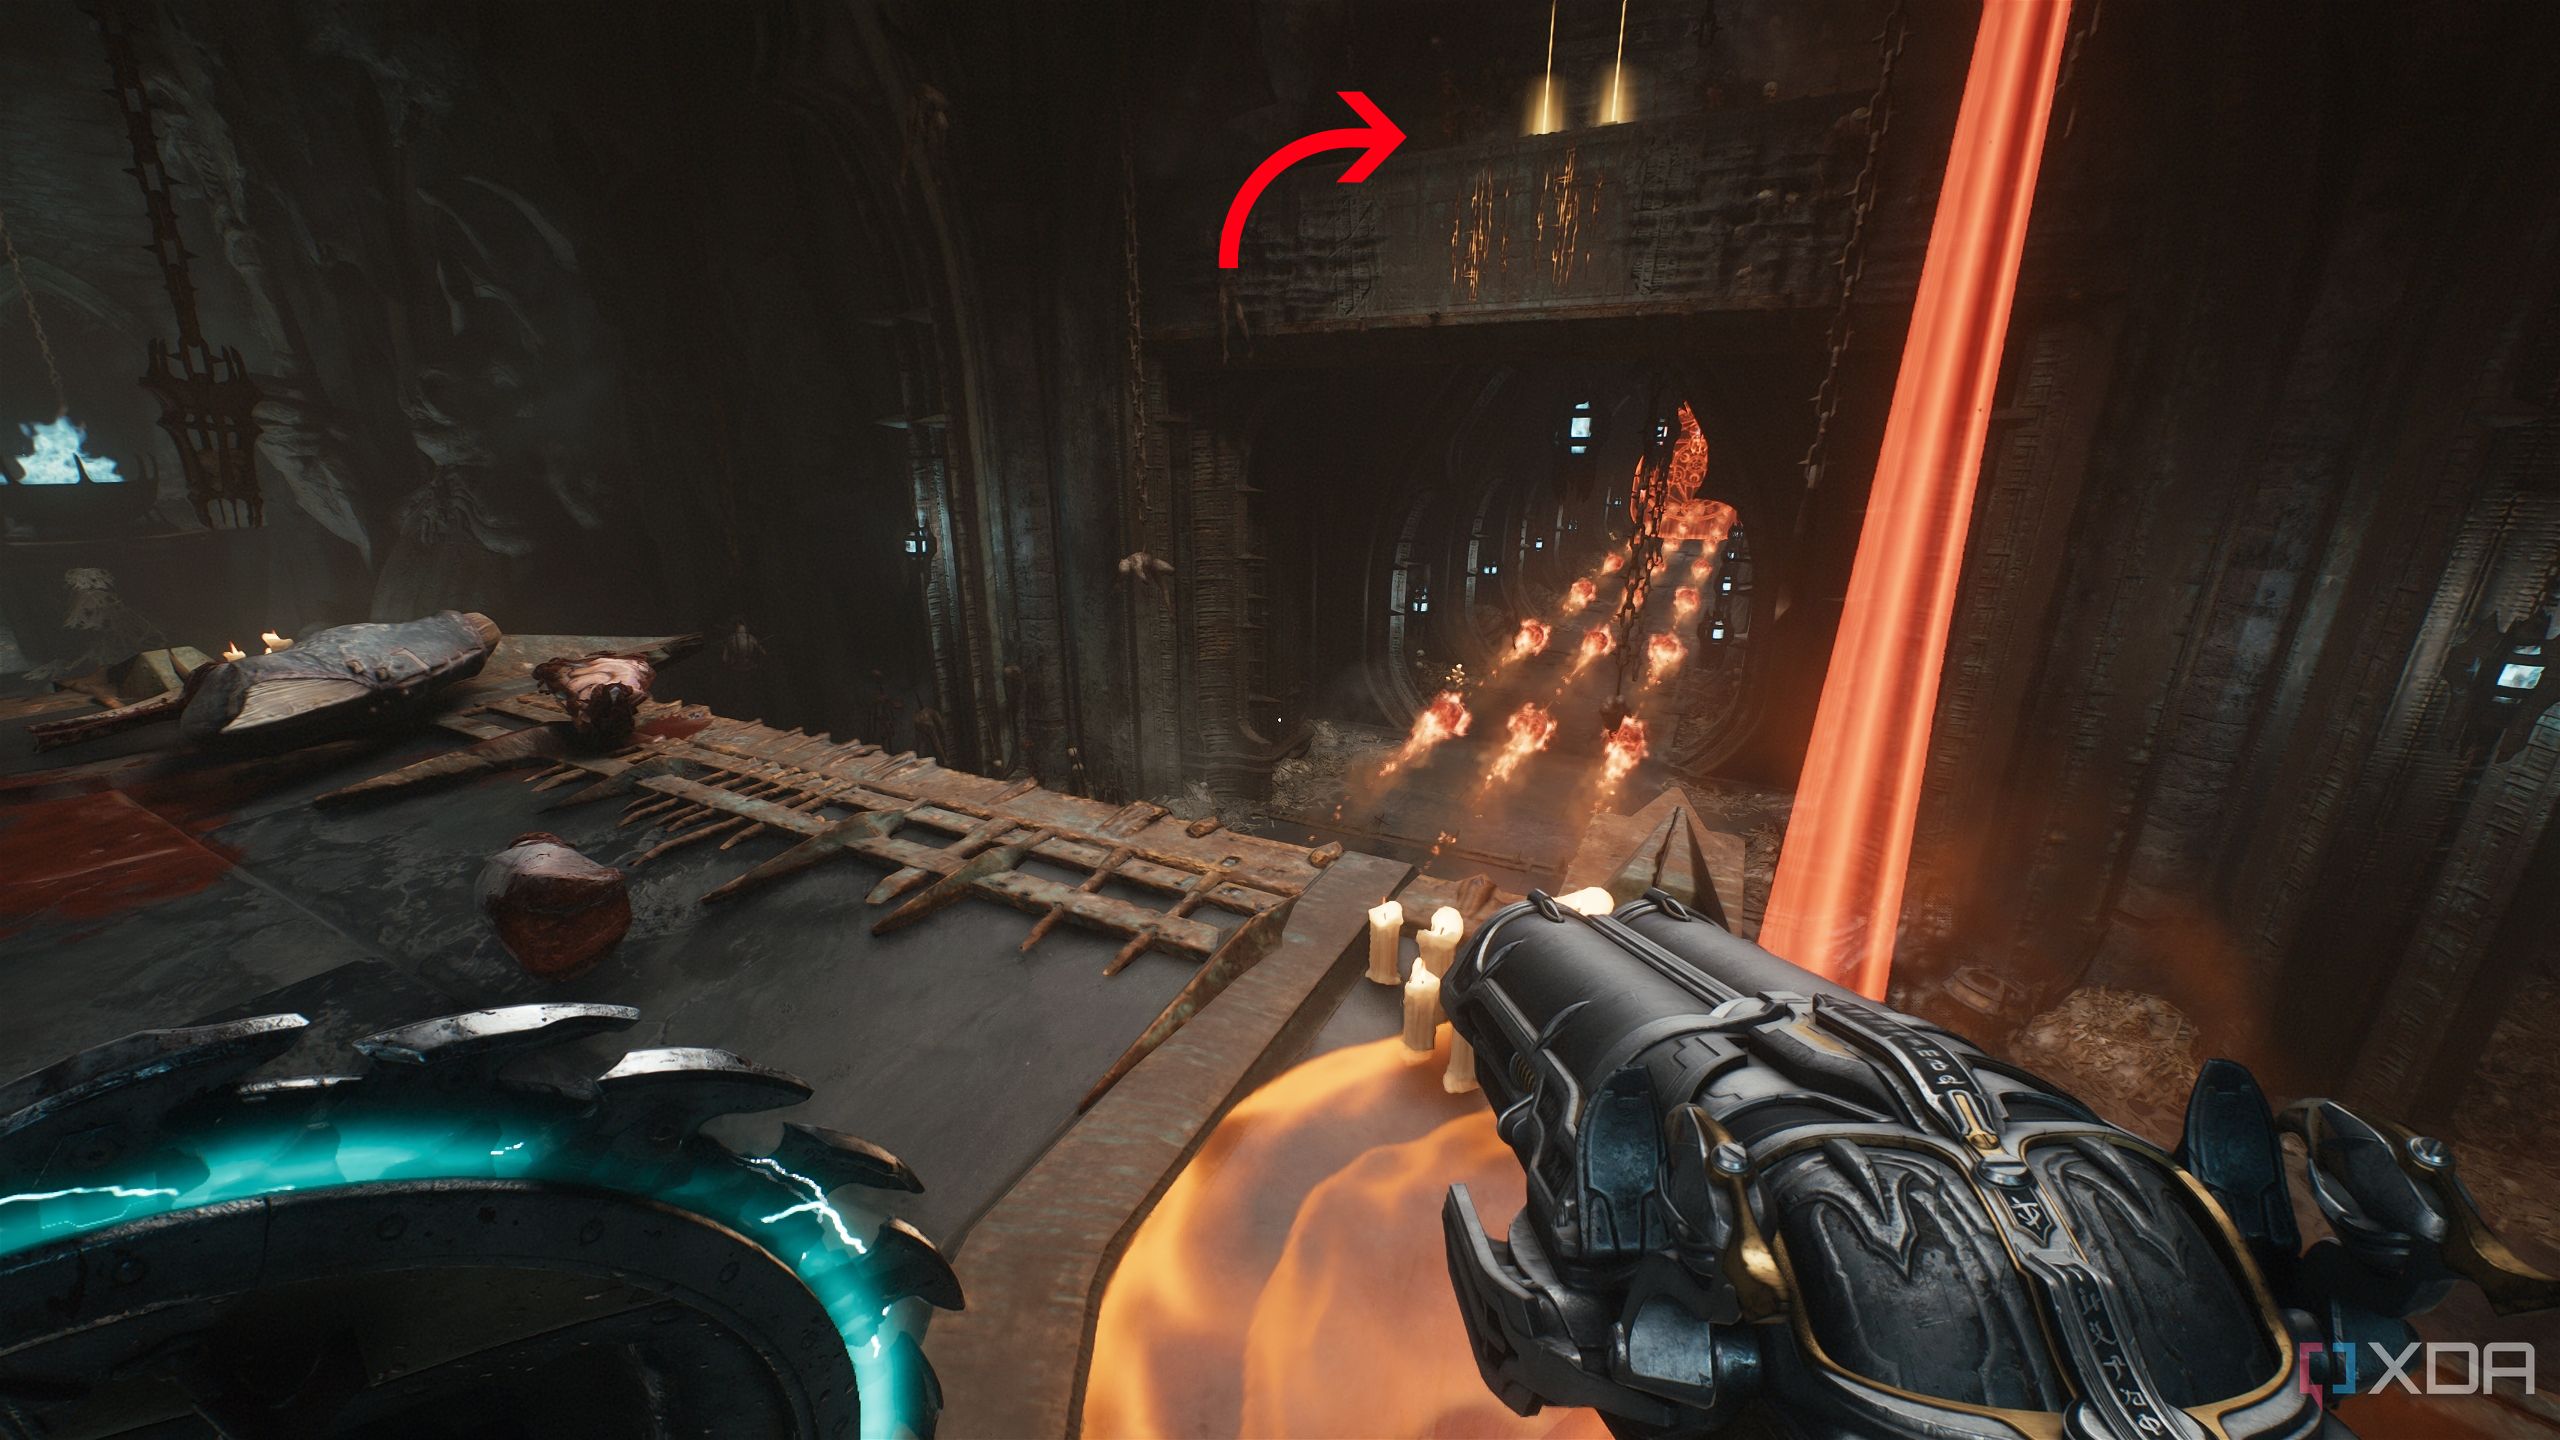
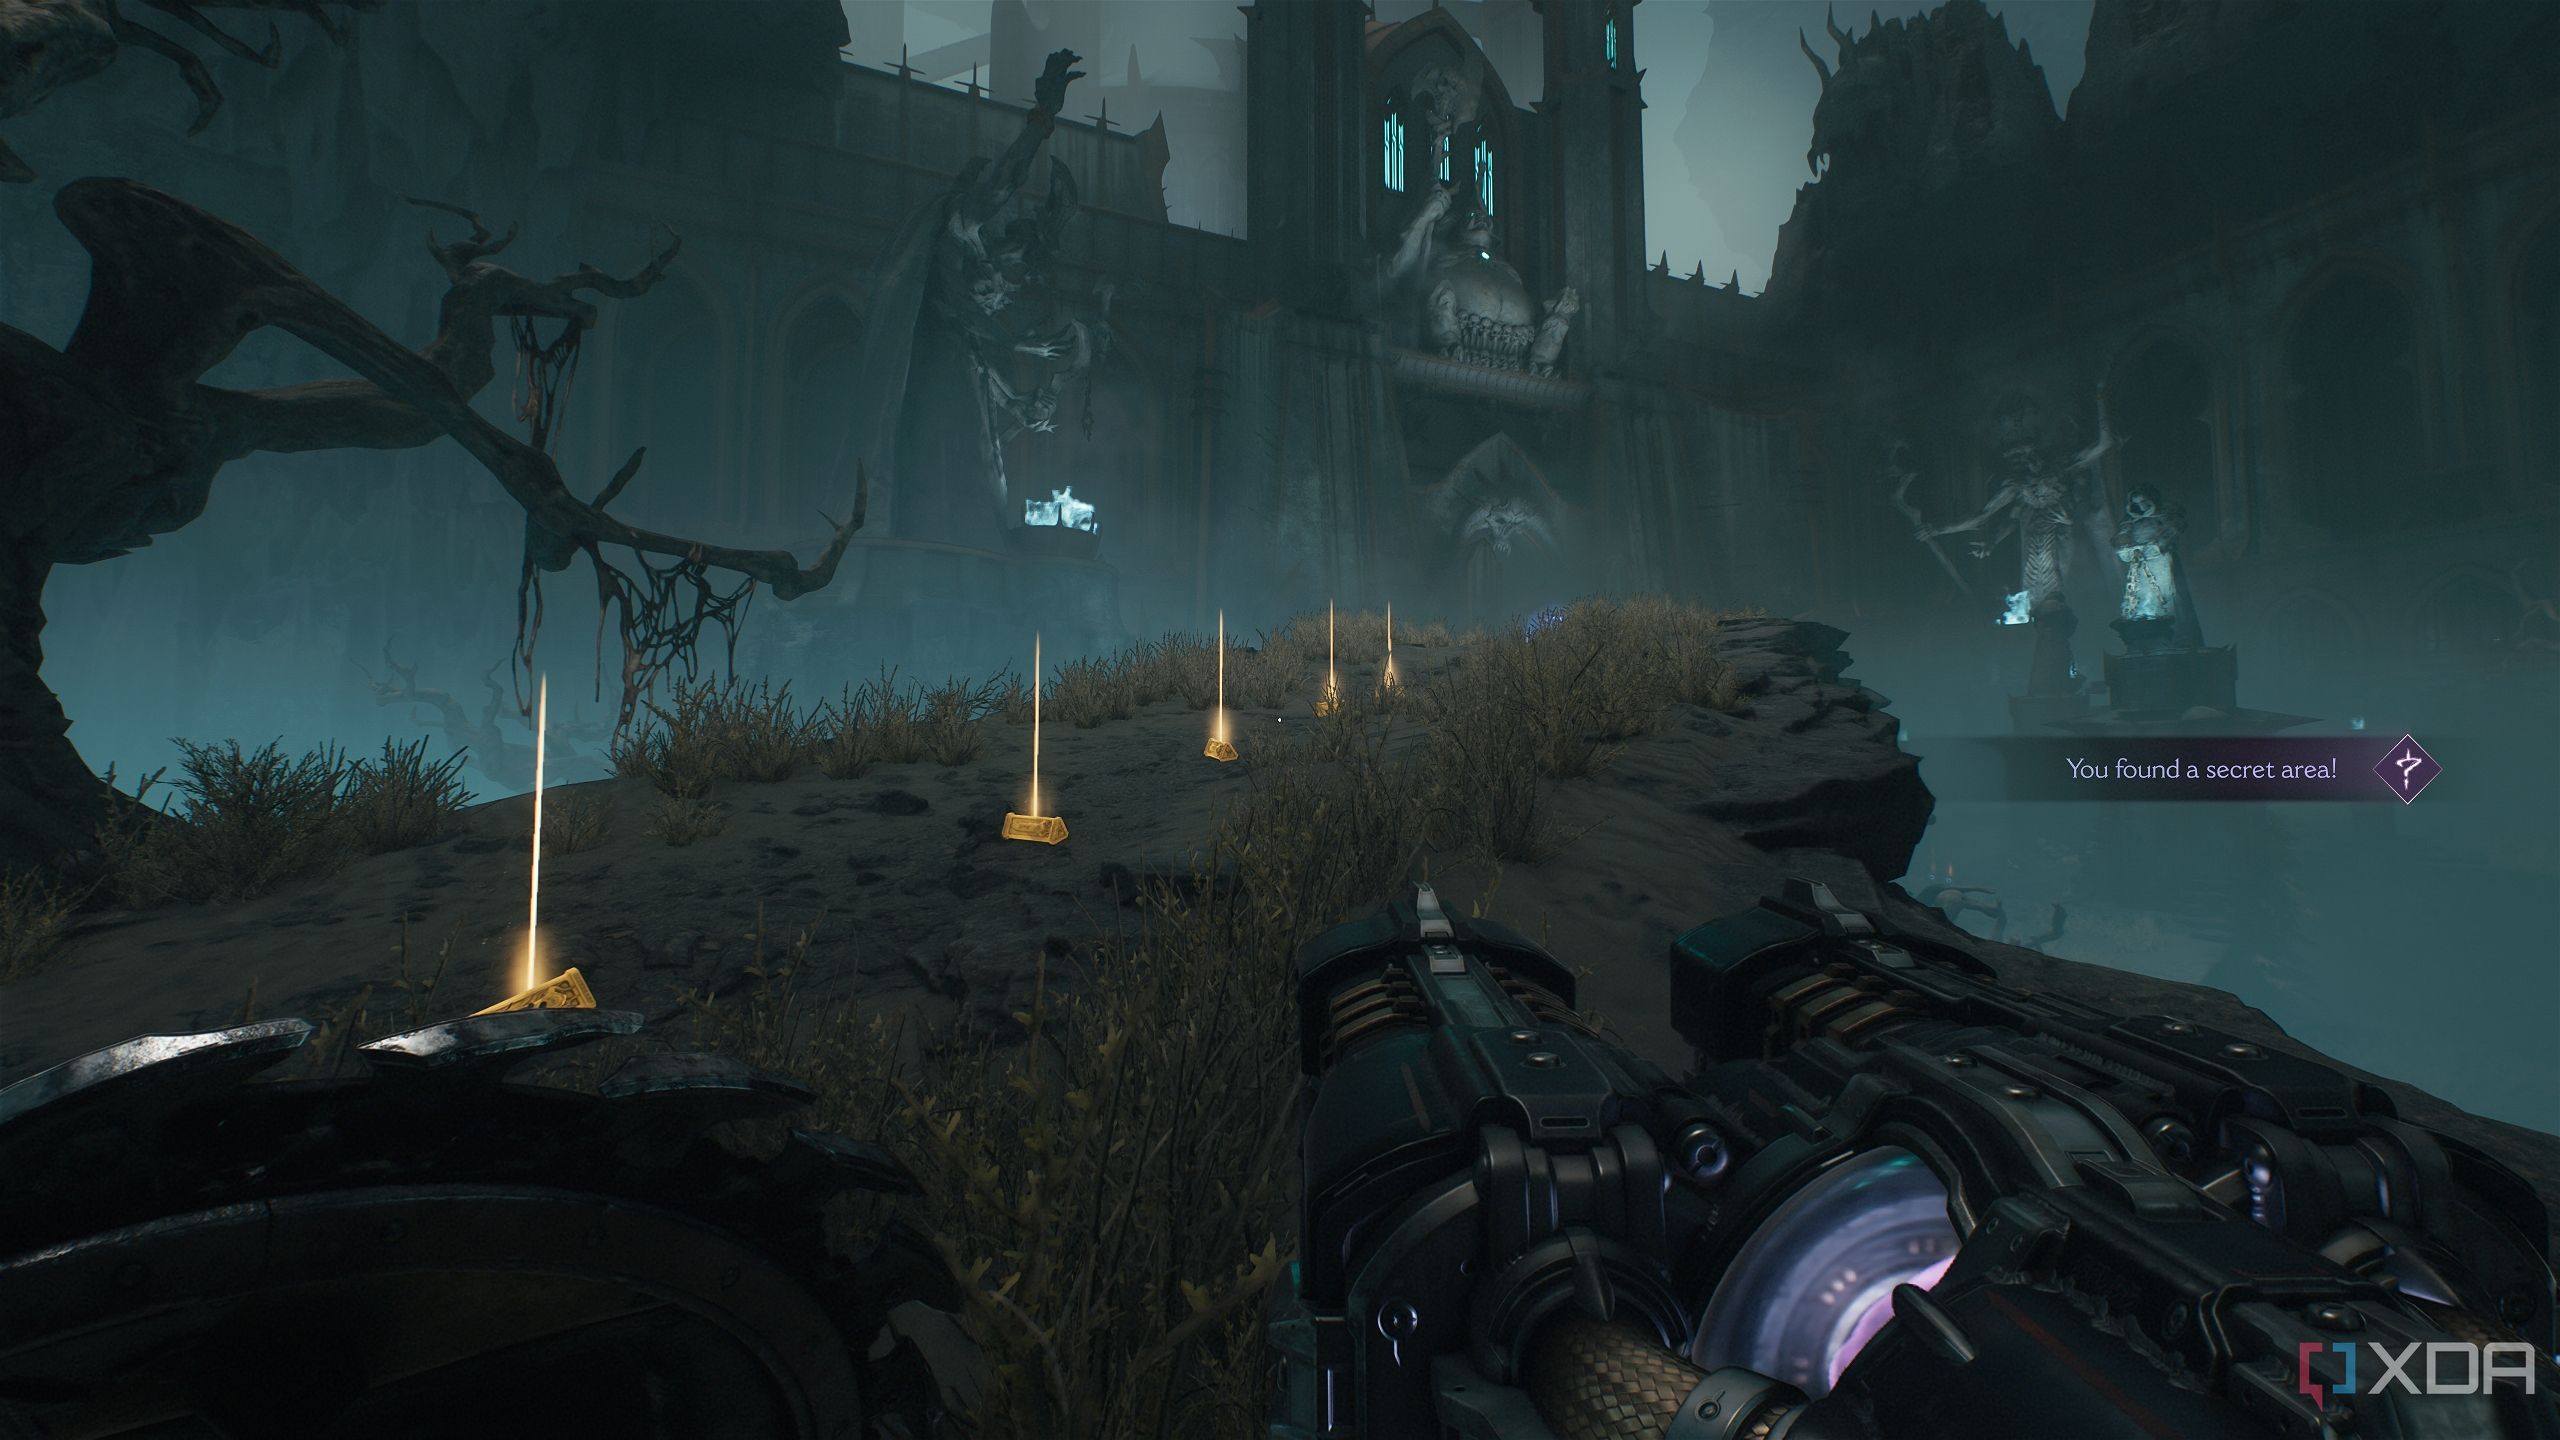
Next, stay on the Arachnotron’s platform, and look ahead (in the direction of the fire projectiles) to see a scramble wall within a jump’s reach.
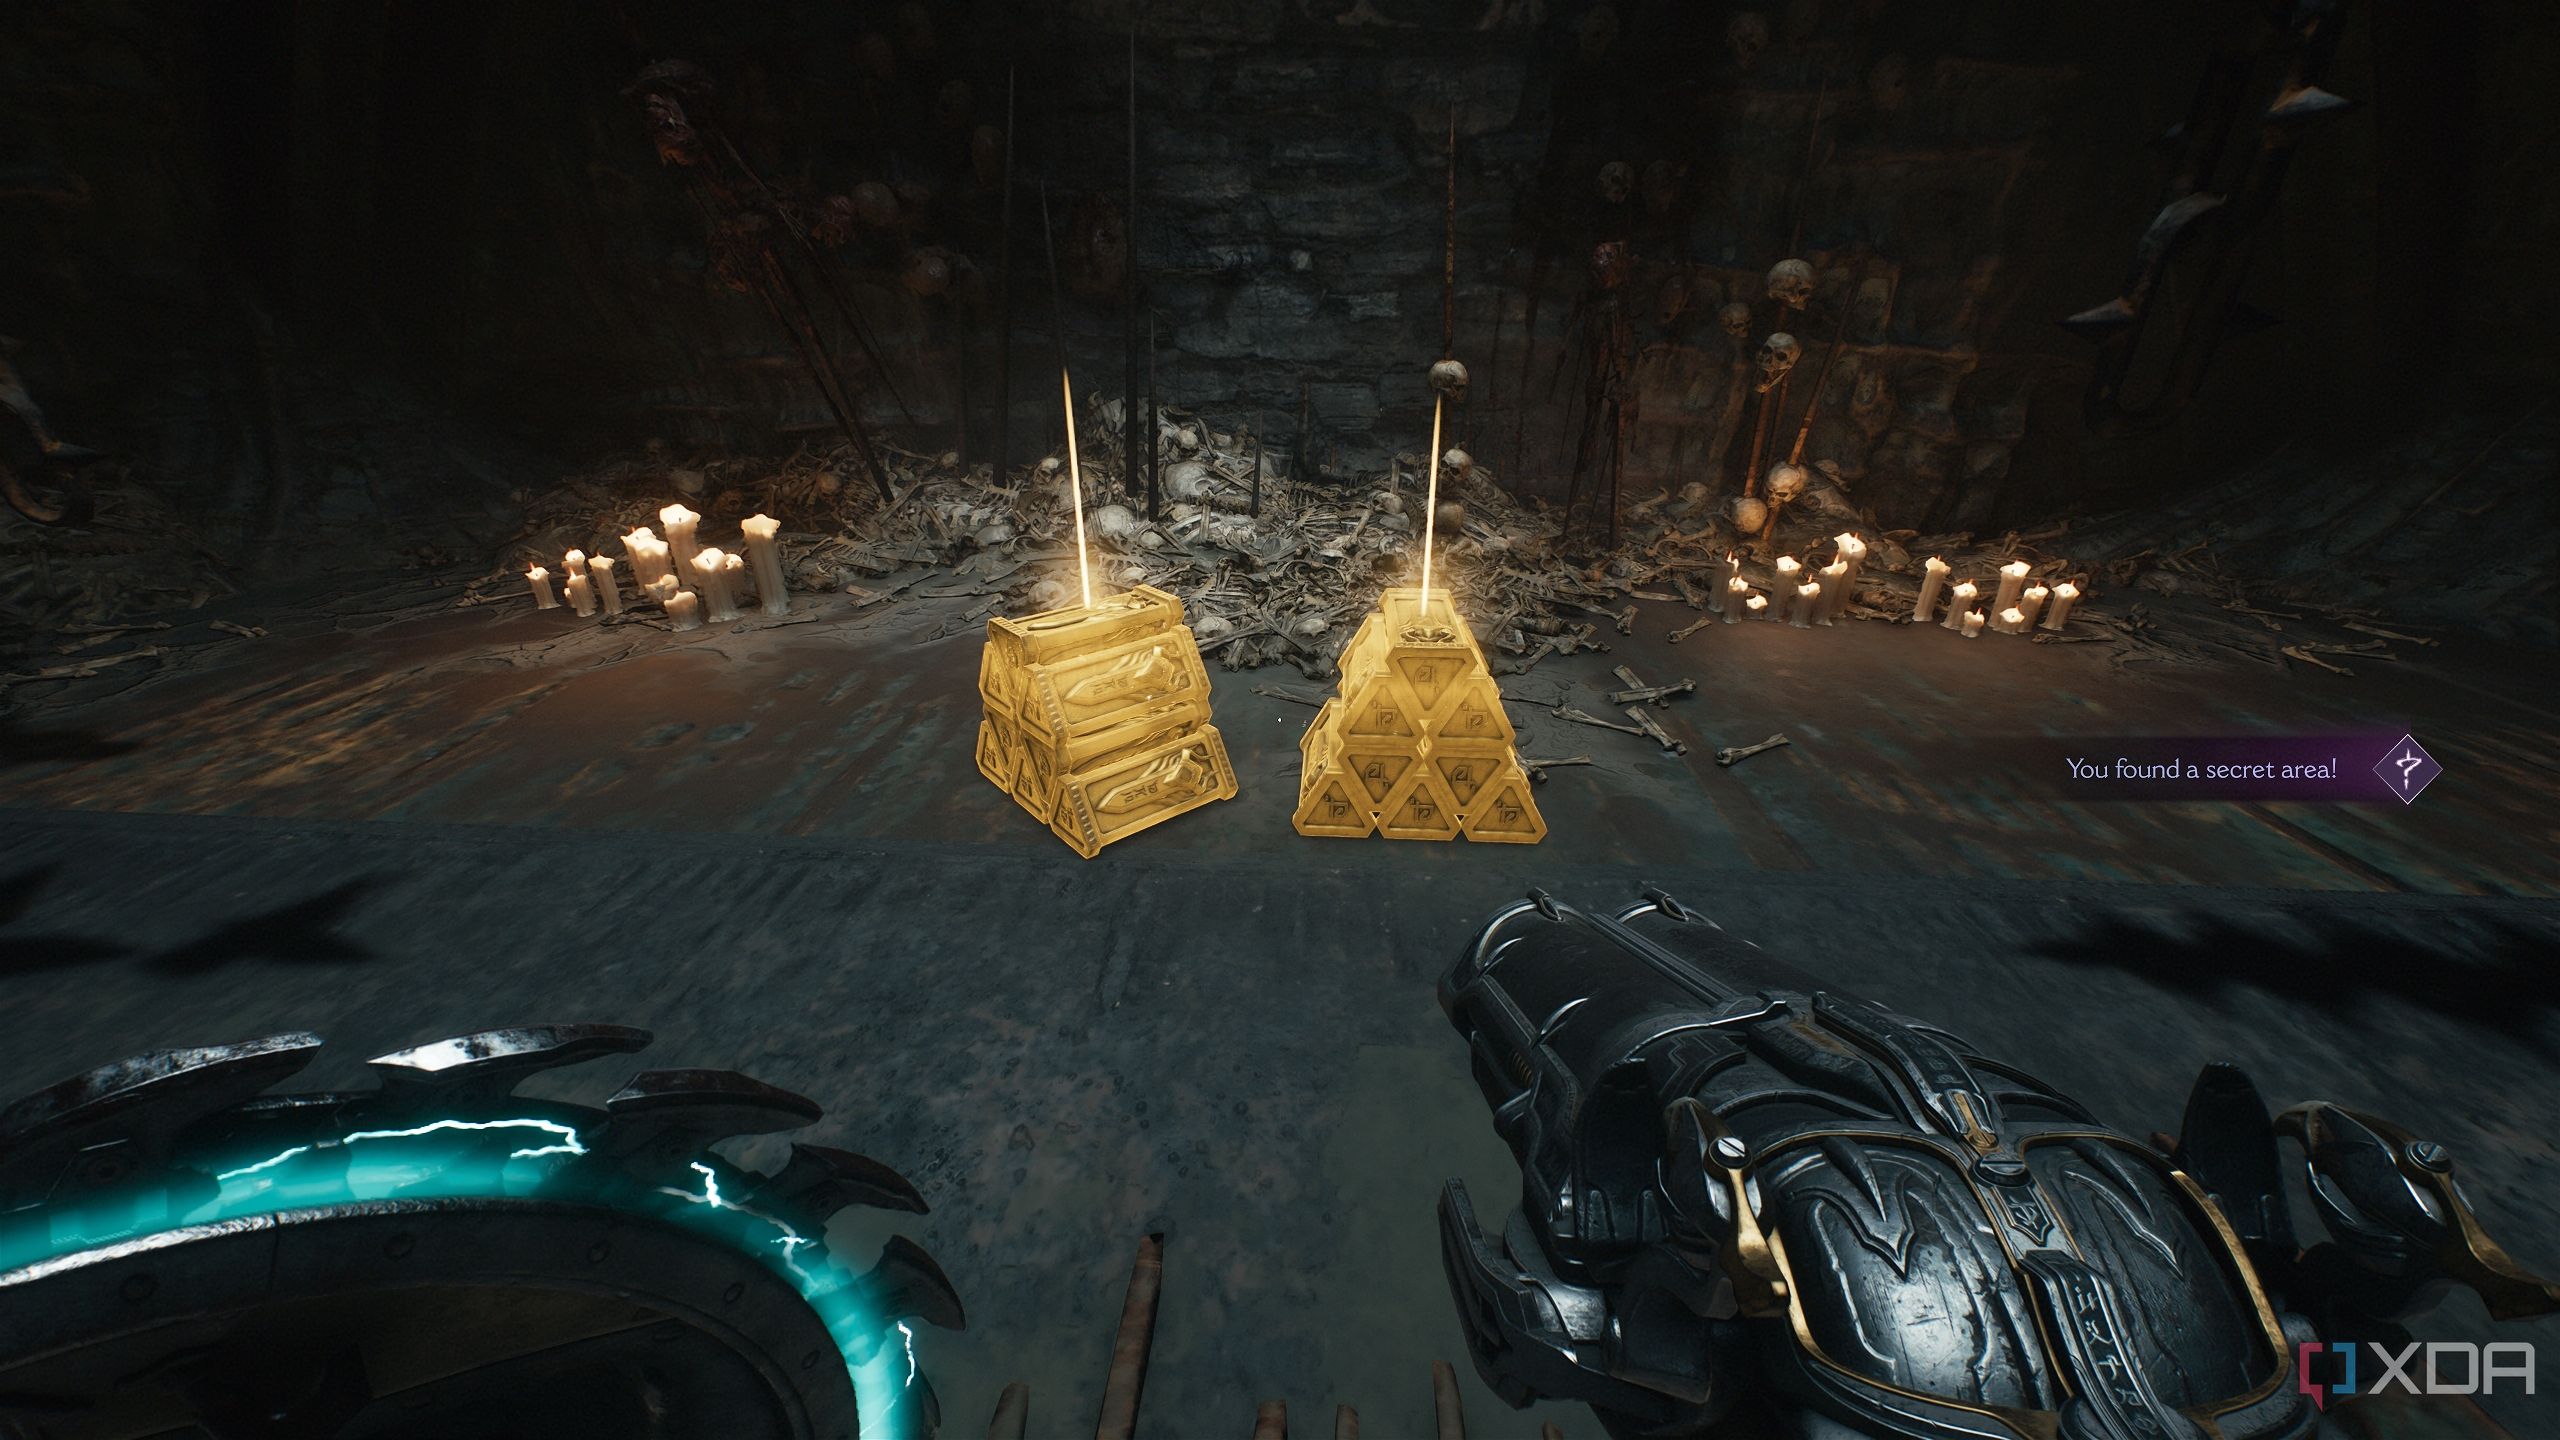
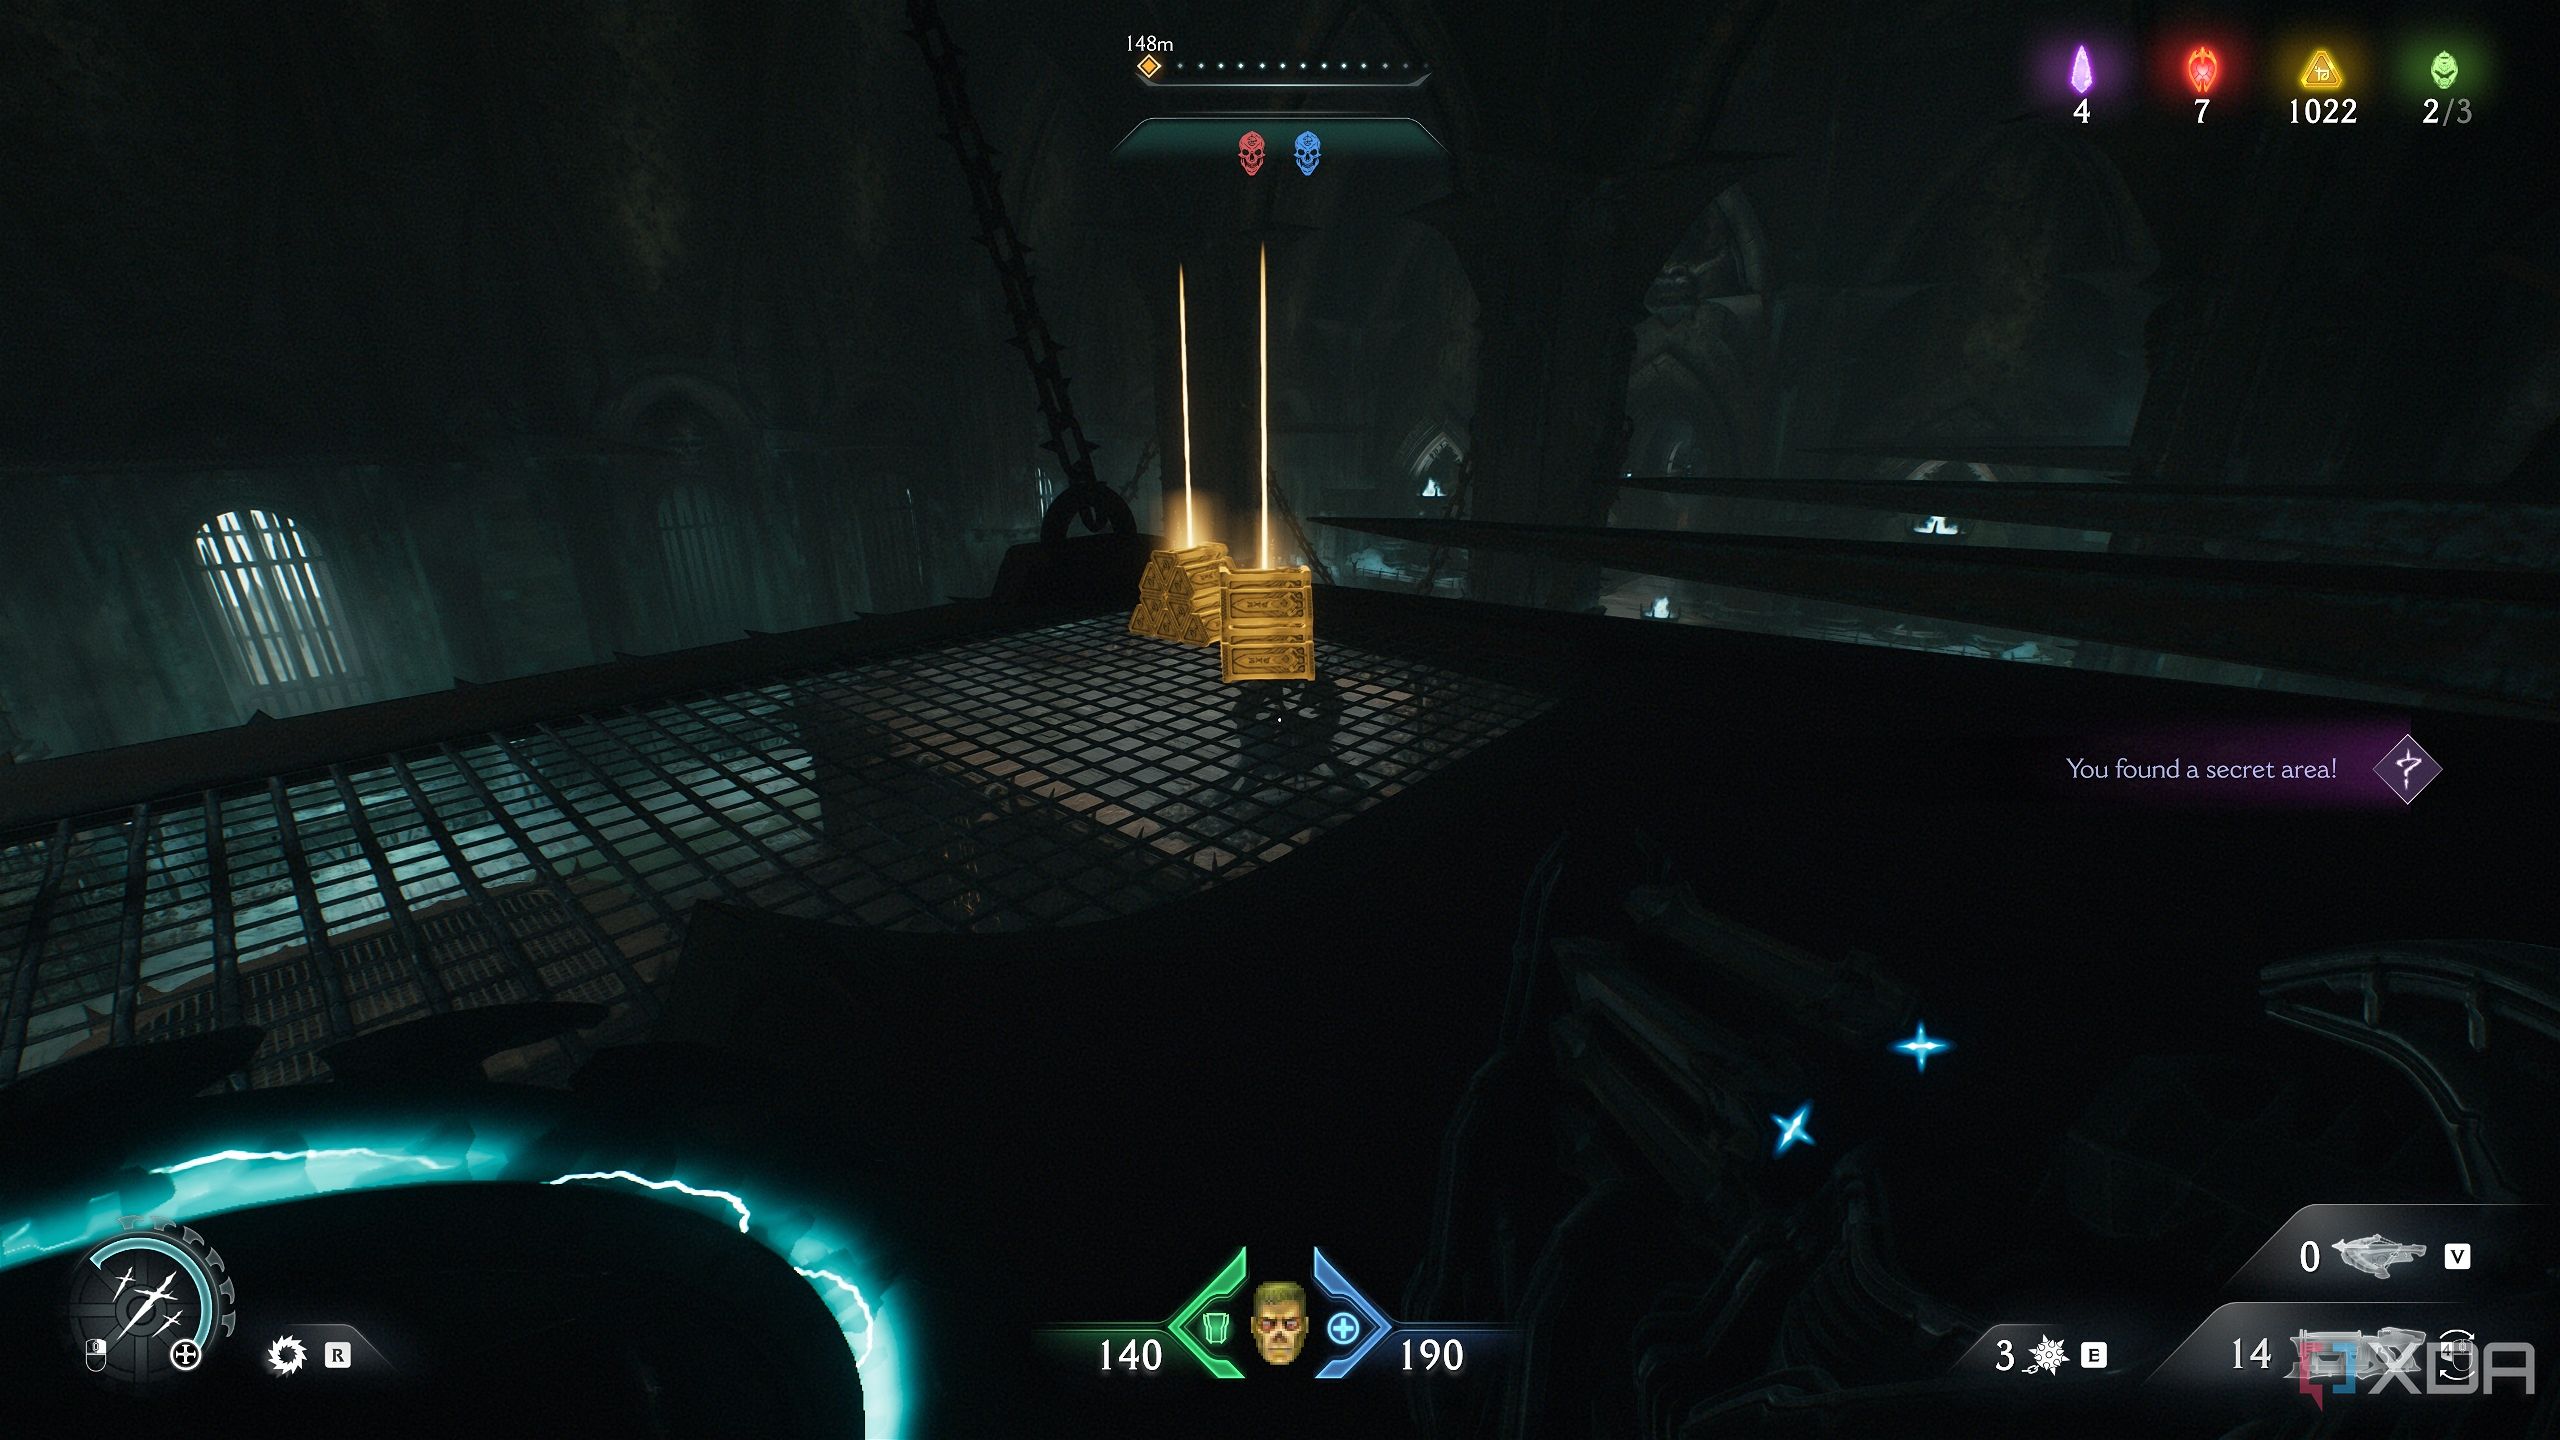
Jump up to it, climb it, and you’ll unlock secret area 1 and two stacks of gold.

Related
The DOOM series: Every core game ranked
What are the best entries of the DOOM series that you should play? Here's every core game ranked!
Secret area 2 and a Life Sigil
Roof-spike traps are really becoming a thing
Follow the path forward until you reach outside — you’ll be in this location on the map.
Here, deal with the surrounding demons, and use the jump pad on the ledge to get to the other side.
Another machine throwing fire projectiles at you will activate. Pay no heed, and look below, in the direction of the projectiles, to see a path with a trail of gold bars to pick up.
Pick them up, and follow them inside a chamber. You’ll see an interactable lever to your right. Activate it, and deal with the demons that appear.

Then, get to this location on the map. It’s right next to the lever you just activated.
The spike trap will activate, so just climb it to get above.
Here, you’ll find another trail of gold bars leading to secret area 2 and a Life Sigil.

Head forward into the fiery projectiles with your shield up to proceed towards your objective.
Secret area 3 and a Red Ruby
The only Red Ruby in the chapter
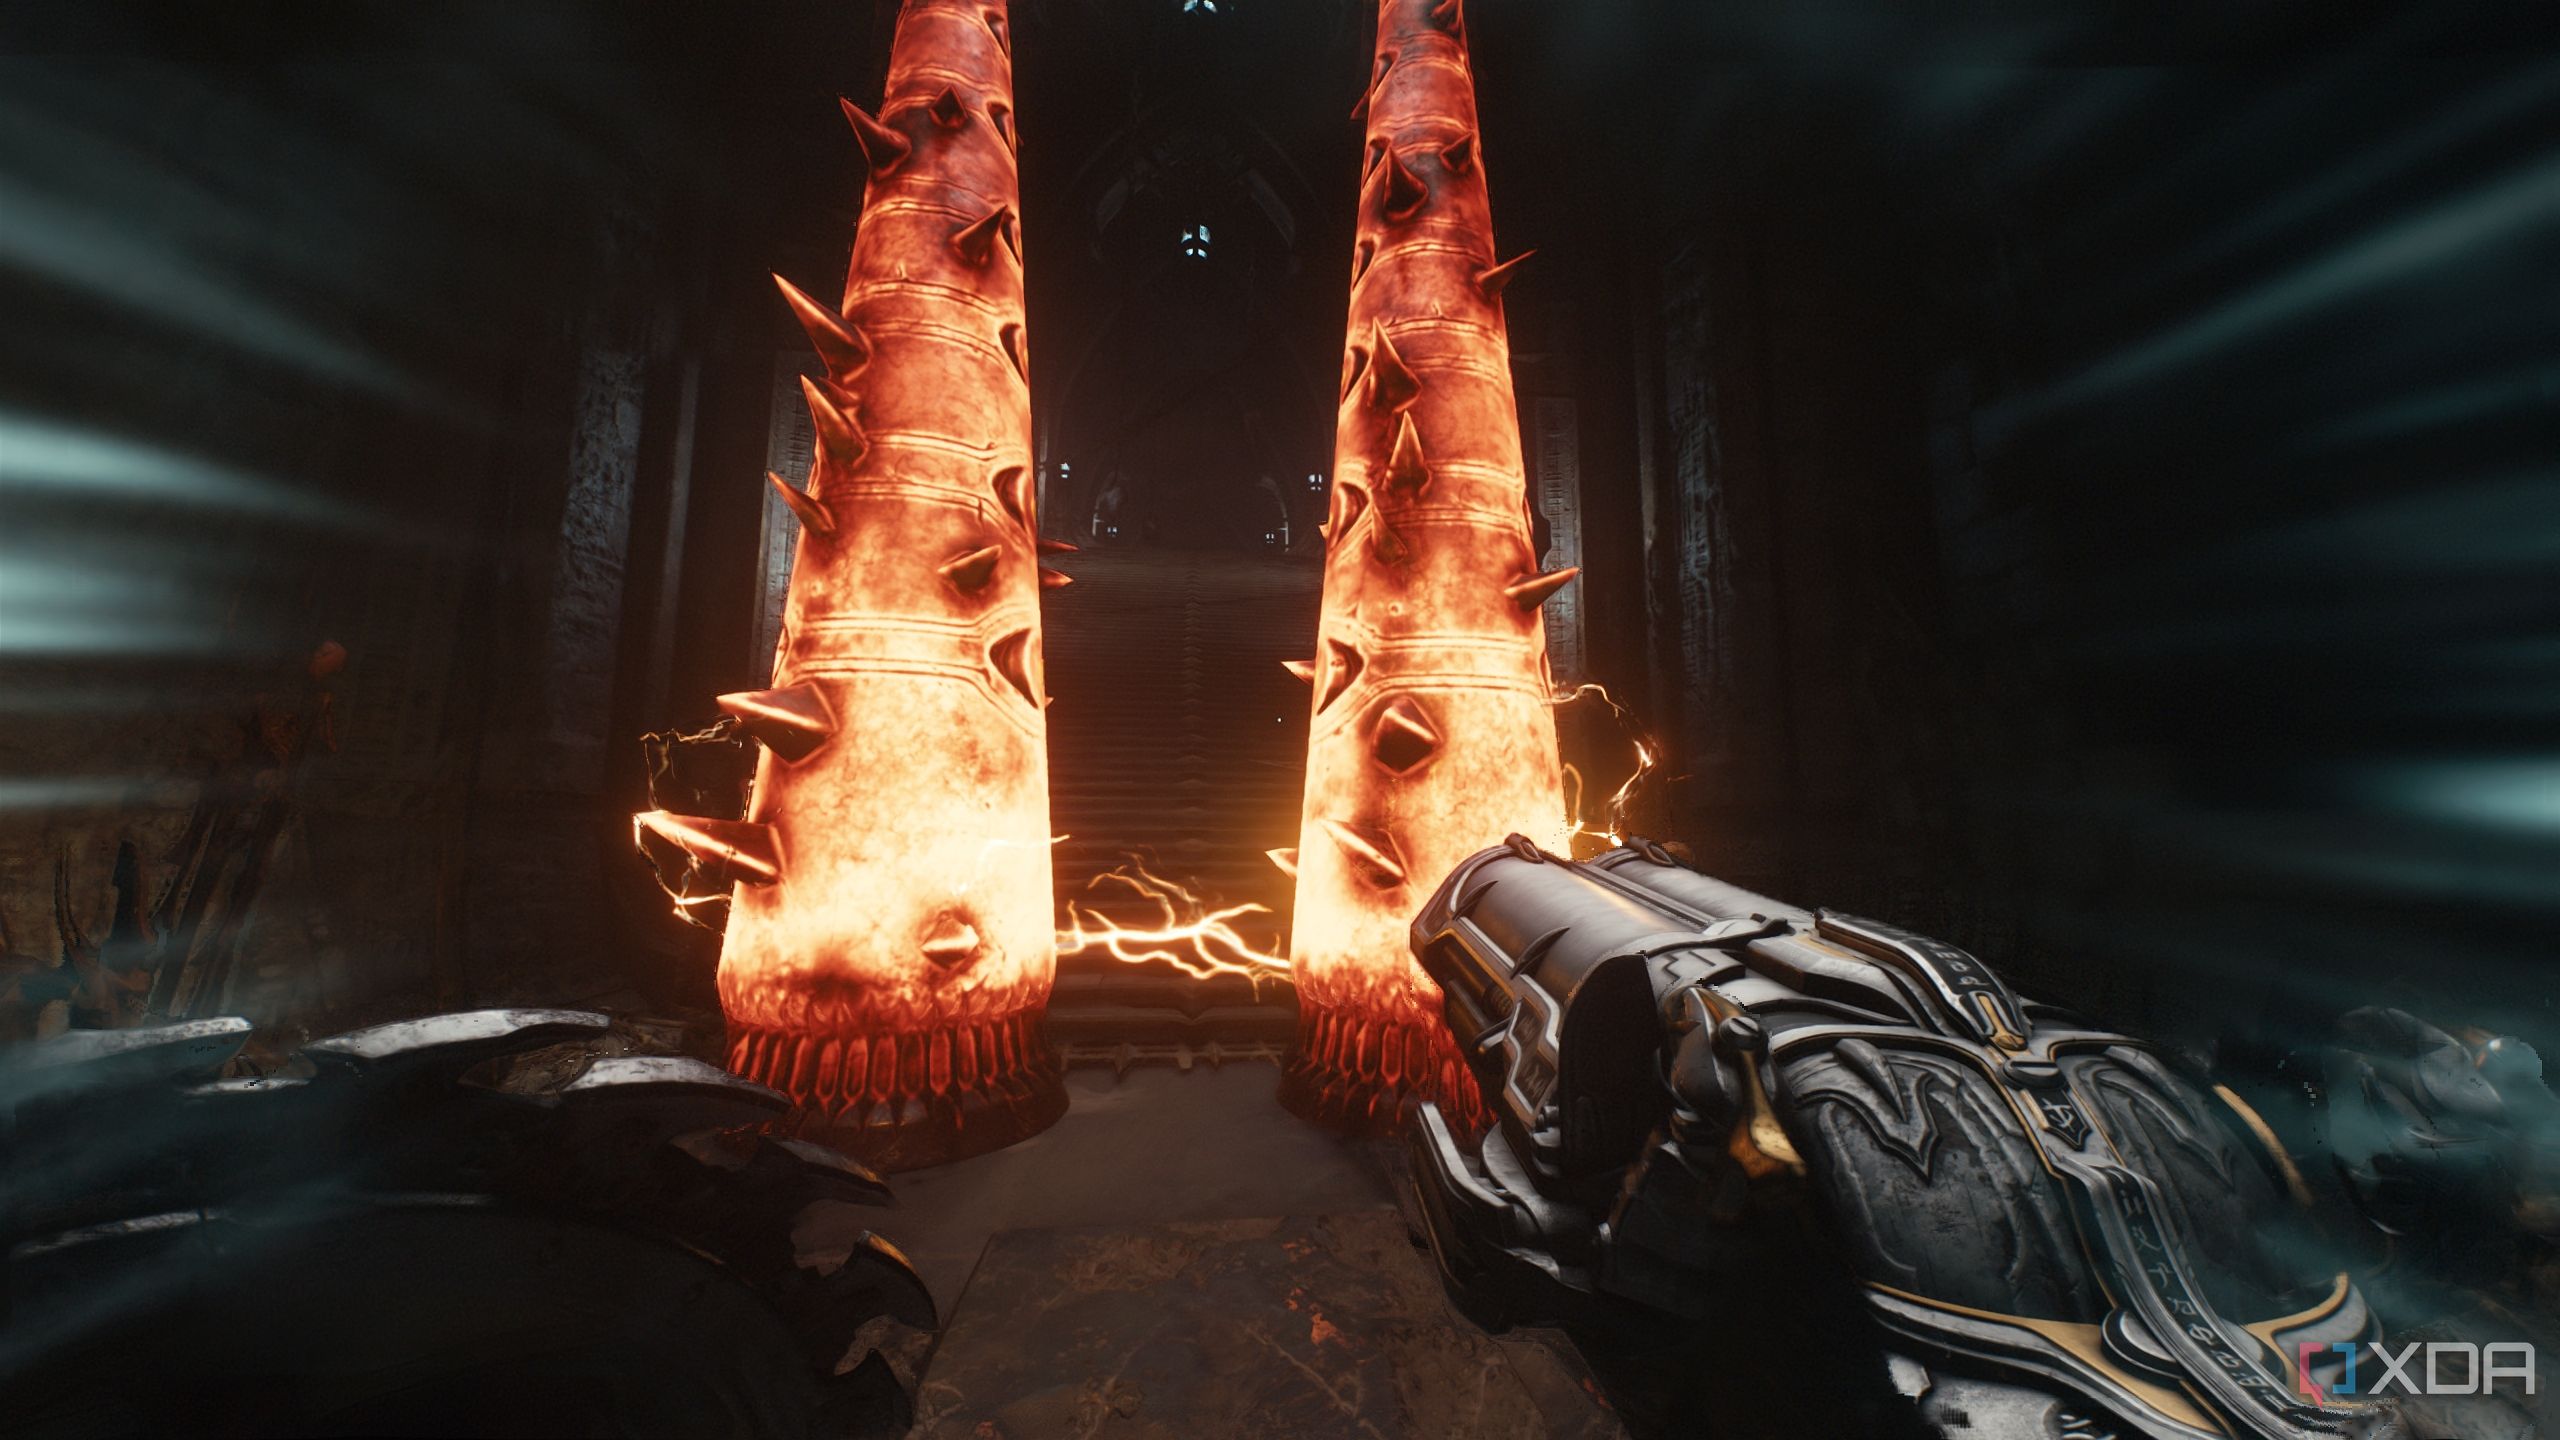
Now, you should see two more heated metal spikes to break through.
Moving forward, you’ll be trapped in a long, tight corridor with two Whiplash demons.
They’re annoying to defeat, but bring them down. I found the Rocket Launcher to work best here. Then, take care of the Enforcer Shielded Soldier in front of you. Head towards the objective as it will open into a big chamber.
This is where you’ll be on the map.
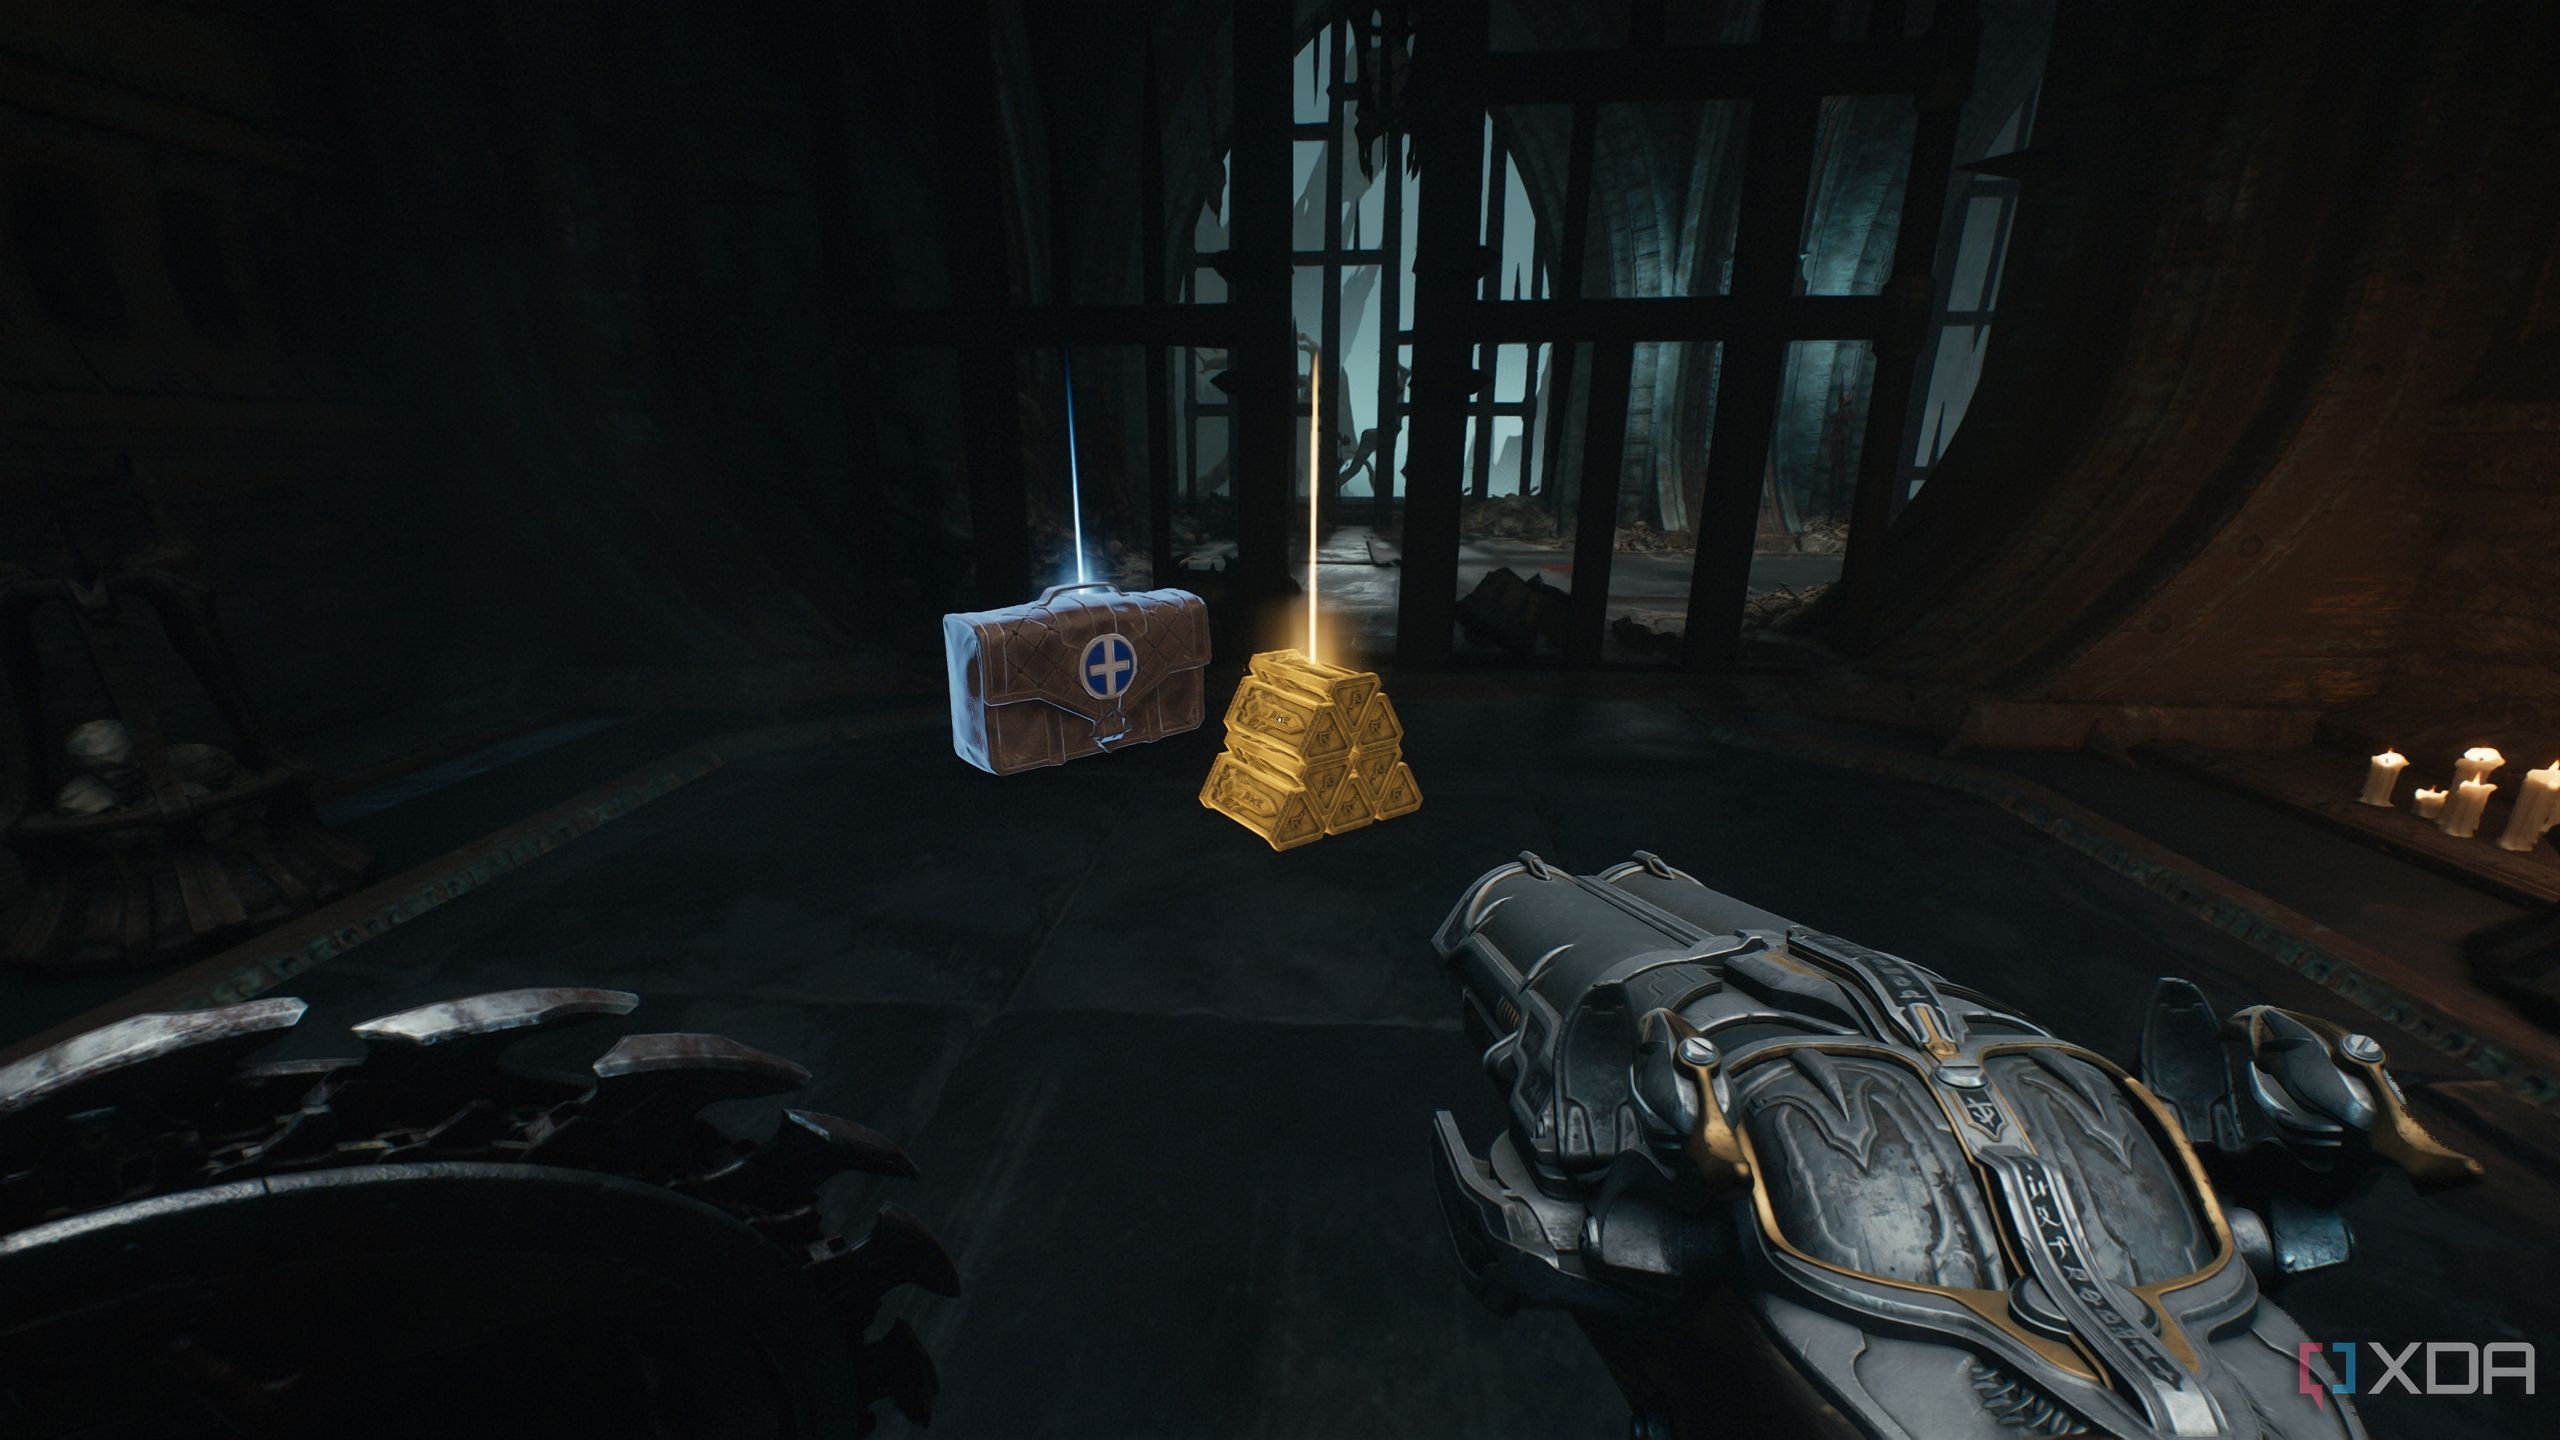
Turn around immediately to your right, and you’ll see two gold stacks along with a health pack.
Pick those up, and move back towards the center of this chamber.
Here, another roof spike trap will be active.
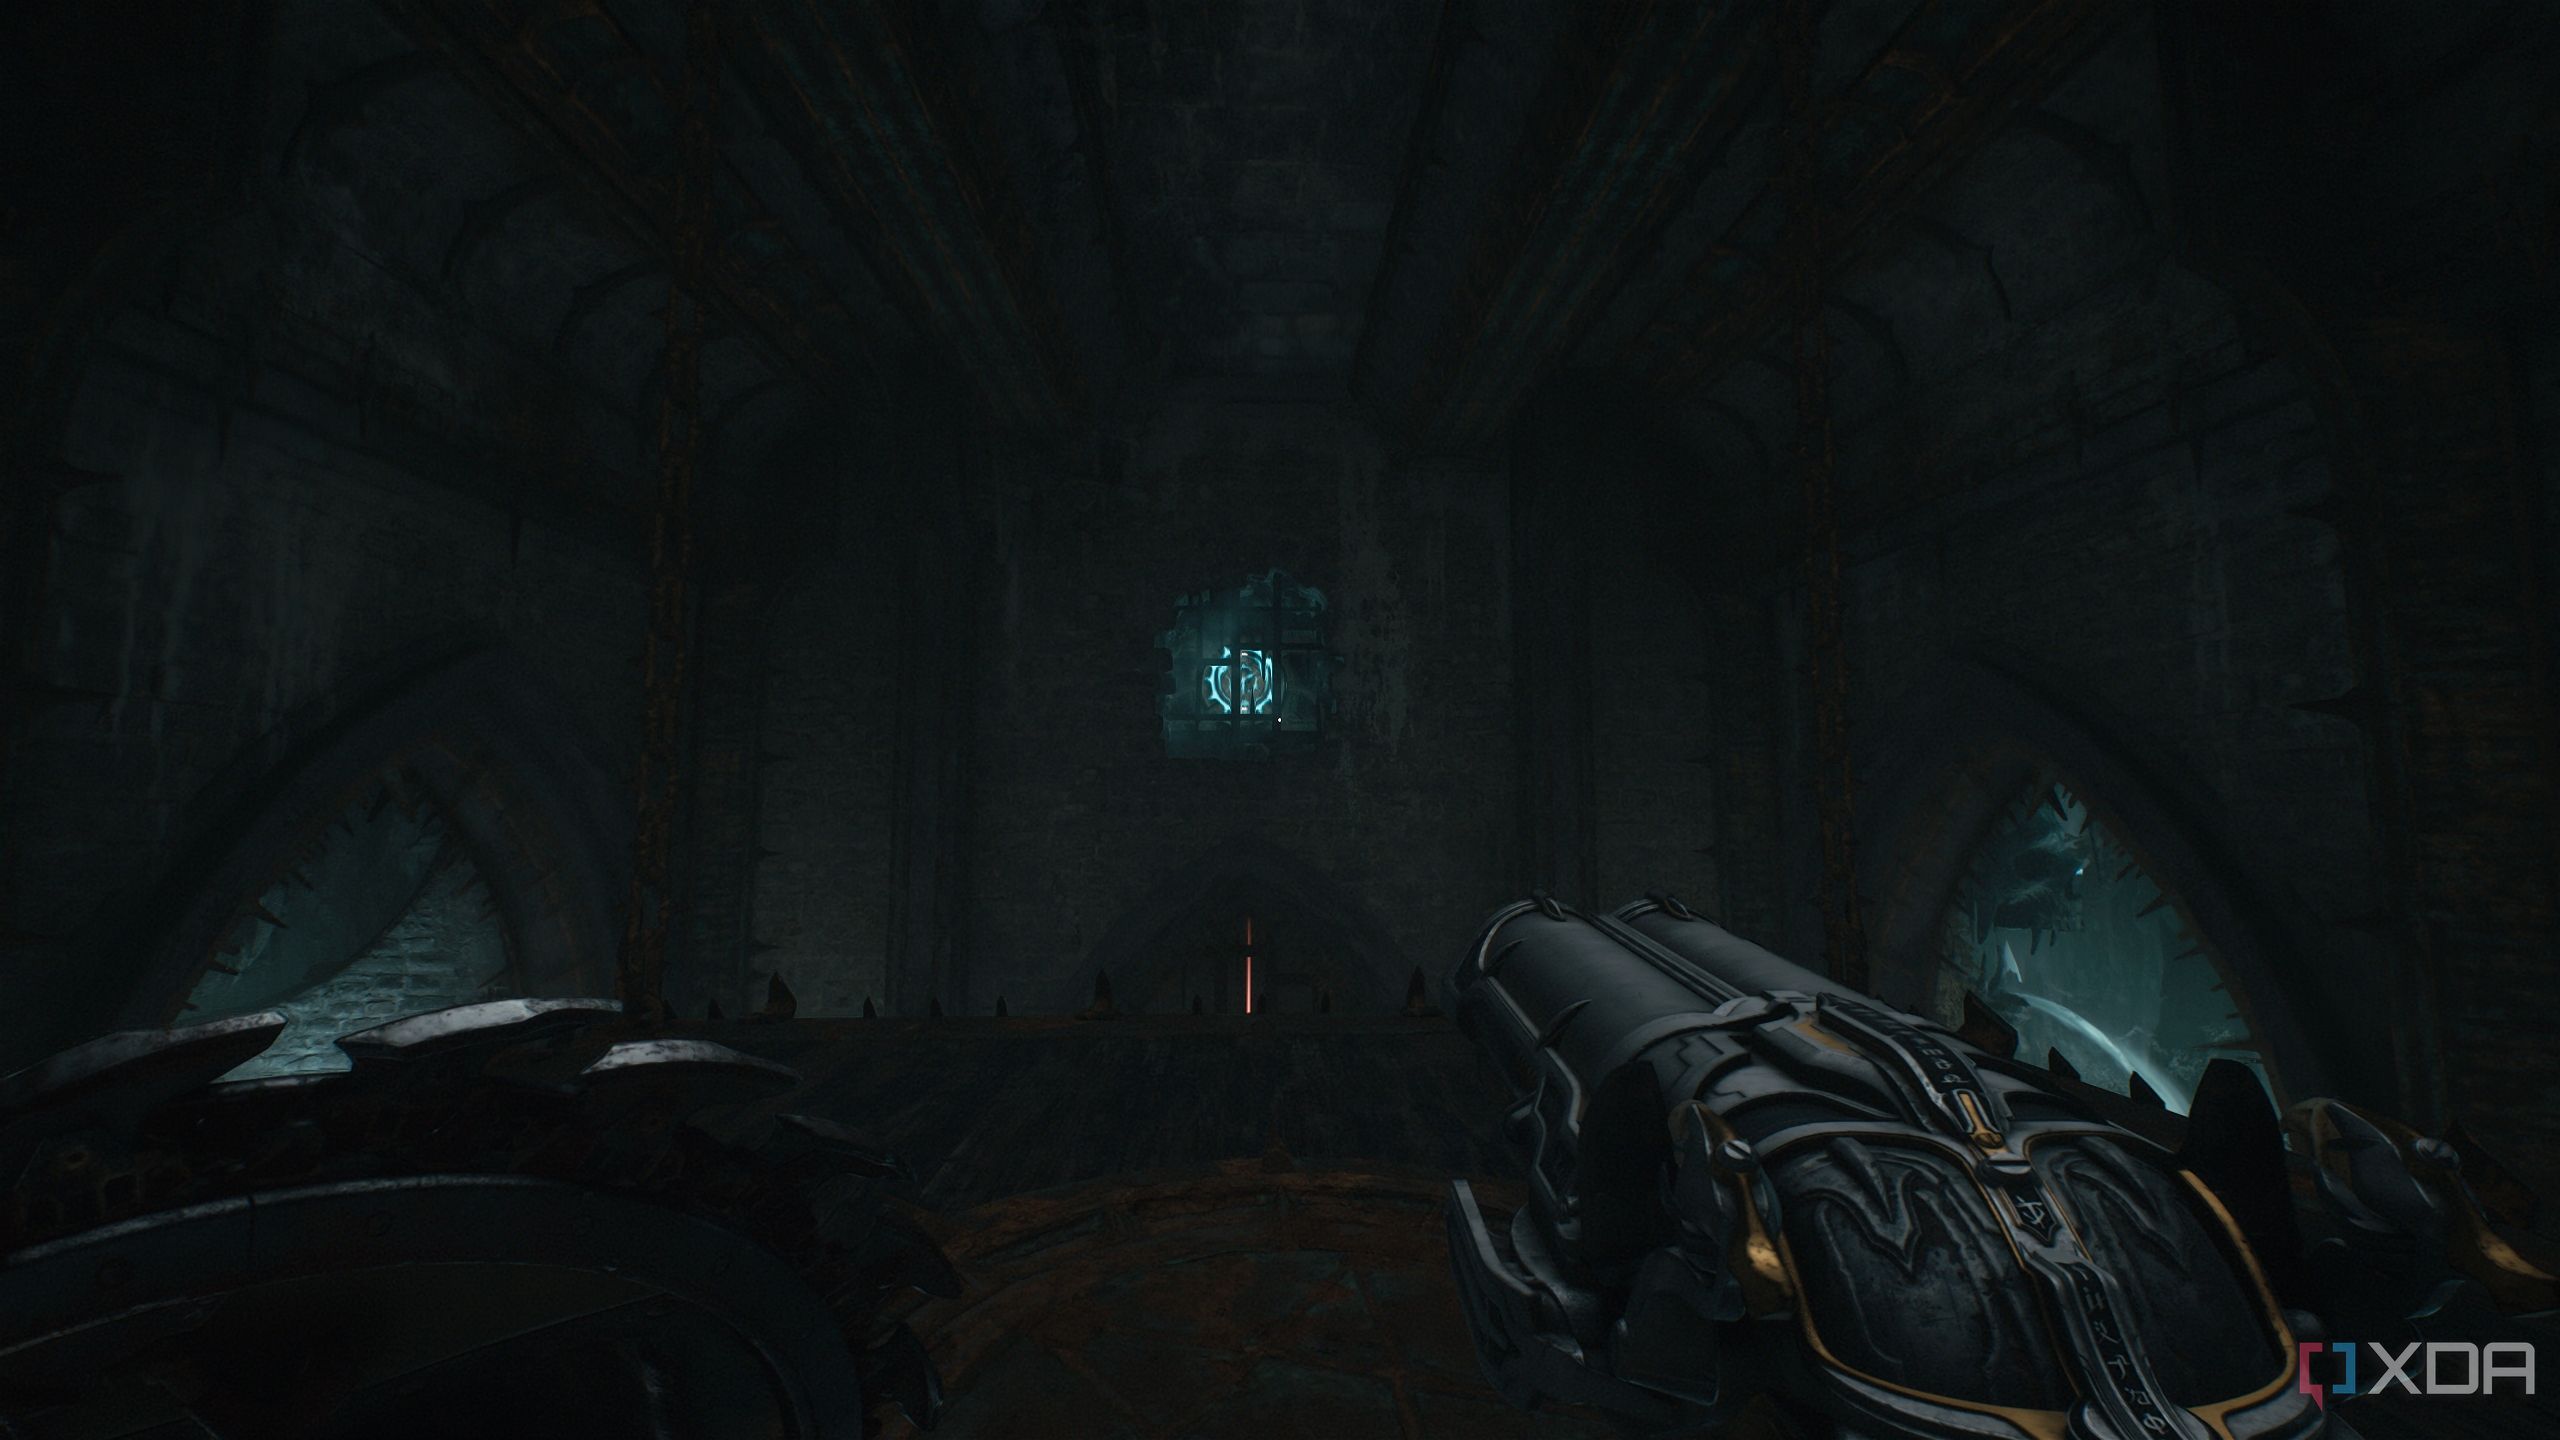
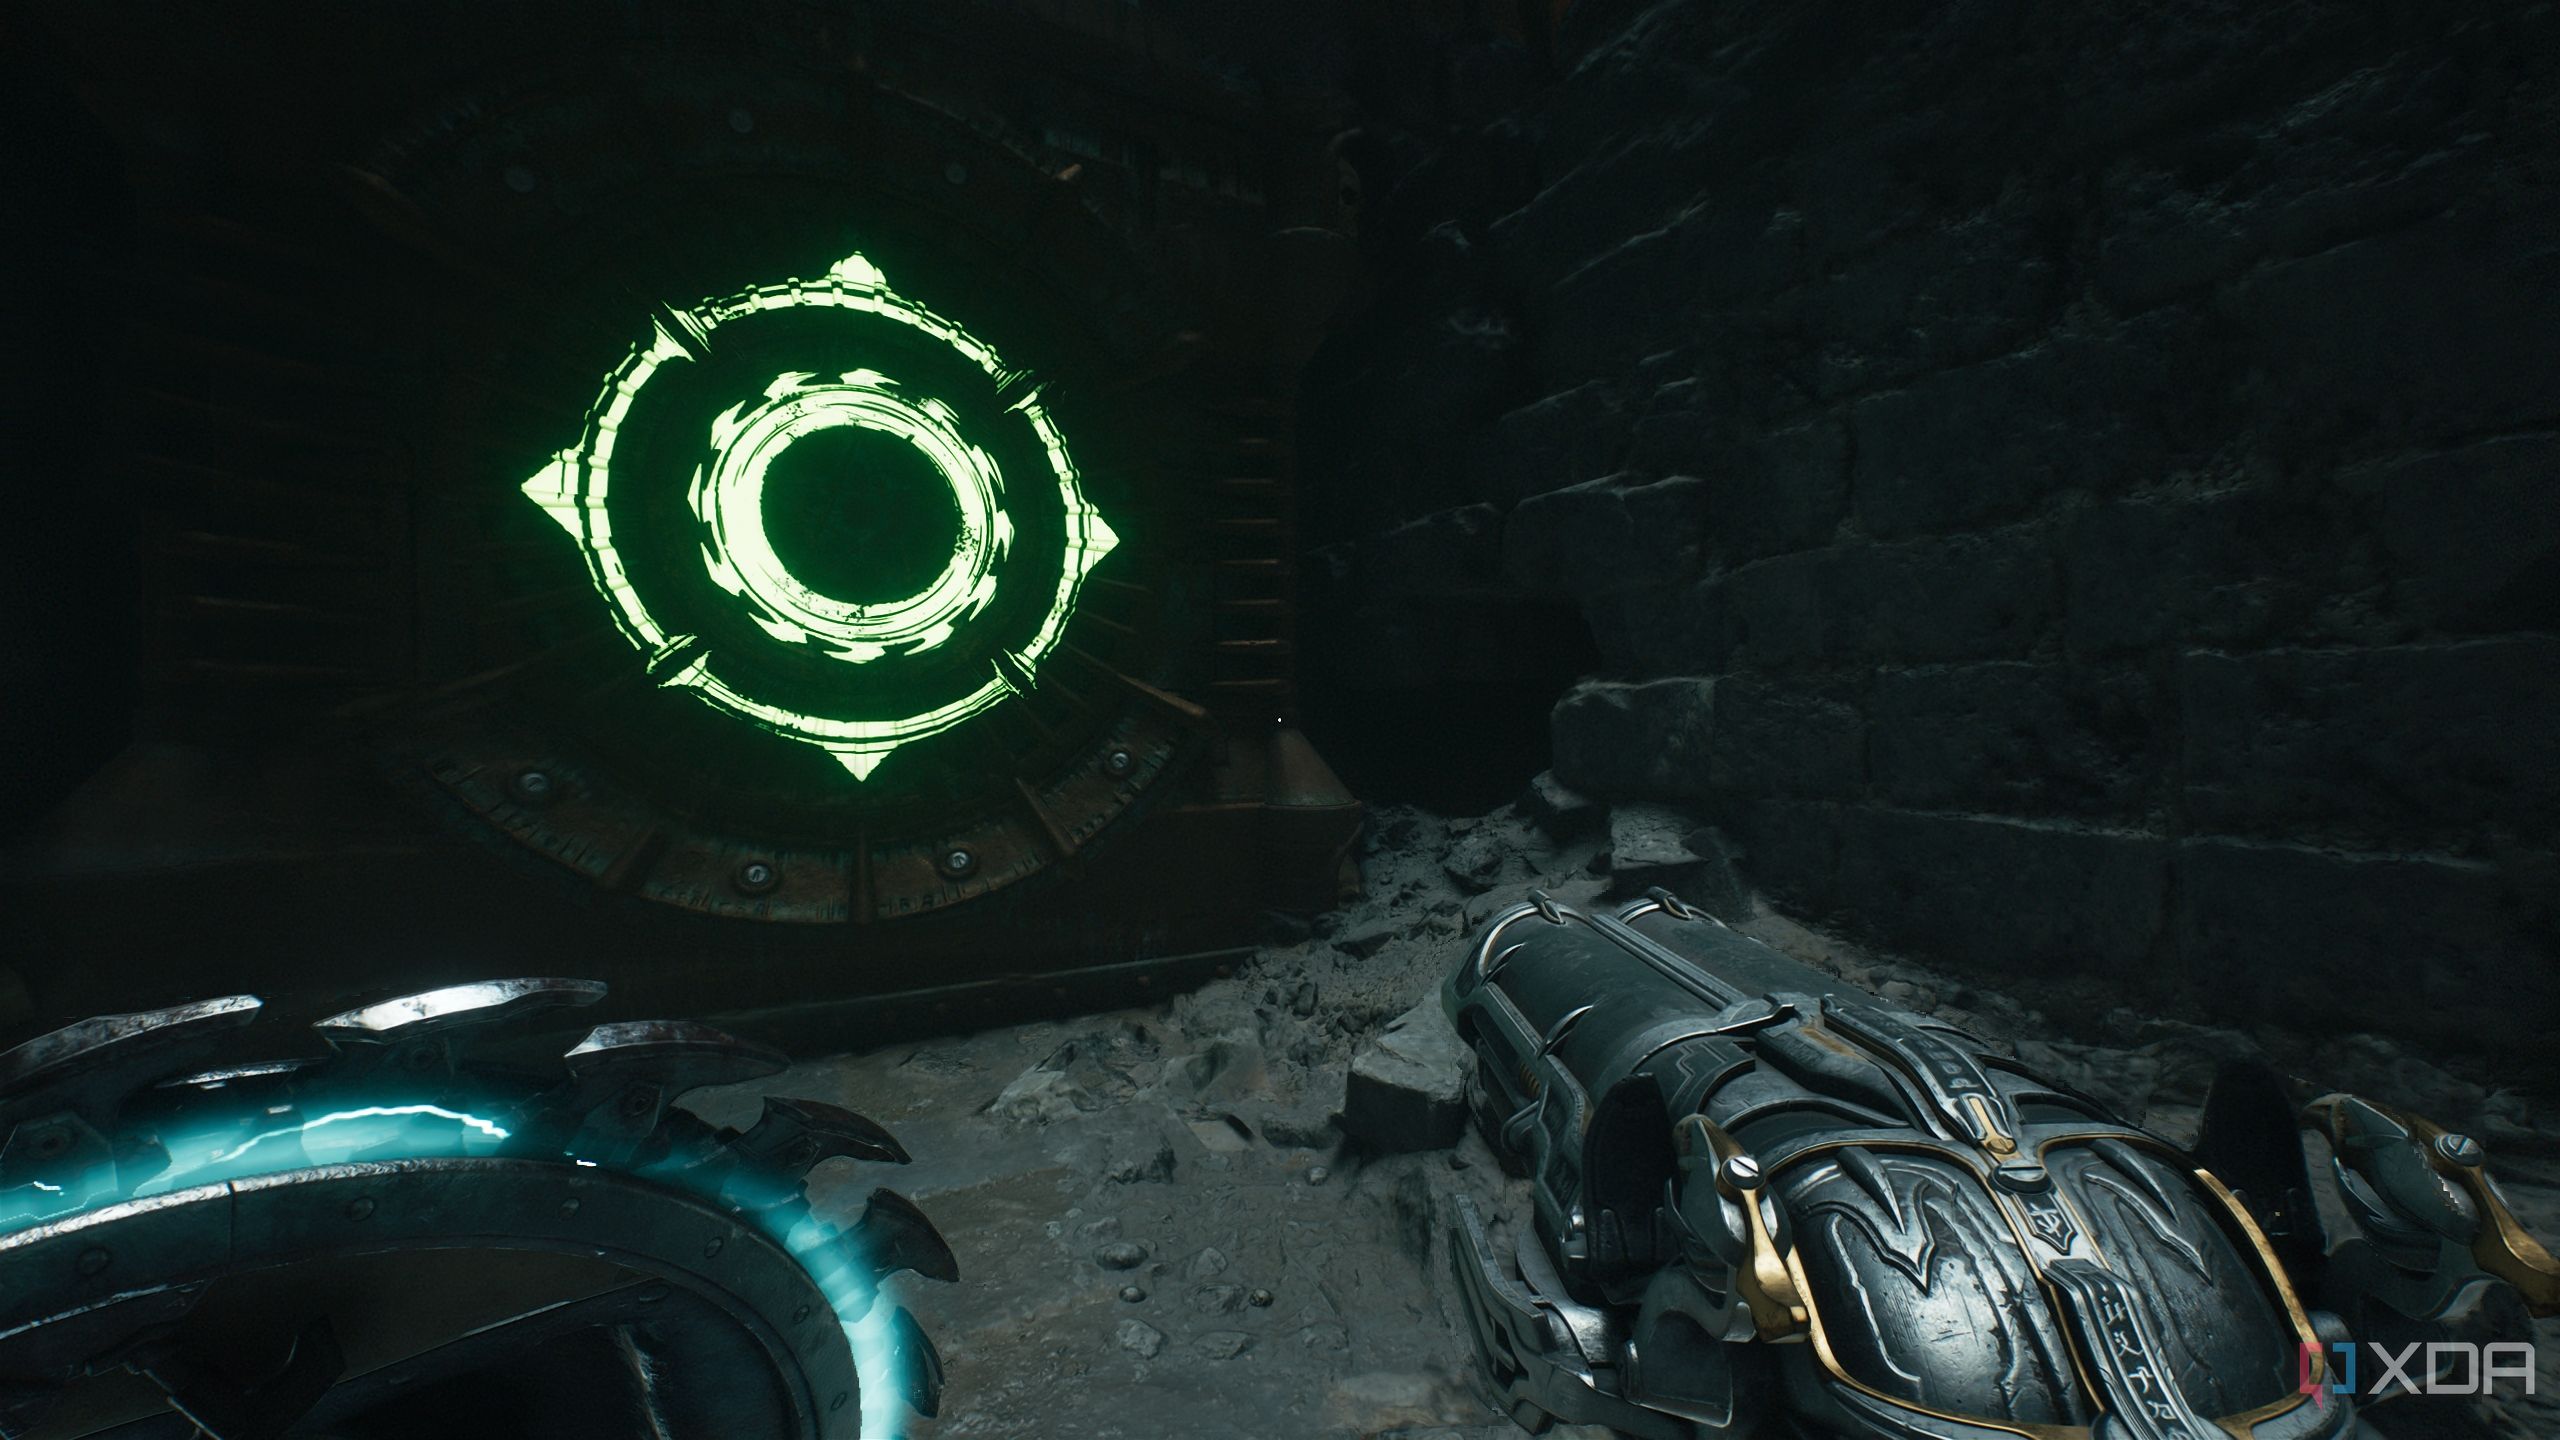
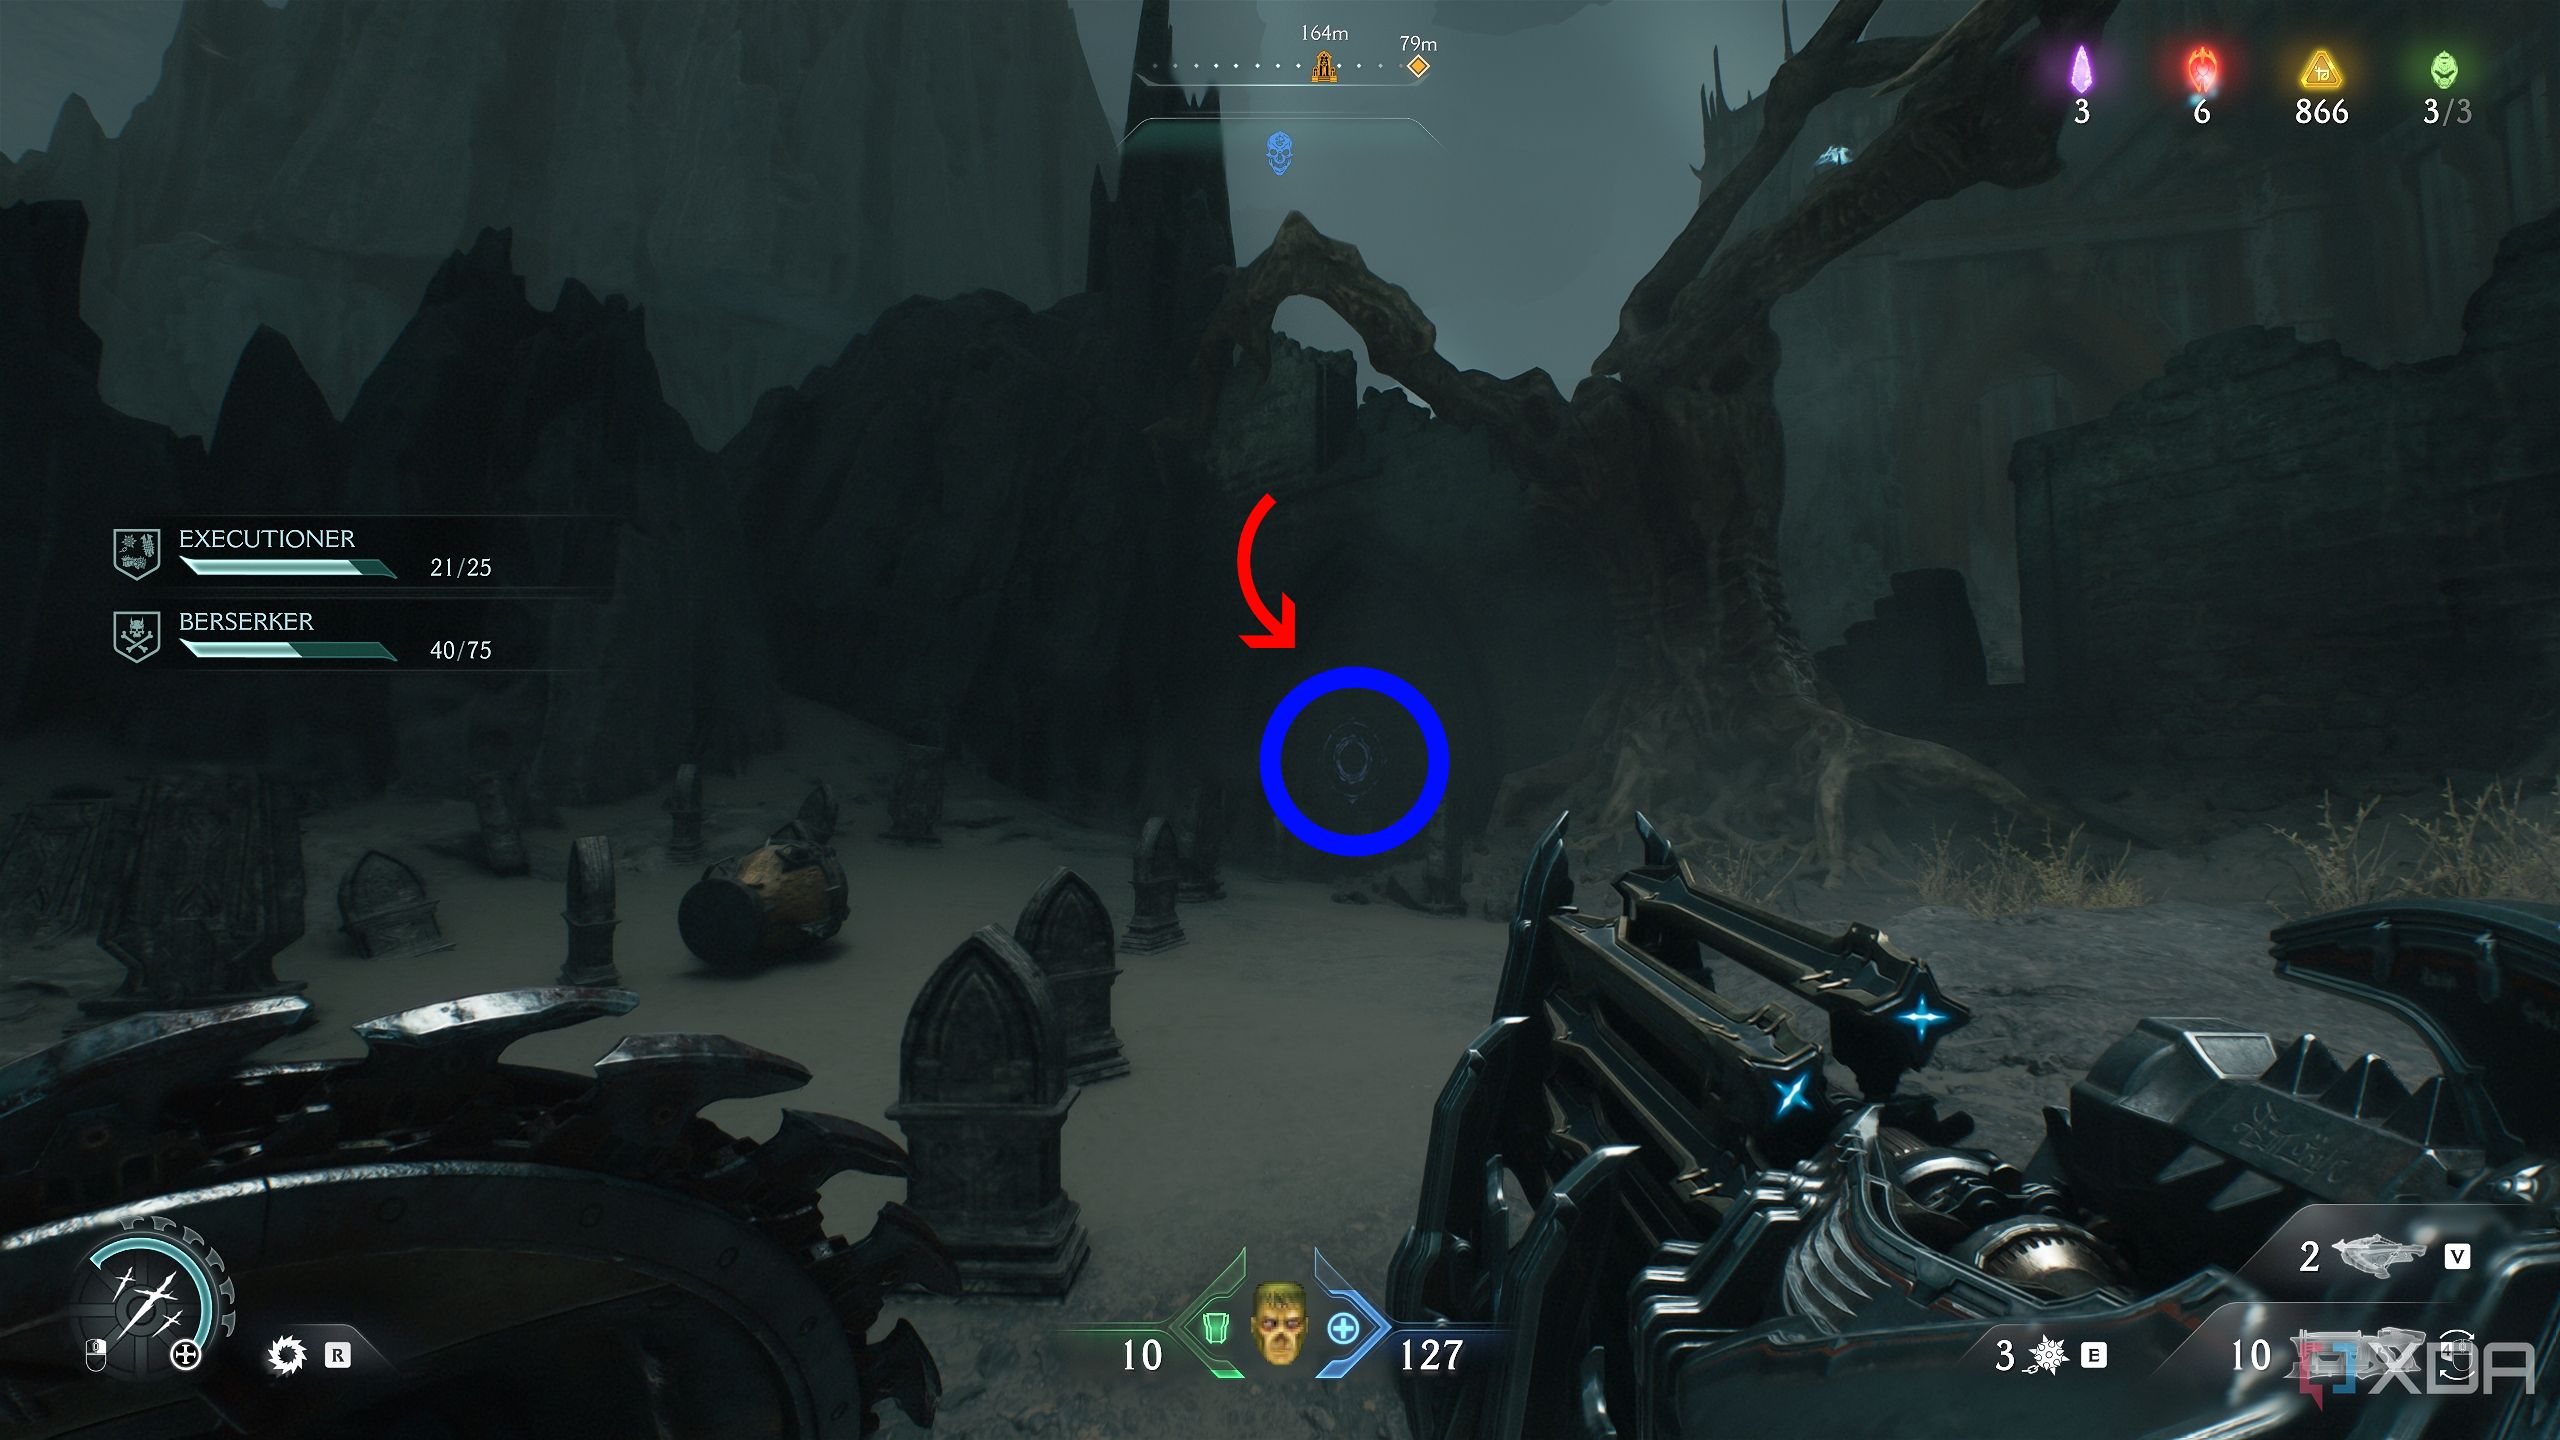
Climb it up, and you’ll see a blue energy node peeking through a barricade.
Just look the opposite way and jump to another alcove in the wall where a red floor switch is visible. Step on it, deal with the stone imp that appears, and hit your shield into the blue energy node across from you.
This will unlock the gate right underneath the energy node. Approach it, and you’ll have access to secret area 3 along with a Red Ruby.
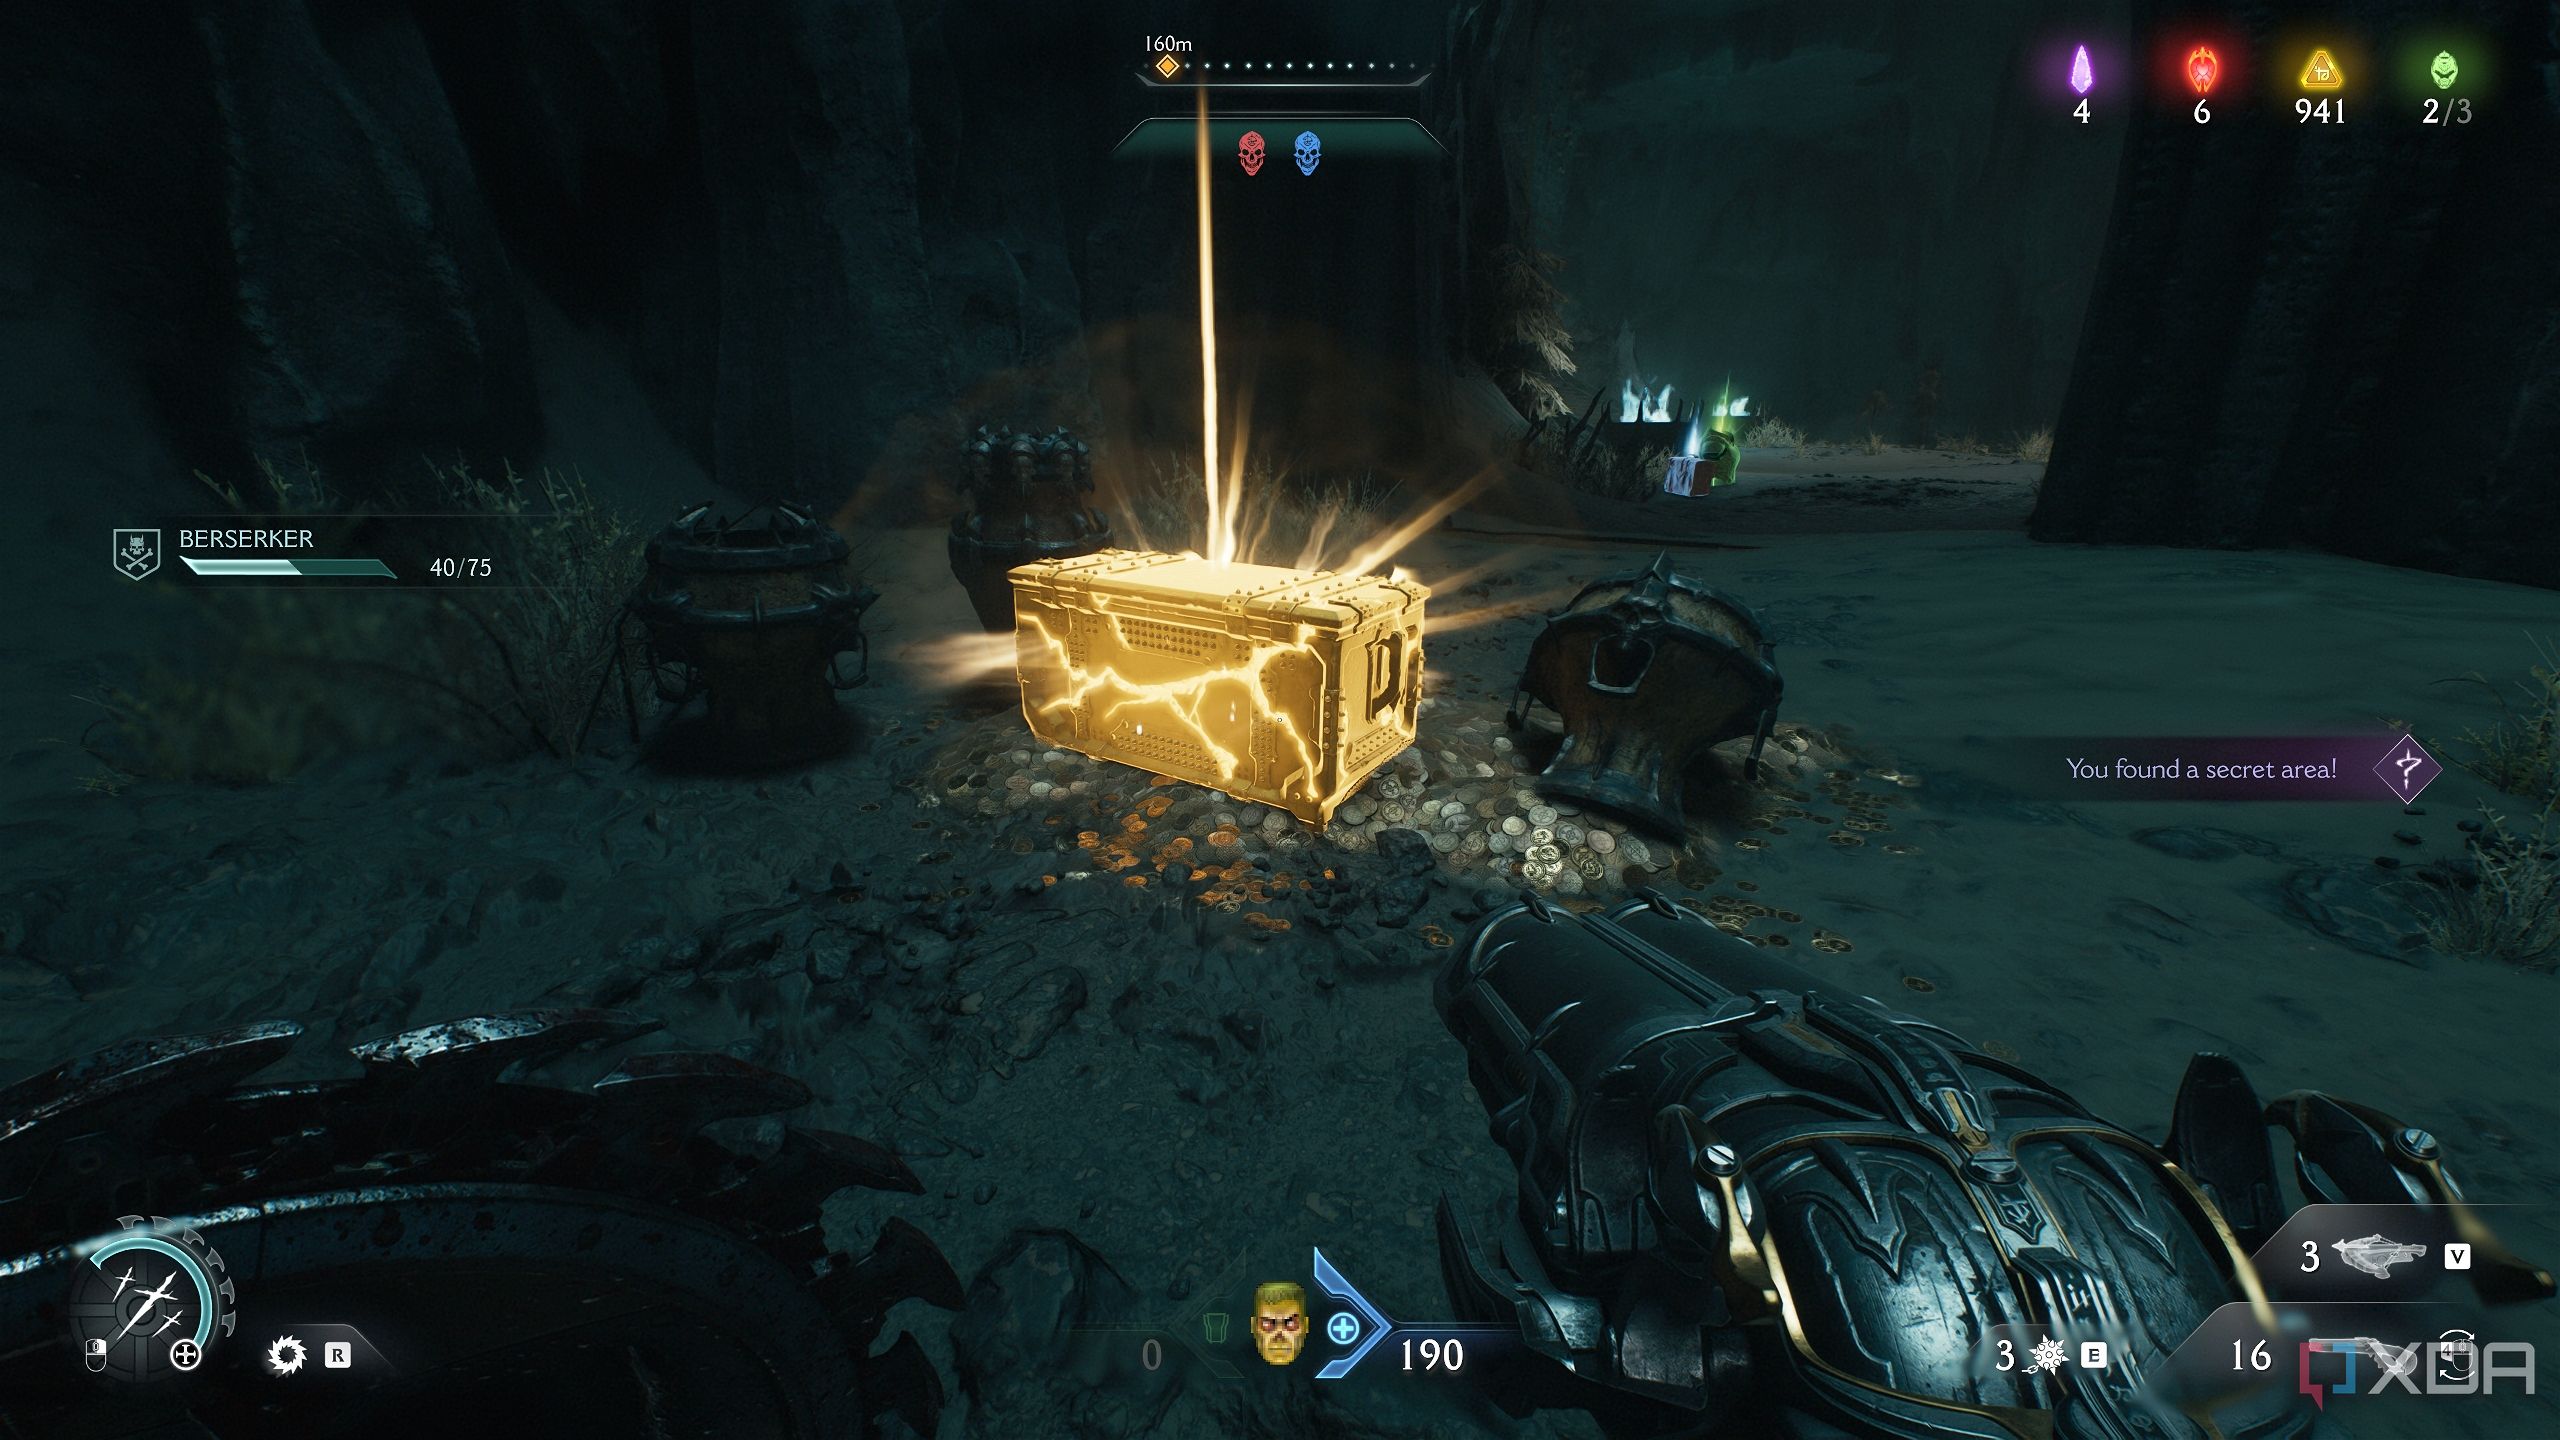
Secret area 4 and a Gold Chest
A huge fight and a Hellknight ambush
After collecting the Red Ruby, the moment you head outside towards the next objective, you’ll encounter a huge encounter with plenty of demons, including a Cacodemon Hybrid, an armored Mancubus, and a Revenant at the end.
Fight like hell to reach the Mancubus and Revenant at the very top of this arena, and things will finally quiet down once they’re dead.
On the platform where the Mancubus is, there’s also a trail of gold bars you will pick up.
Then, head back to the place you started, all the way back to the platform where you just collected the Red Ruby. Head right, and you’ll reach a ledge with two exits.
This is where you will be on the map.
Look down, and you’ll see a small rocky platform to land on. Drop down to it, turn around, and head inside.
You’ll see a gold chest, and collecting it will also unlock secret area 4. You’ll have to be careful here — a Battleknight and Hellknight will ambush you the minute you collect the chest. Use the exploding barrels.
Then, use the jump pad right outside, and it will bring you down right next to a bunch of gold bars.
This is where you’ll land after using the jump pad.
Related
Gold stack and a Codex Page
Codex Page about the Harbor of Souls
Heading towards the objective, you’ll jump across a gap to reach the area where you fought the Revenant just moments ago. This is where you’d be on the map.
Facing the gate ahead, look to the left to see a small platform below. There’s a gold stack here you can collect.
Right behind the gold stack, you’ll see a Codex Page in the distance. Jump to it and collect it to find out more about the Harbor of Souls.
Secret area 5 and collectible toy
An Acolyte toy right after collecting the Blue skull
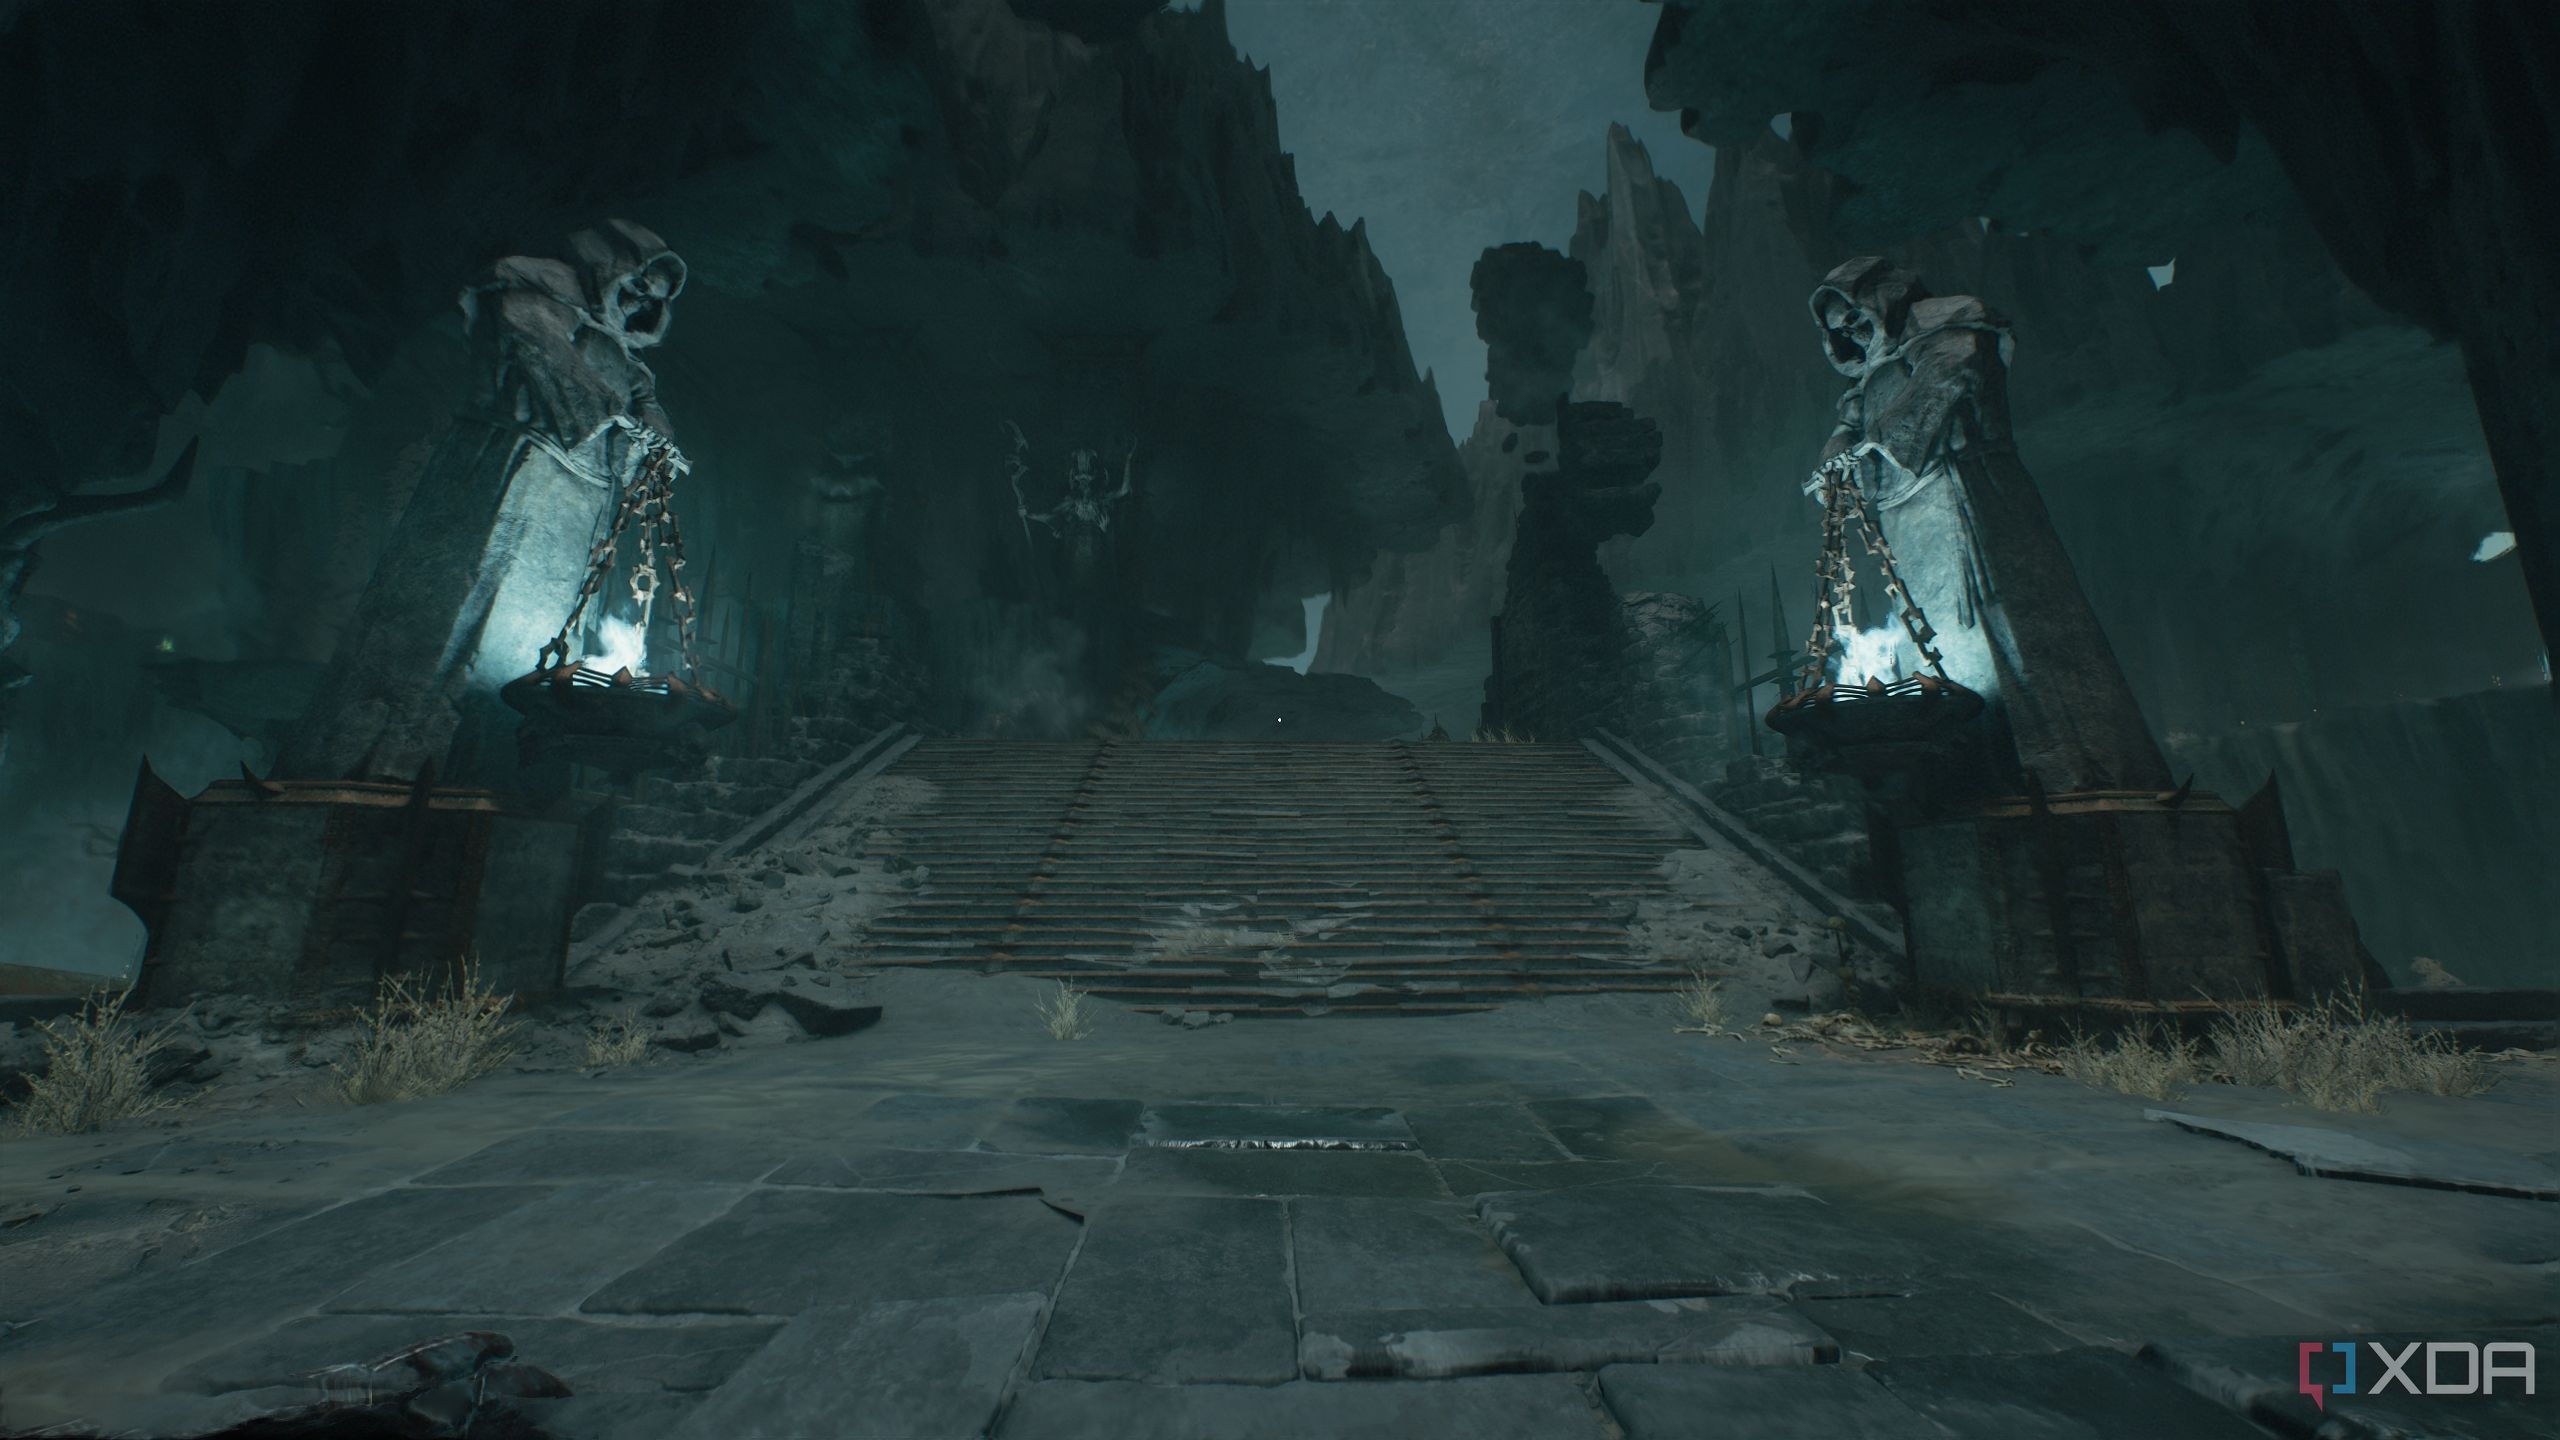
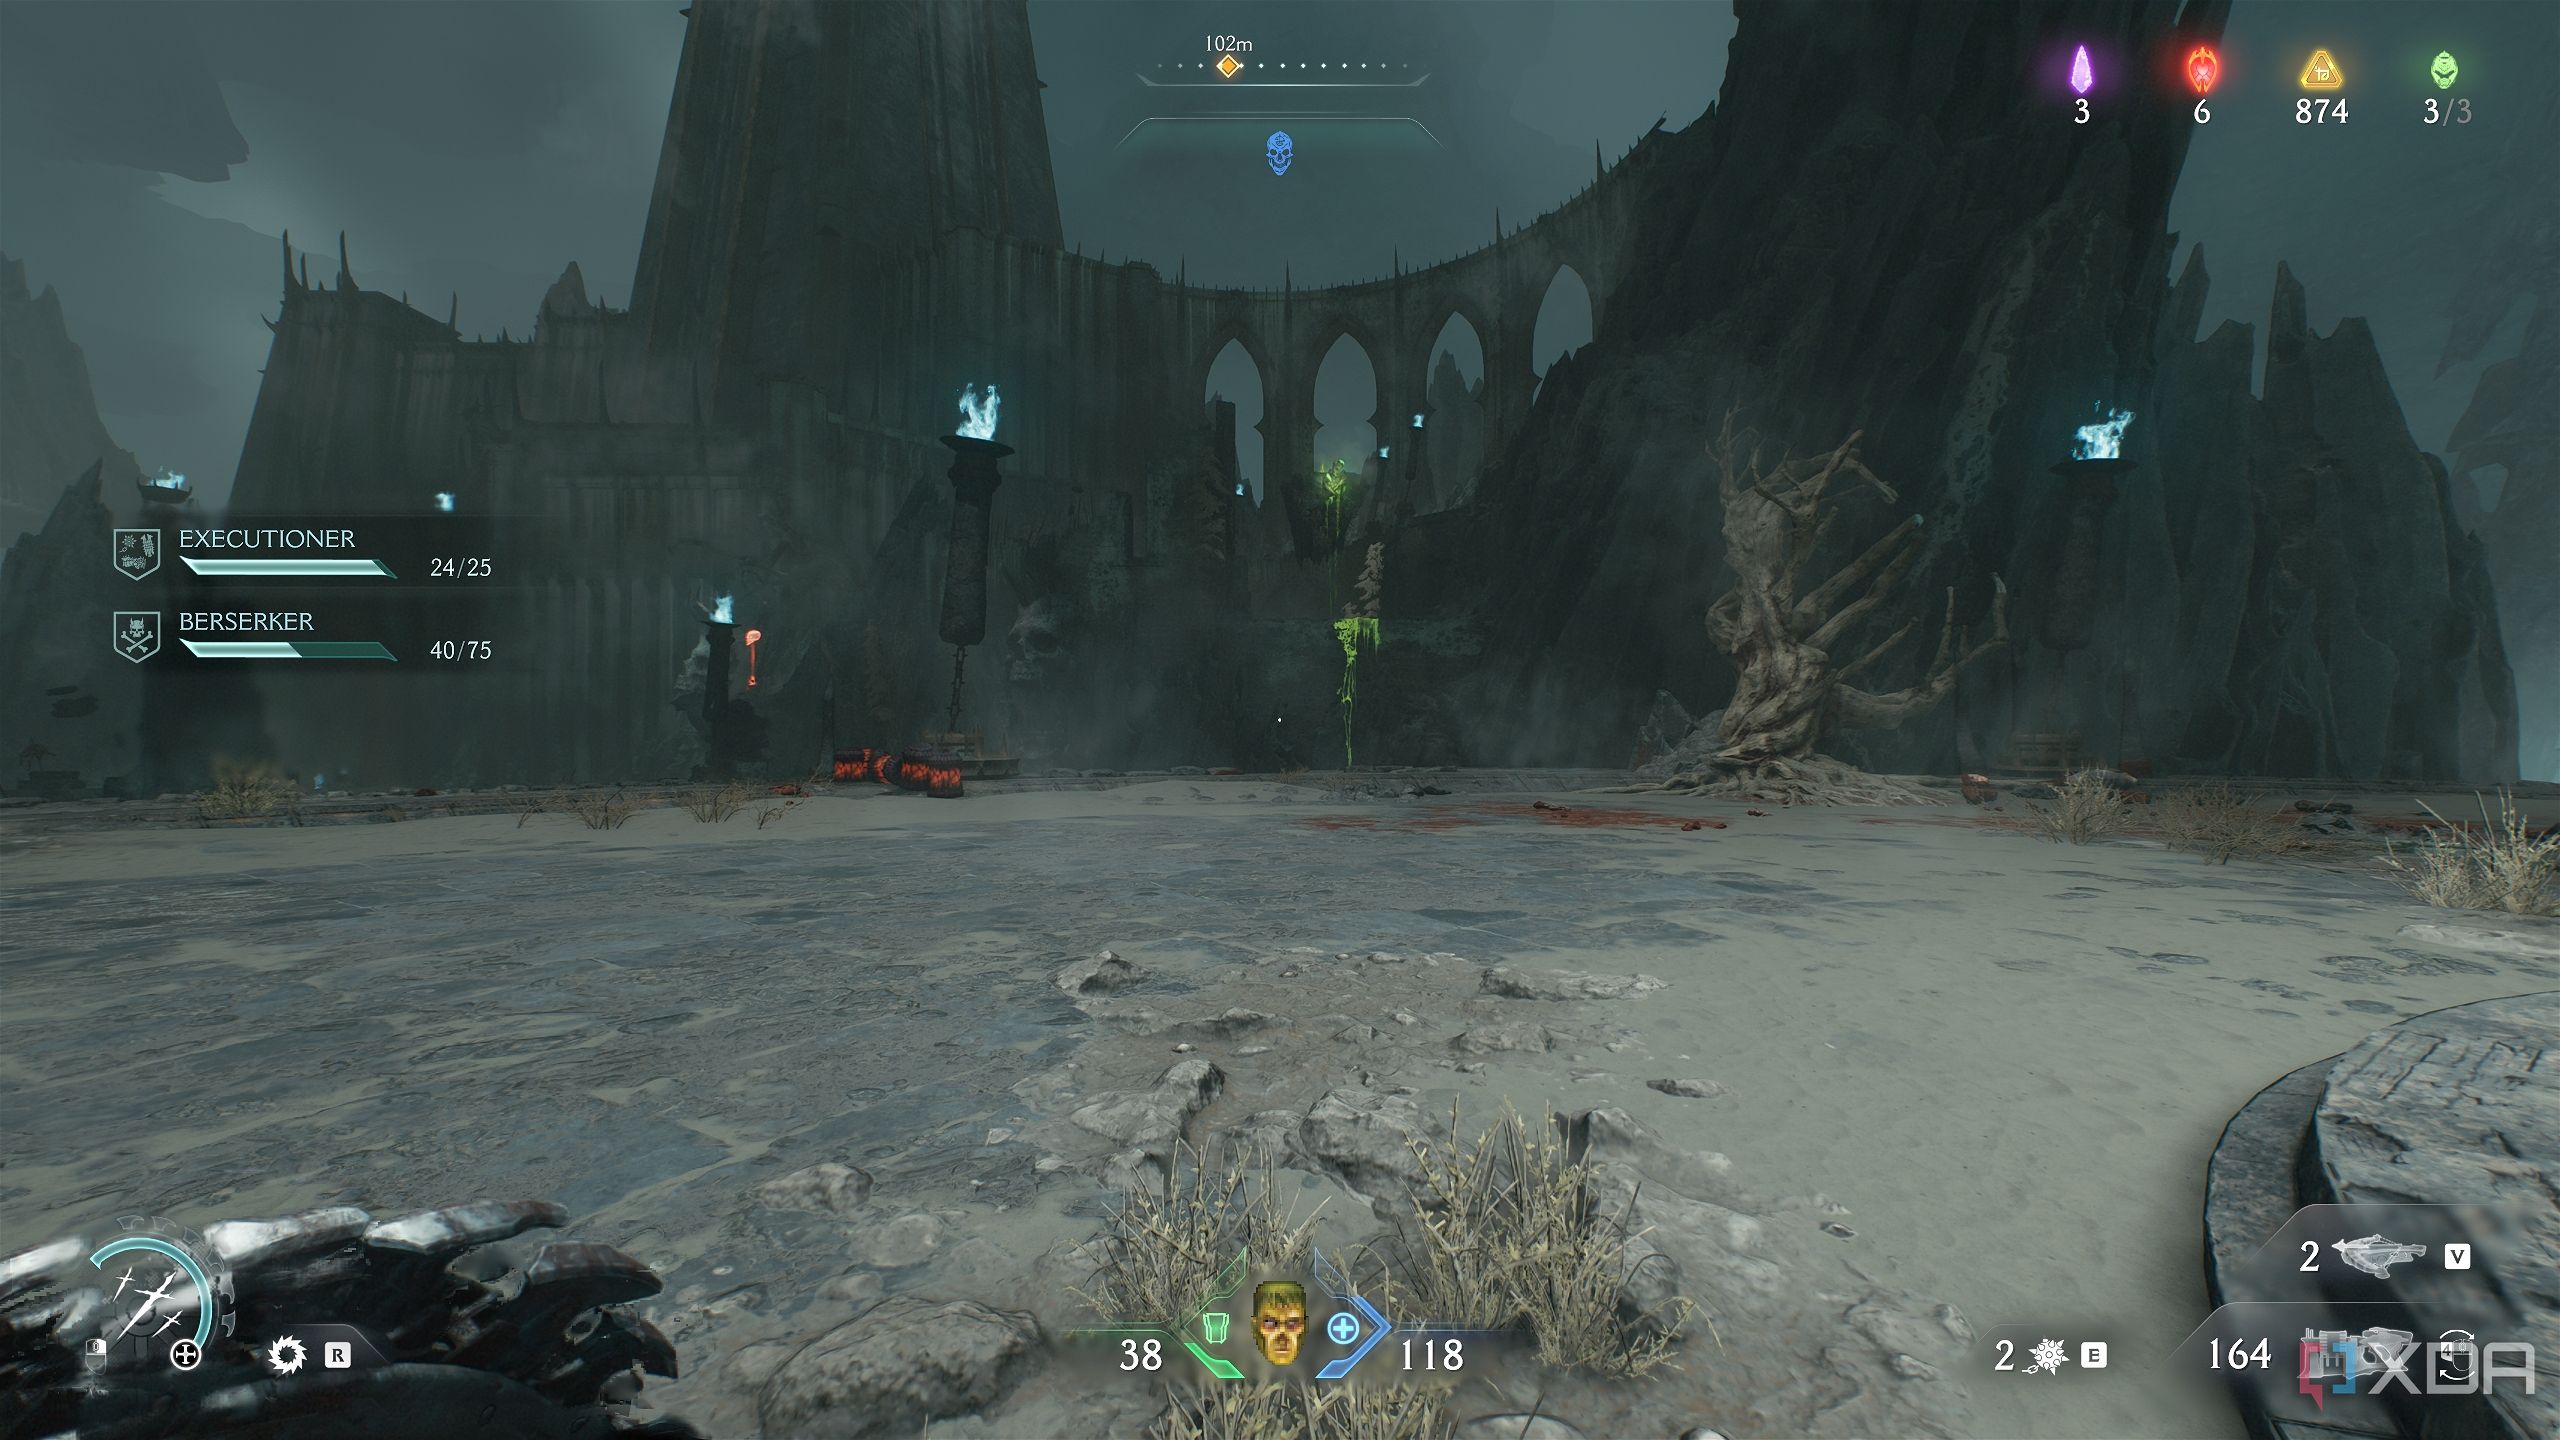
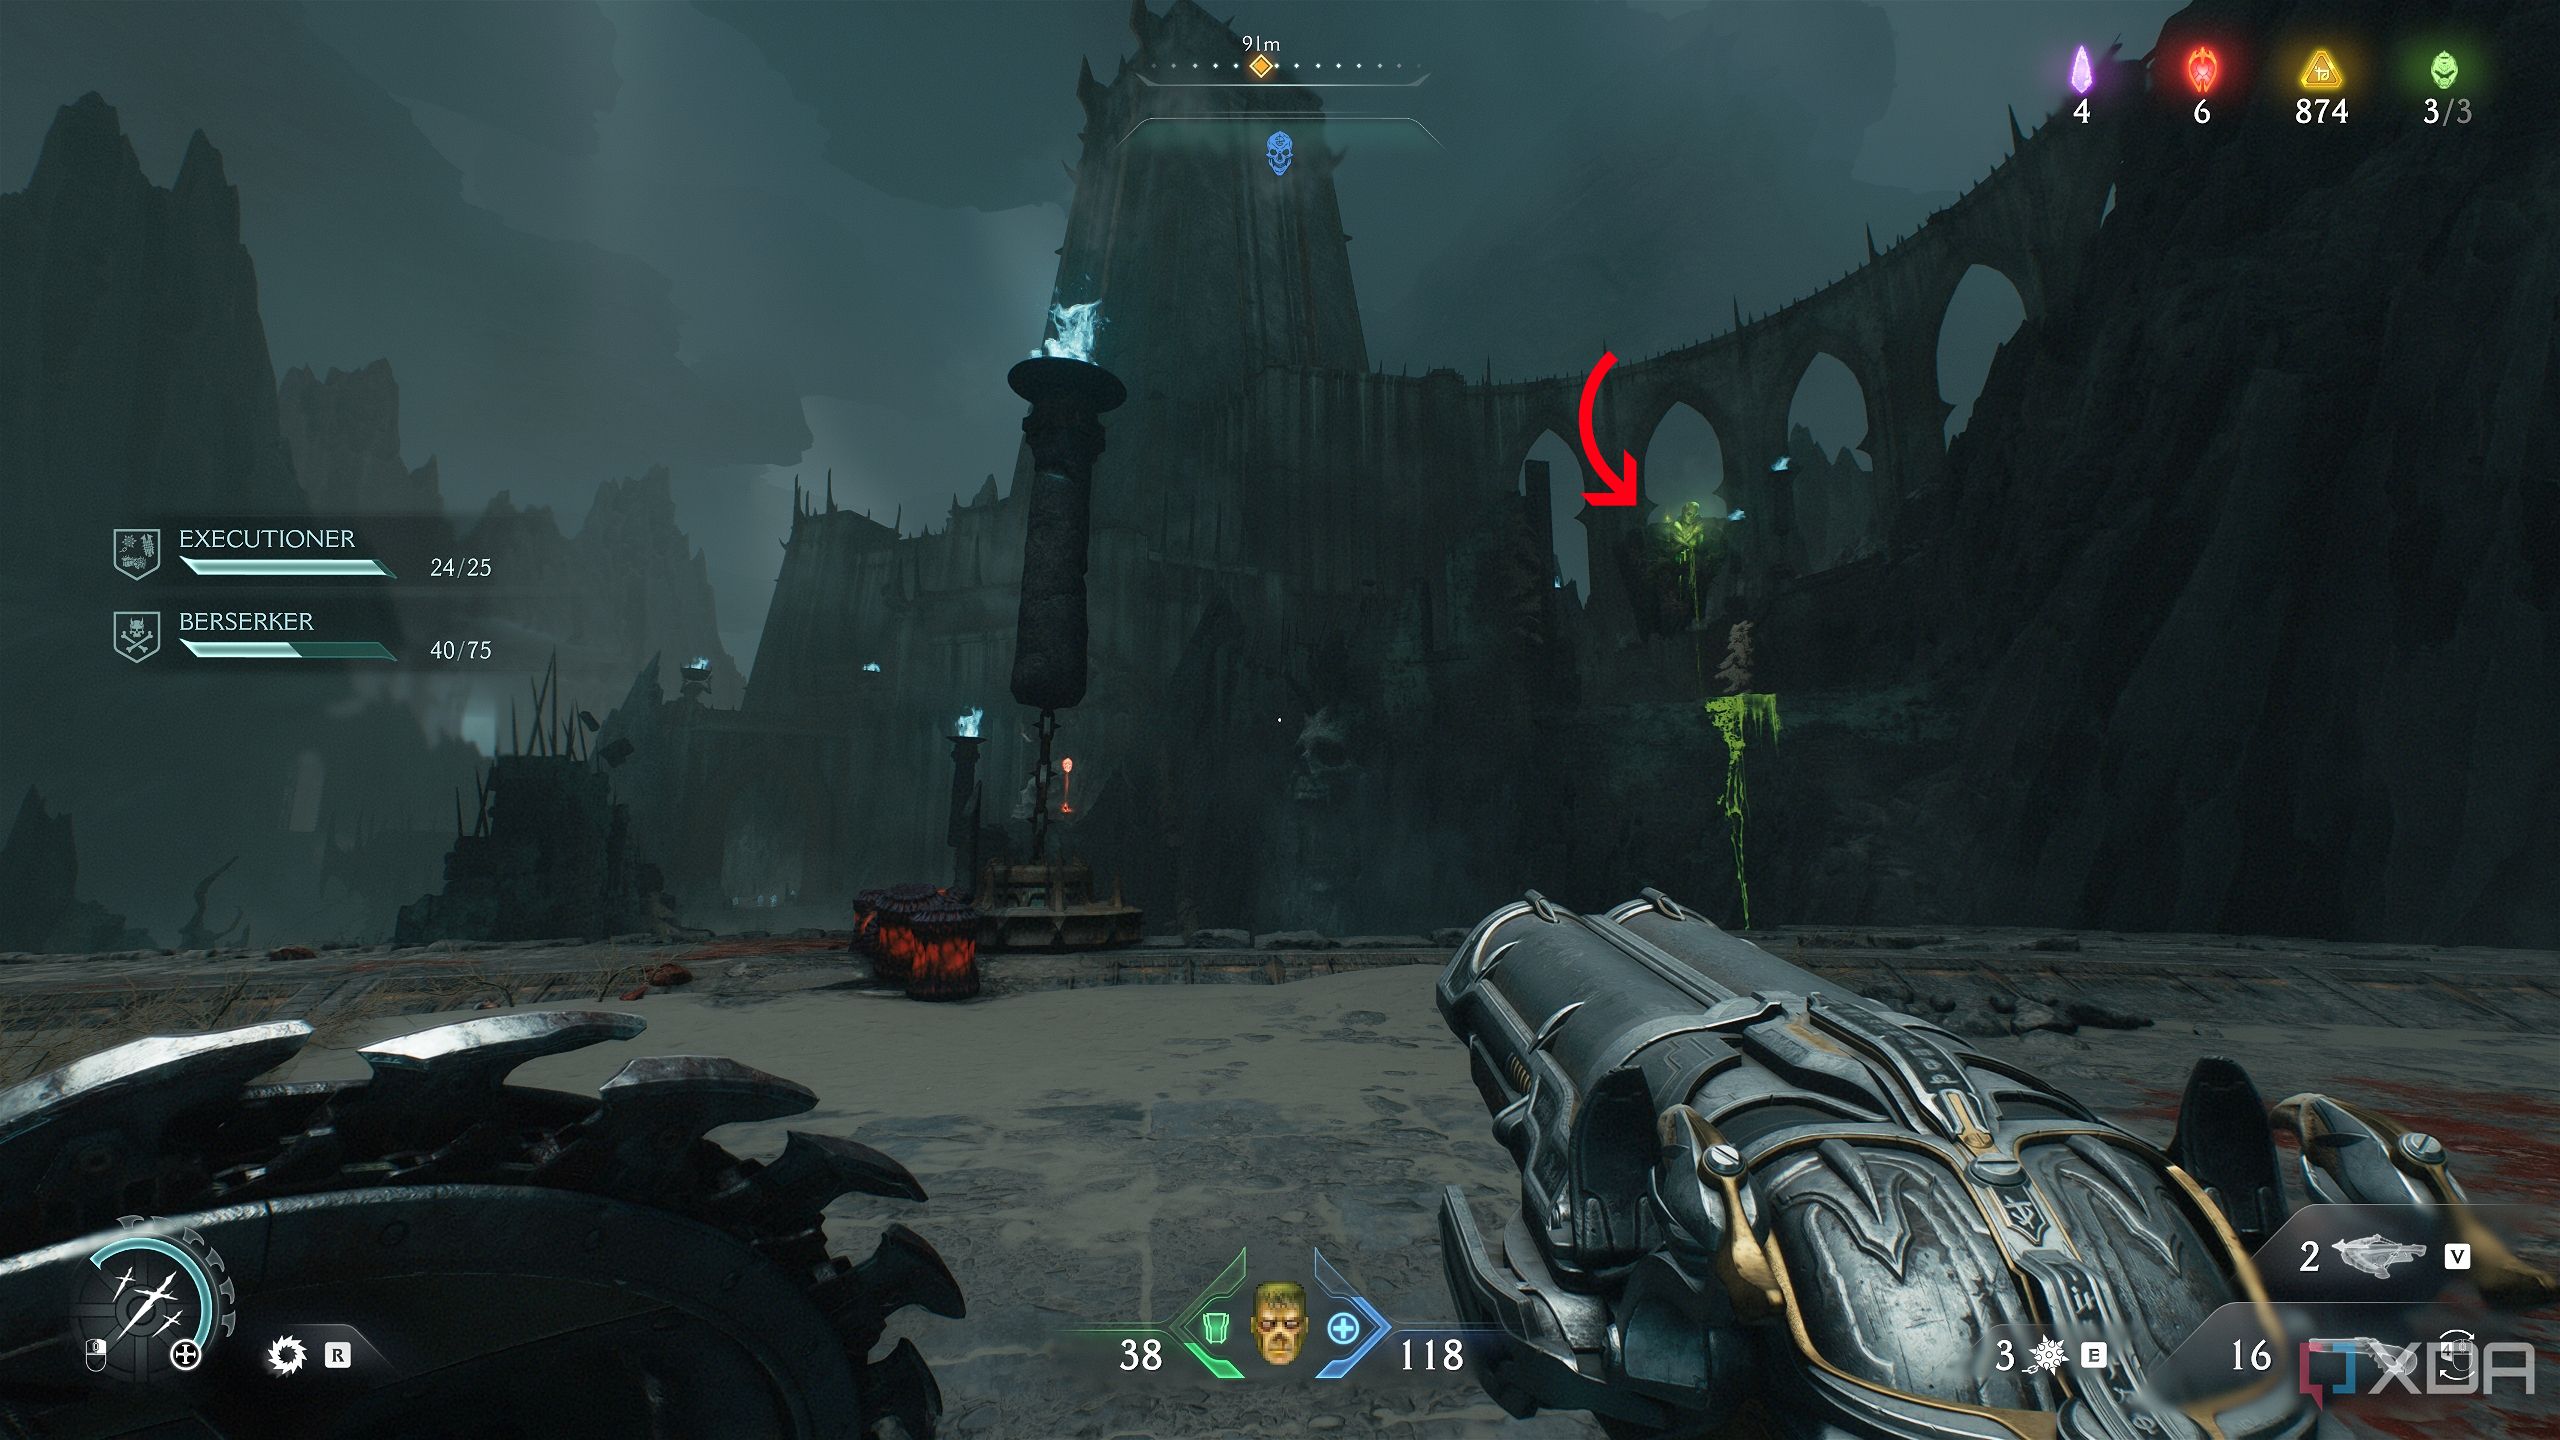
Now, you’ll head outside and reach rocky ground with the blue skull ahead of you.
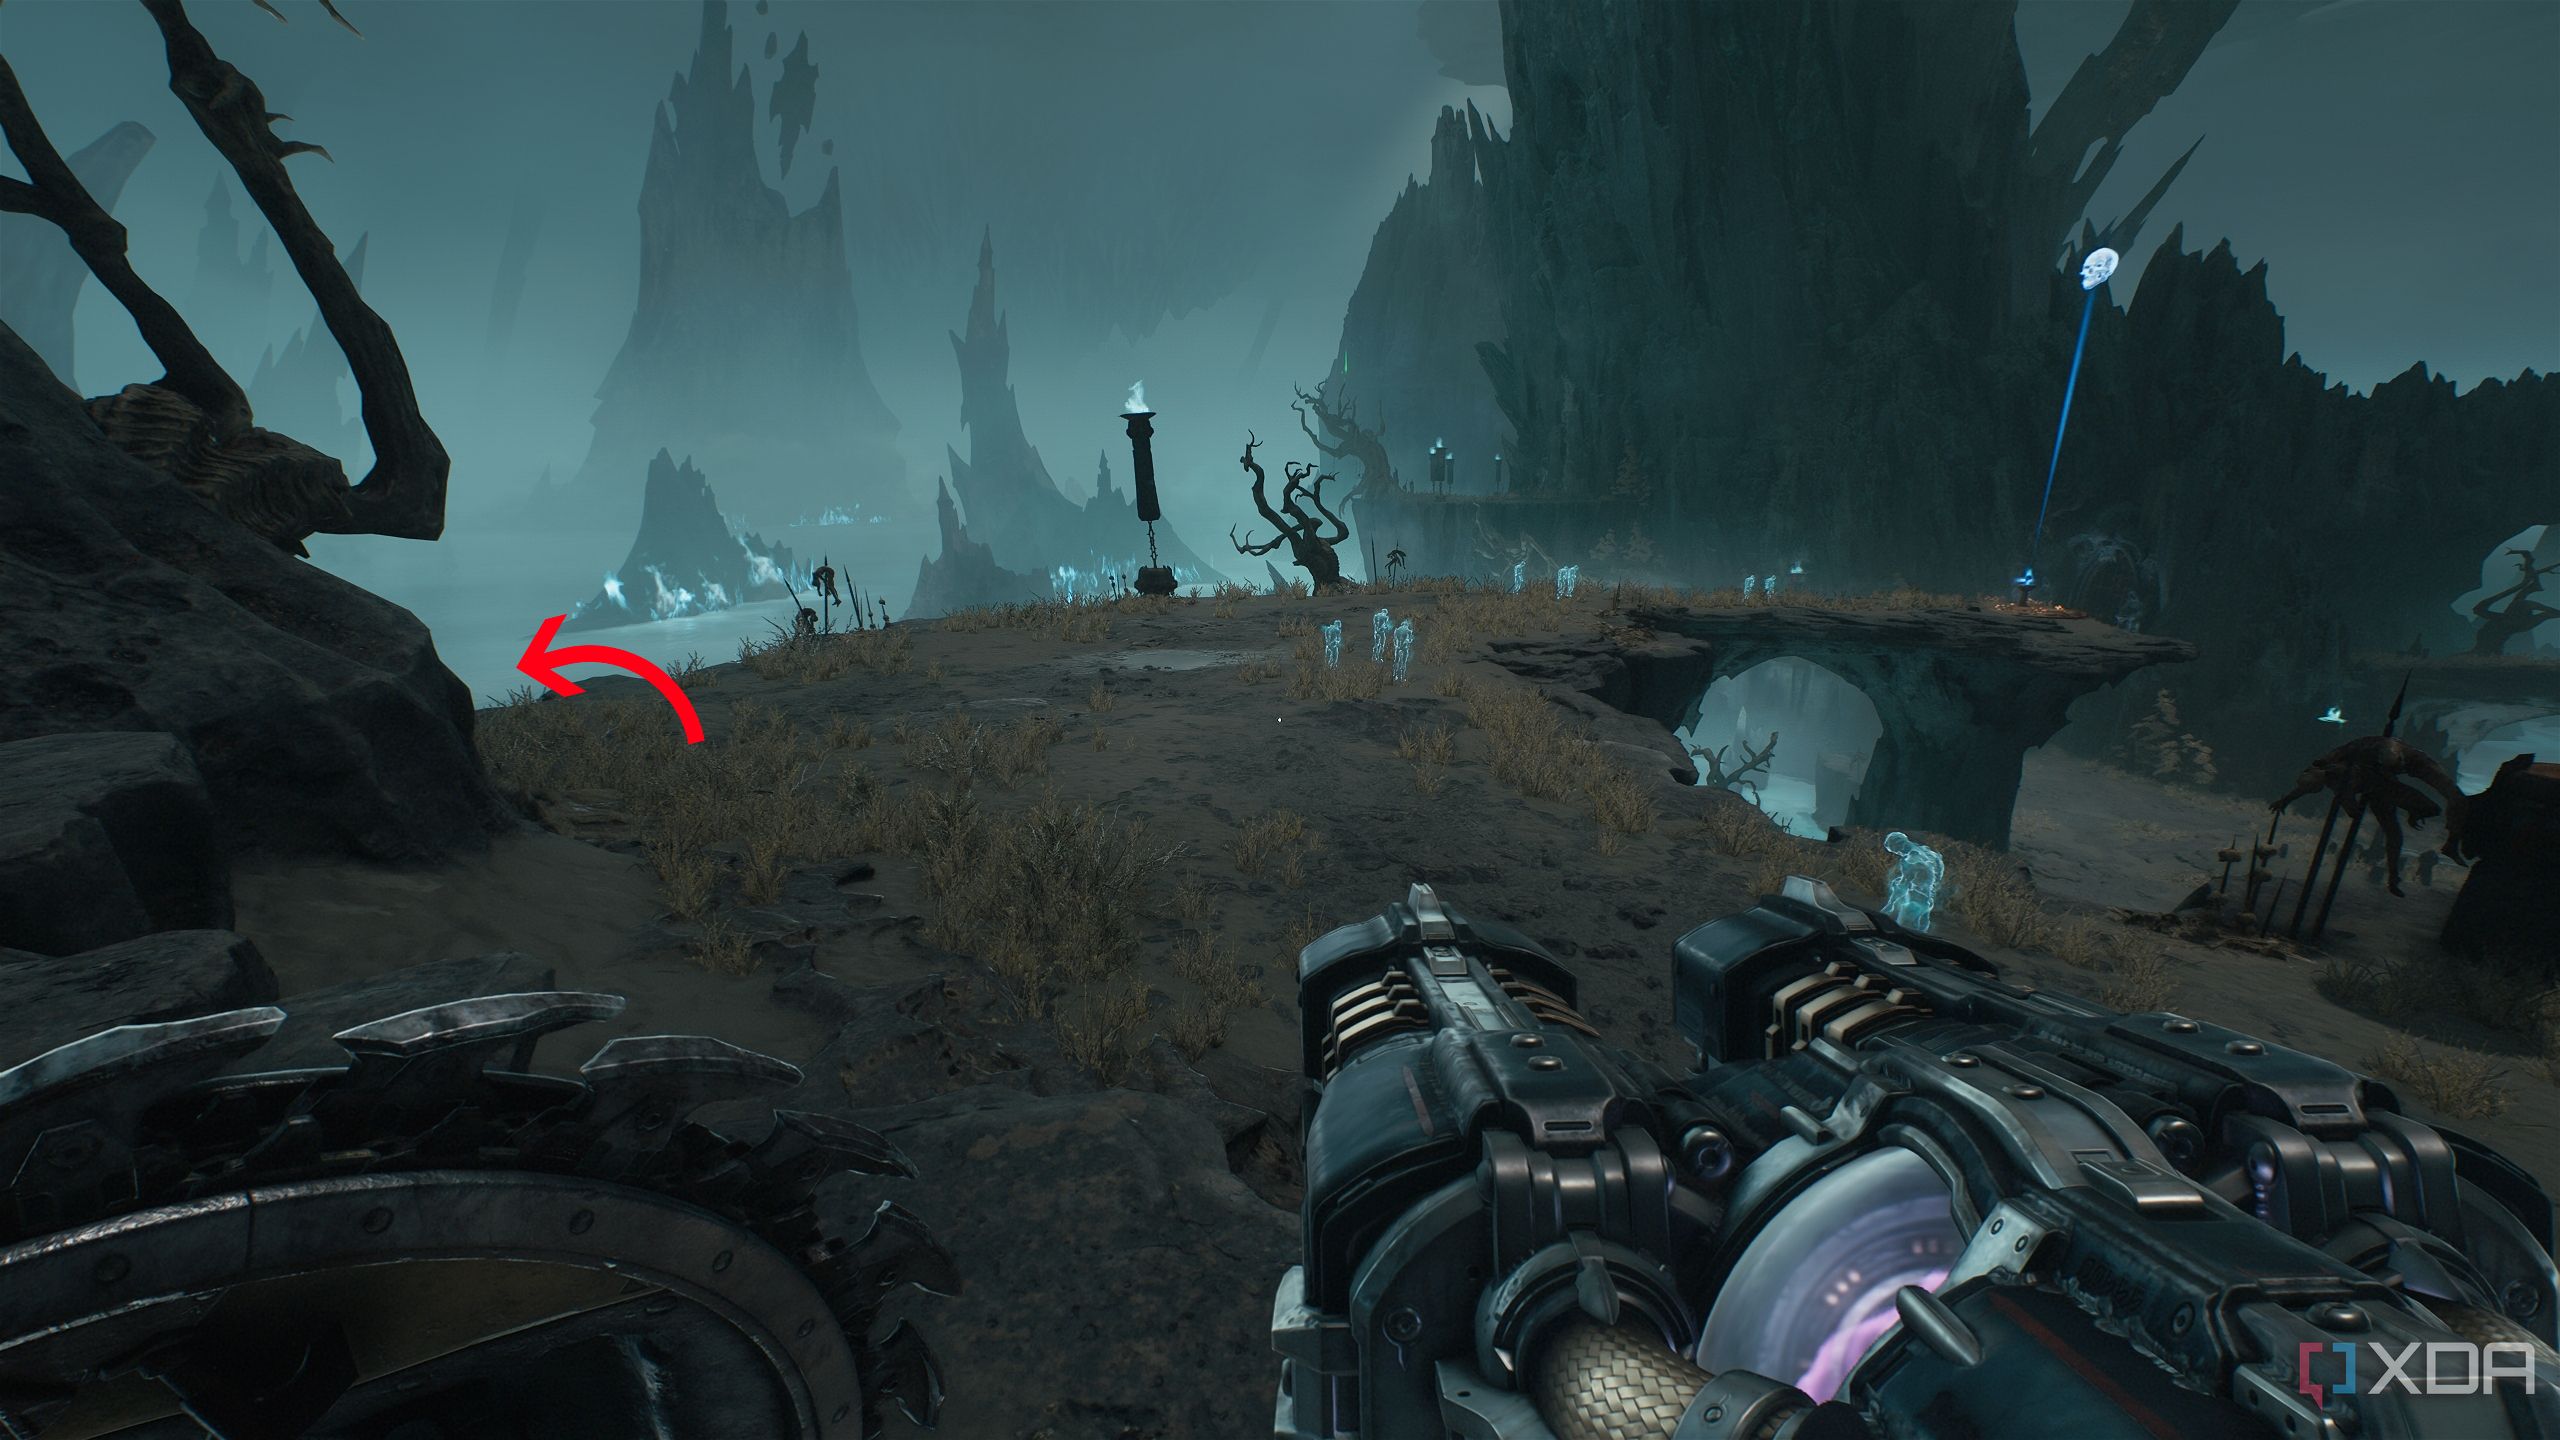
Before collecting it, turn left, and look just below where you’re standing, and you’ll see a small platform.
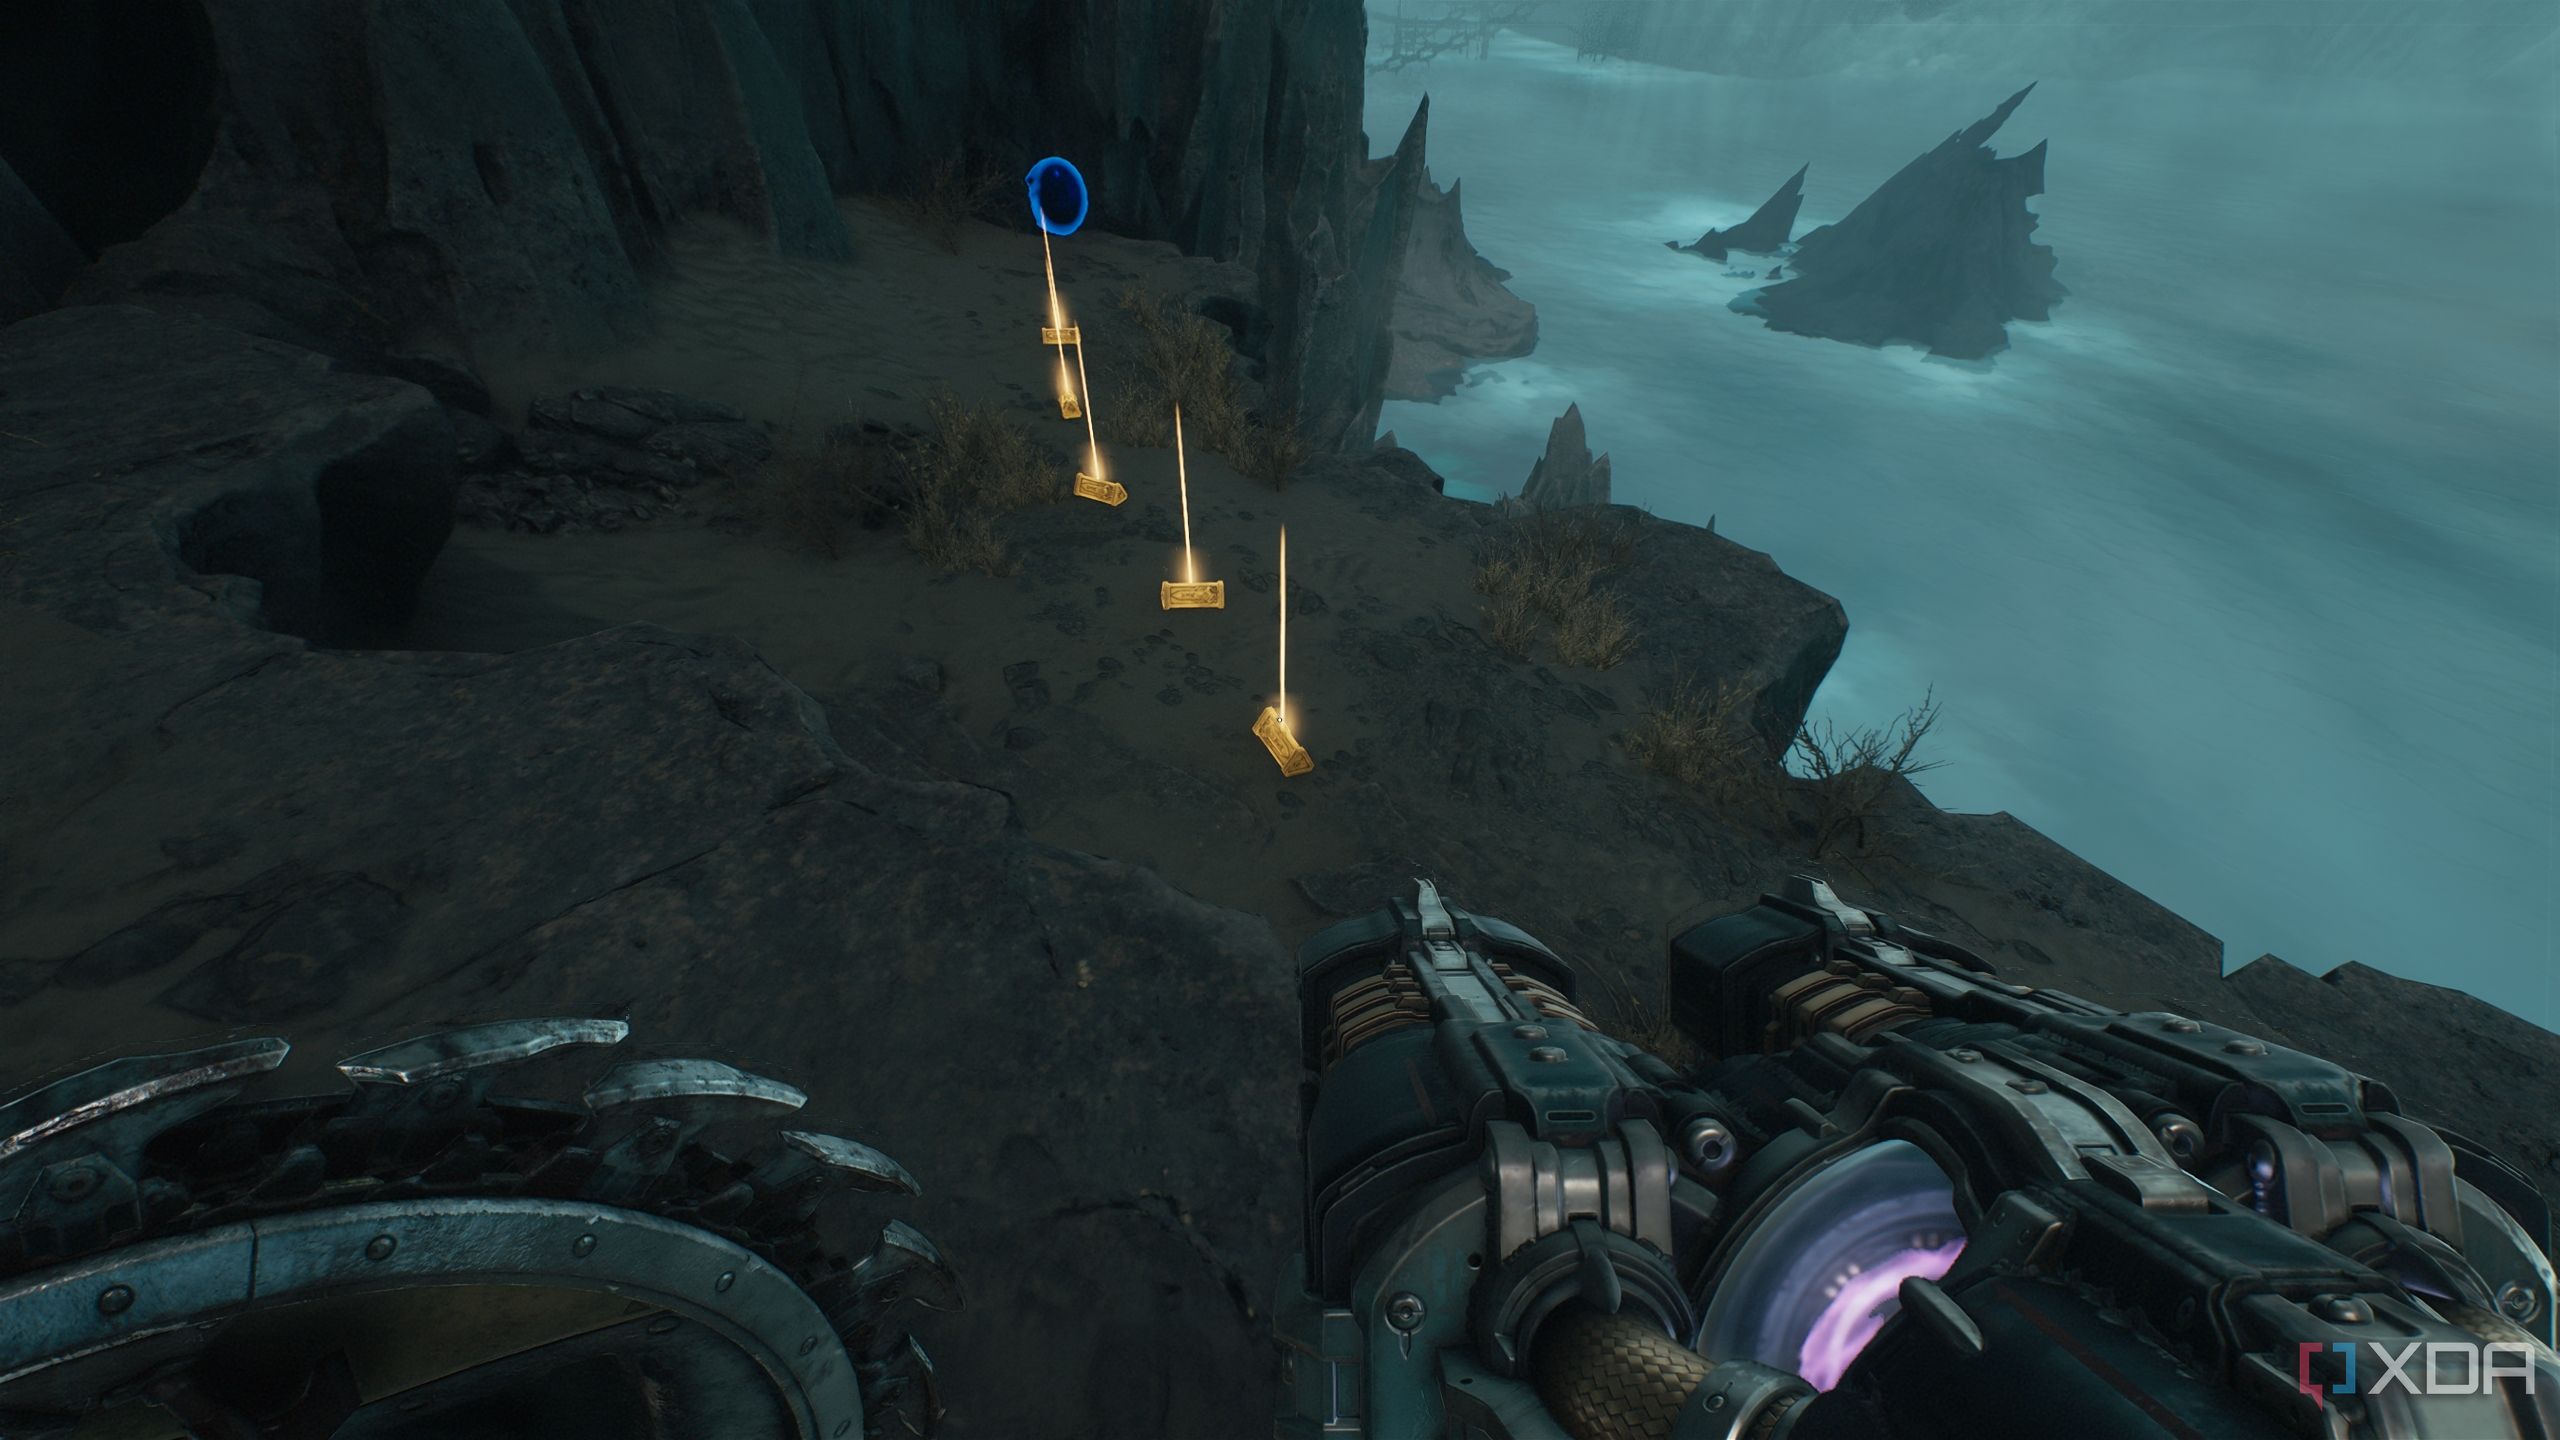
This is lined with a trail of gold bars to pick up.
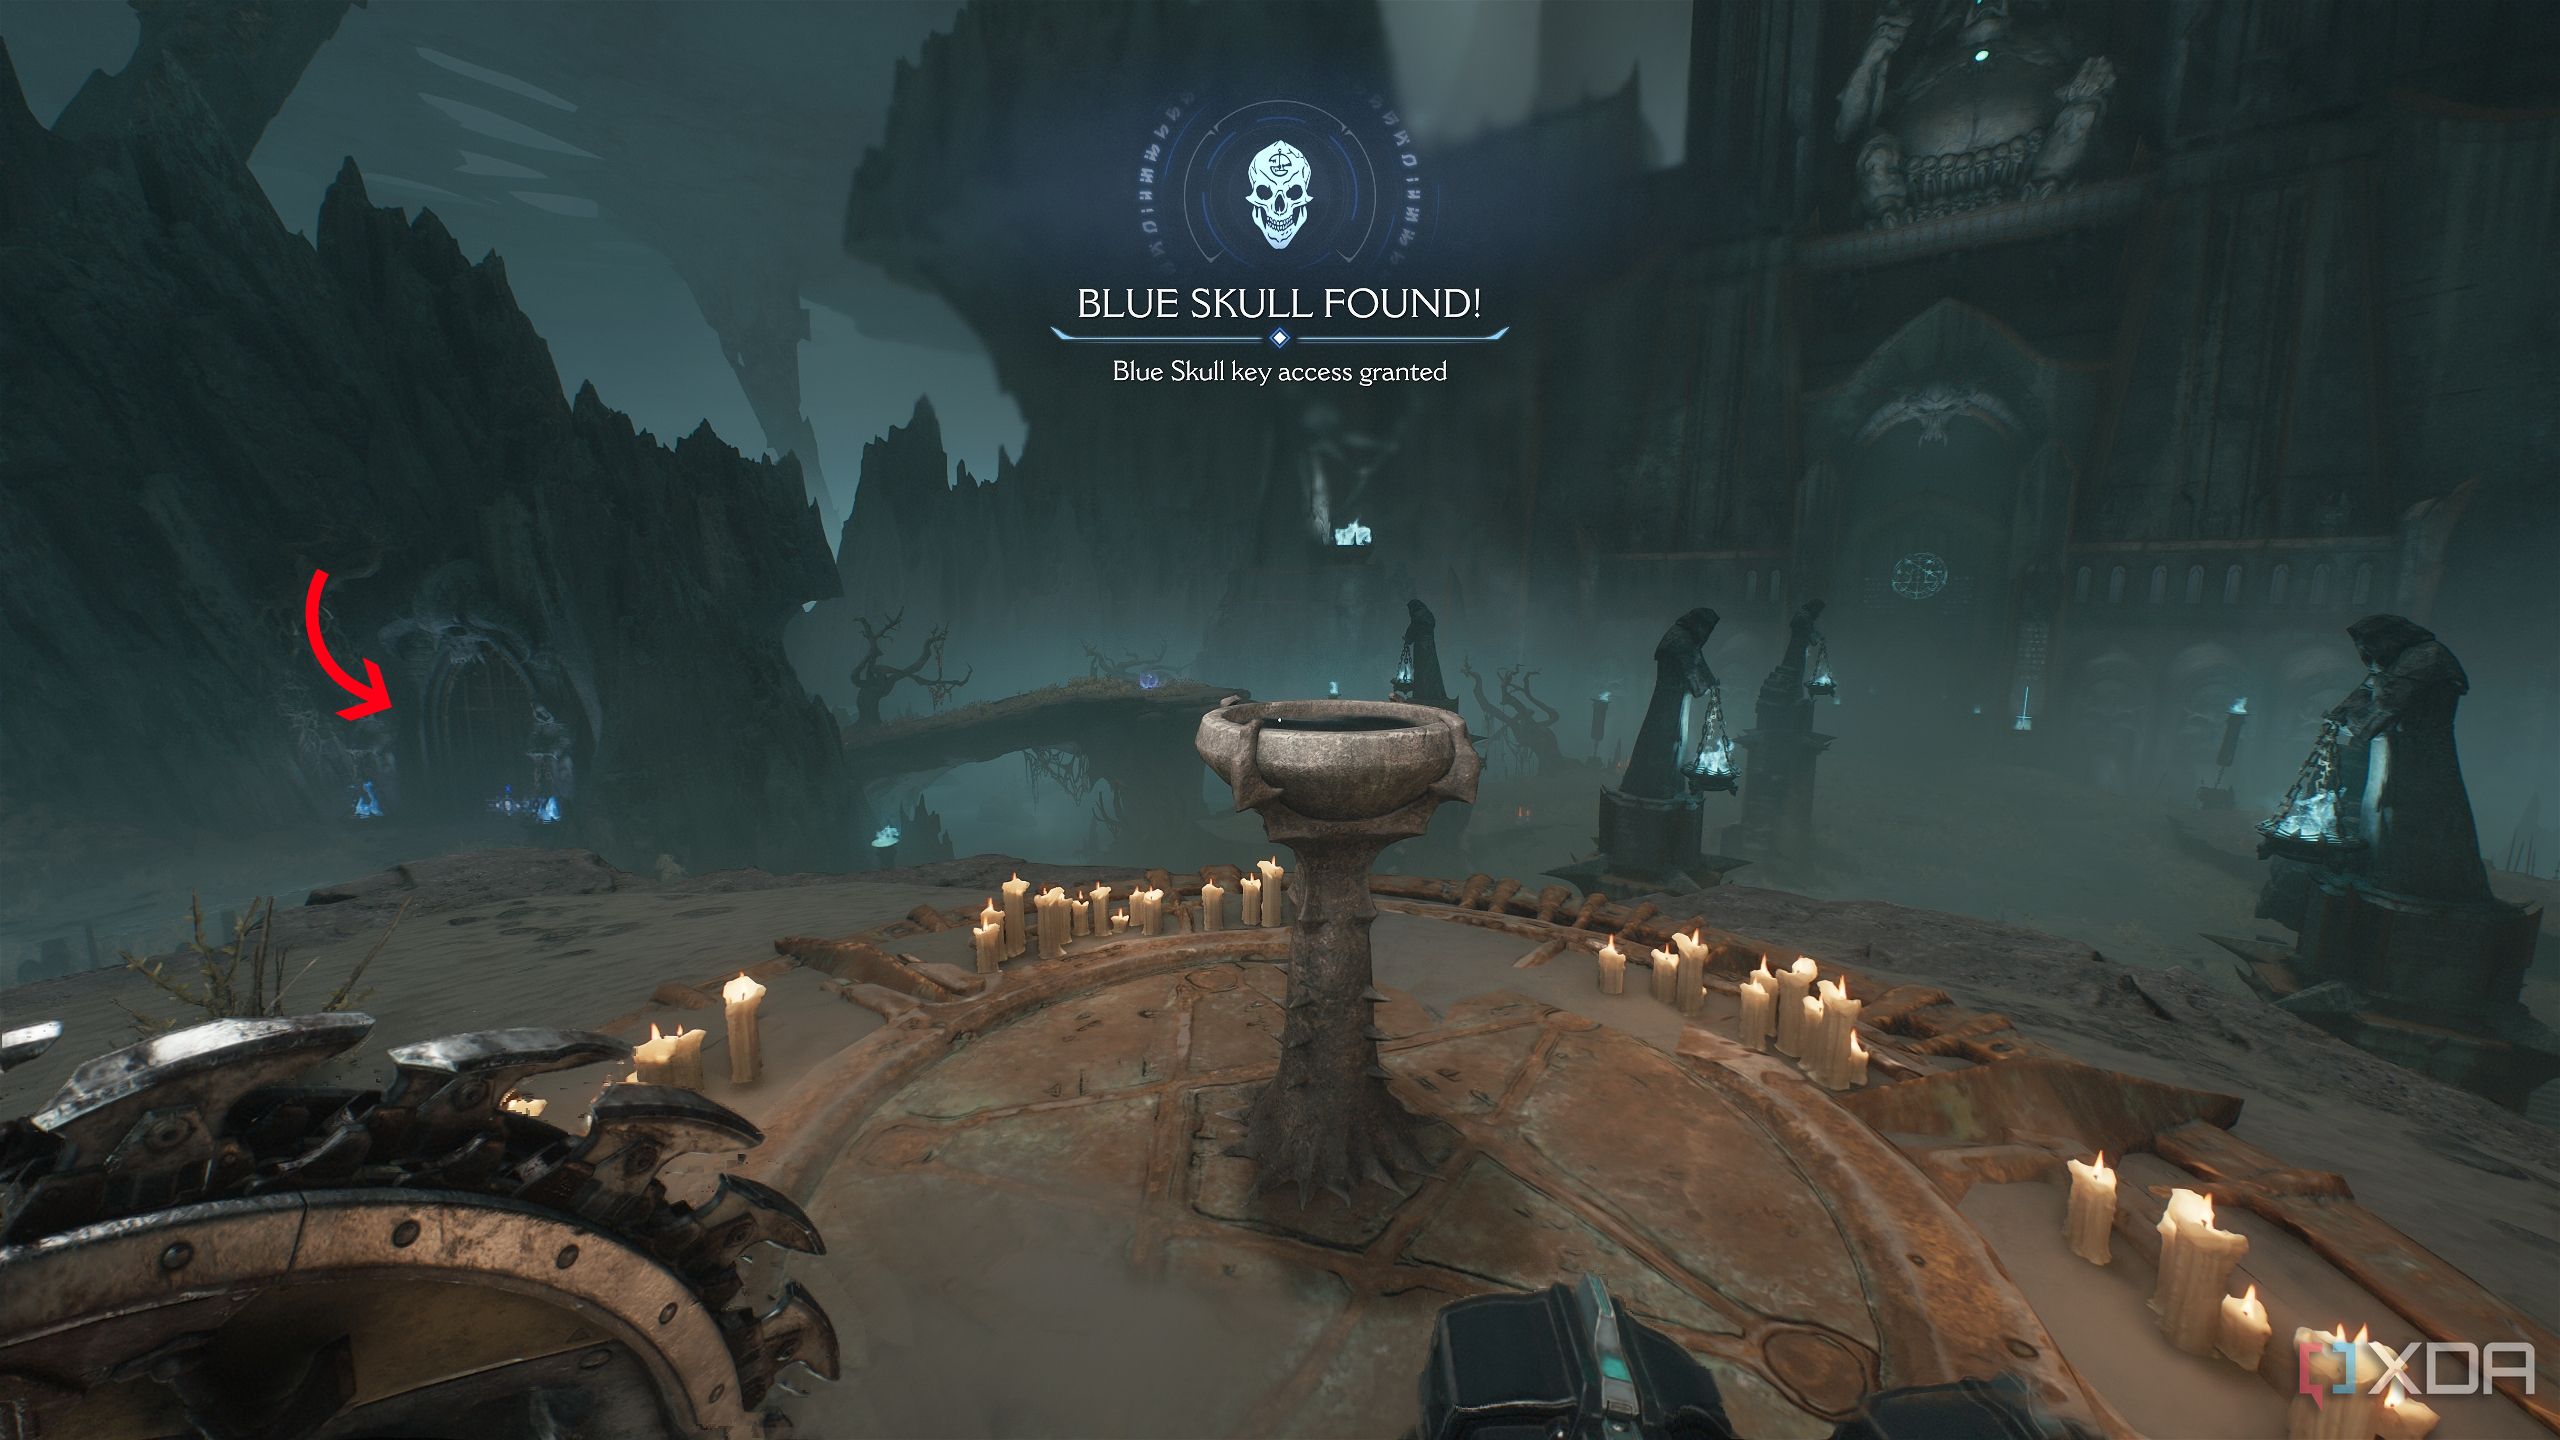
Then, collect the Blue Skull Key, but instead of heading inside, look to the left of the Skull Key’s altar. You’ll see a color-coded locked gate that this key will open.
Head towards it, climbing up the scramble wall. This is where you’ll be on the map when facing the blue-coded locked gate.
Head inside, and you’ll see a trail of gold bars leading to a collectible toy of the Acolyte.
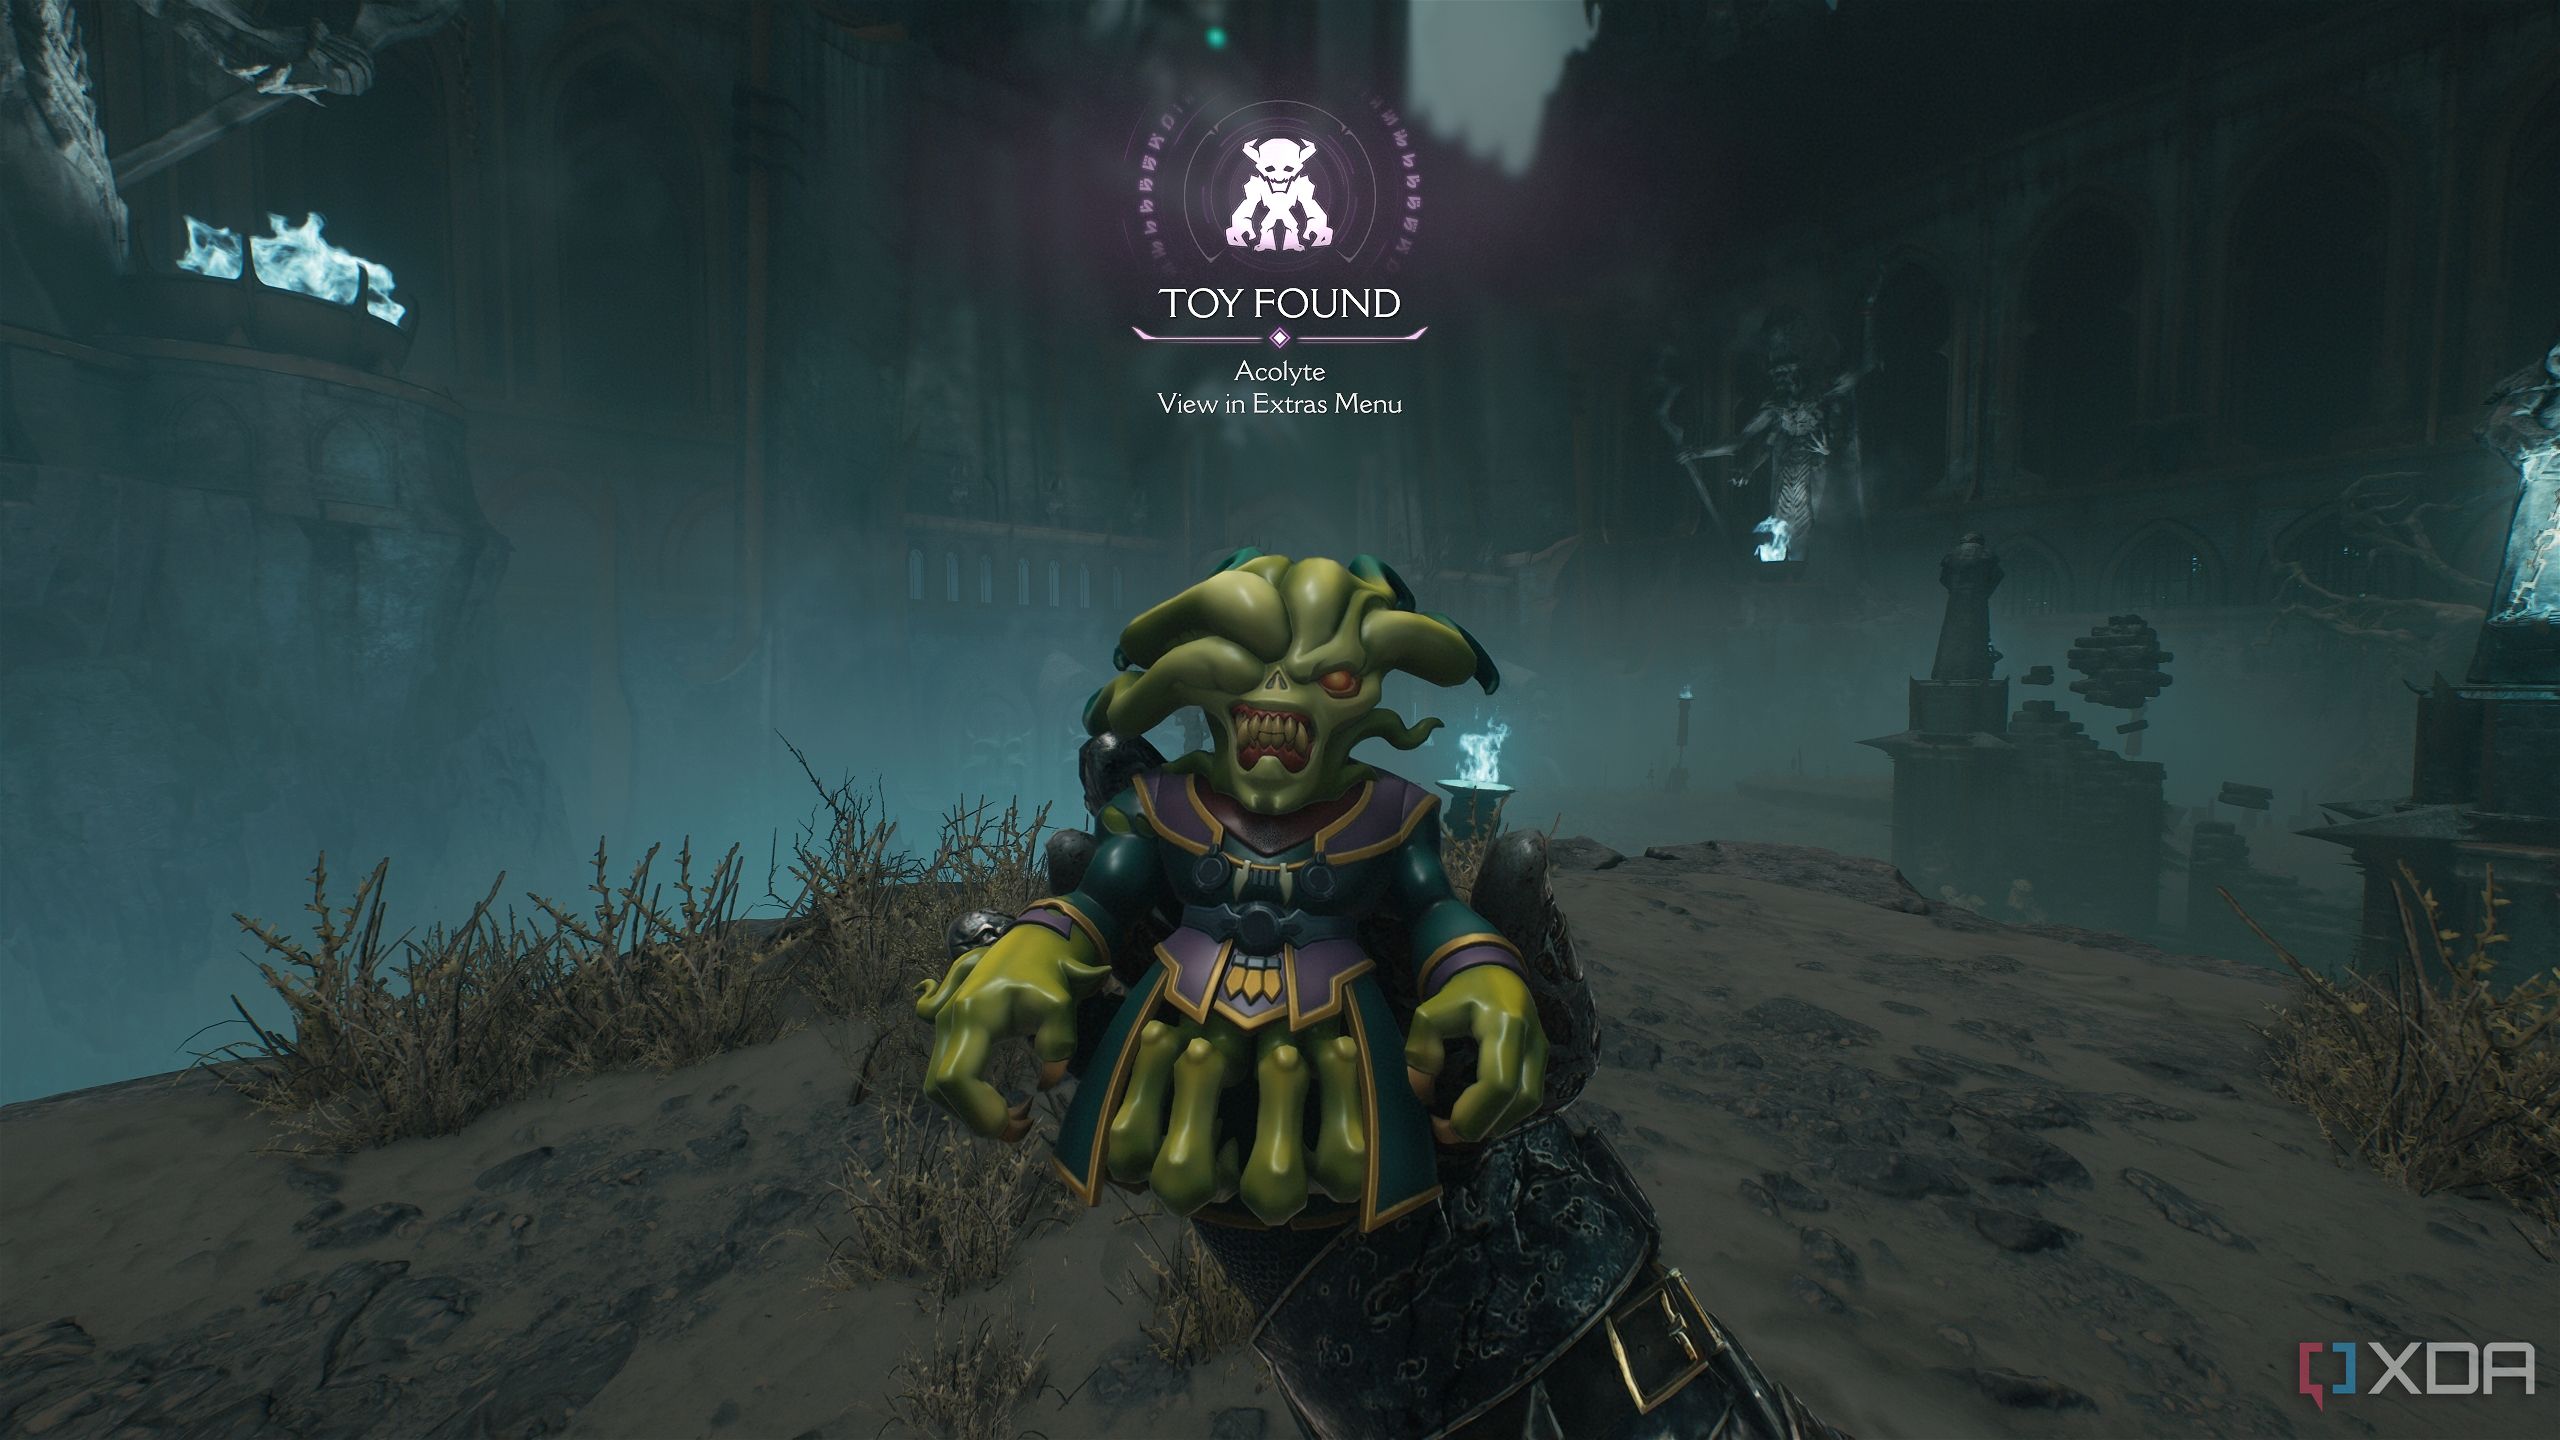
This is also where you’ll unlock secret area 5.
Demonic Essence, secret area 6 and a Life Sigil
A long, drawn-out fight in a misty arena
After collecting the Blue Skull key, you have to head back inside the main structure in front of you. However, you can’t do that without first fighting a Cosmic Baron and an enhanced Komodo. The latter will drop a Demonic Essence for max health, bringing the Slayer up to the penultimate health bar stage.
When the demons’ corpses are gone, head inside and approach the central altar to operate a lift with the Blue Skull key.
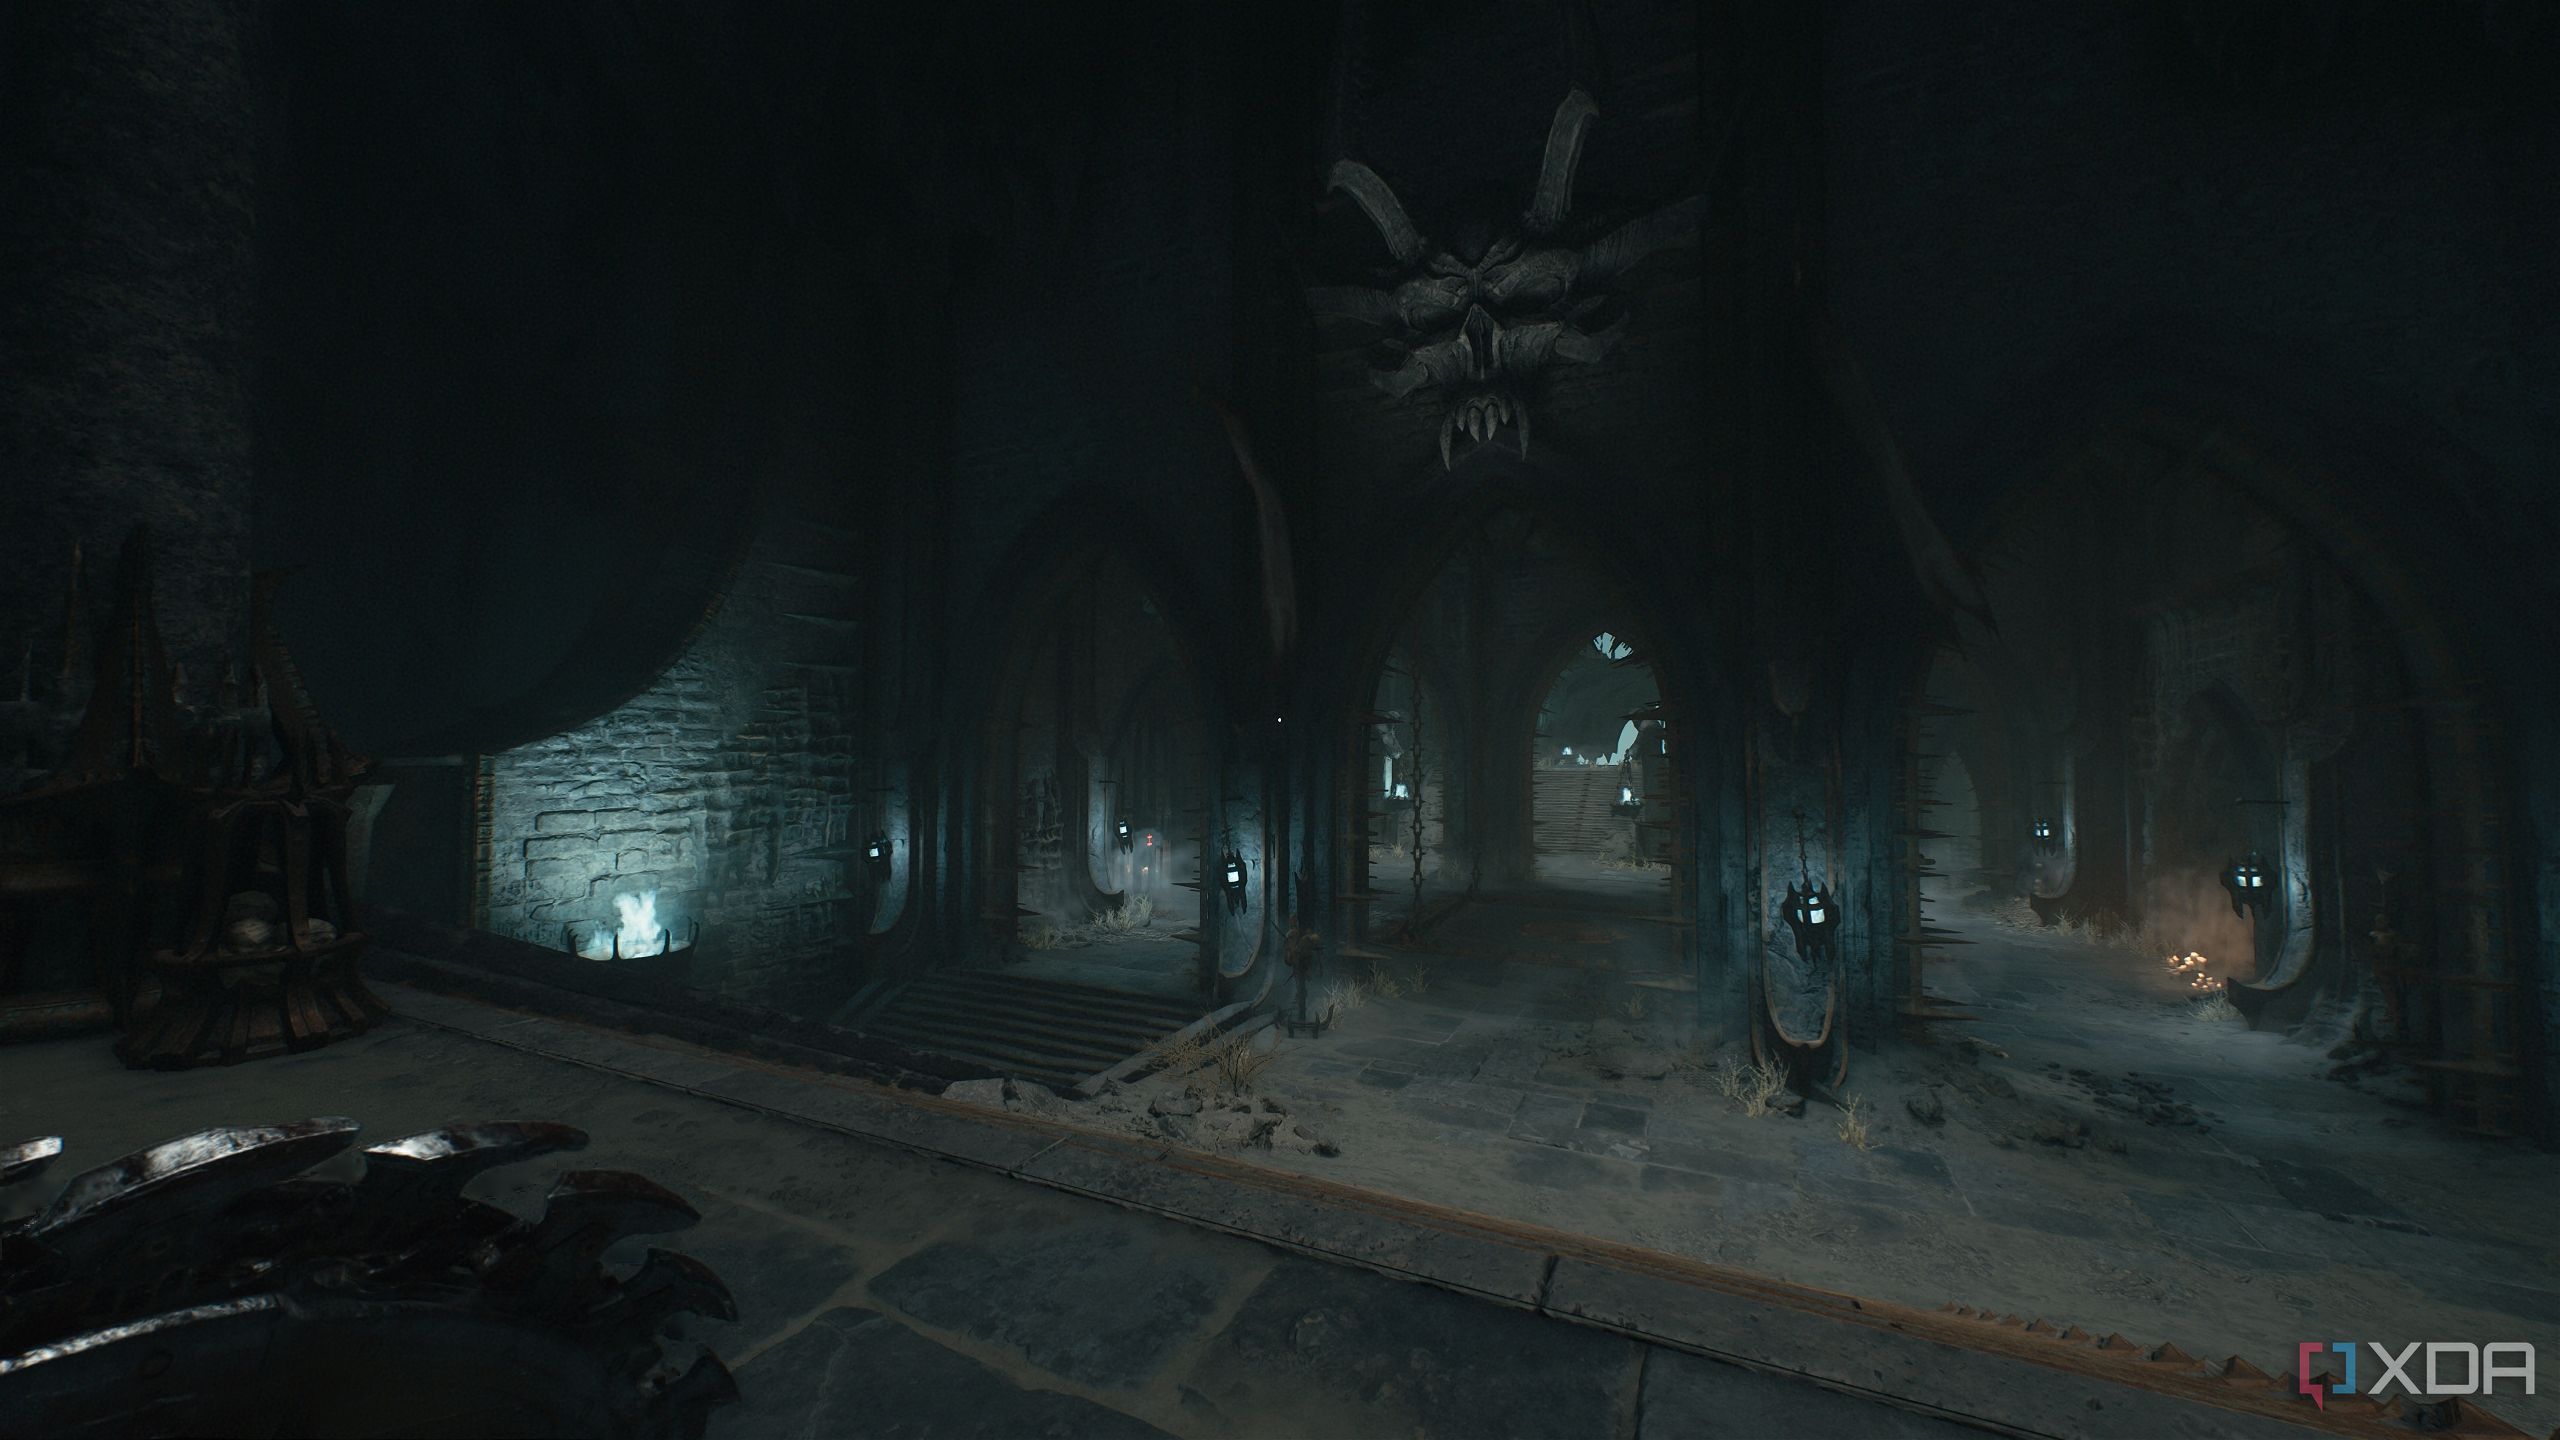
You’ll get to the next arena where there’s another horde of demons to fight through, in front of a huge skull that’s clearly the pièce de résistance of the decor. Once the demons are done for, look to the left side of the skull to see a small trail of gold bars.

Pick them up, and look below the platform to see a small area you can drop down into.
Do that, and head forward under the skull. You’ll see a jump pad ahead.
Head into it, and you’ll rise up to unlock secret area 6 and a Life Sigil.
Secret area 7 and a Wraithstone
Making the spiral staircase rise up

Make your way forward to the next arena, where you’ll get plenty of ammo drops and armor pickups to prepare you for a Berserk segment. Go Berserk and clear as many demons as possible to progress through the Berserker mission challenge.
Then, head forward into the next arena — this is where you’ll be on the map.
Here, keep fighting through the demons and make your way up to a Mancubus and a couple of Stalker Imps. Then, when the demonic barriers are finally down and the demons are dead, head to this location on the map.
Right next to a tree made of bones, you’ll see a wall with a Shield Charge symbol. Bash through it to collect a gold stack.

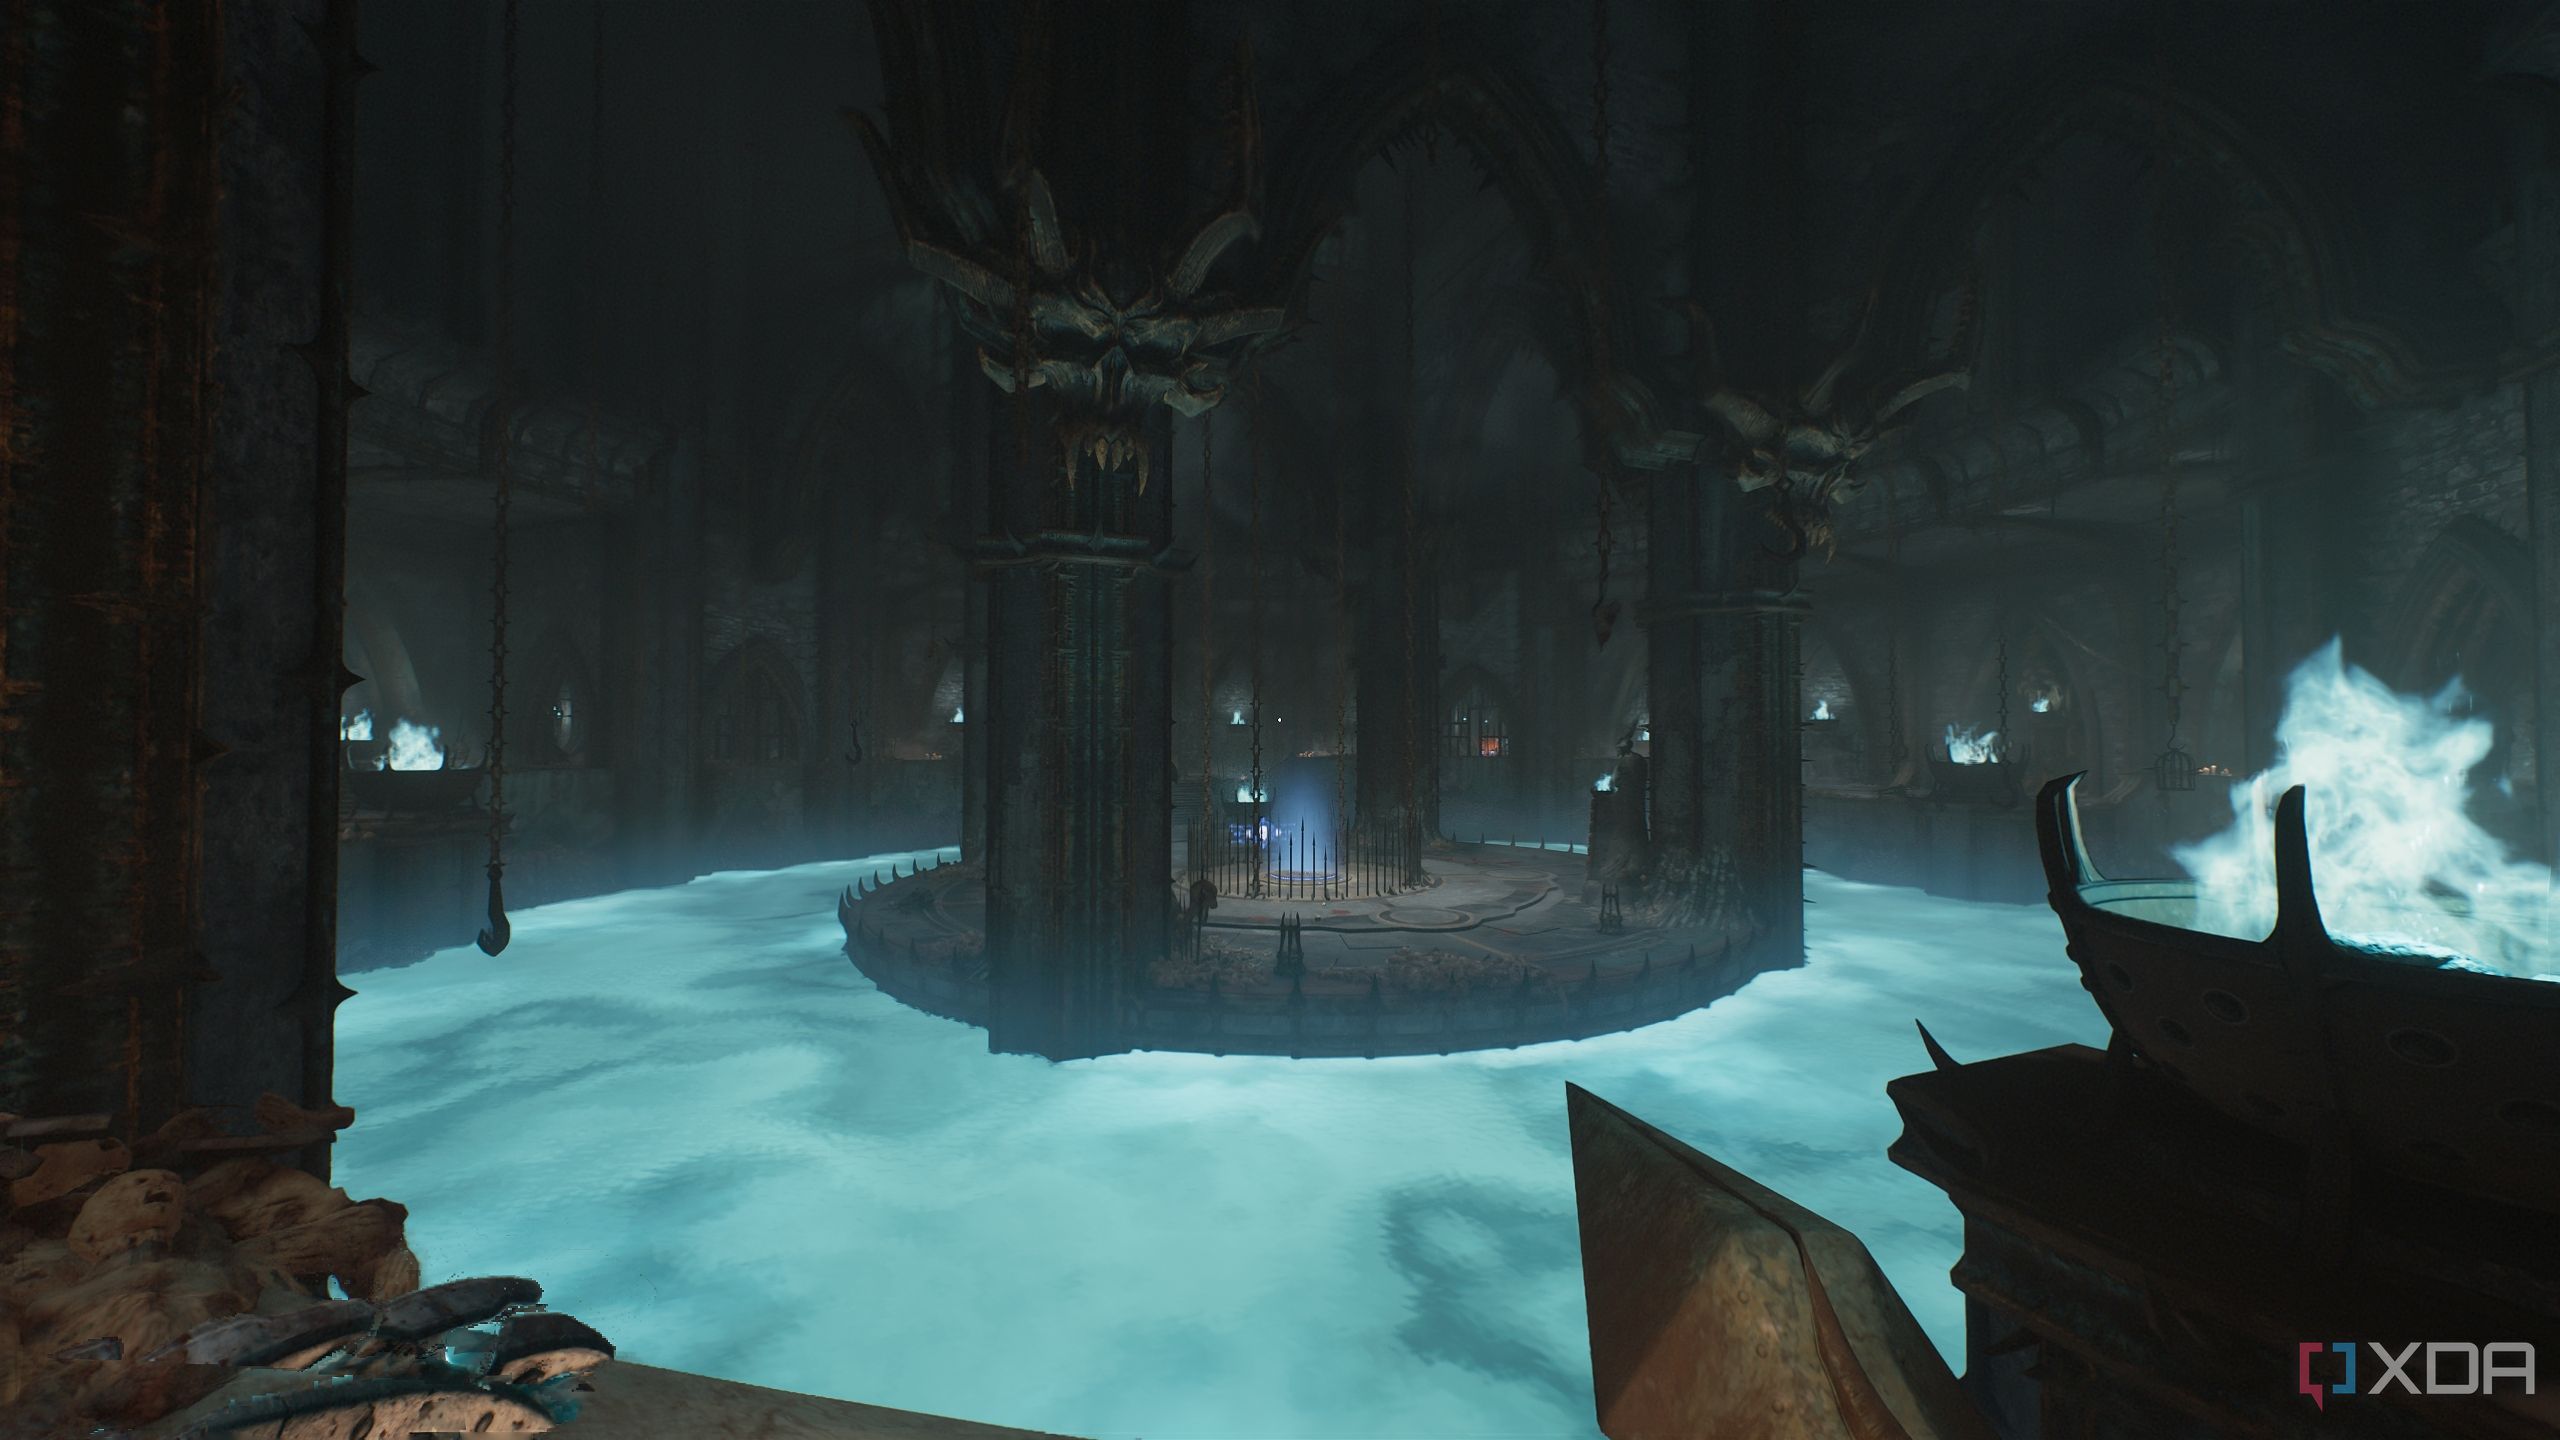
Then, make your way towards the objective, jumping and clinging to a scramble wall to then enter a cylindrical chamber with a spiral staircase in the center.
Fight the two Revenants here, and climb up the stairs to reach the top. Here, you’ll have to fight two Arachnotrons and multiple Shielded Soldiers.

When they’re all down, head back down the stairs, and look for a Shield Symbol on the wall, right about here.
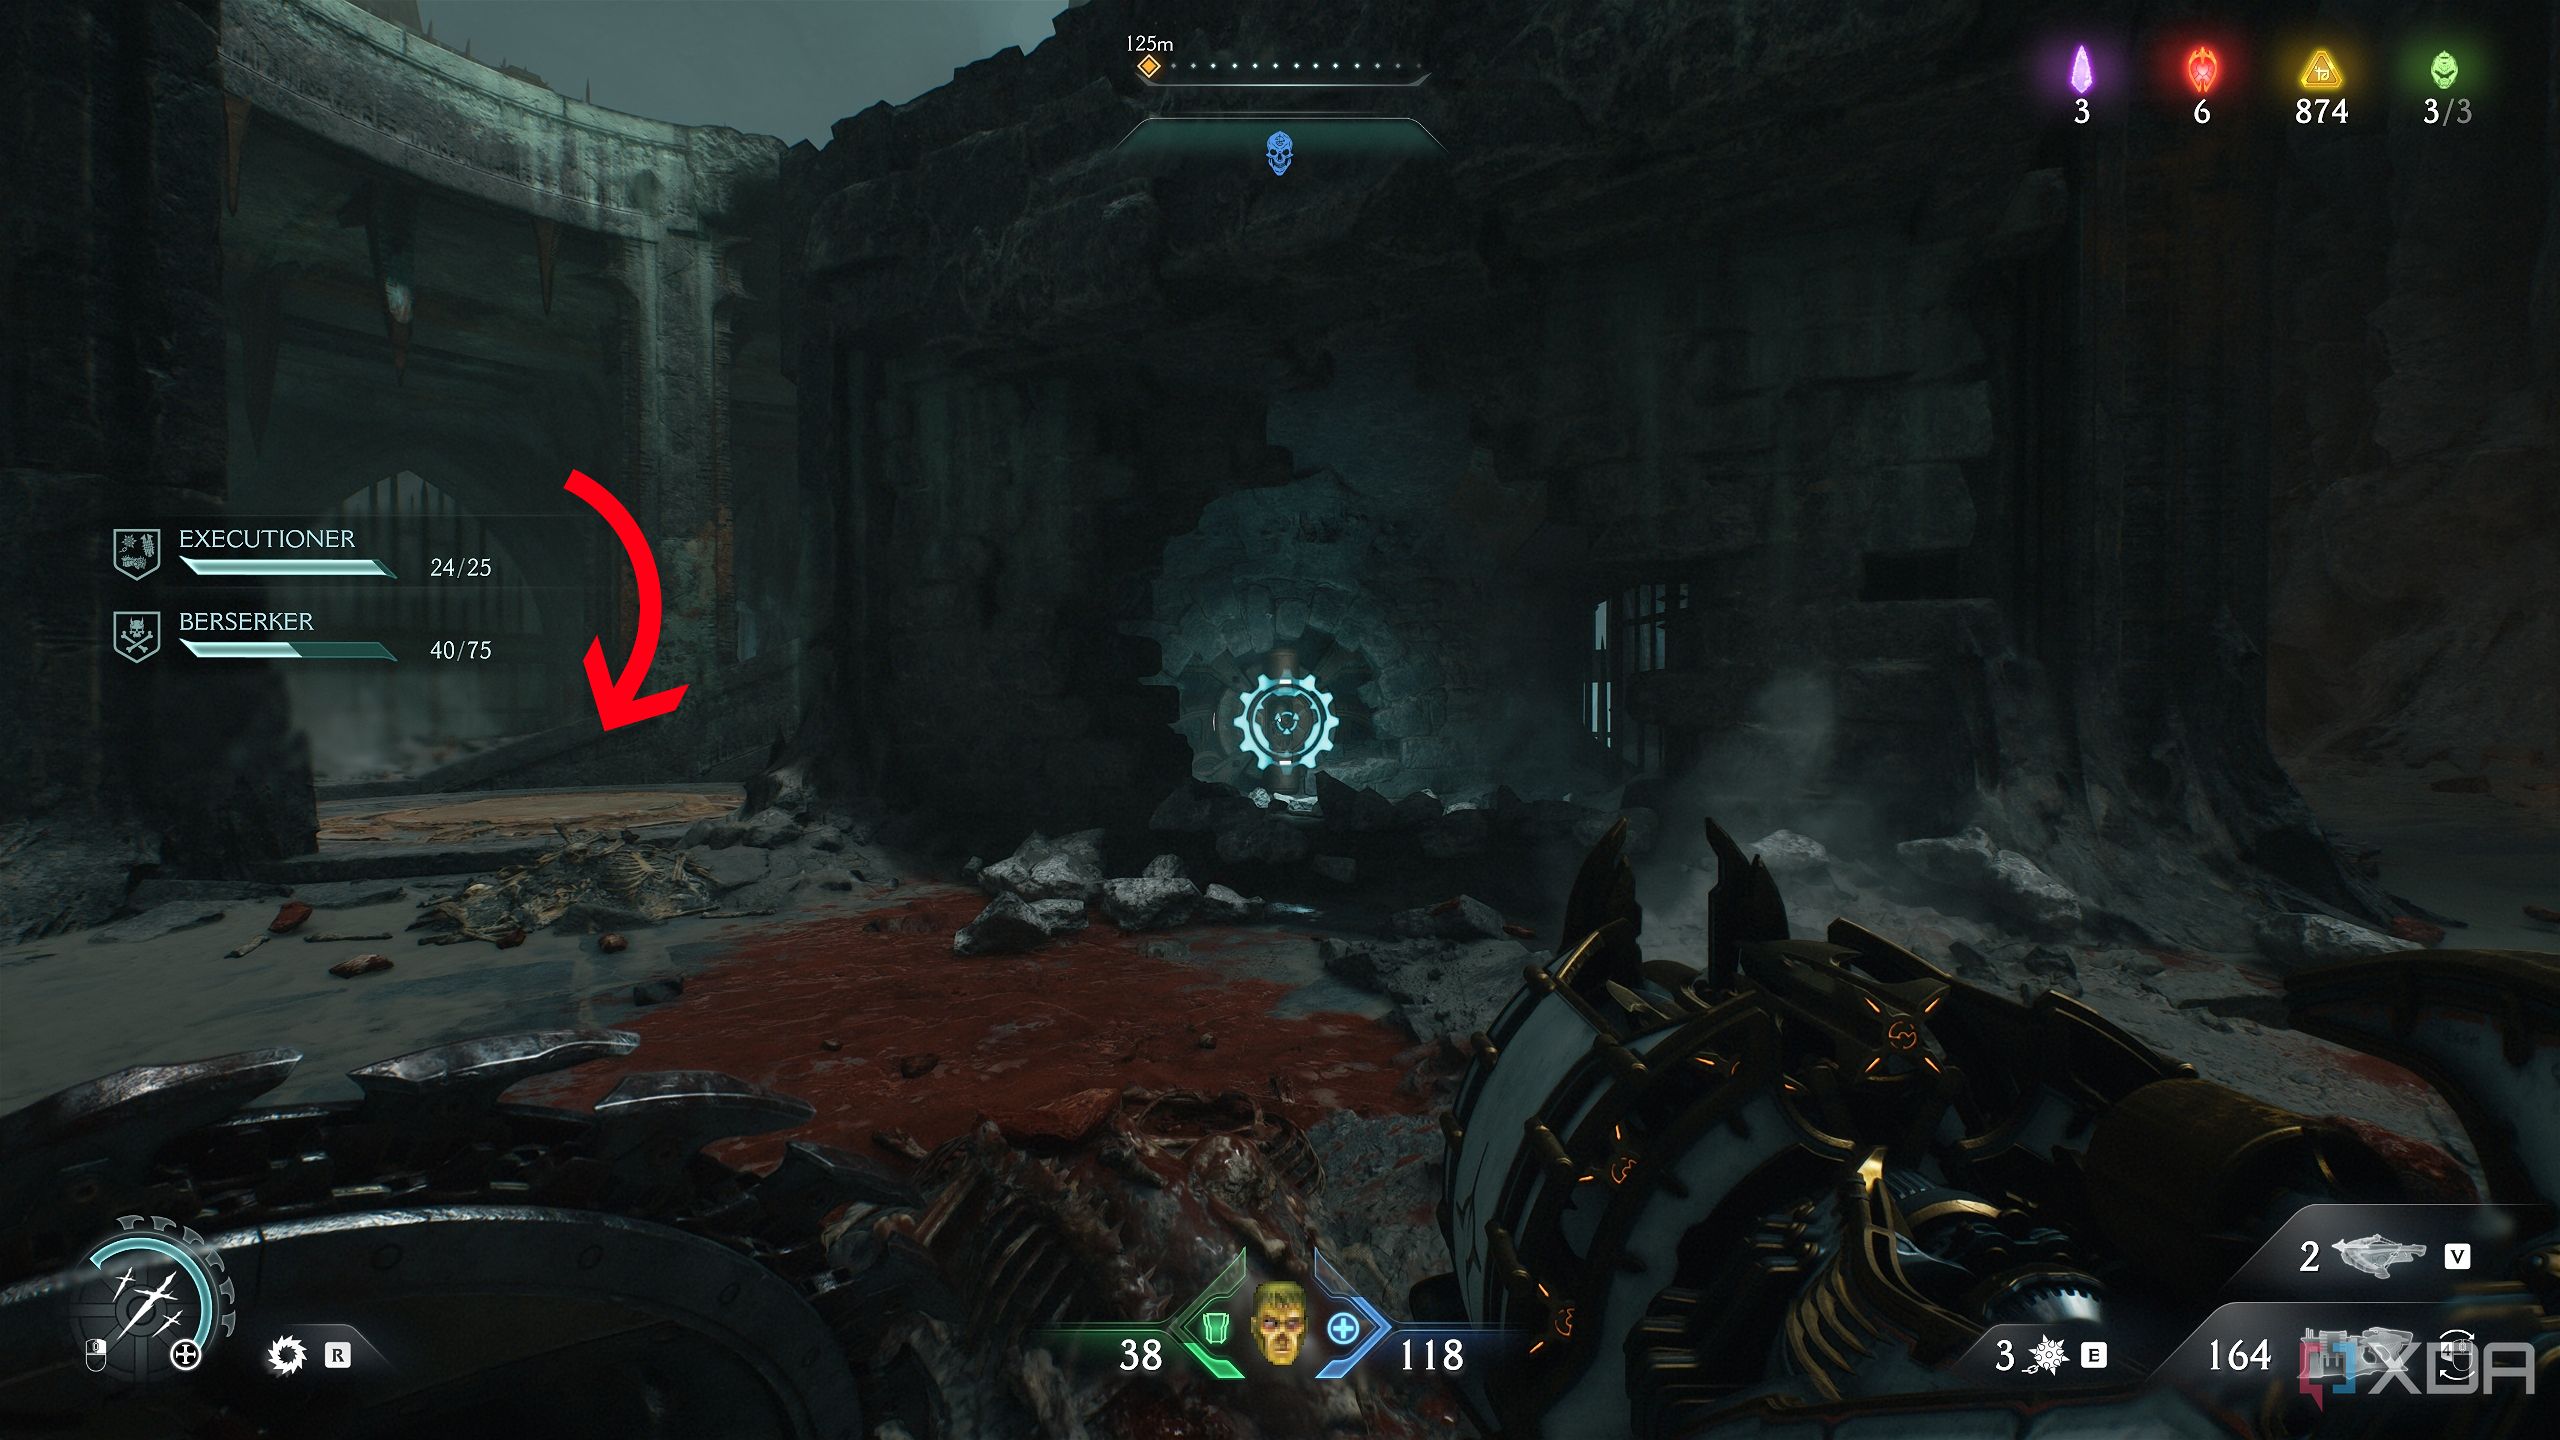
Bash through it to reveal a blue energy node inside. Throw your shield into the energy node and immediately run to the center of the floor — if you’re late, the floor will rise up by itself, without you.
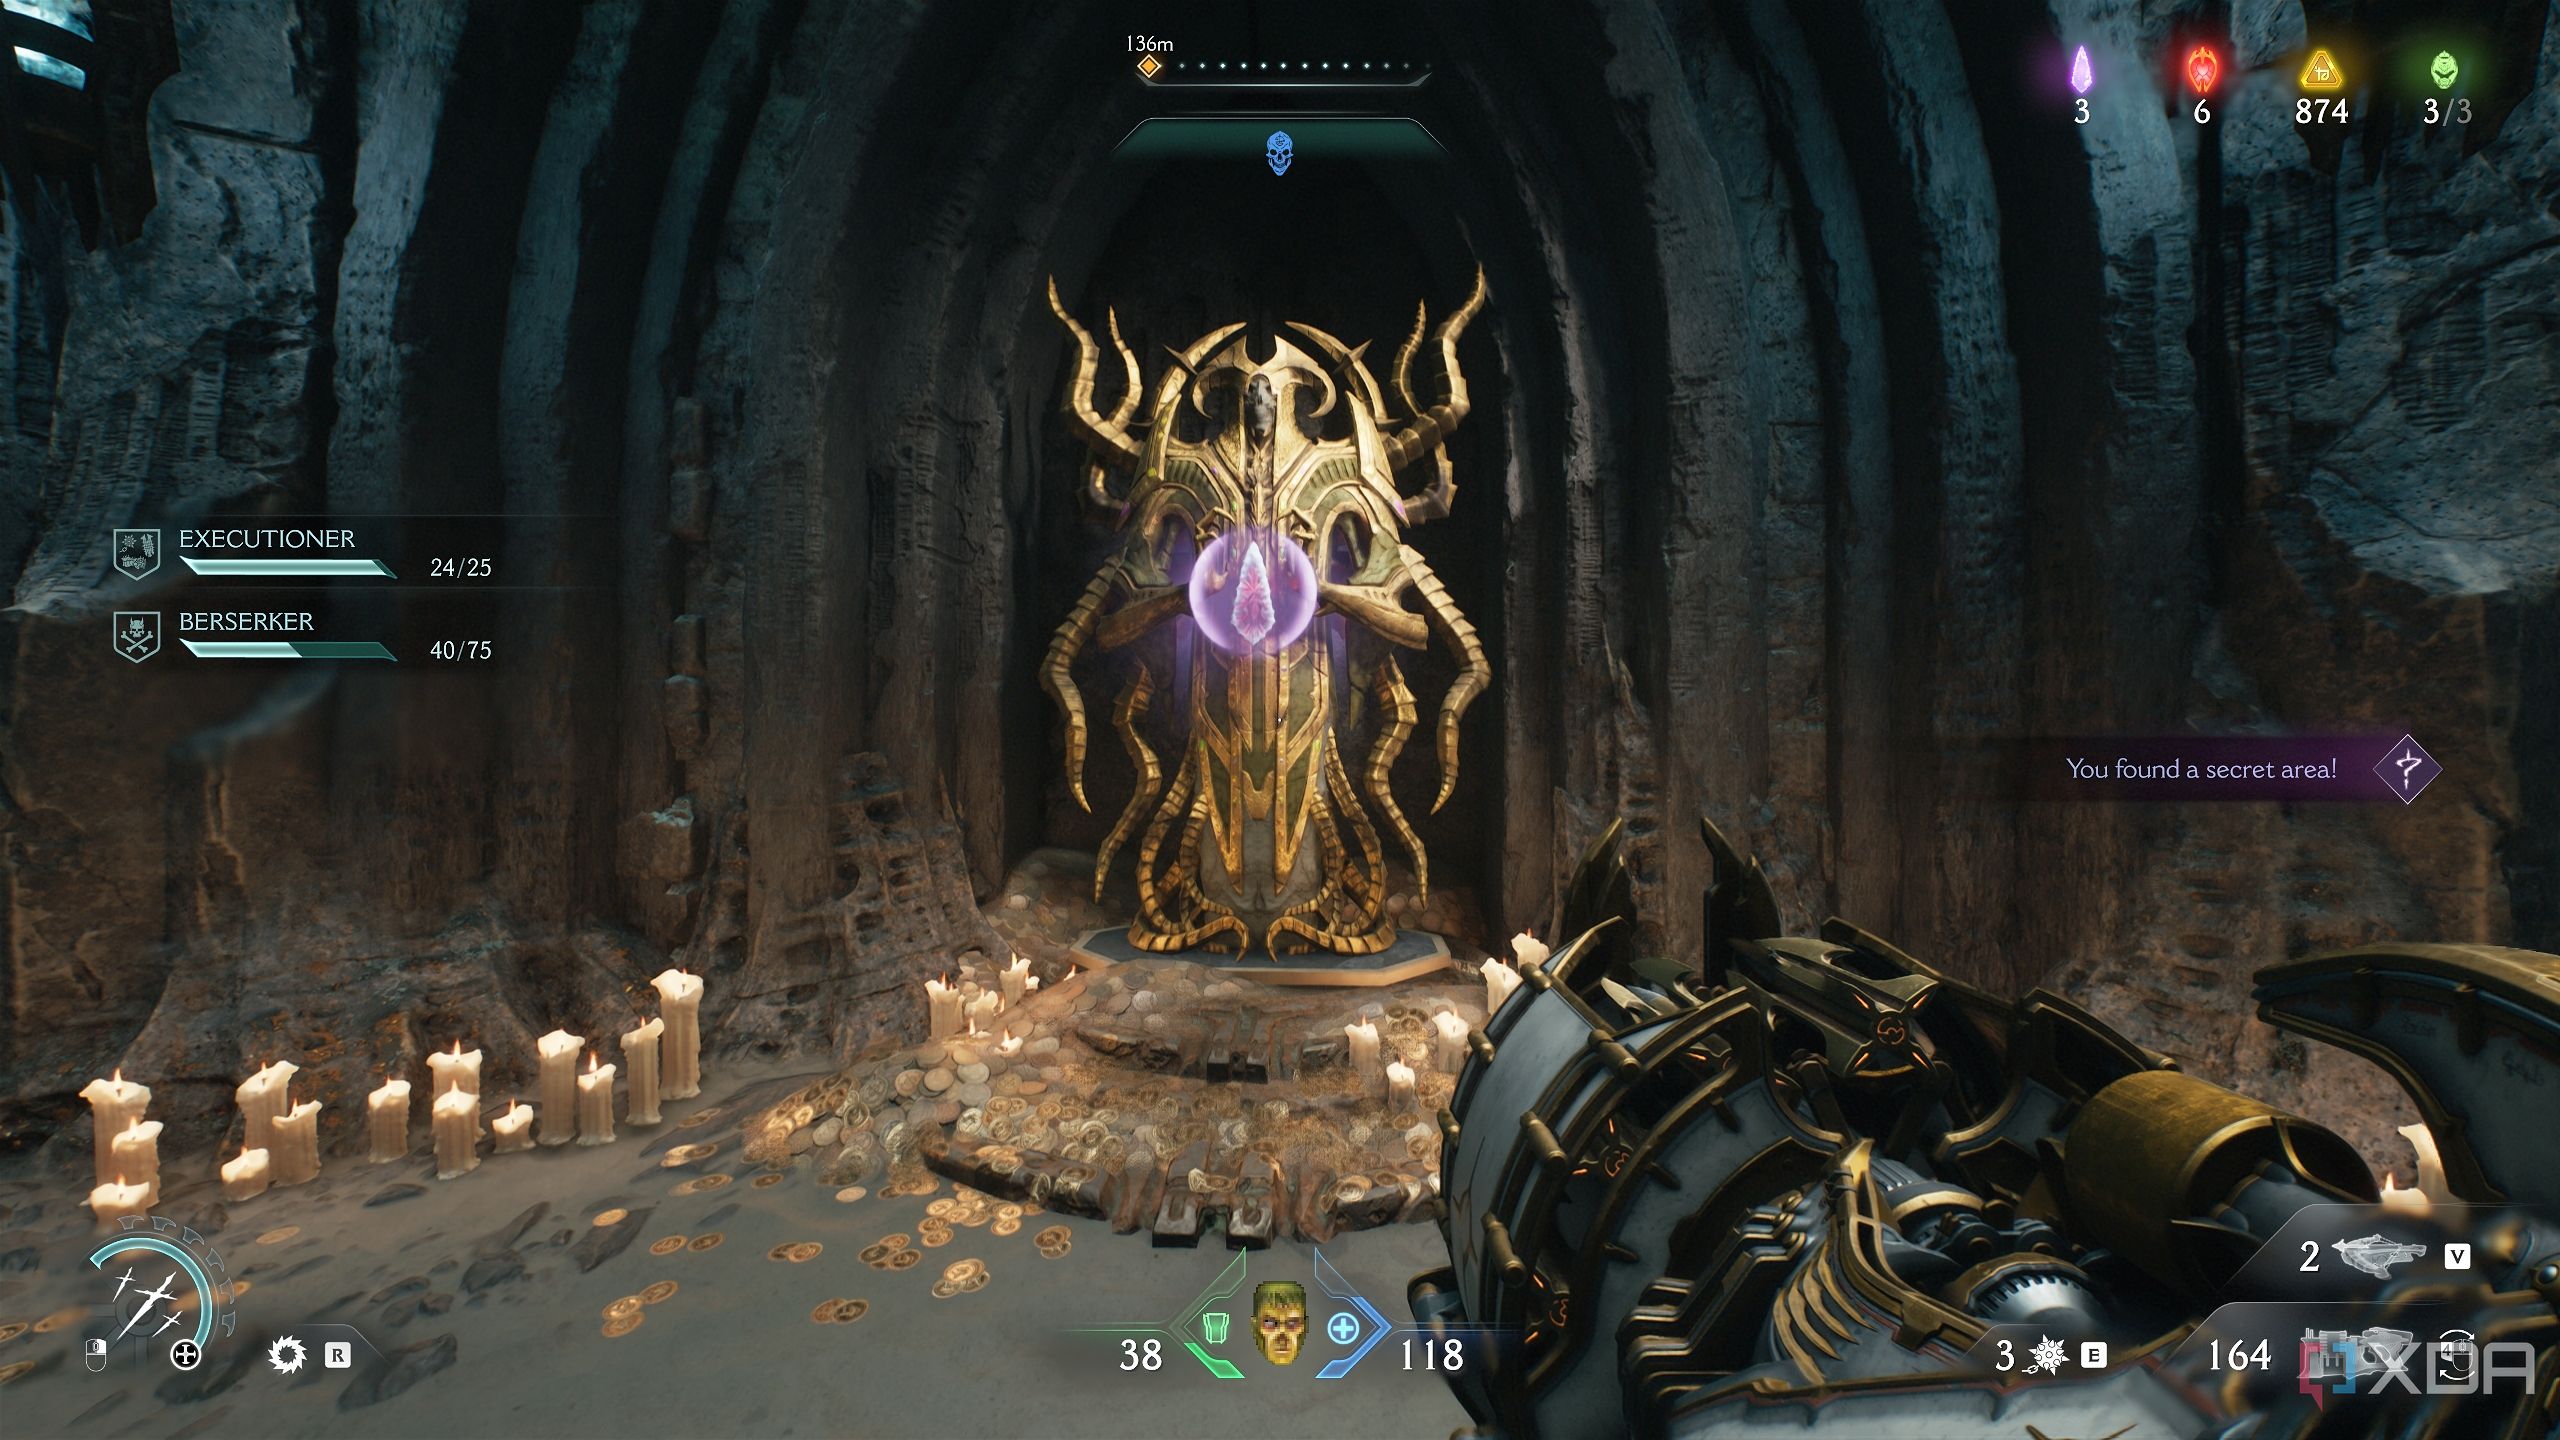
This rising platform will take you to the top, revealing a Wraithstone statue and unlocking secret area 7.
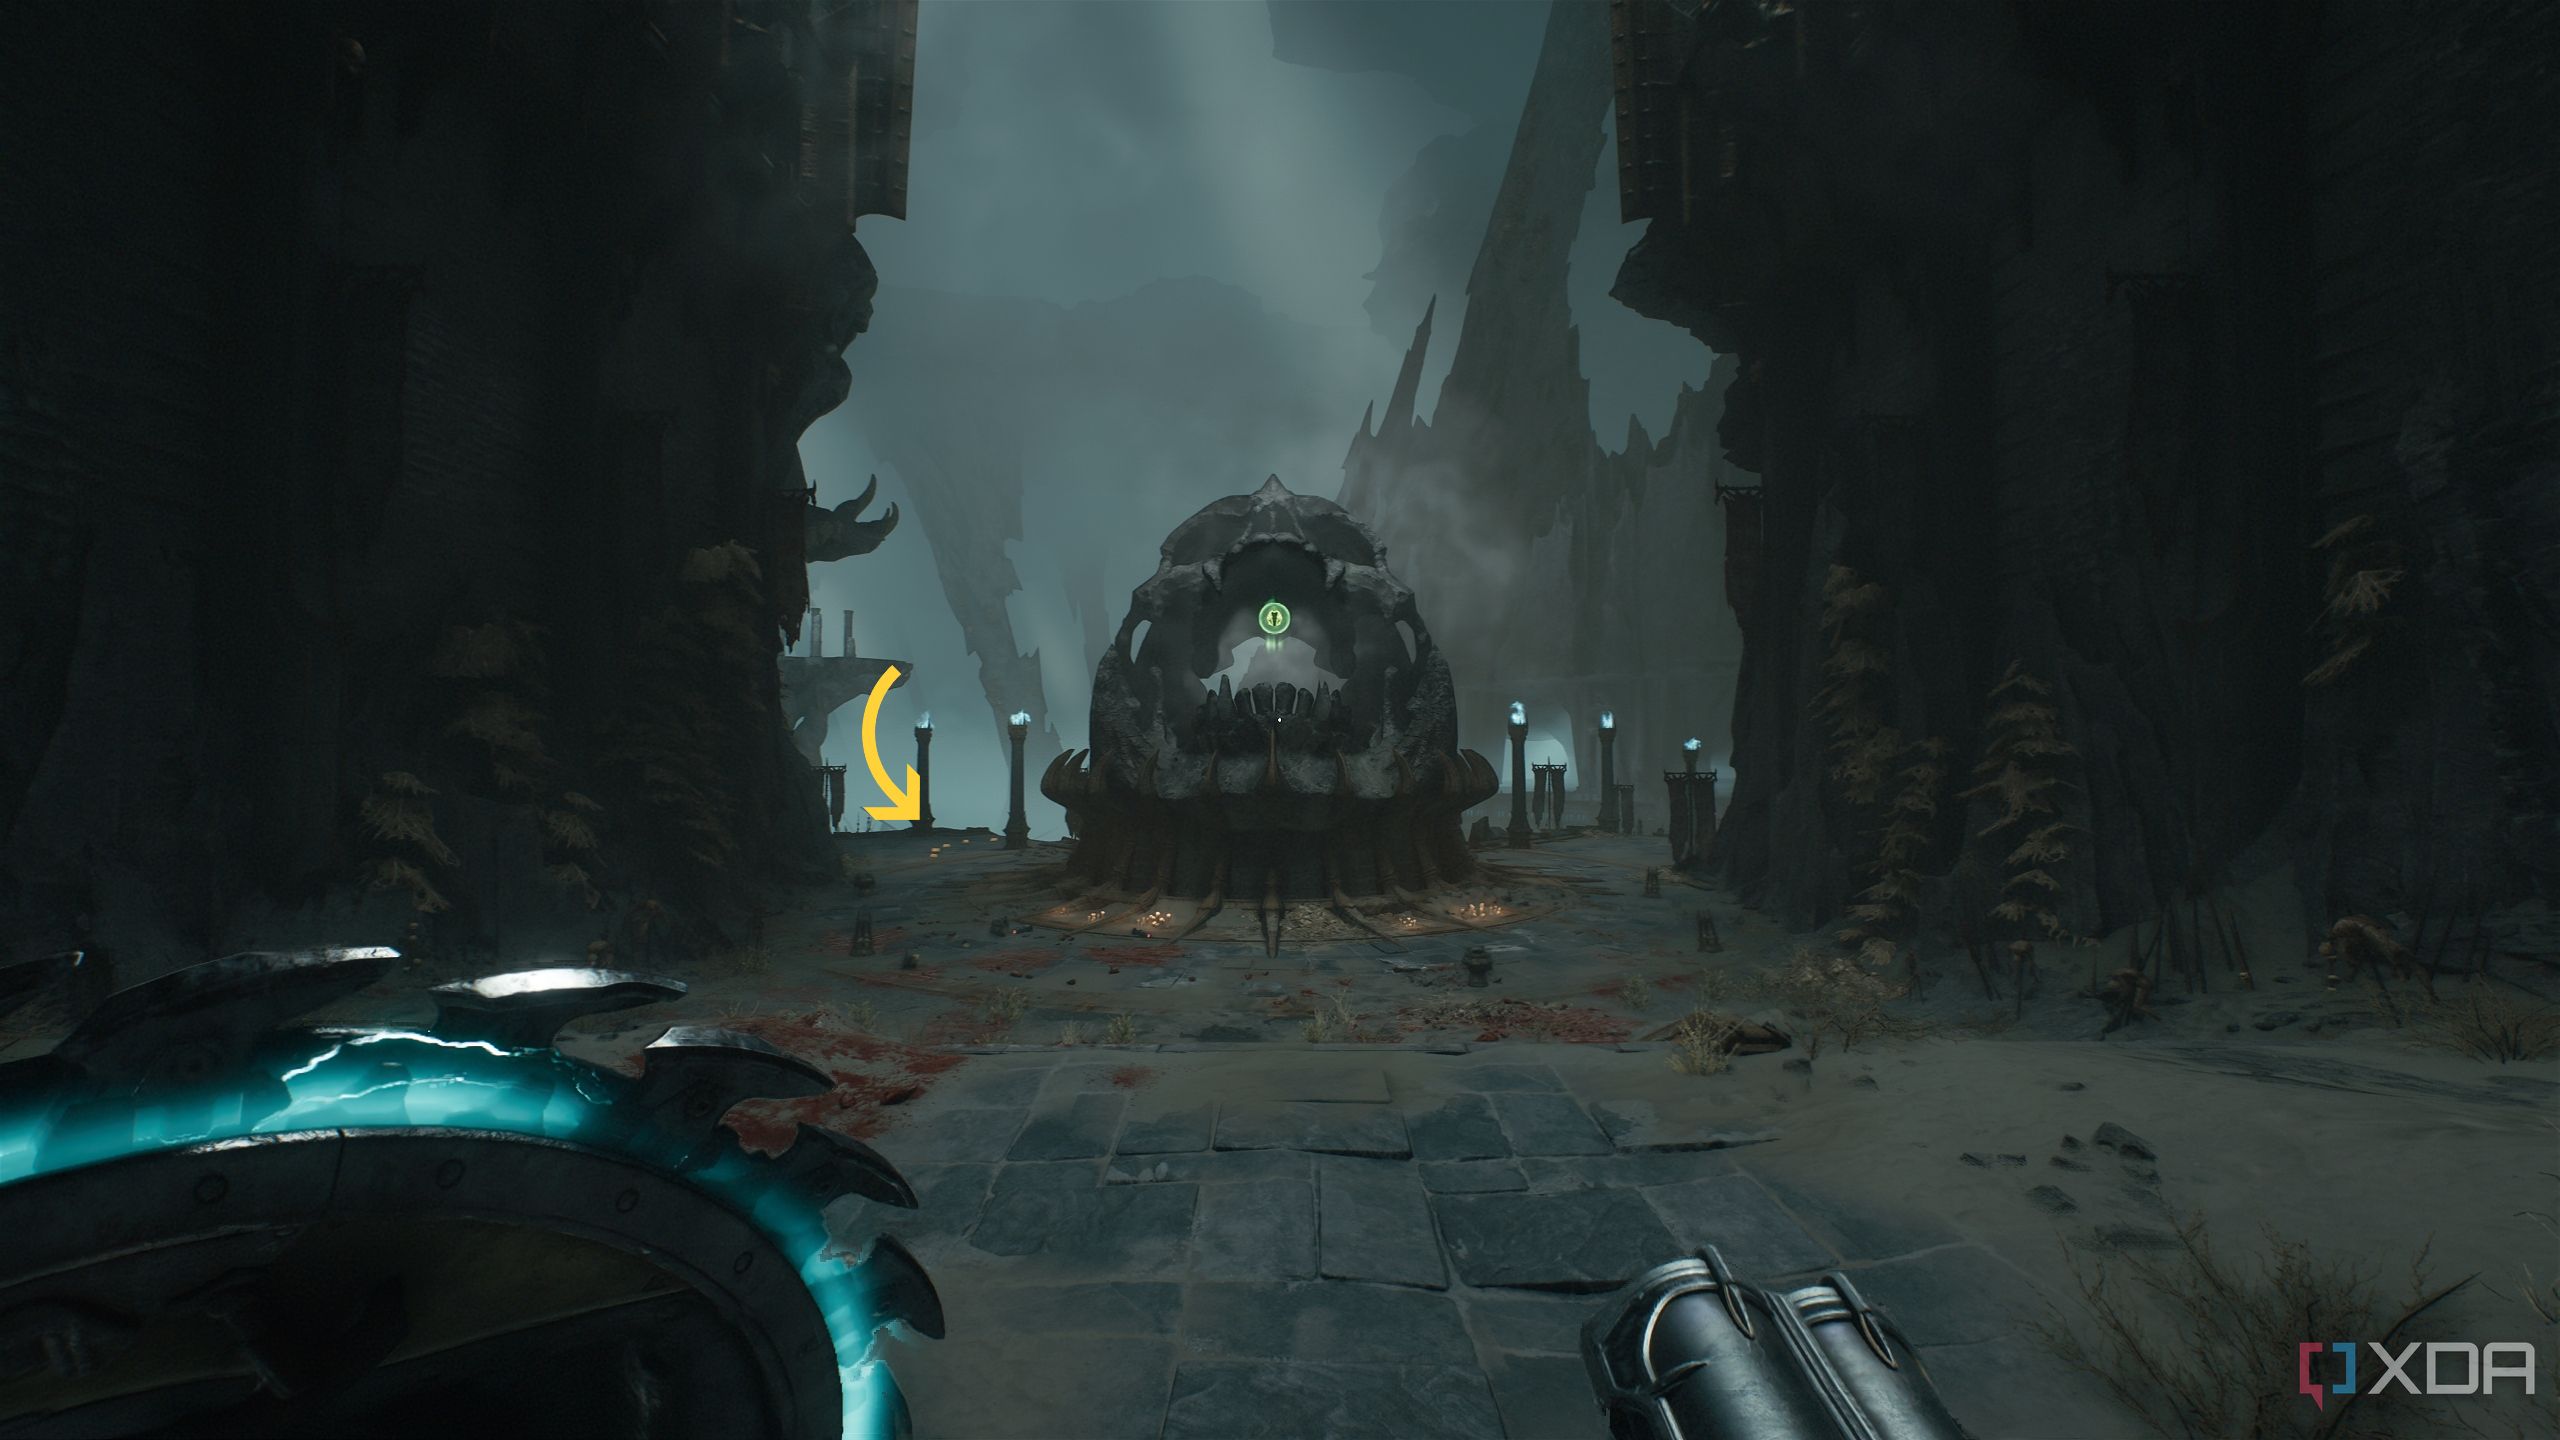
Trail of gold bars and the Red Skull key
Gold bars to collect before getting on with business
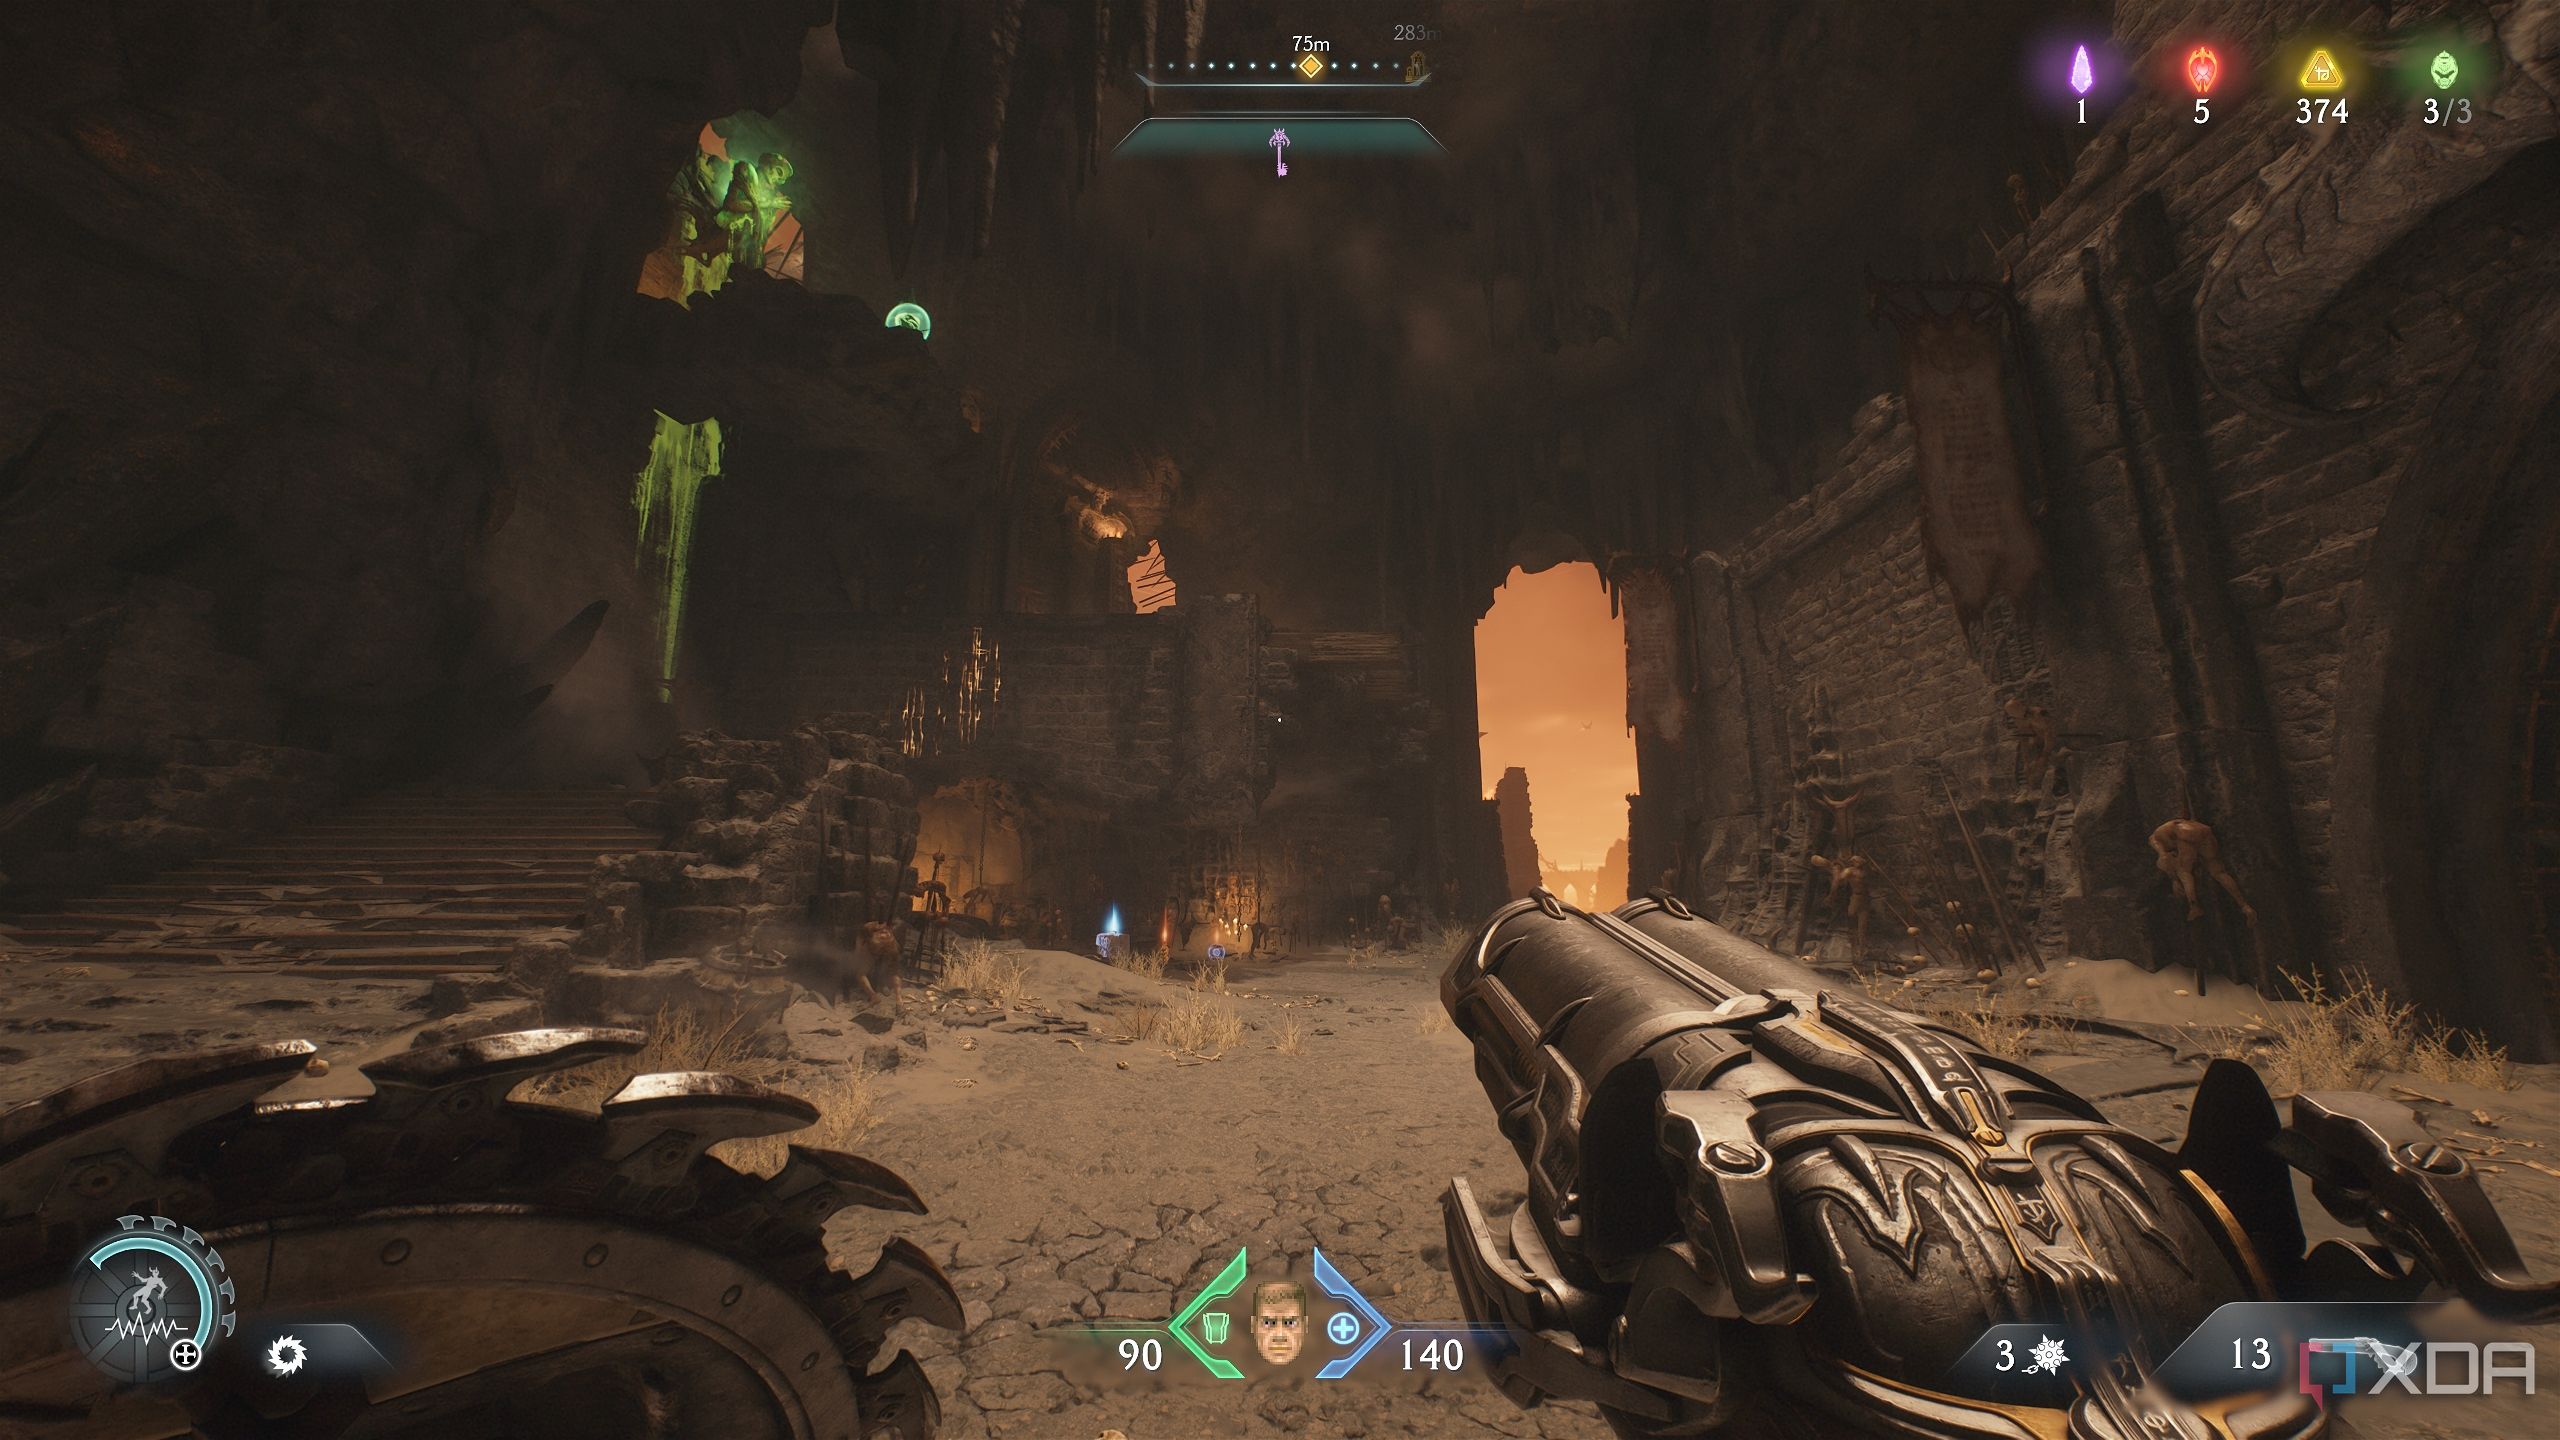
Next, head back up to the top of this structure.
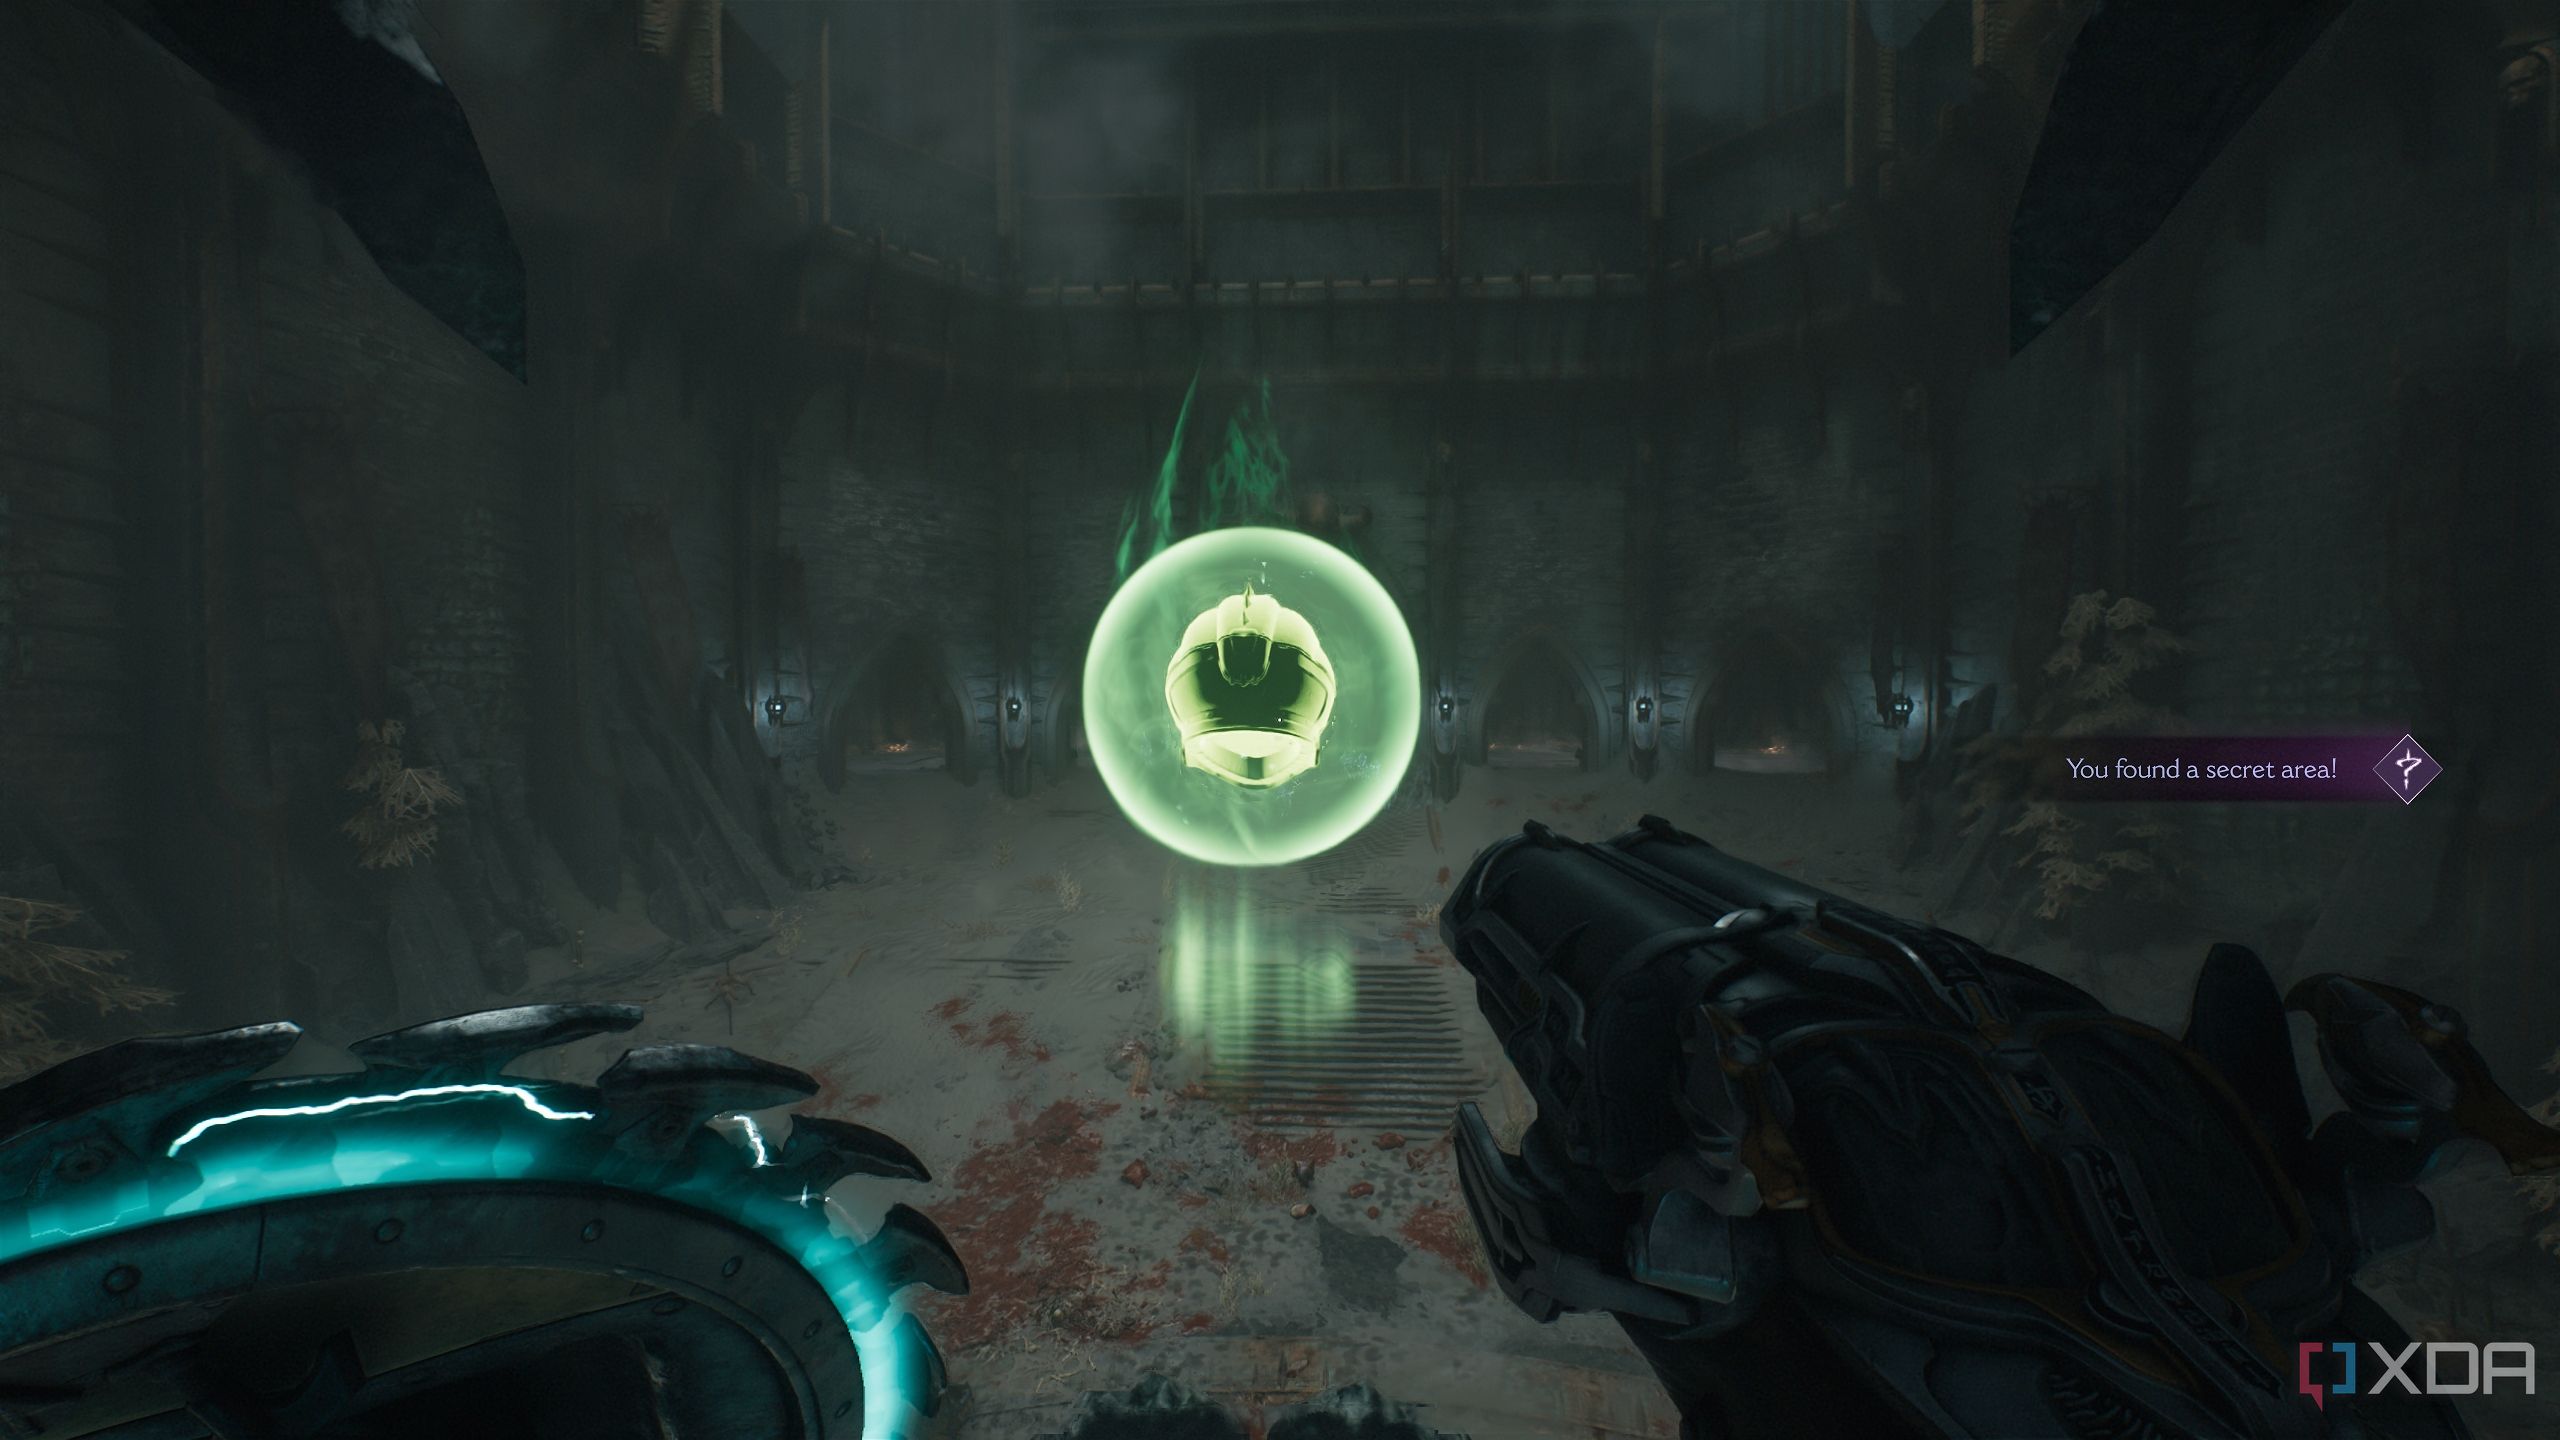
You’ll notice a green flesh node in the distance overhead. Use it to climb up and follow the path ahead.
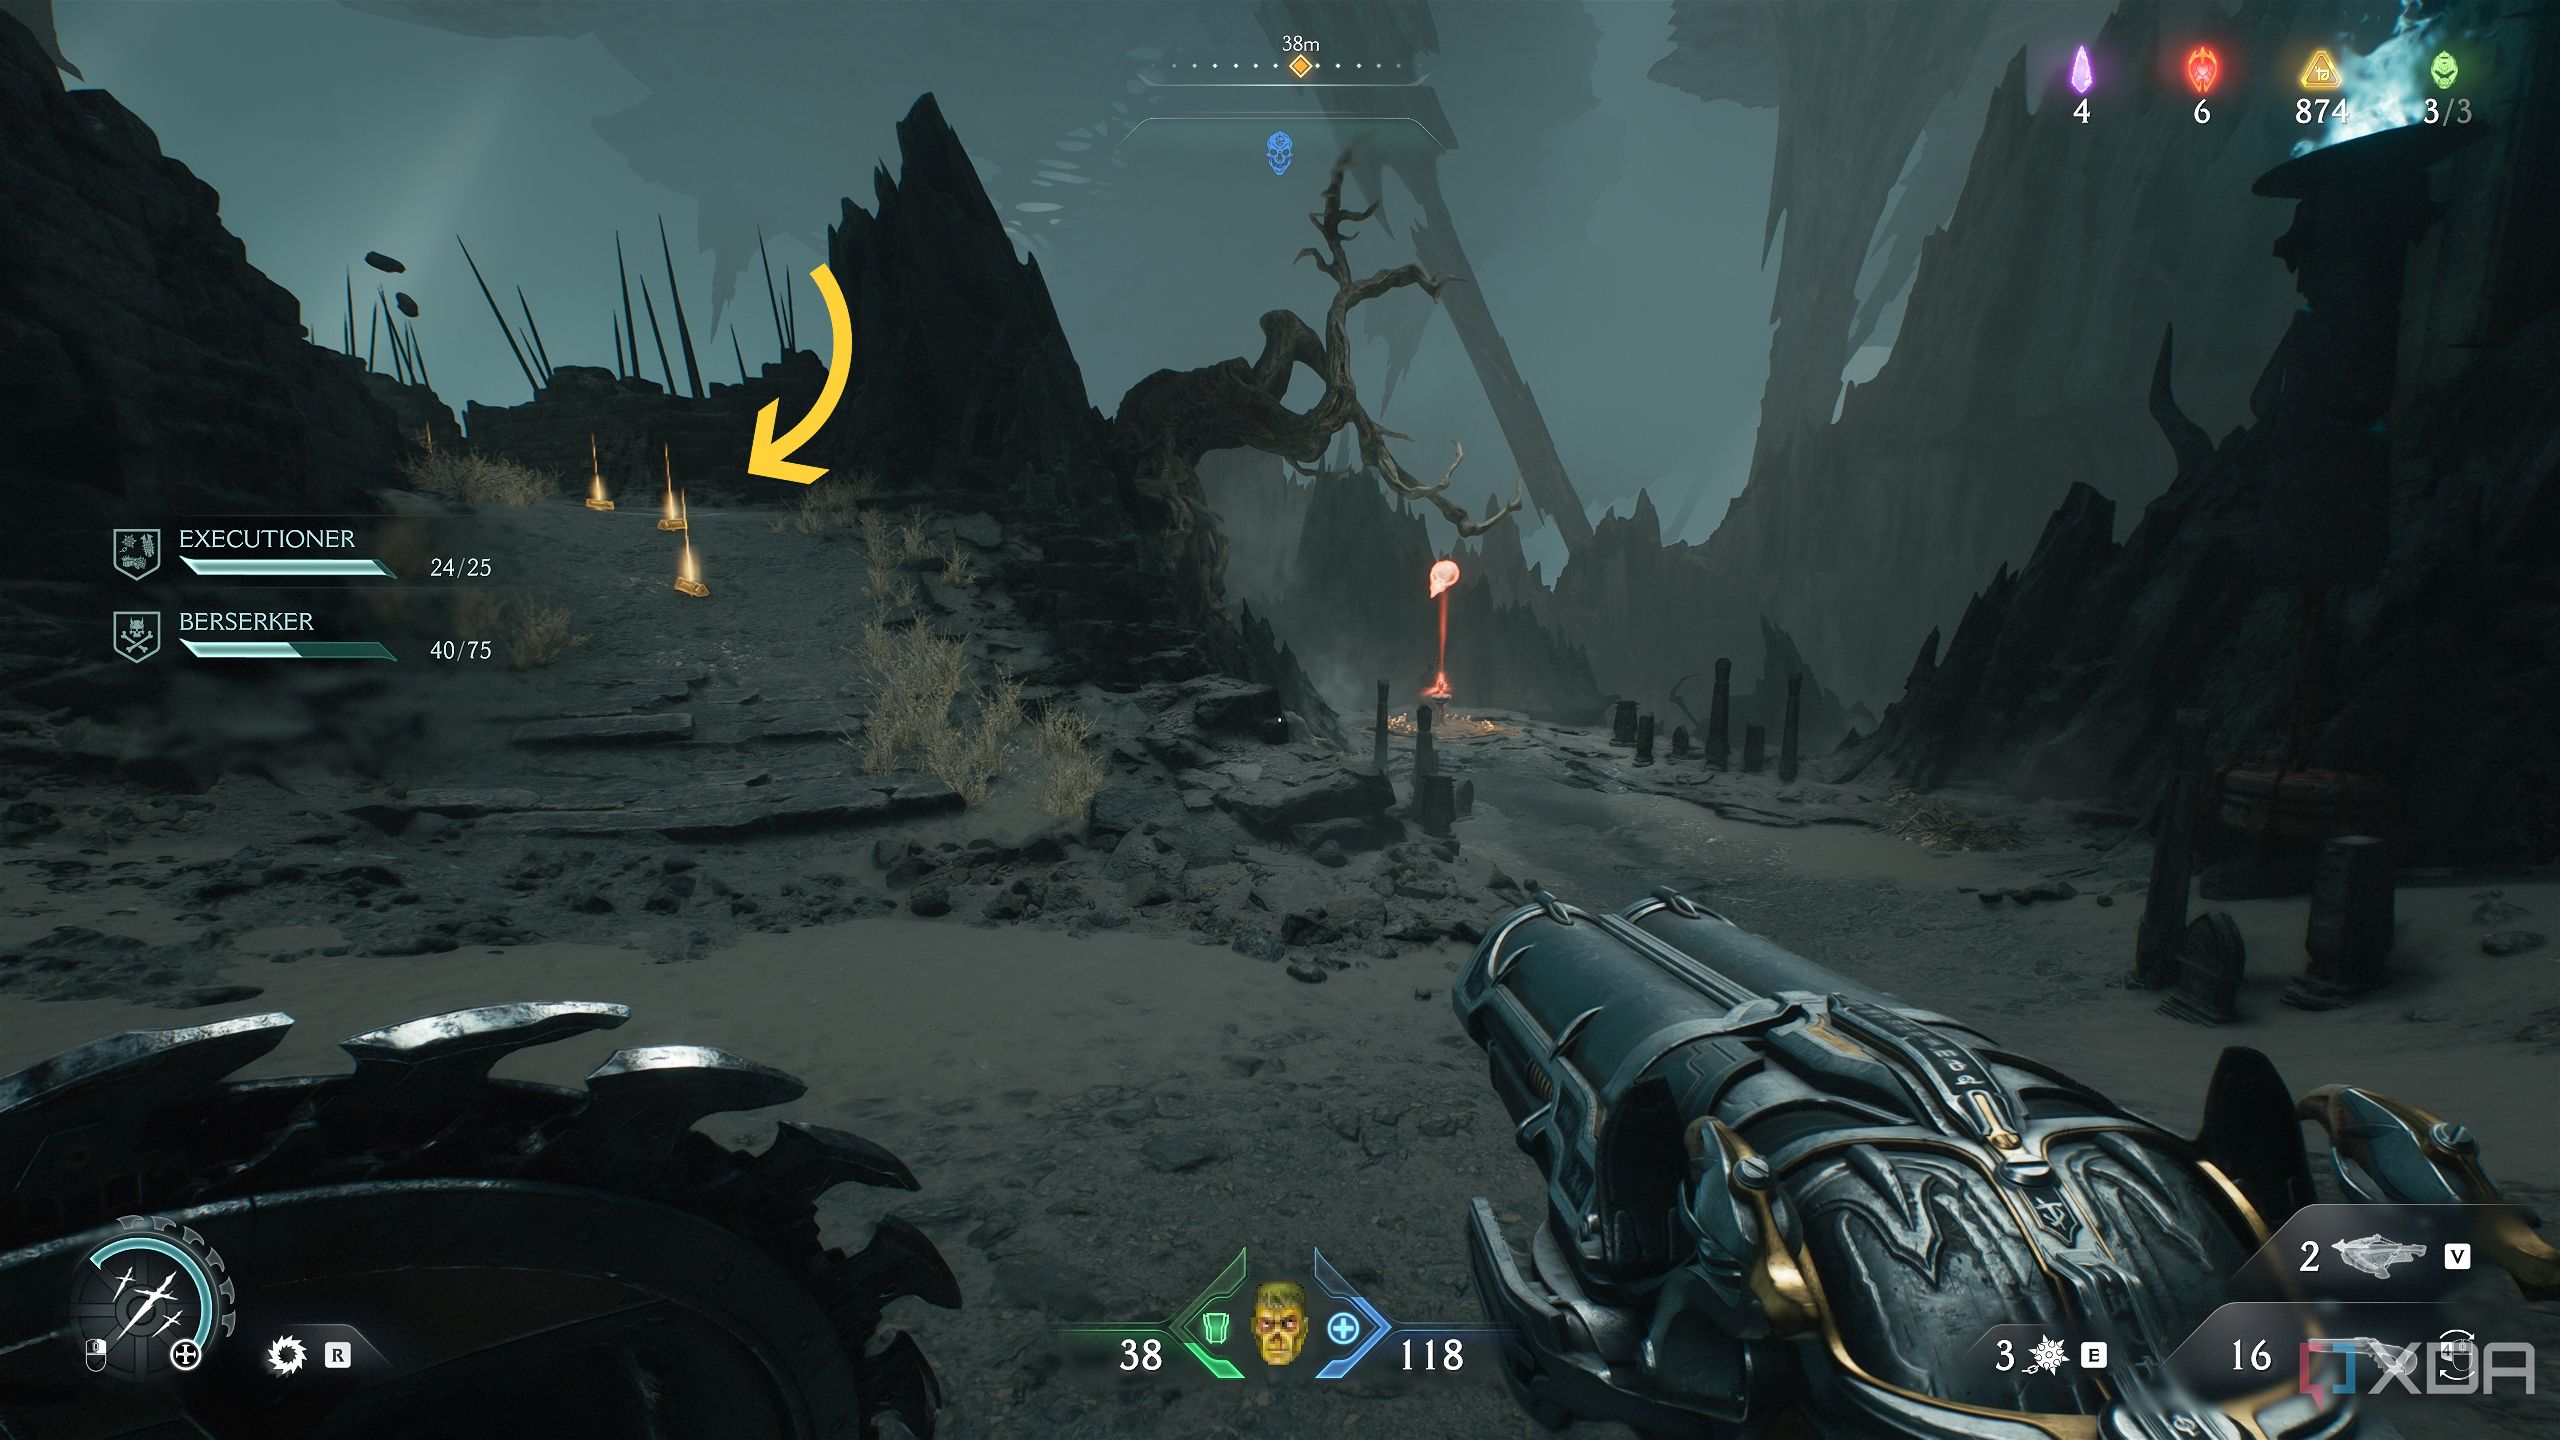
You’ll see the Red Skull key altar in the distance. Before that, look to the left to see a trail of gold bars on the ground, leading up the winding path.
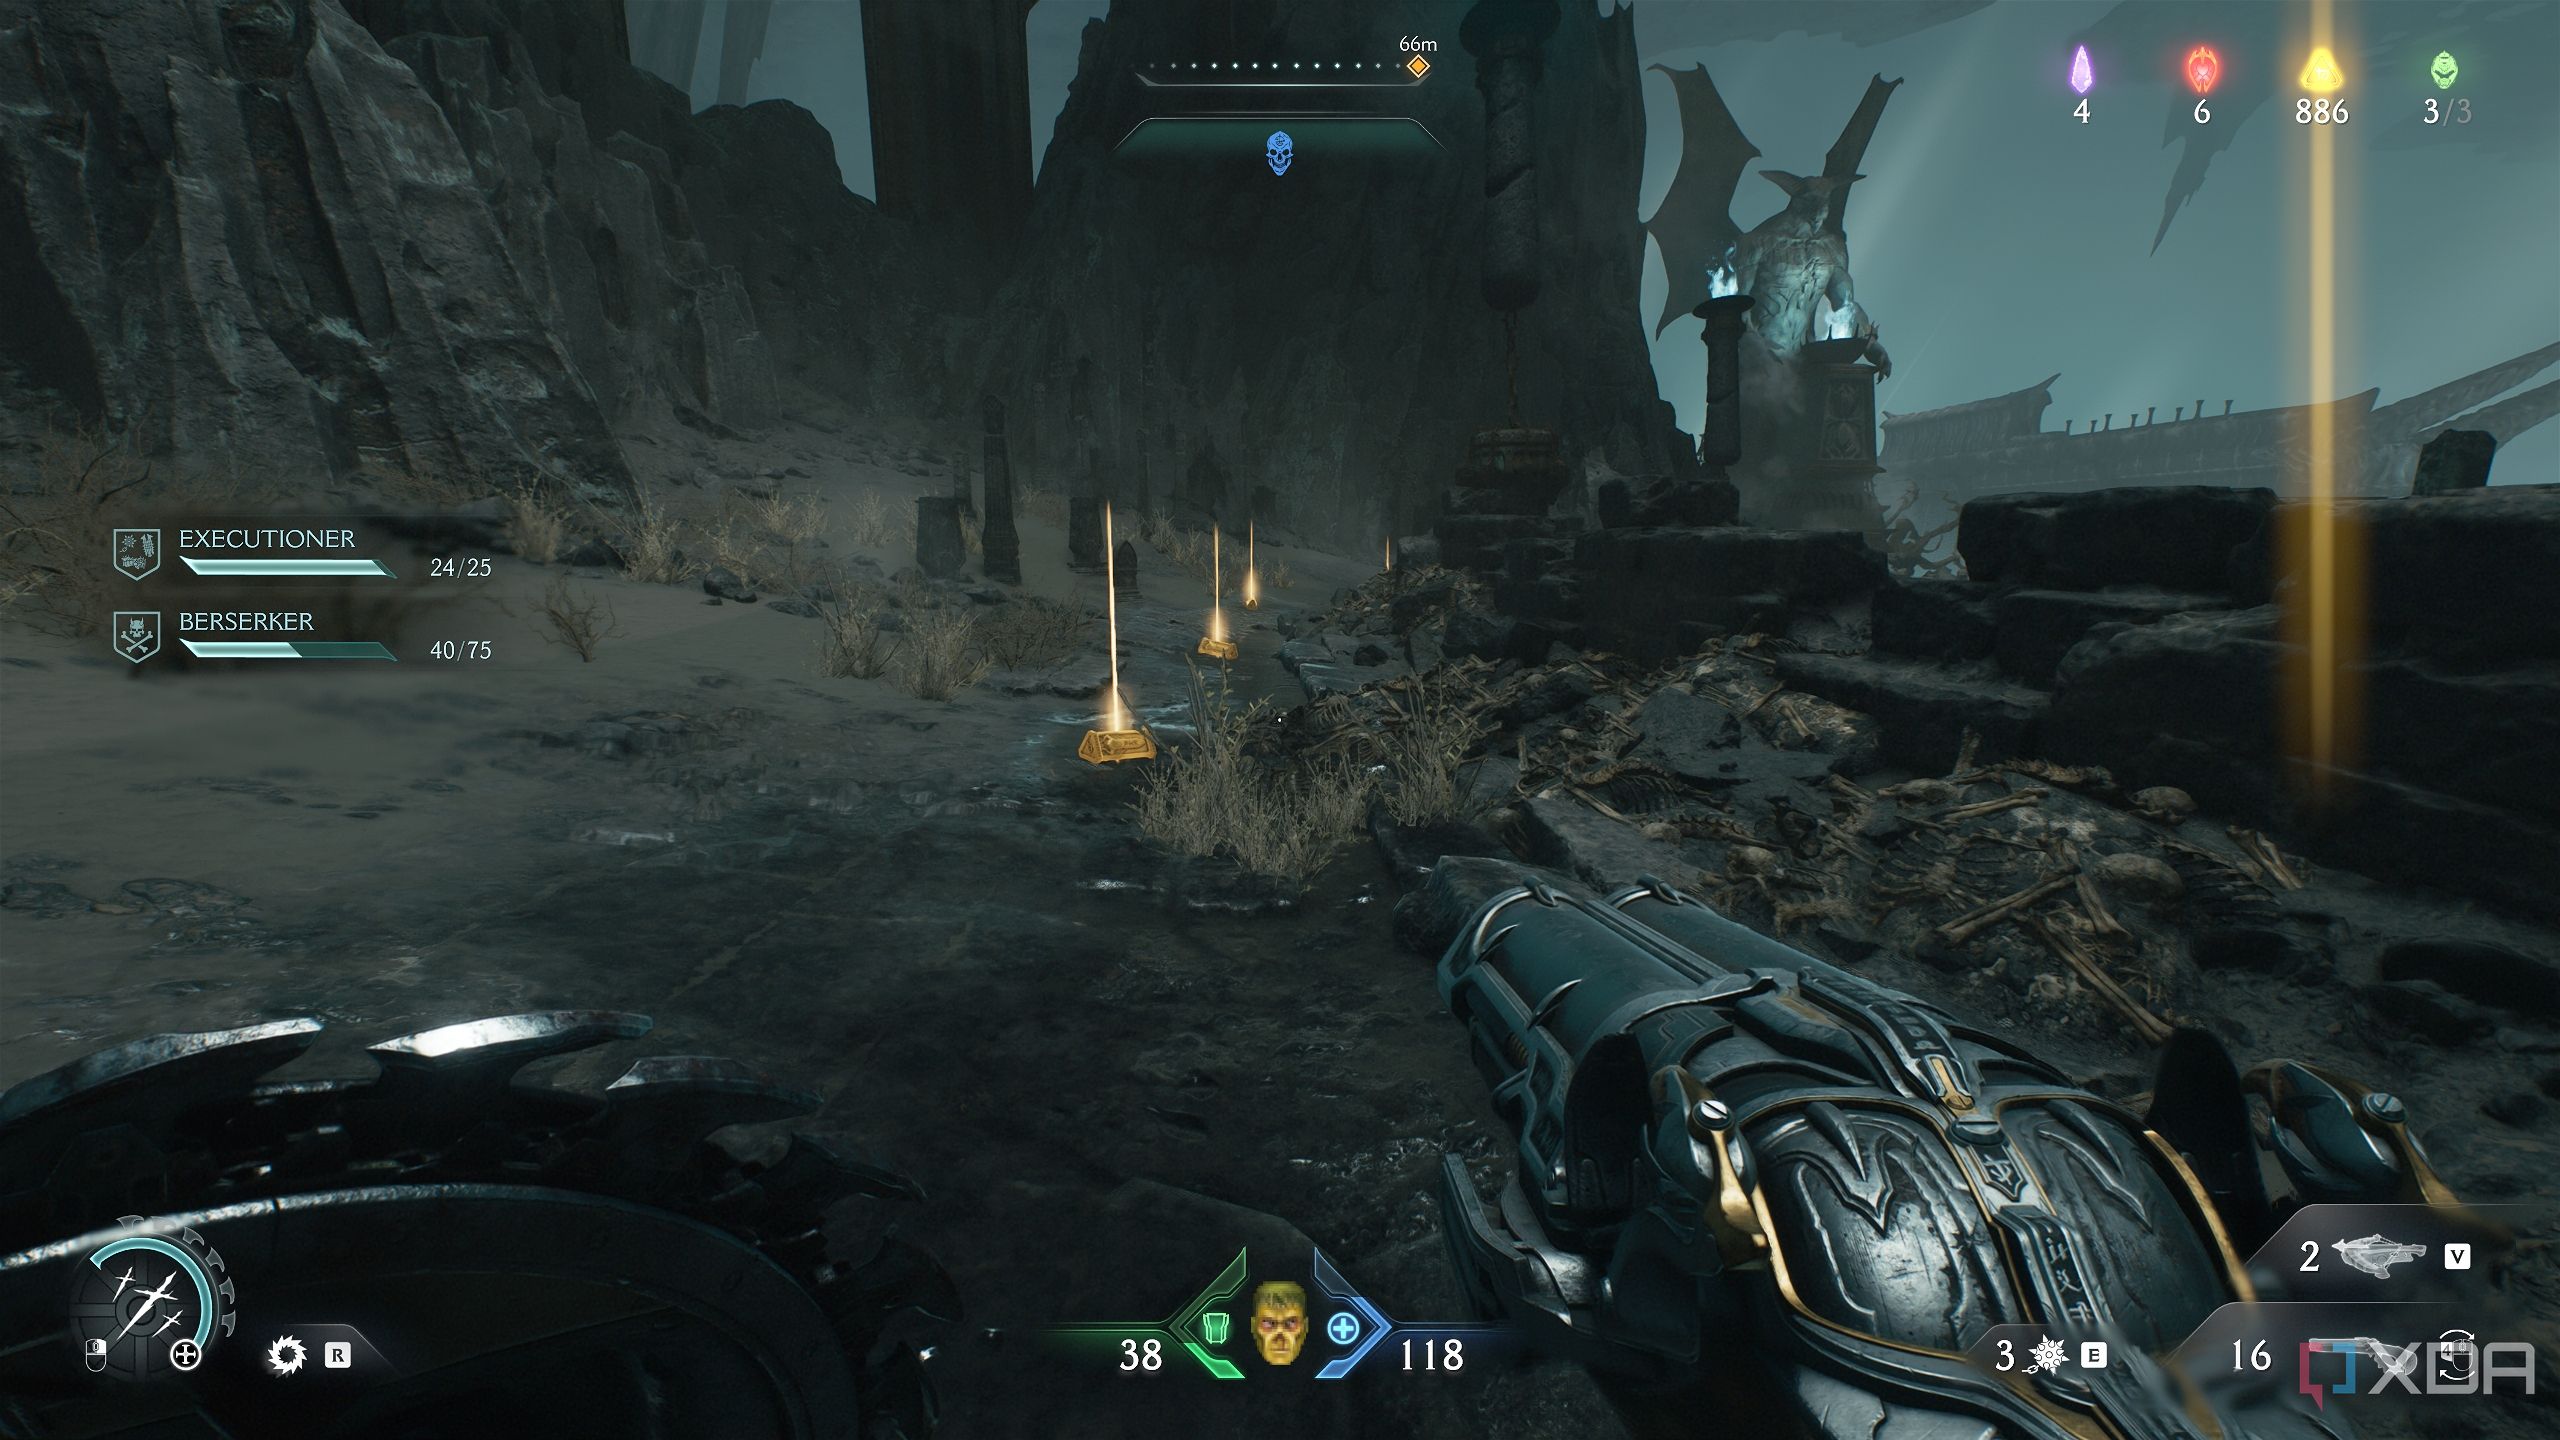
Pick them up and follow along, jumping to the scramble wall ahead. You’ll see another long trail of gold bars here. Pick them up as you follow it, and at the end, there’s some BFC ammo if you need it. Then, drop down and collect the Red Skull key.
Related
10 best first-person shooters that are free to play on Steam
Enter the genre of fast paced first-person shooters with these 10 free-to-play titles on Steam
Secret area 8 and a gold chest
A long fight down several stairs
Once you collect the Red Skull key, drop down back into the arena below. You’ll fight a Cyberdemon and a Cacodemon Hybrid here. Then, head forward to the red-skull locked gate. Once it opens, you have a lot of fighting to do.
Walk down to the first platform below you, and you’ll come across the first fire obstacle machine. Continue fighting down the main path, without making any jumps below or above.

You'll reach a circular platform with plenty of fodder demons, and a green flesh node visible overhead.
From here, head down the stairs on the right.
You'll pick up a long trail of gold bars leading all the way down to a fire-spitting machine.
This is where you’d be on the map.
Here, head past the next fire-spitting machine you see in front of you, and the path will lead to a gold stack.
Now, head to the platform outside, and you'll see a long trail of gold bars. This leads to a green flesh node overhead.

Use the green flesh node ahead to climb up.
Get up the scramble wall from here, and you’ll unlock secret area 8 and a gold chest. This will also progress the Dragon Hoarder mission challenge. Right behind this gold chest, the gate will open and you'll fight a Mancubus if you haven't defeated it already. Walk through the gate that just opened, go left up the stairs, and you'll fight a Whiplash and a Pinky Rider. This will lead you to the next Red Skull gate, after which a cutscene will play.
Berserker mission challenge — easy trick
This took me a couple of tries
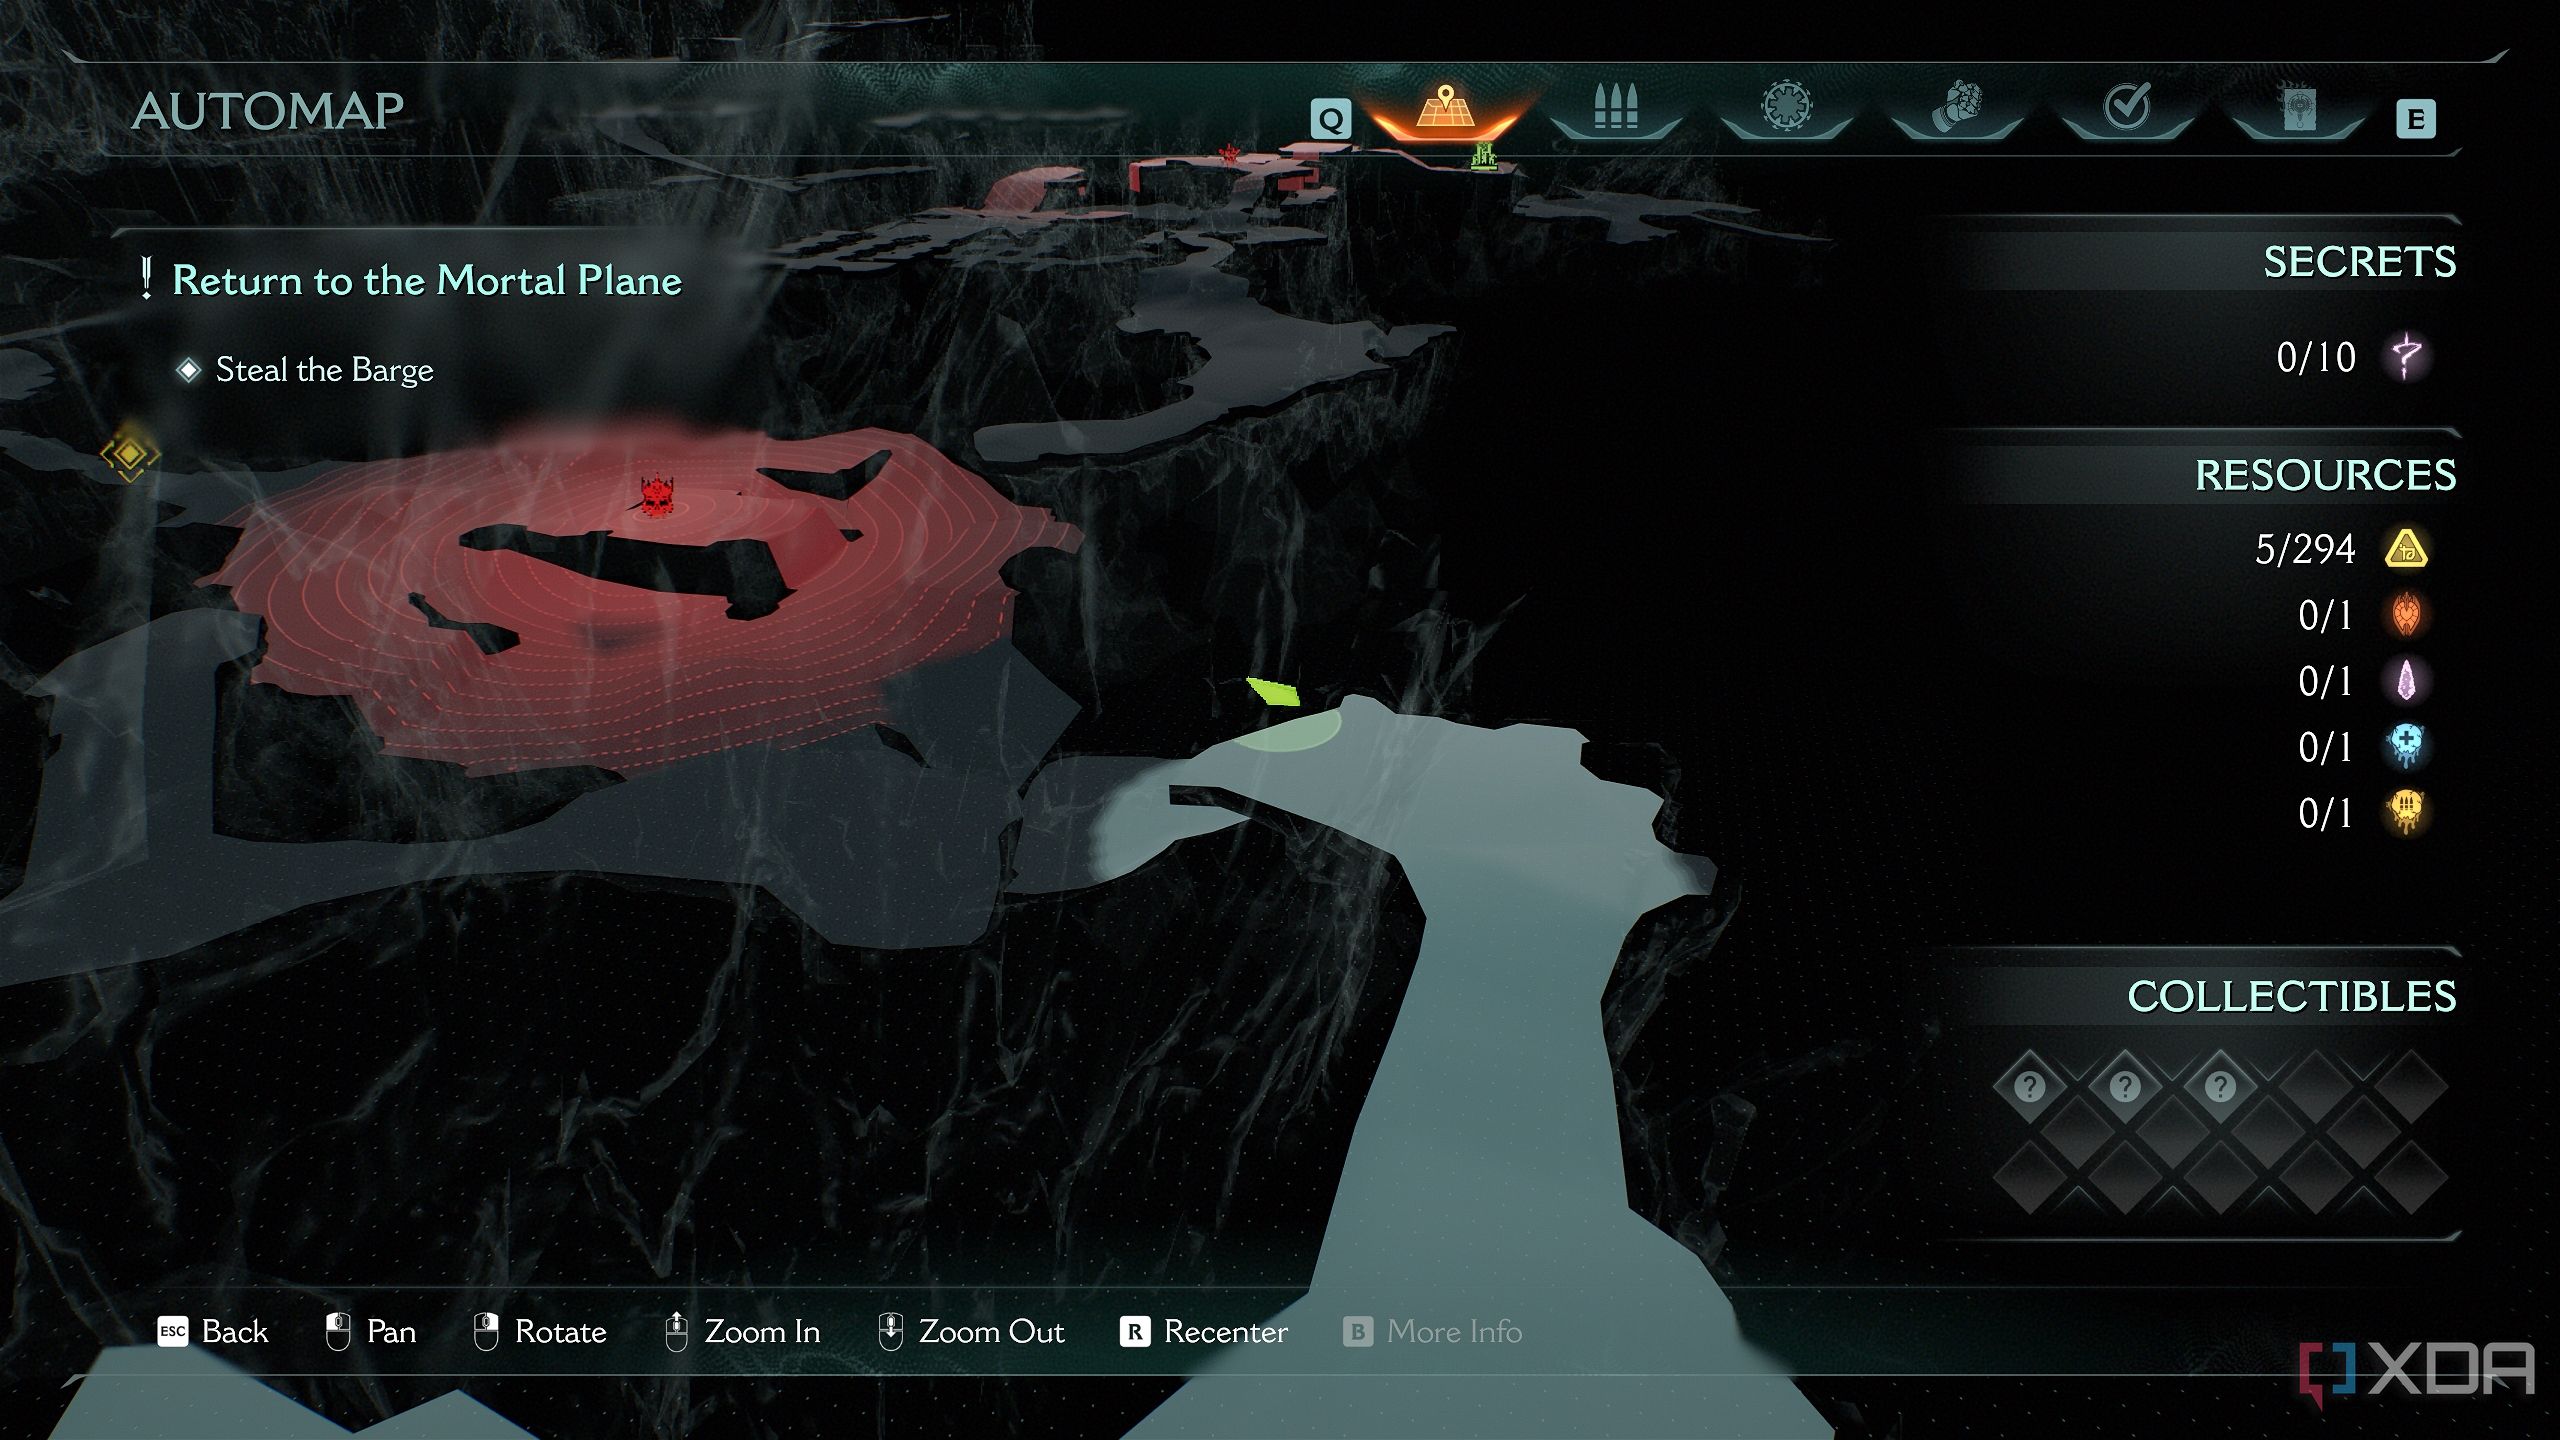
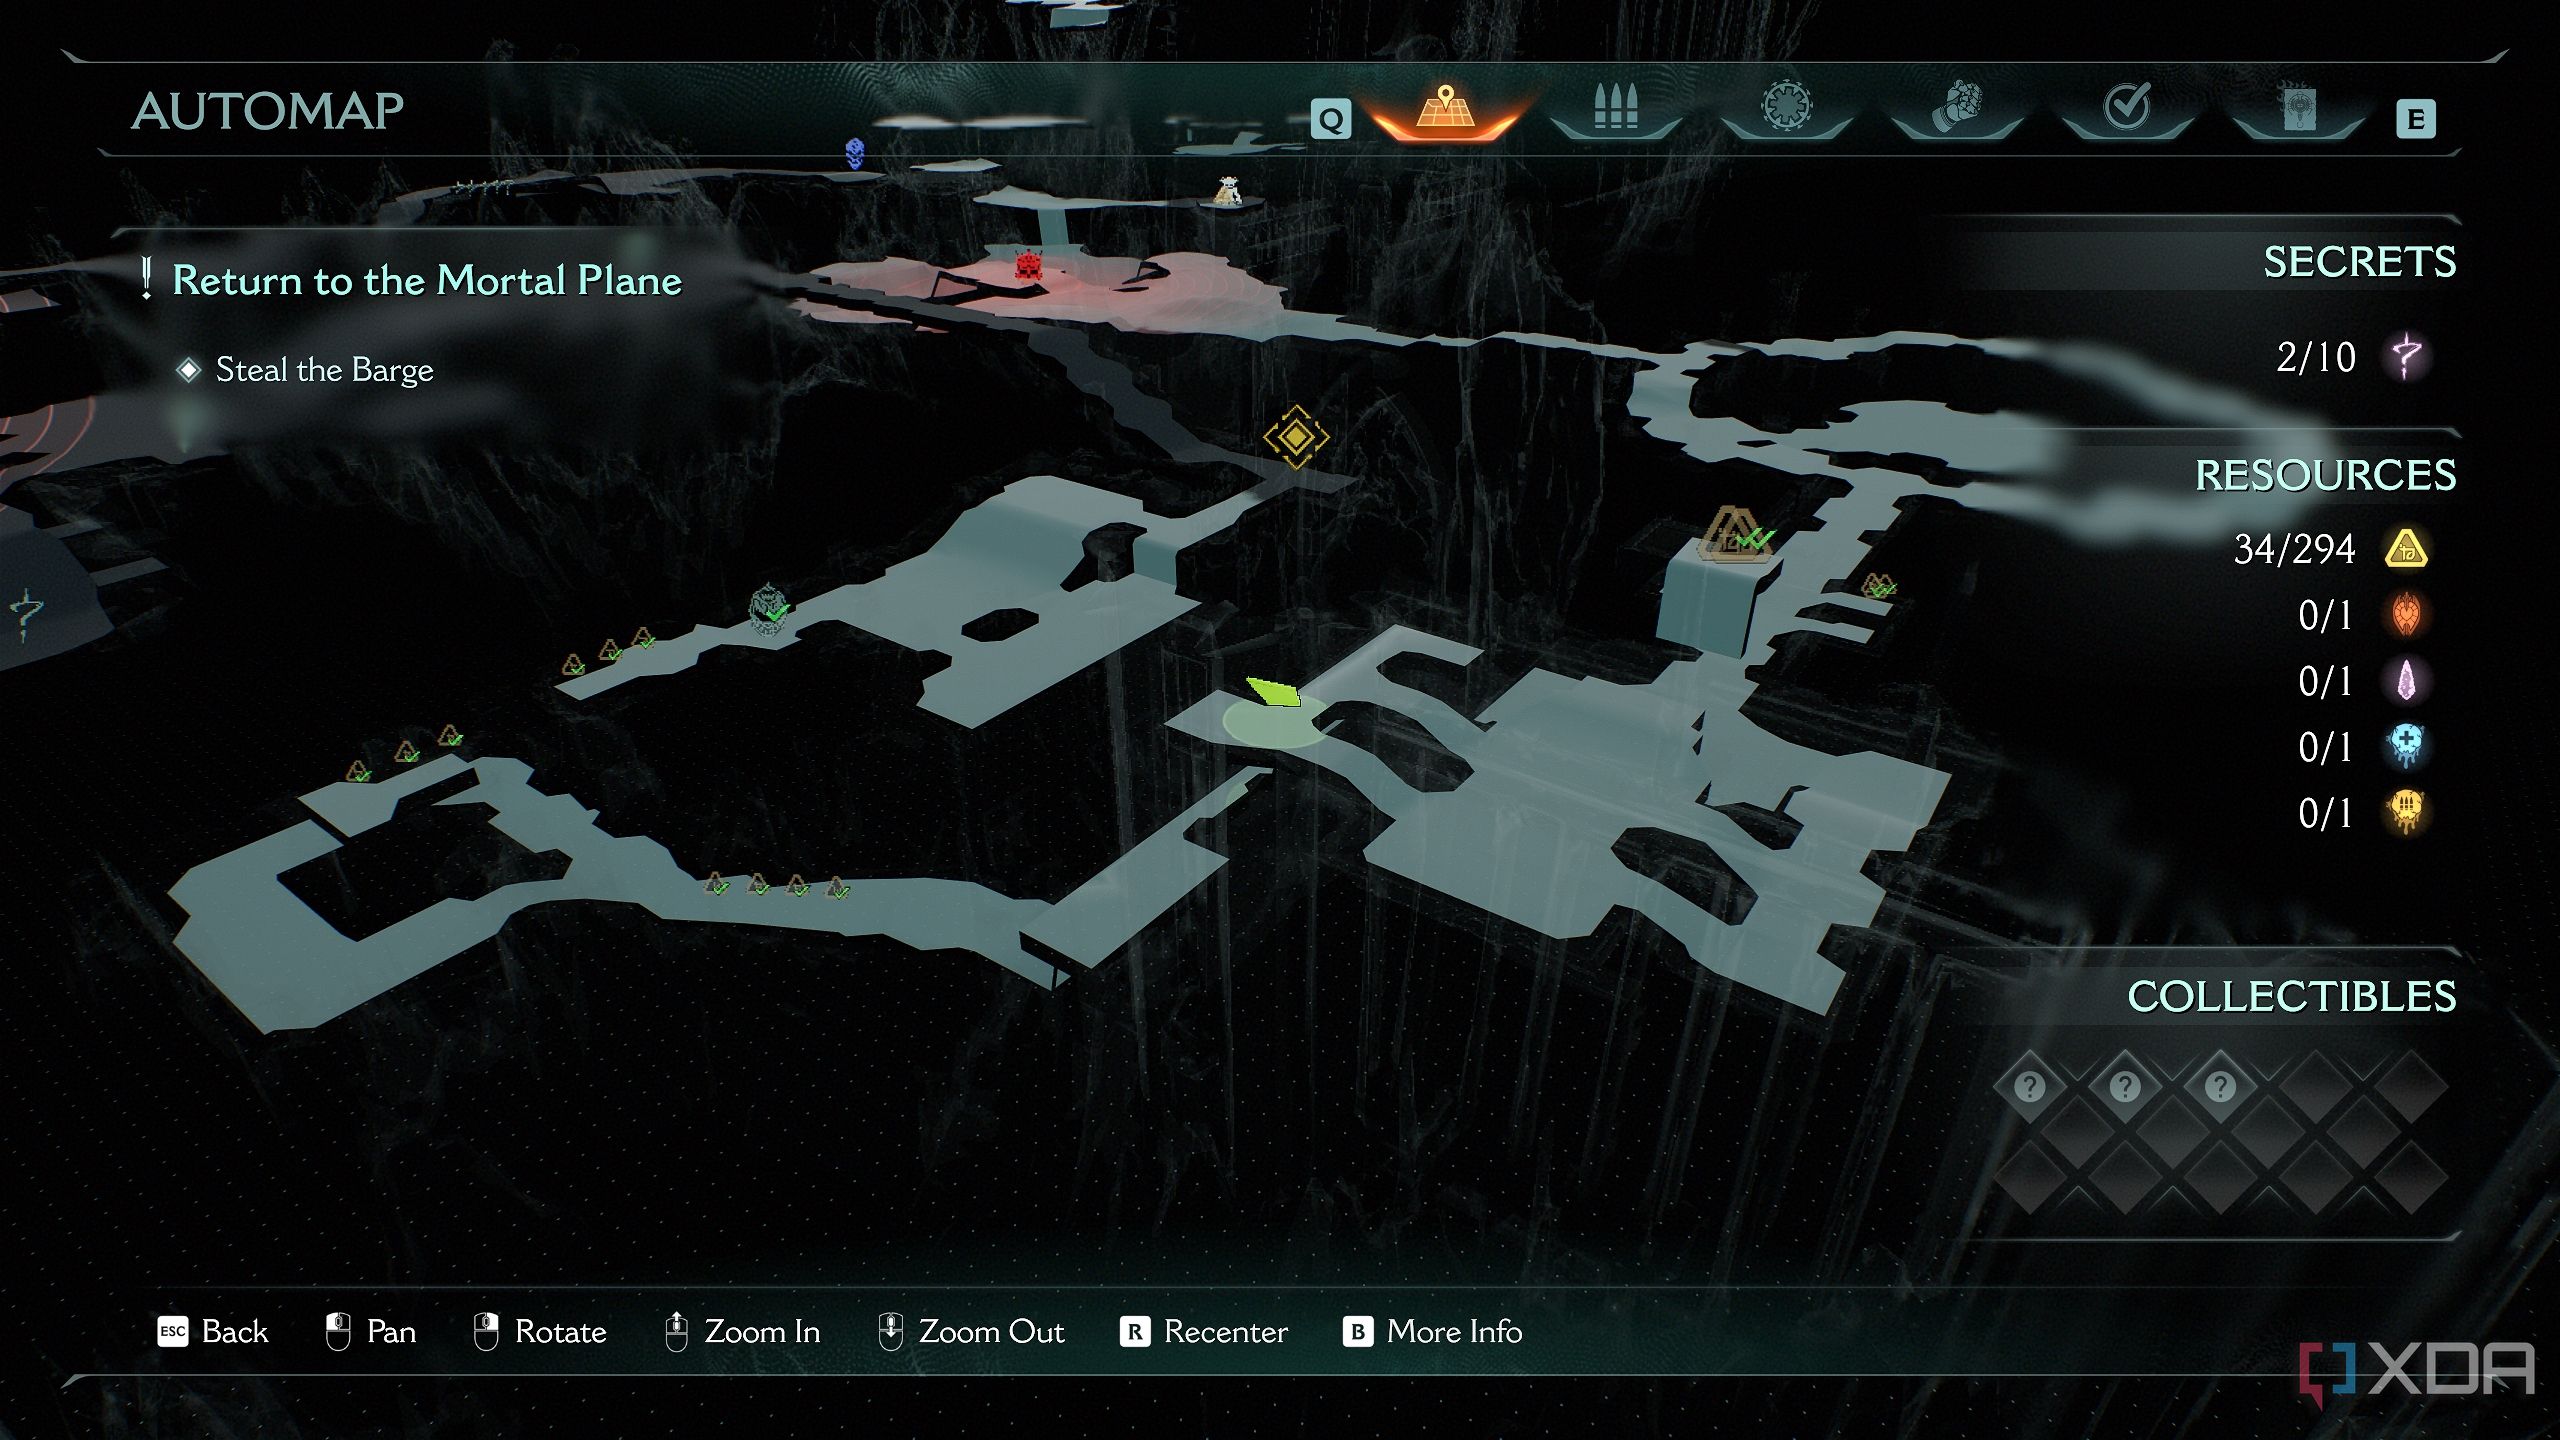
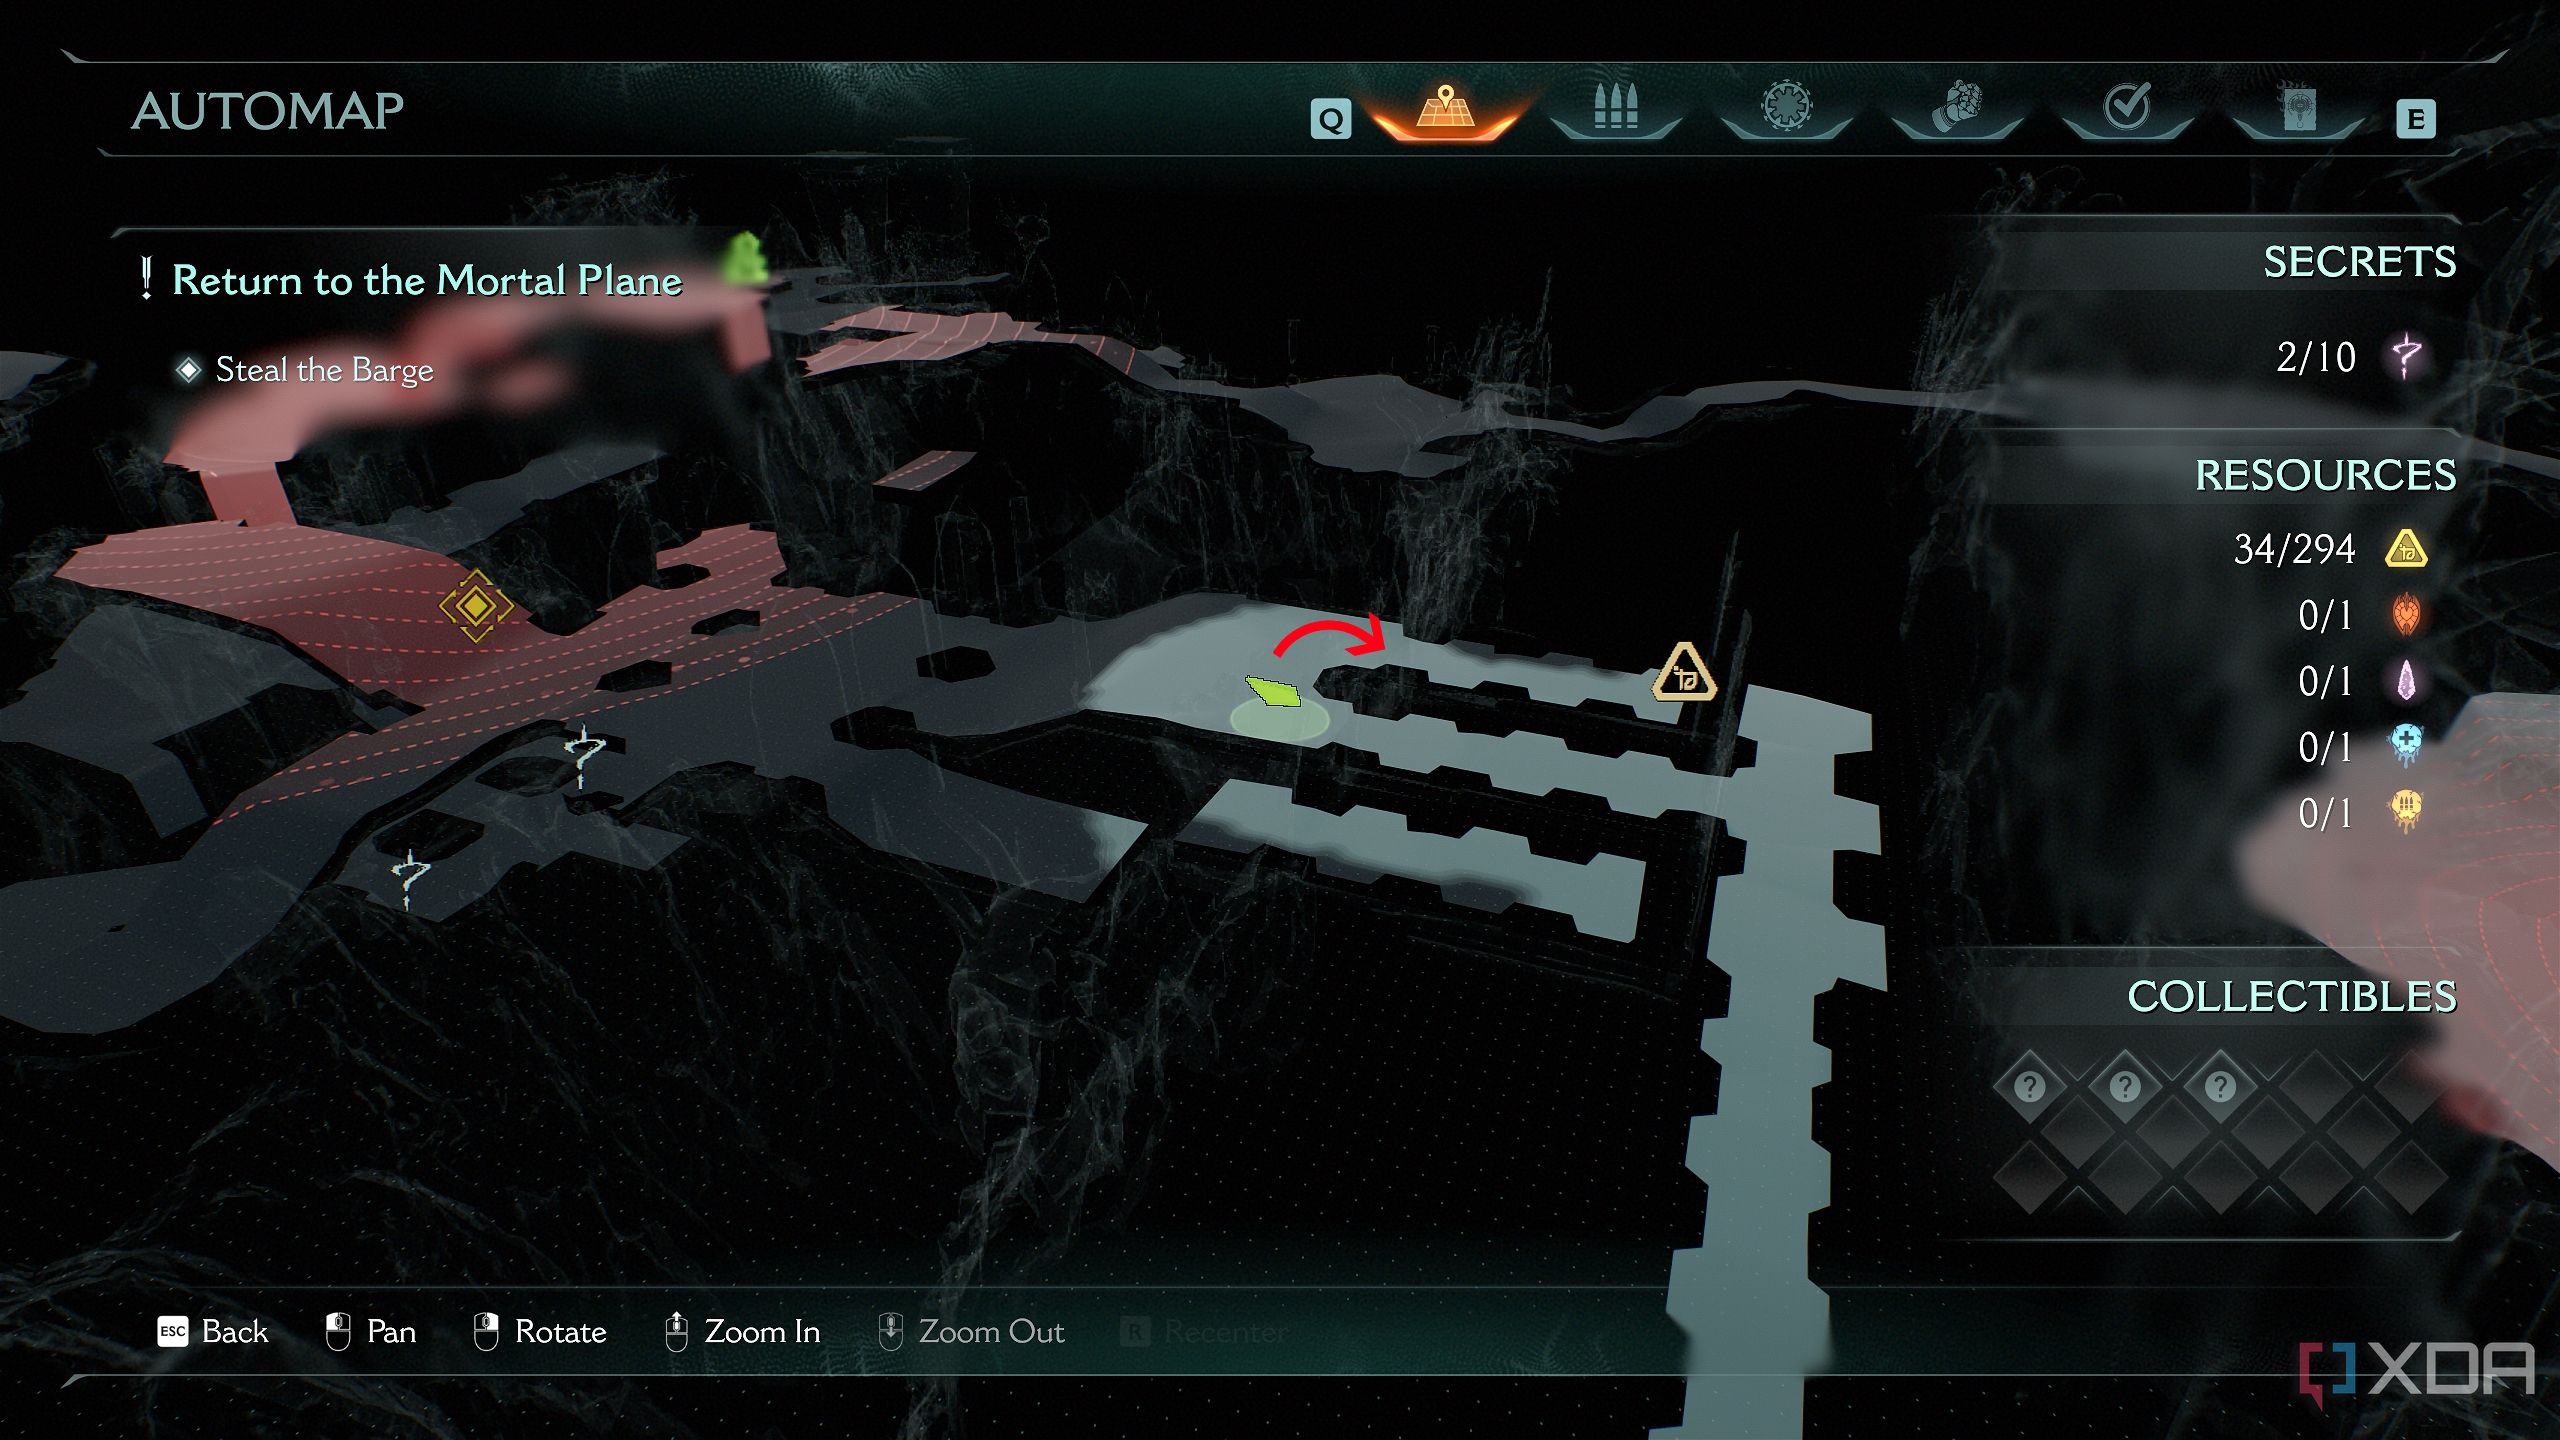
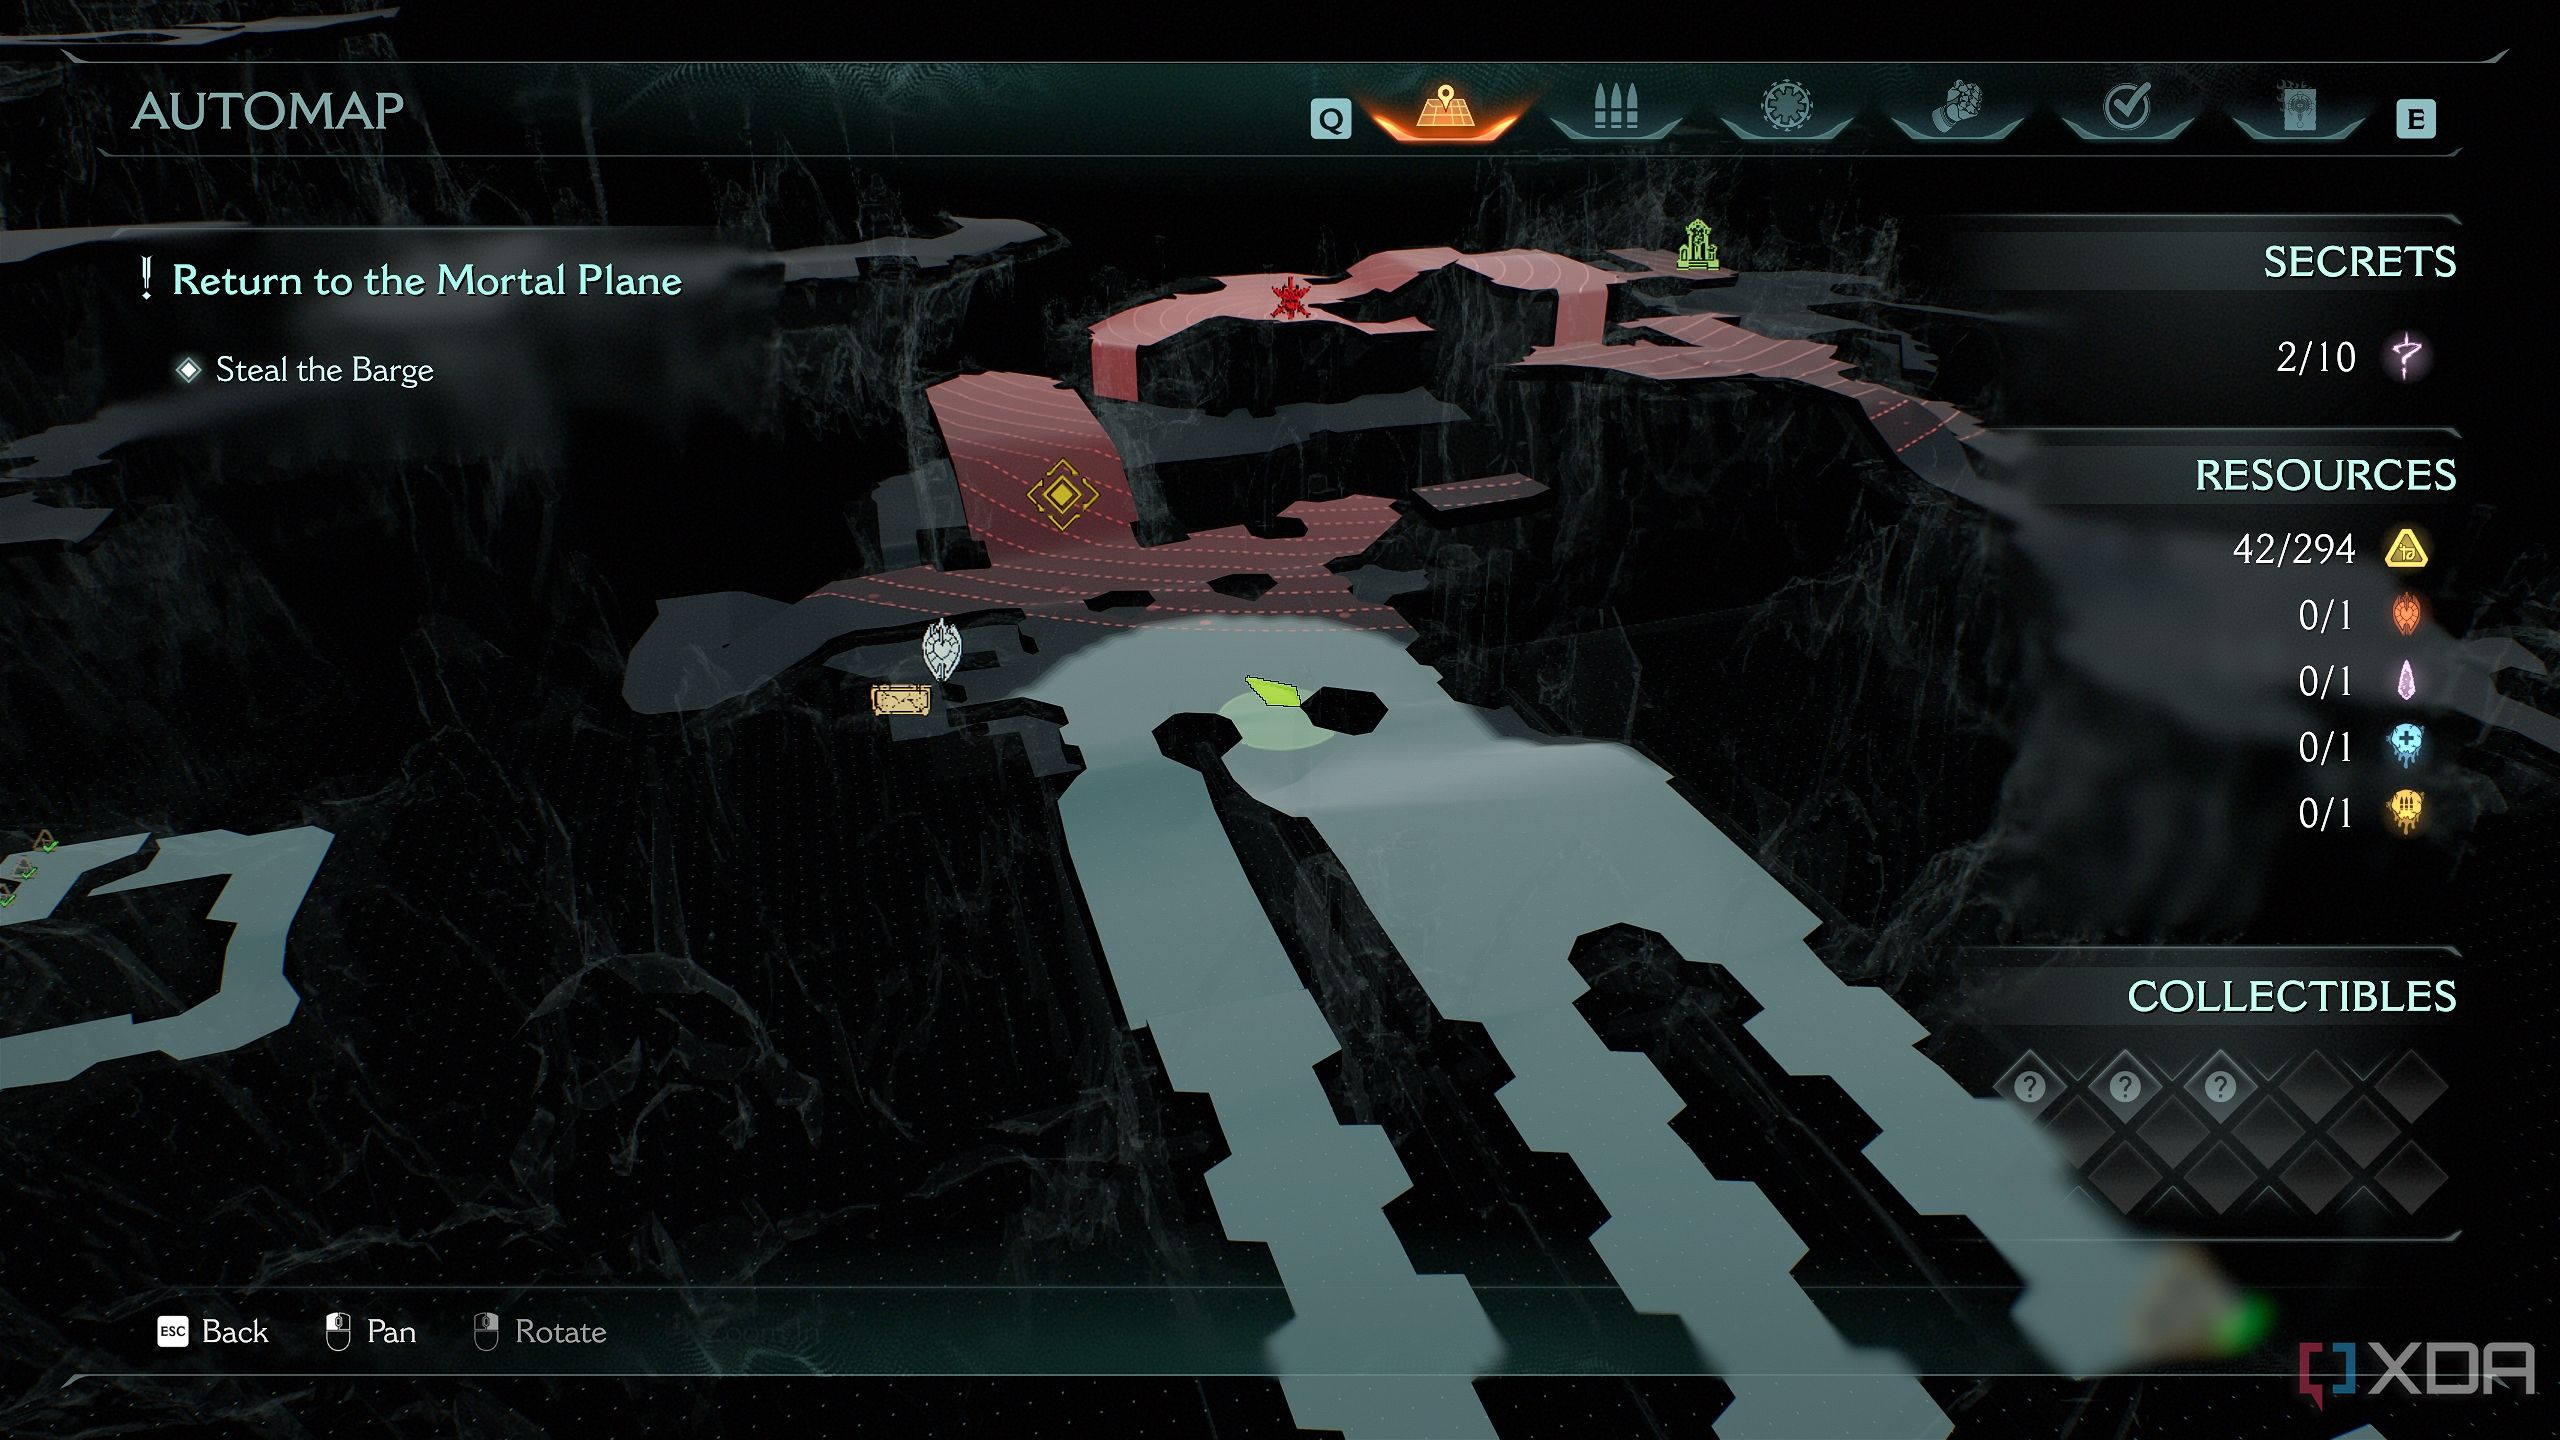
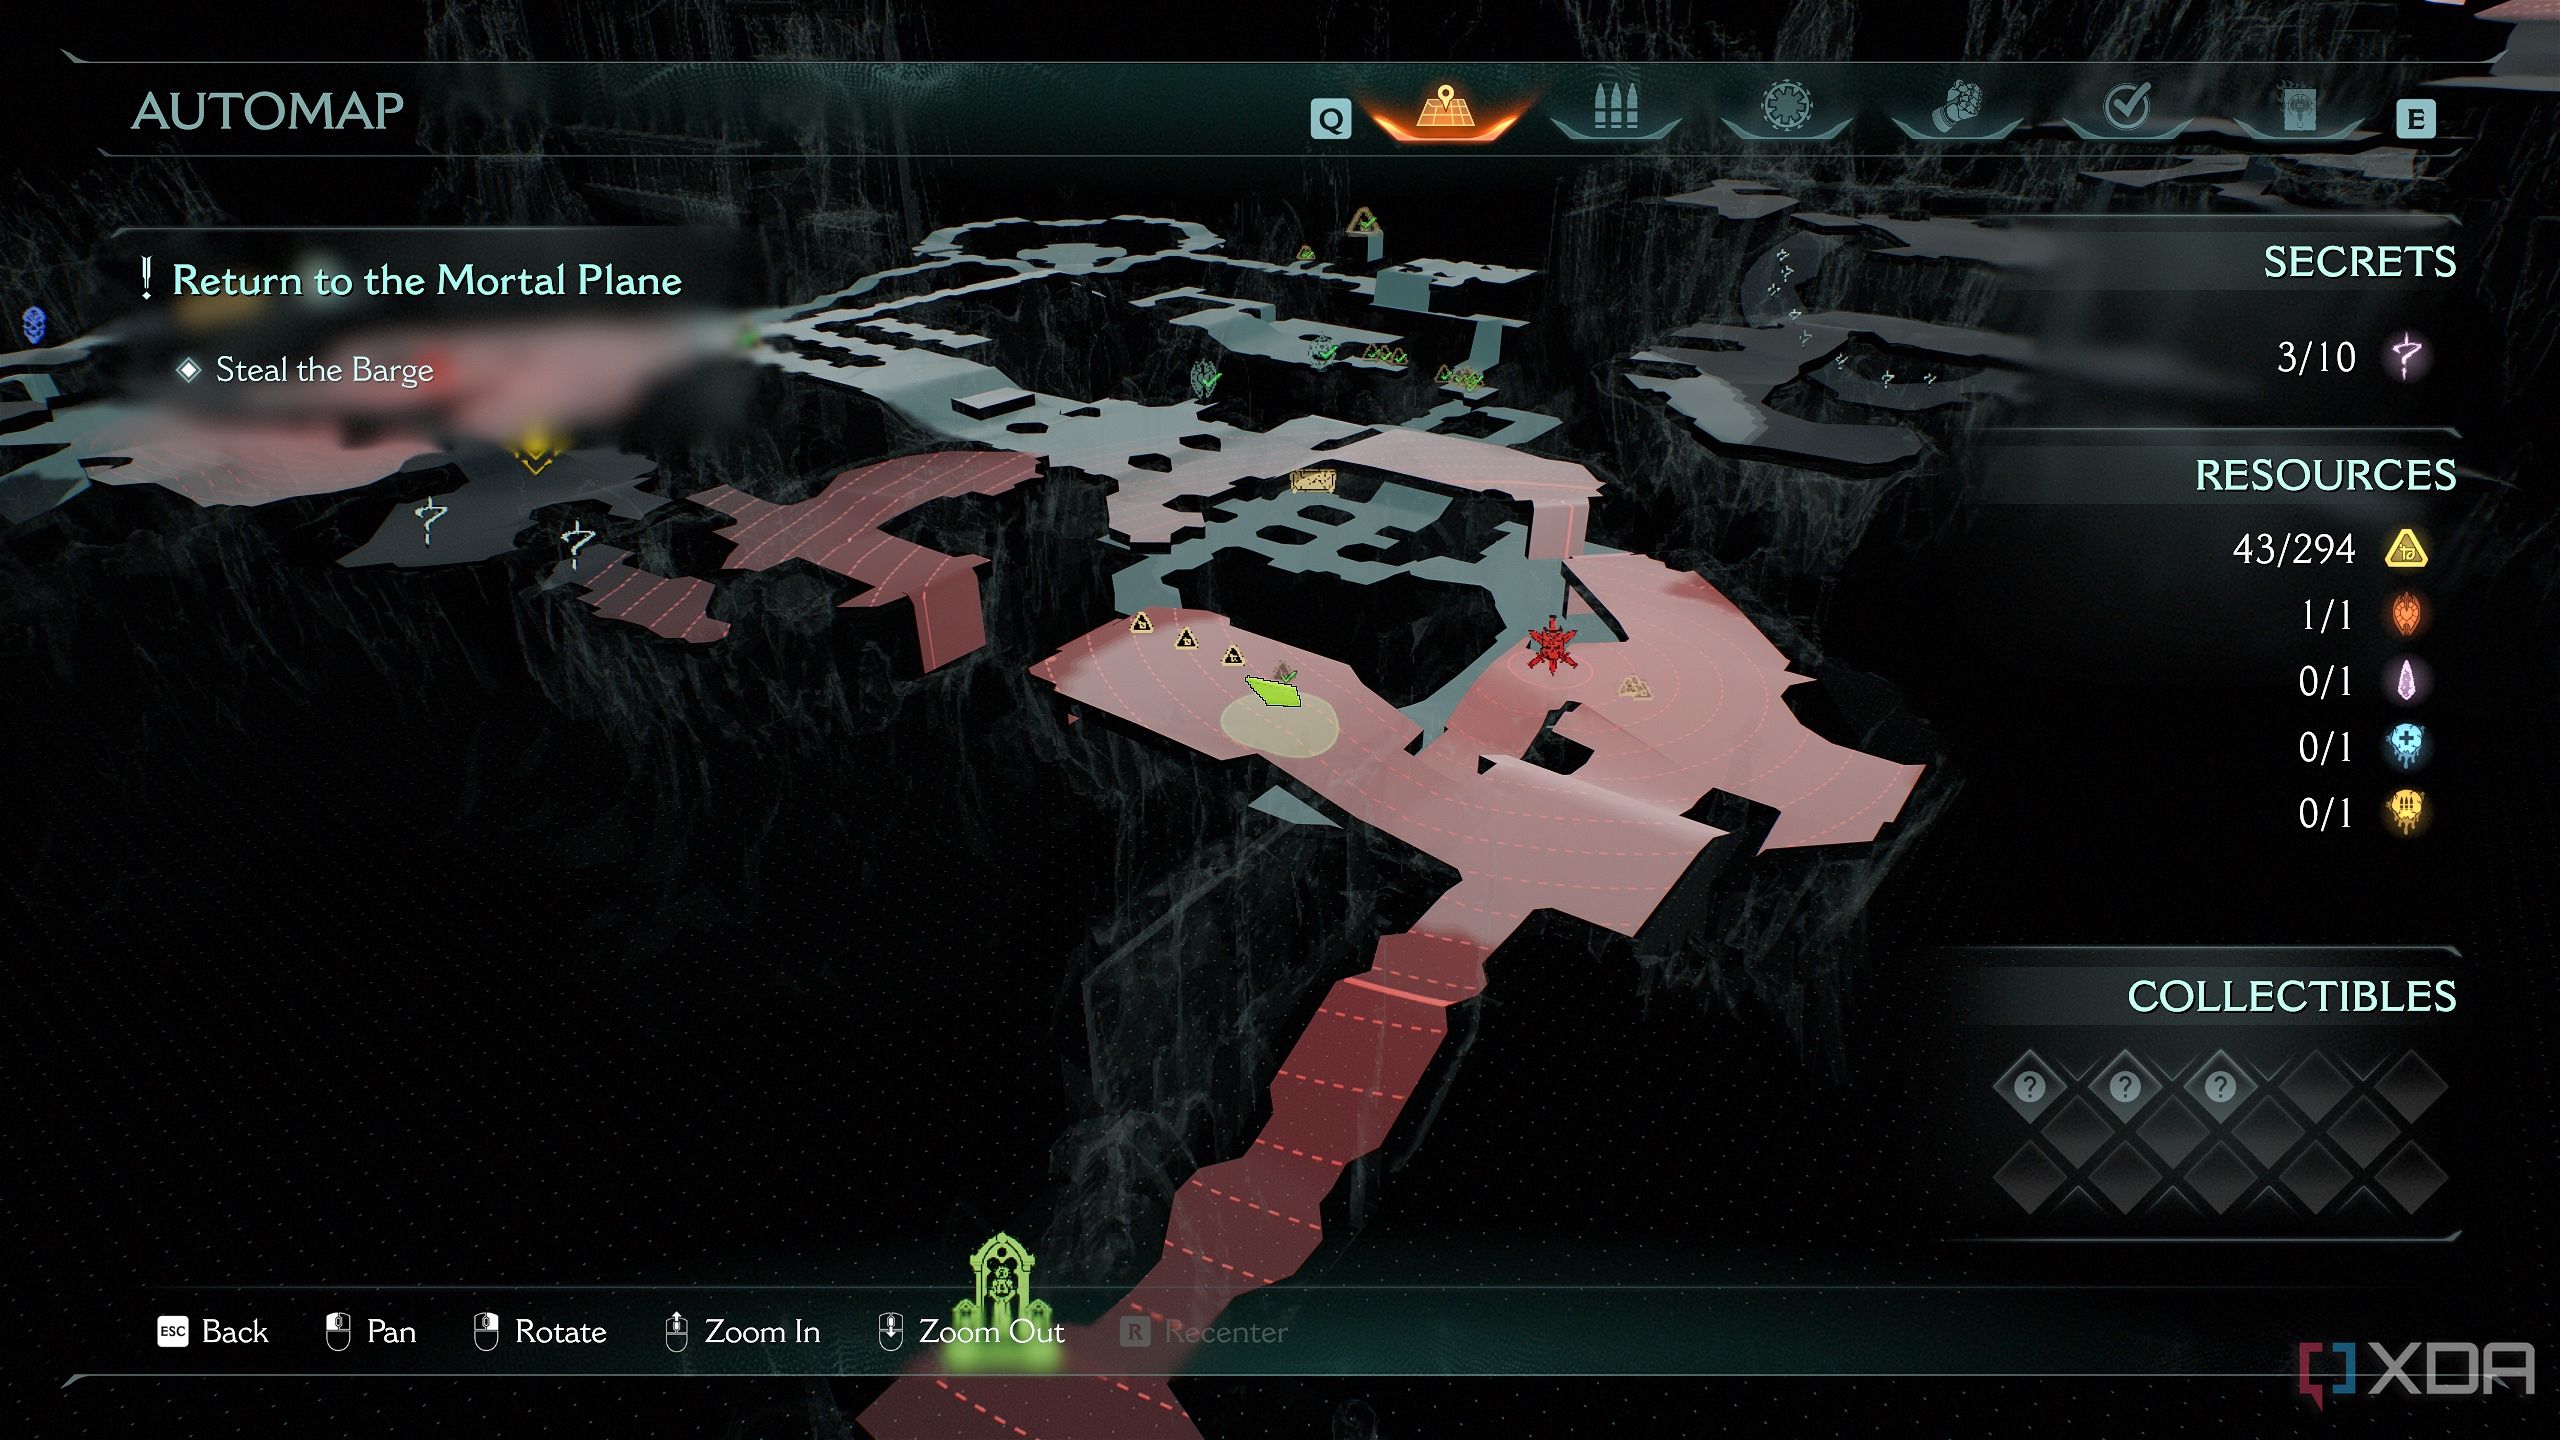
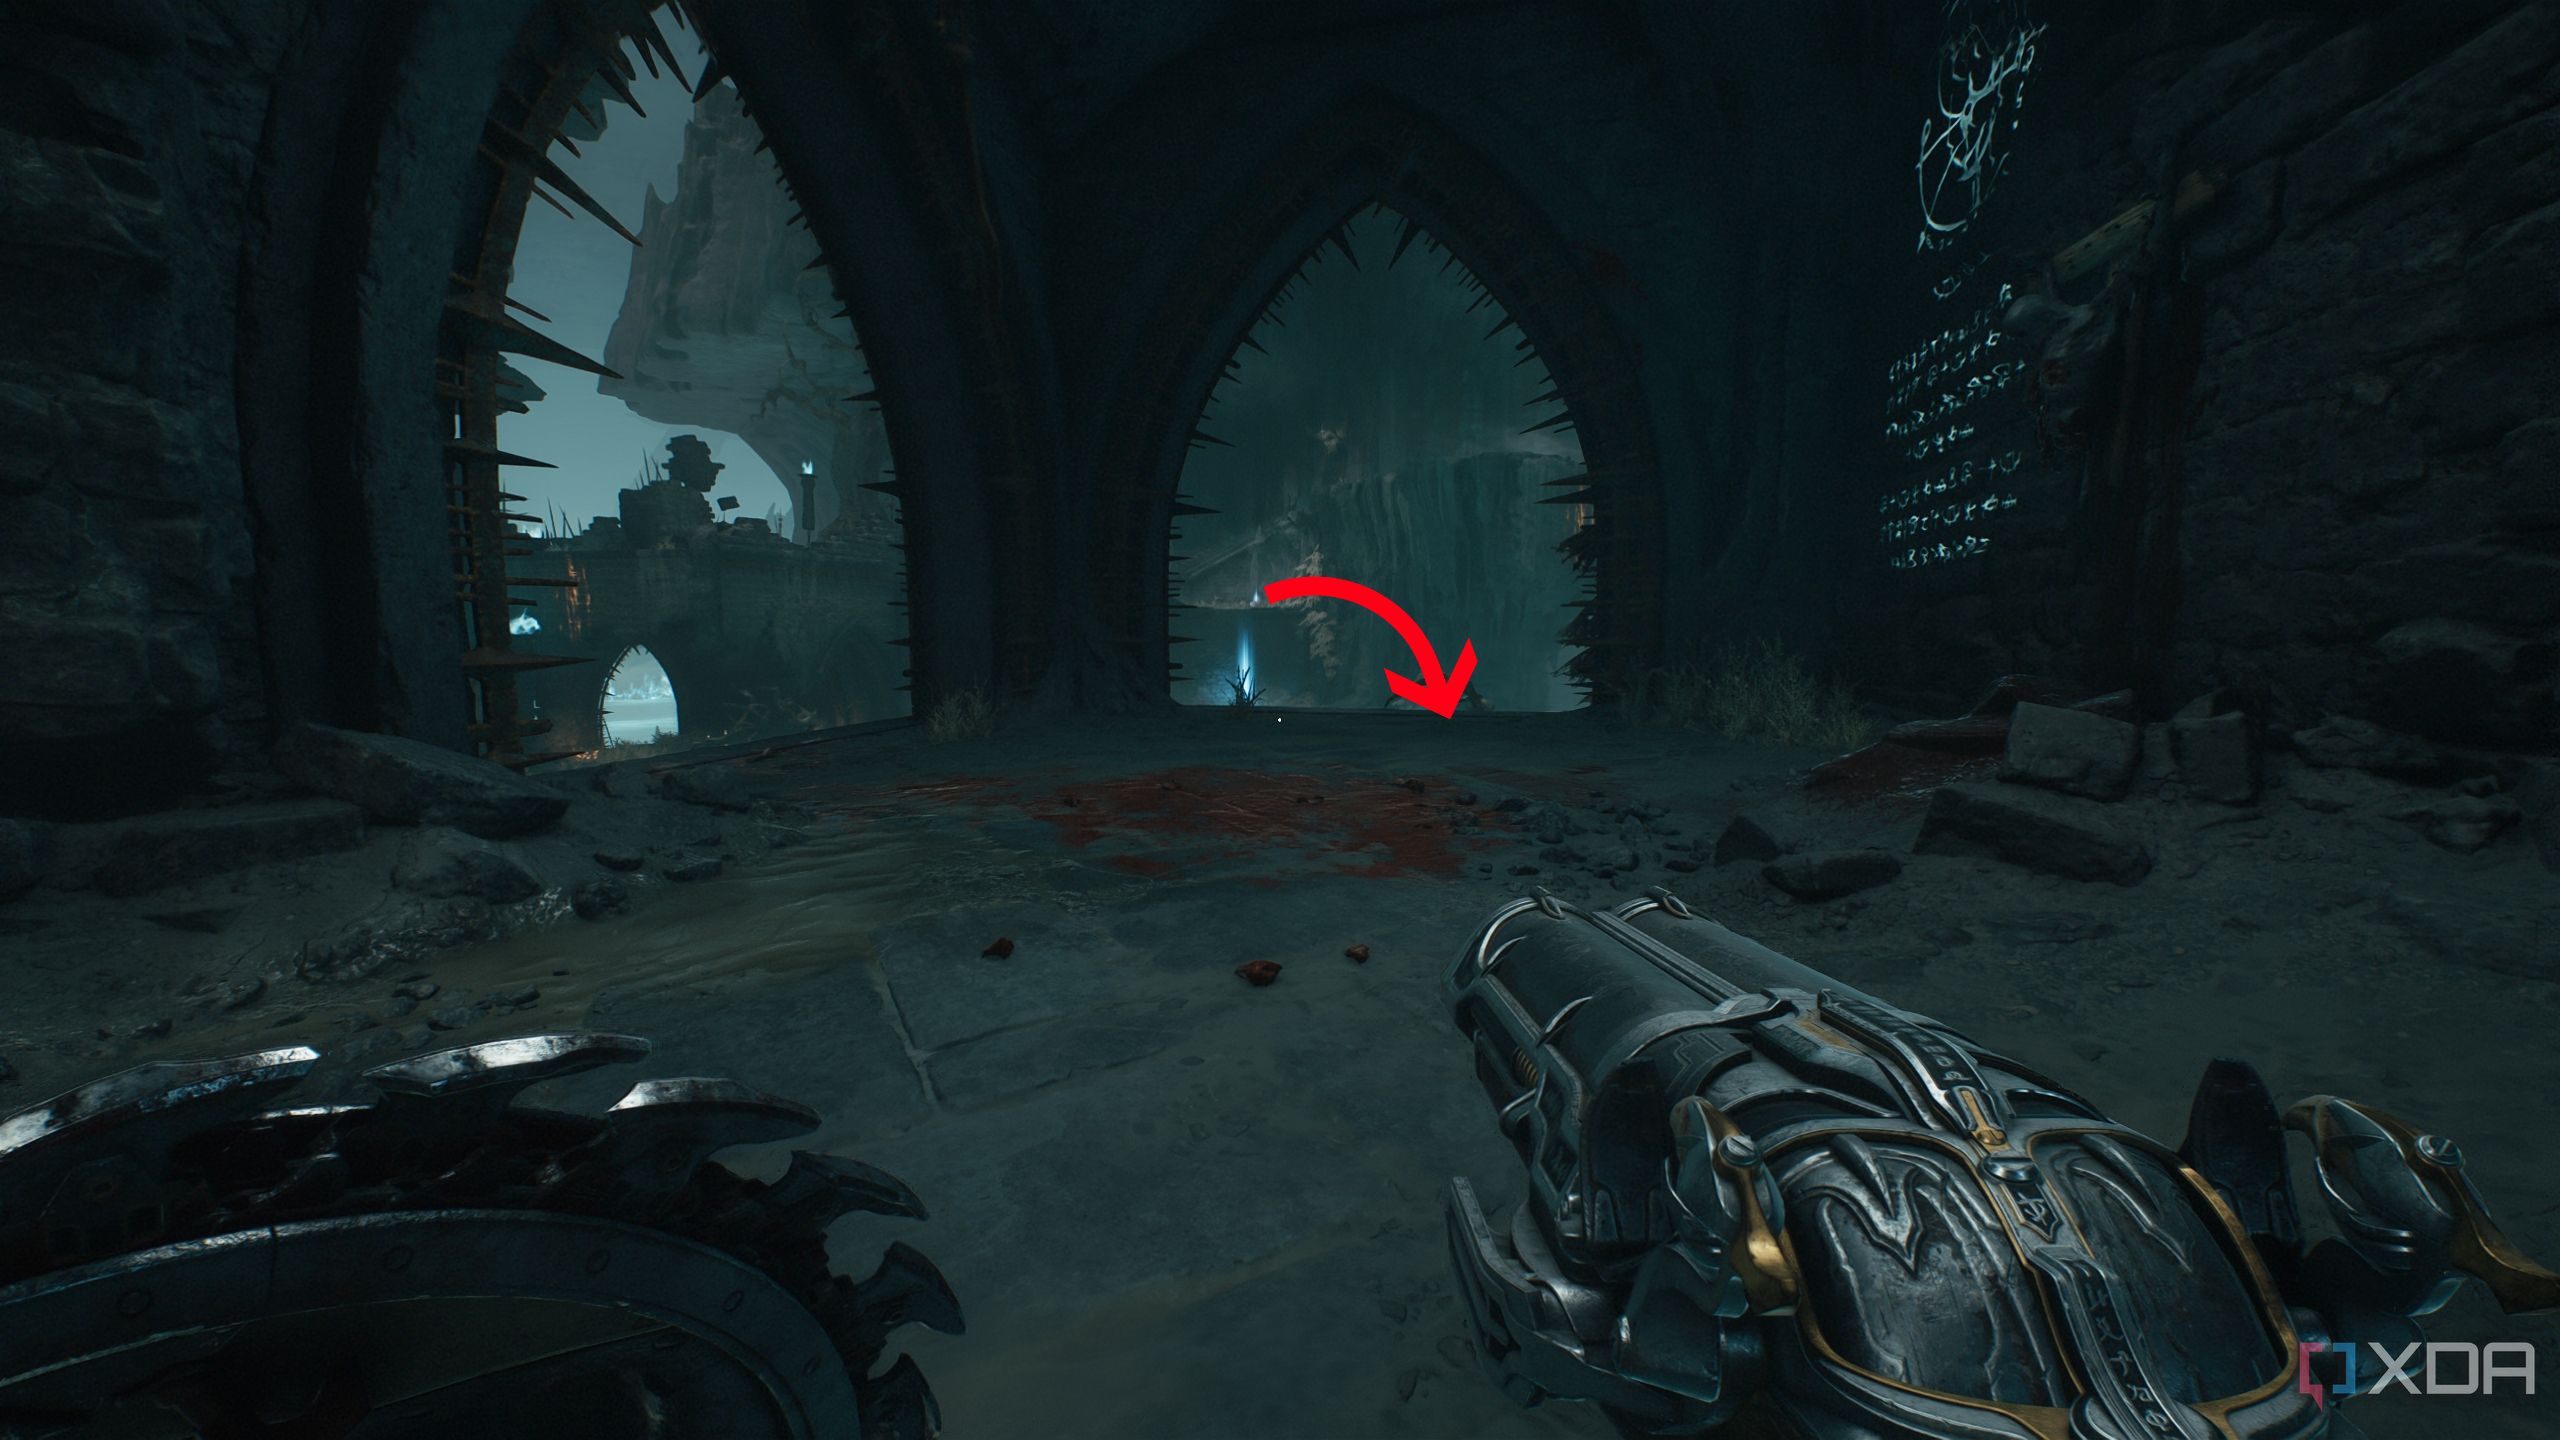
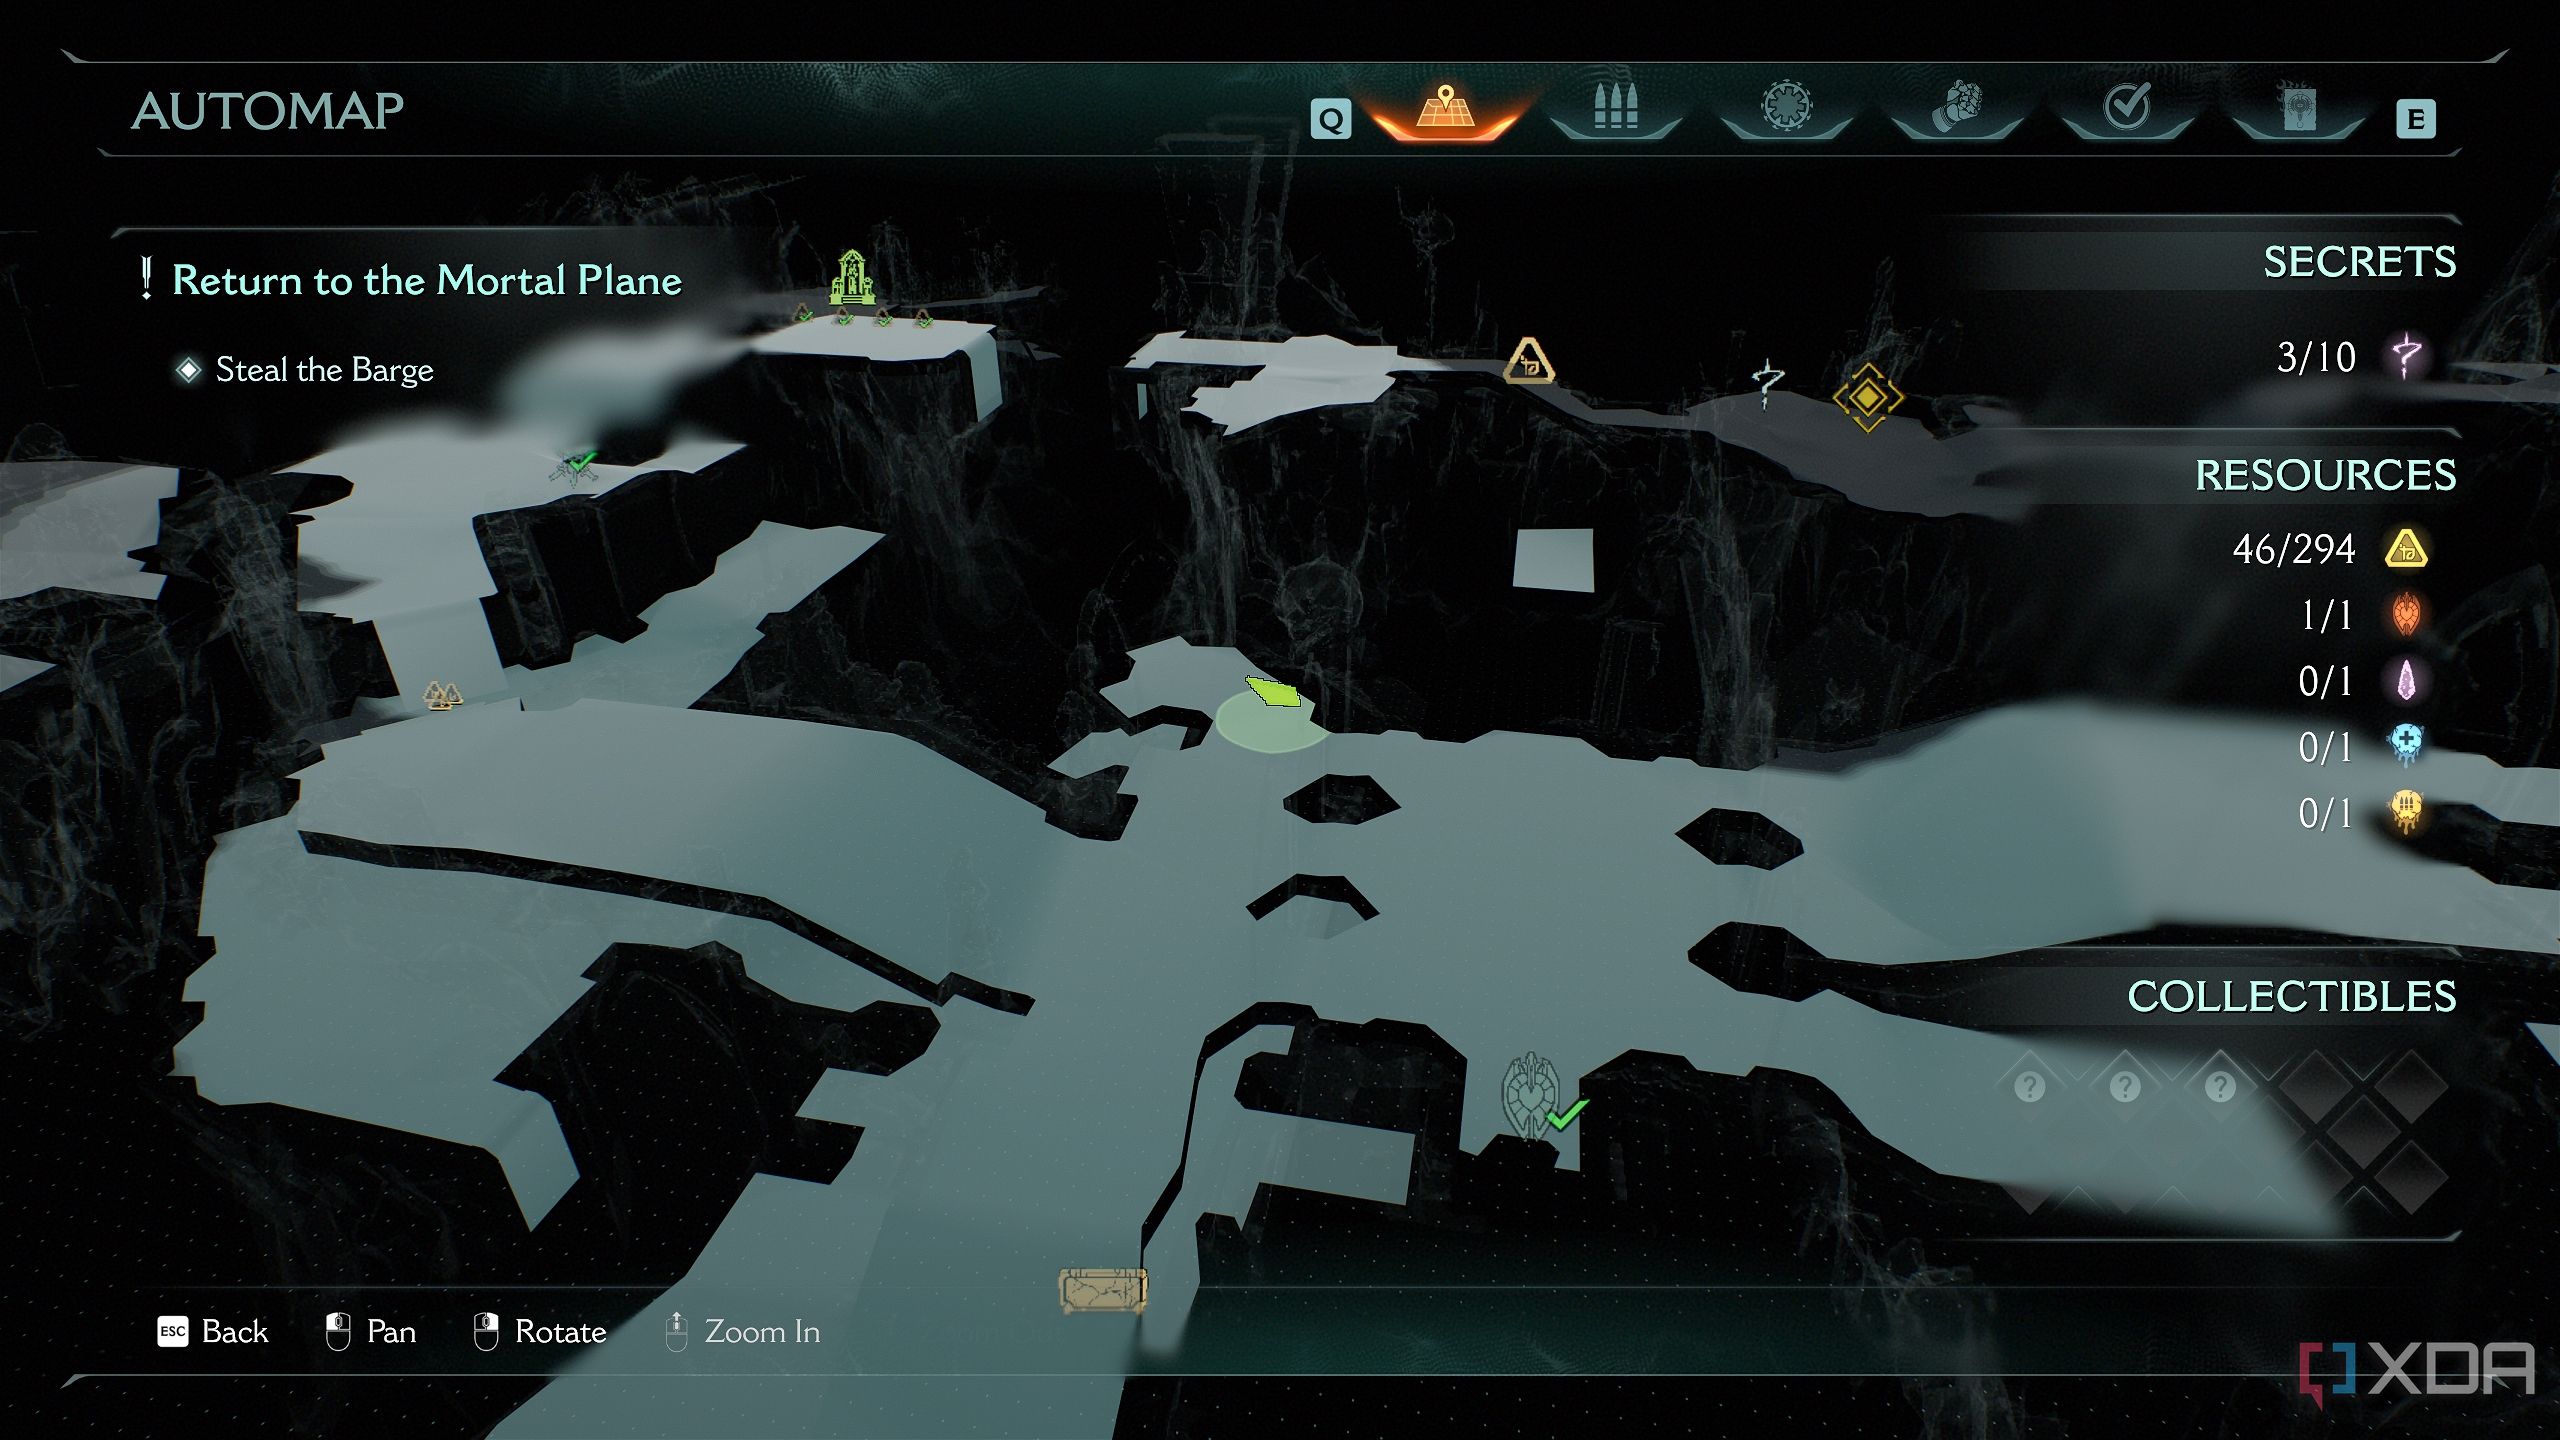
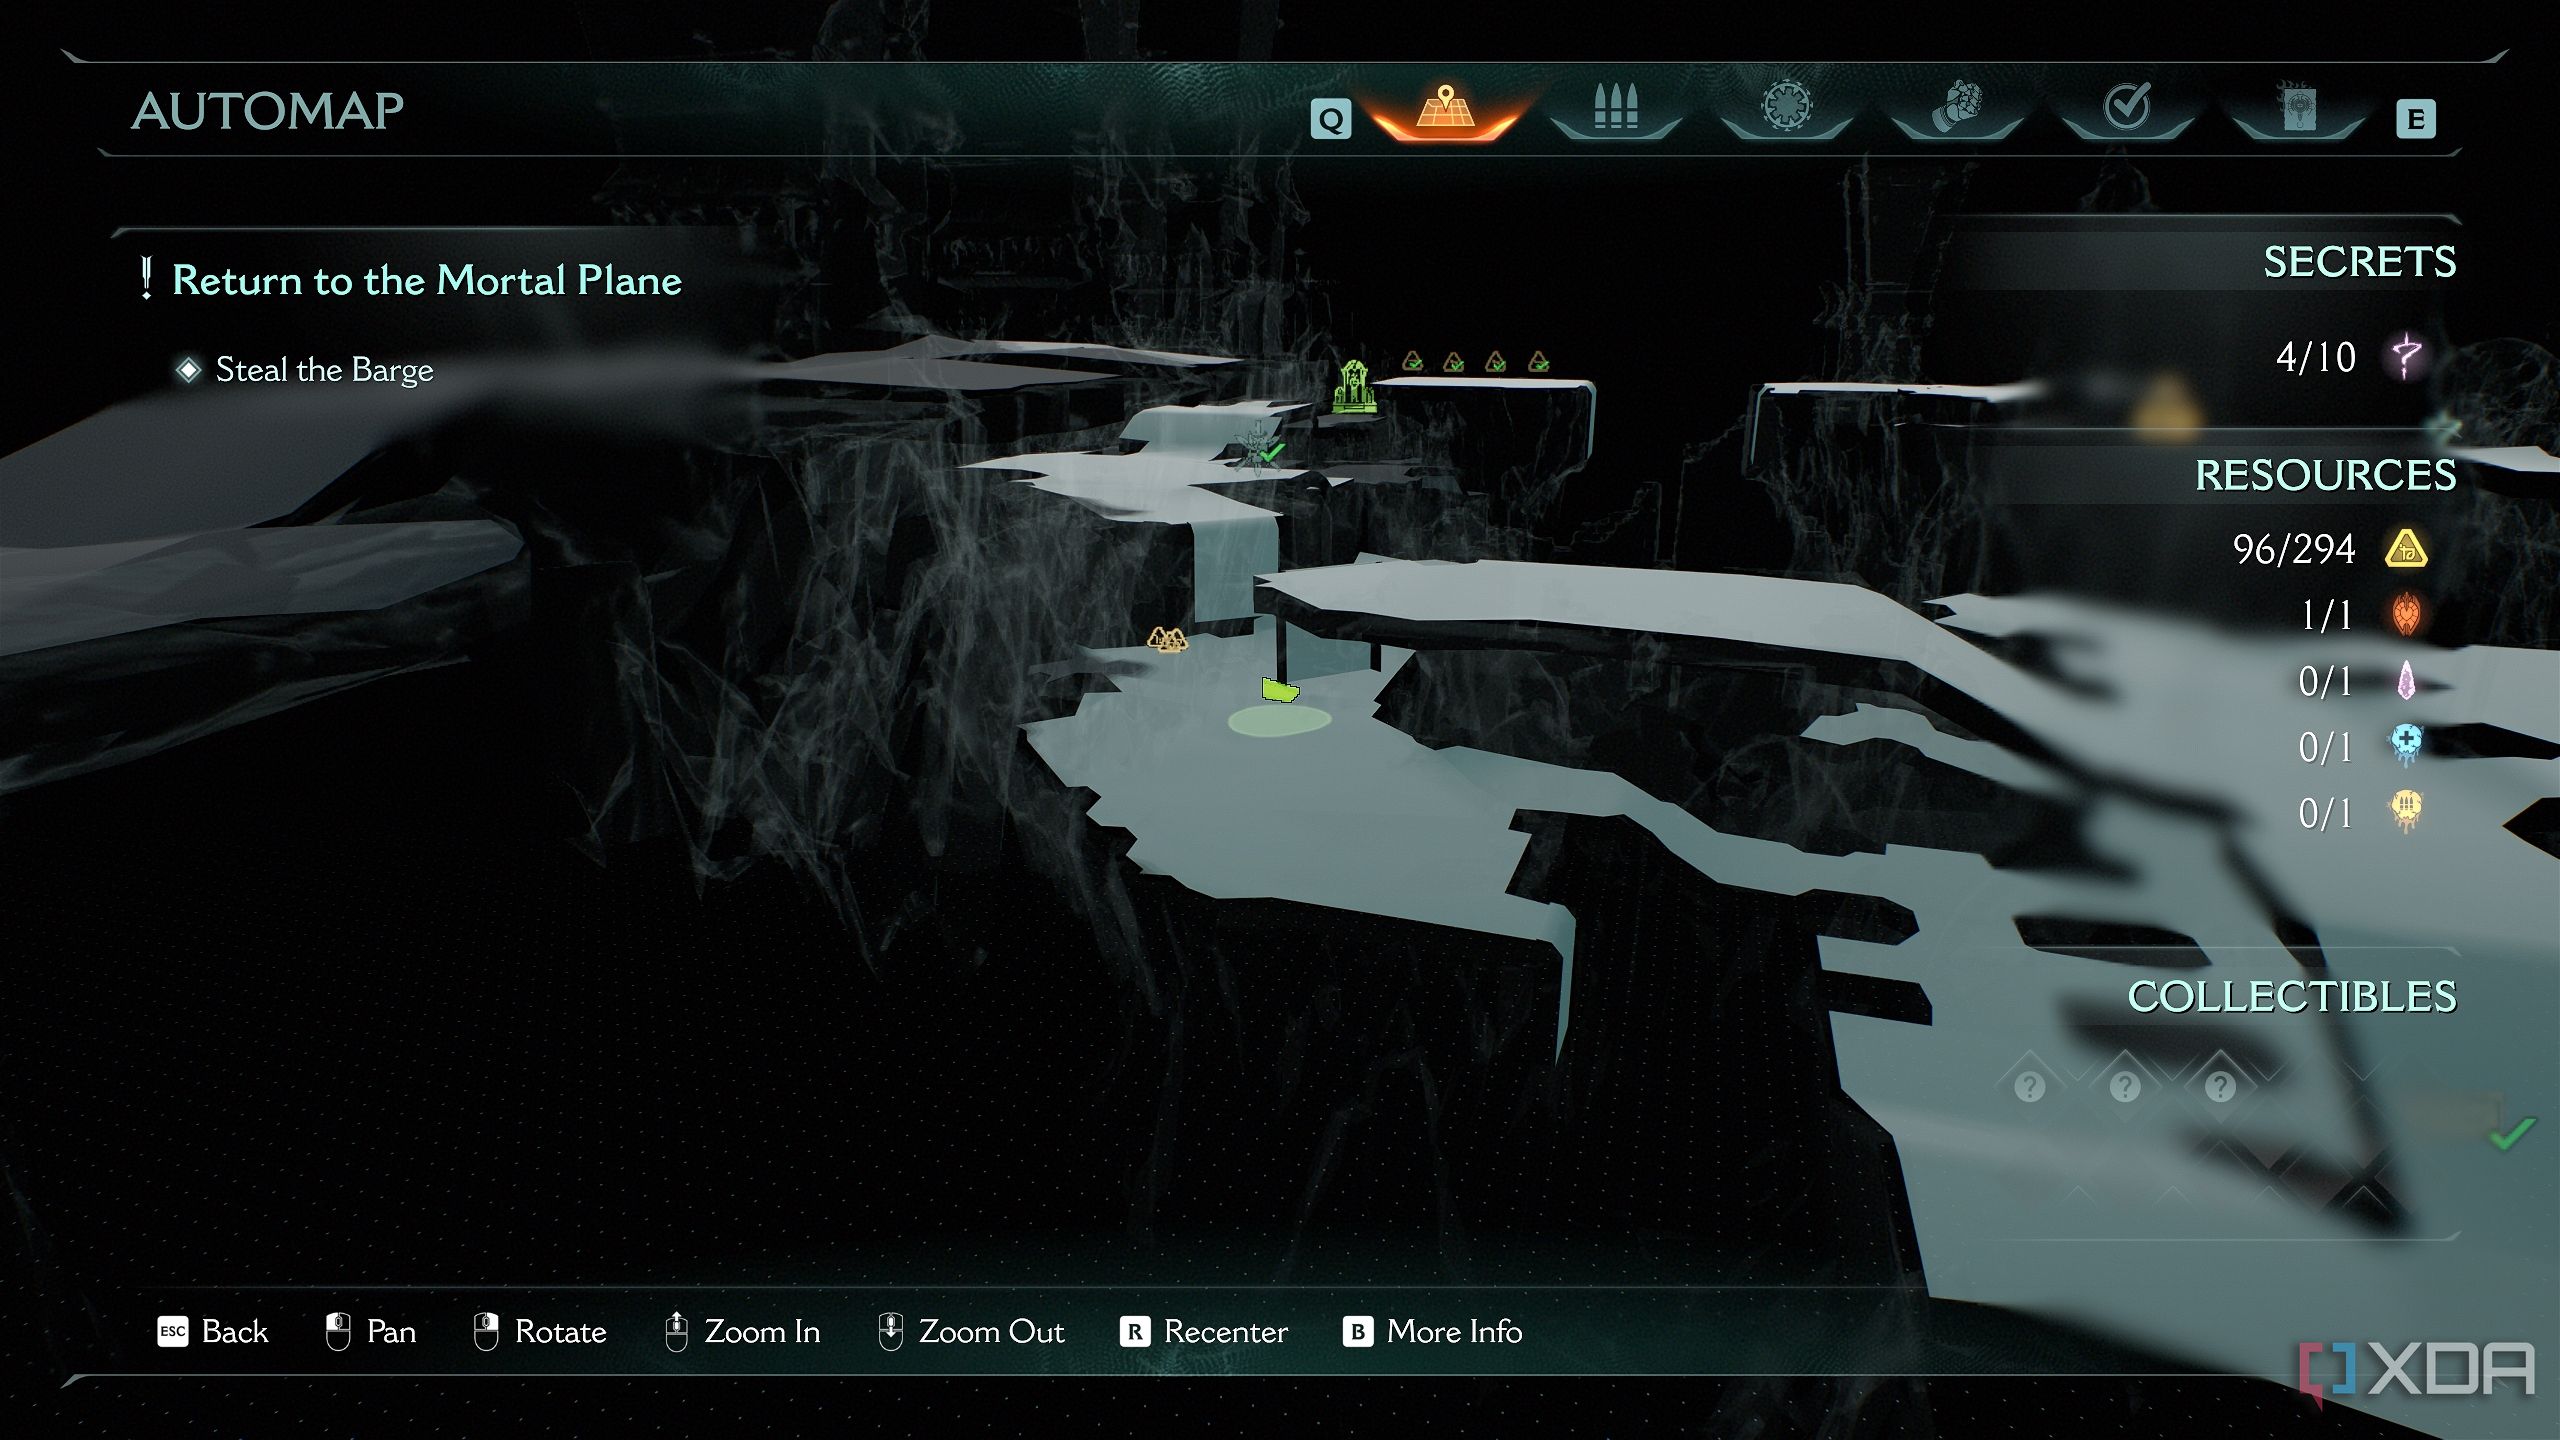
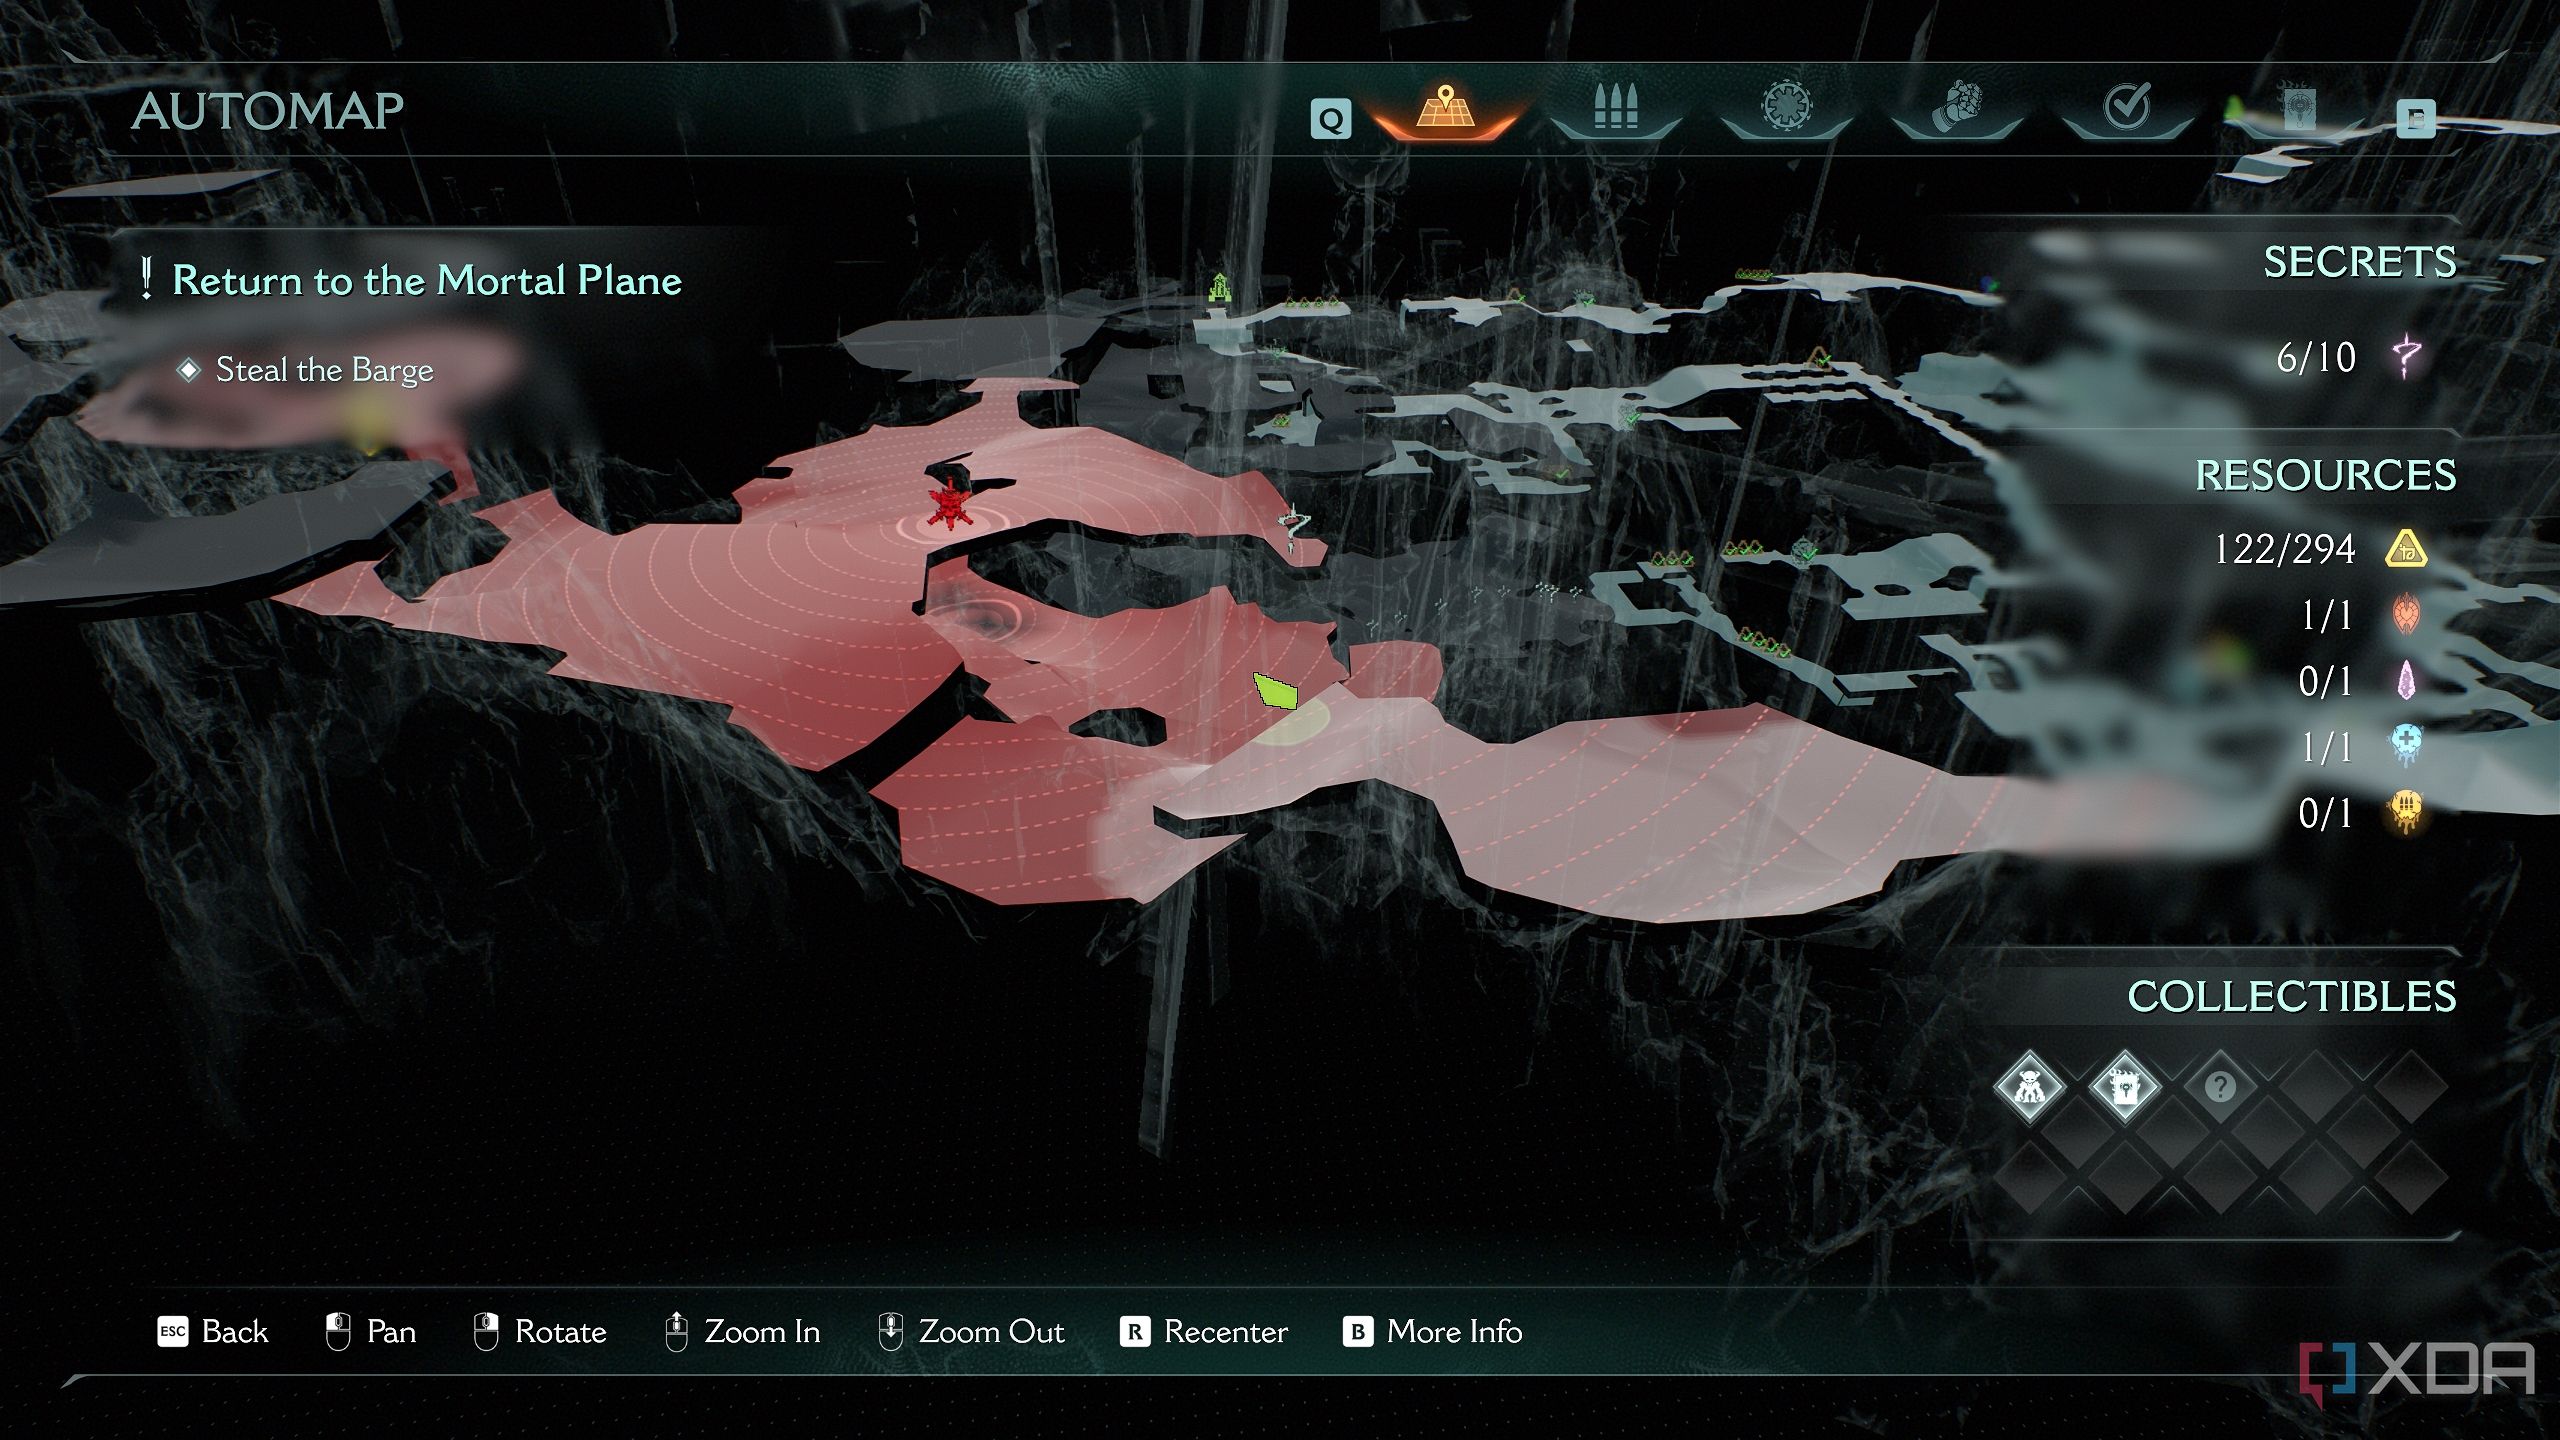
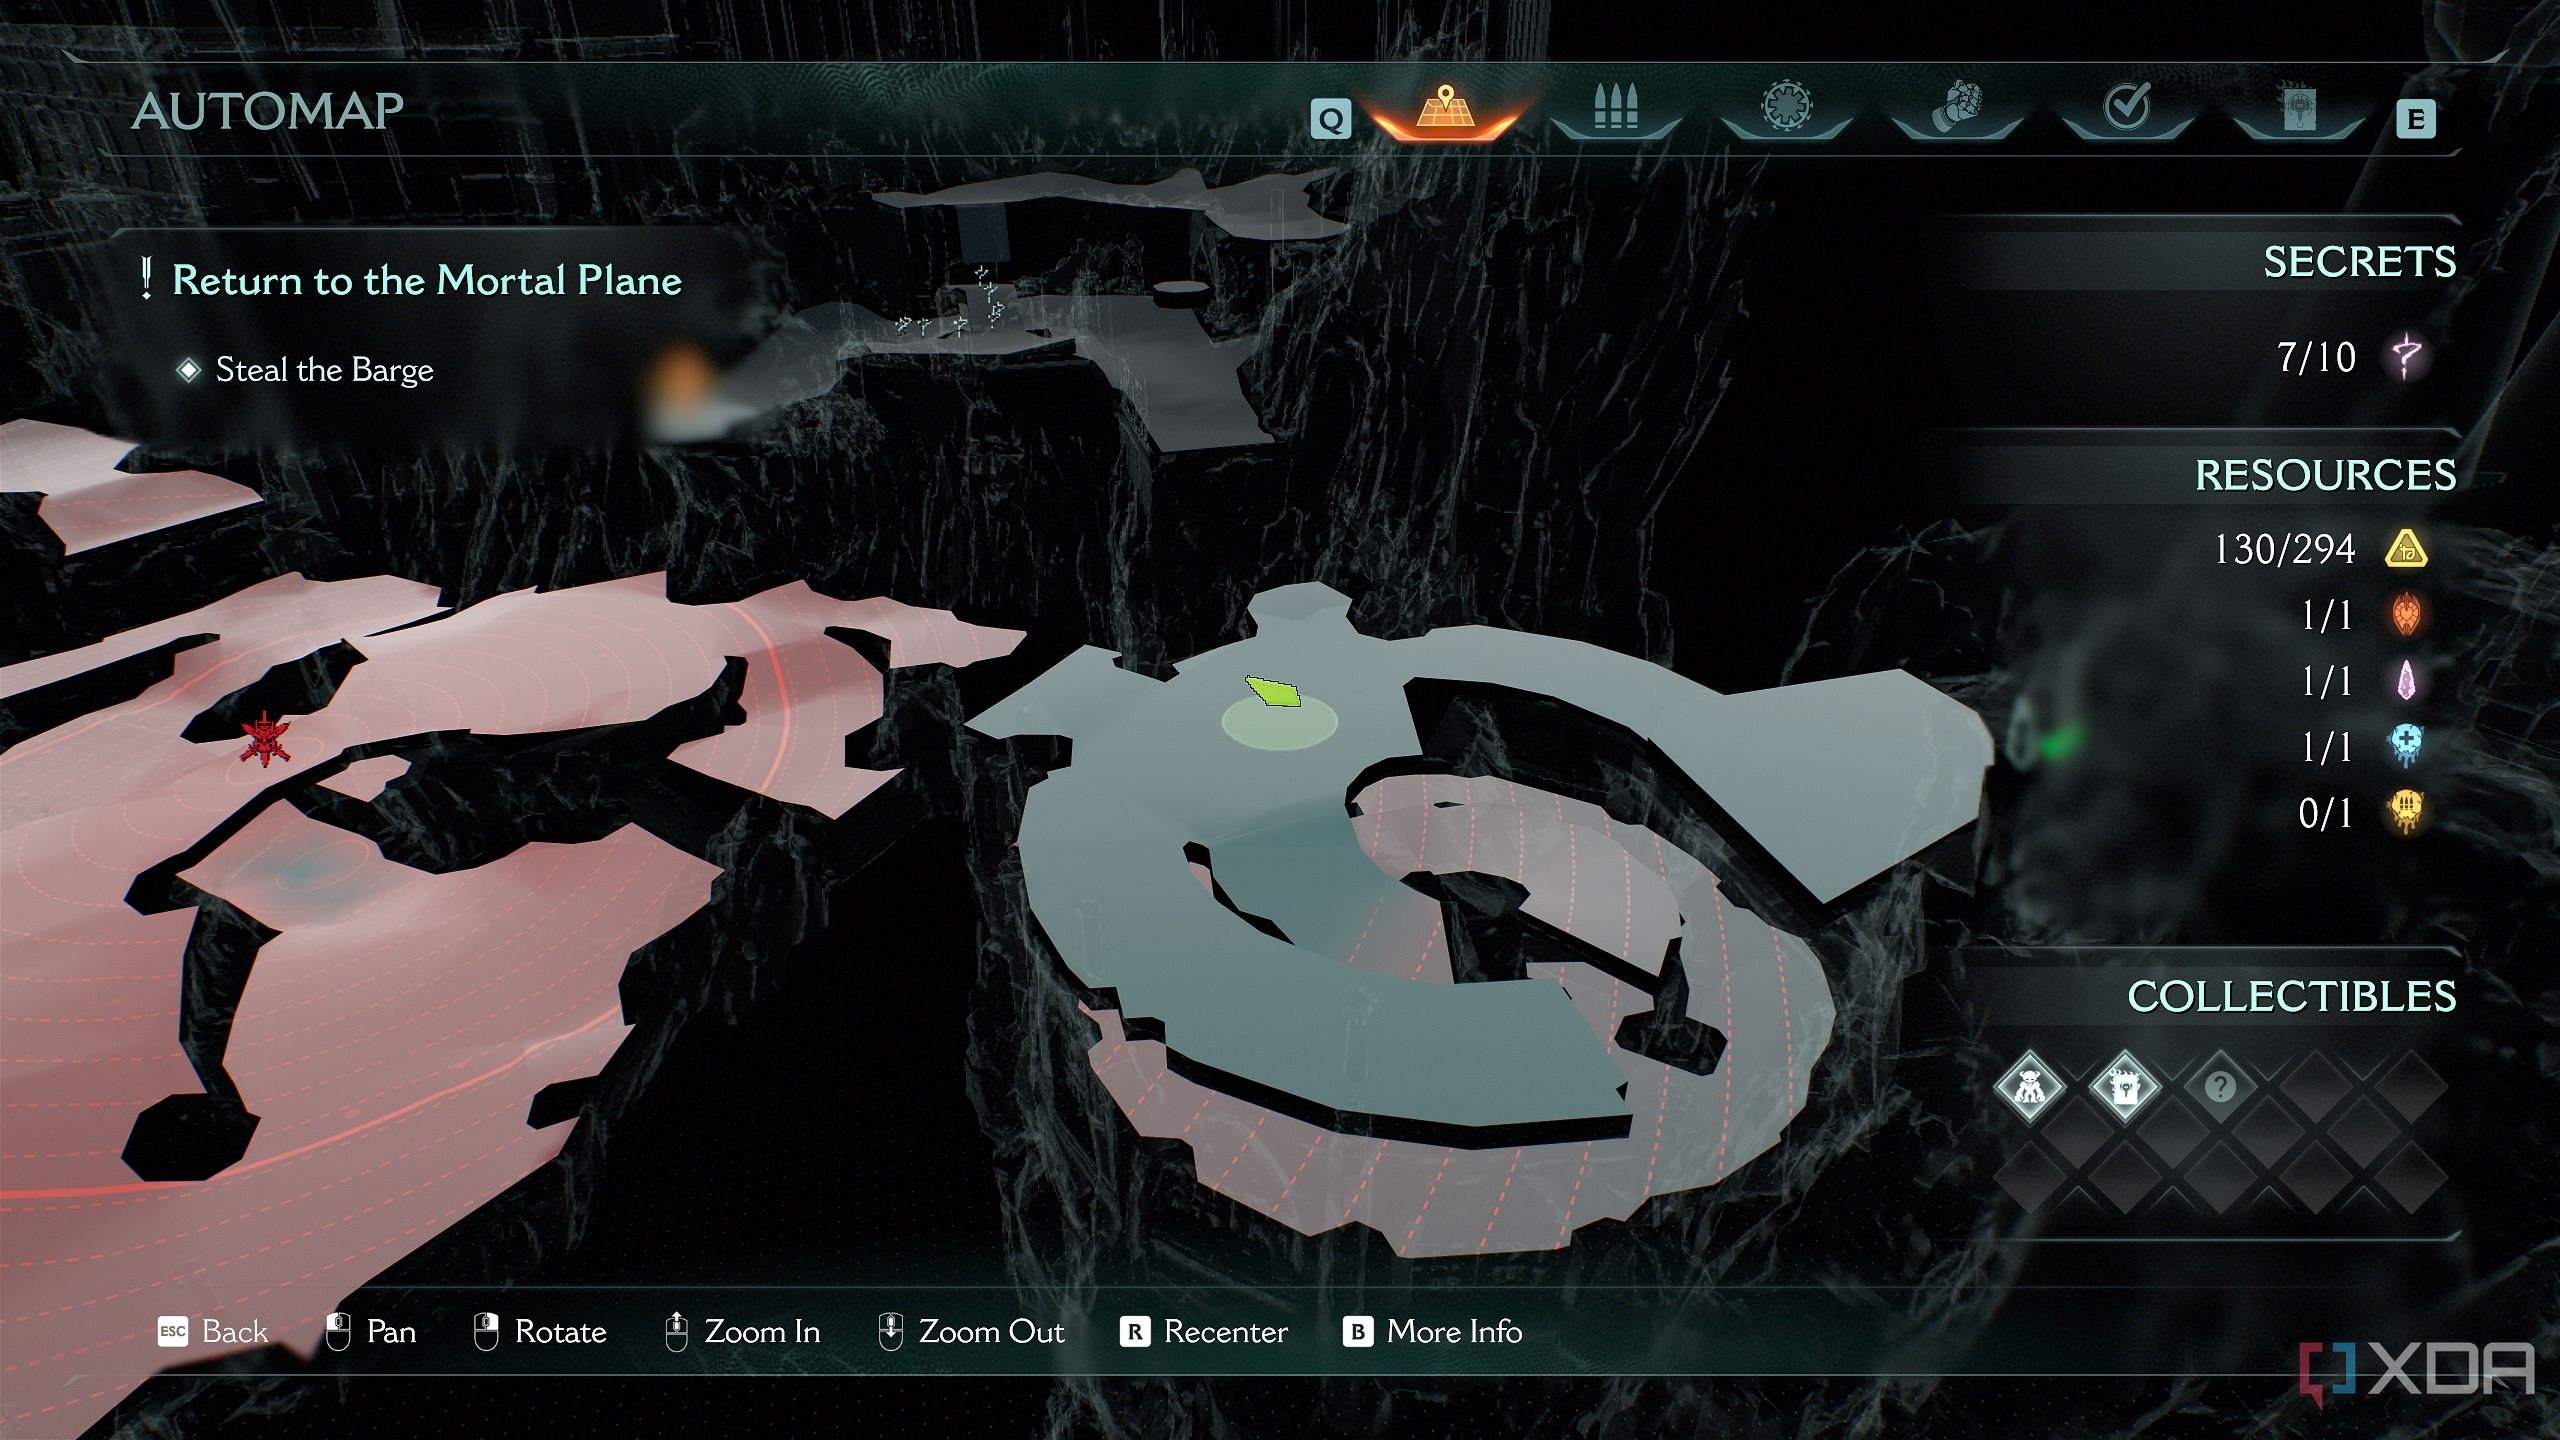
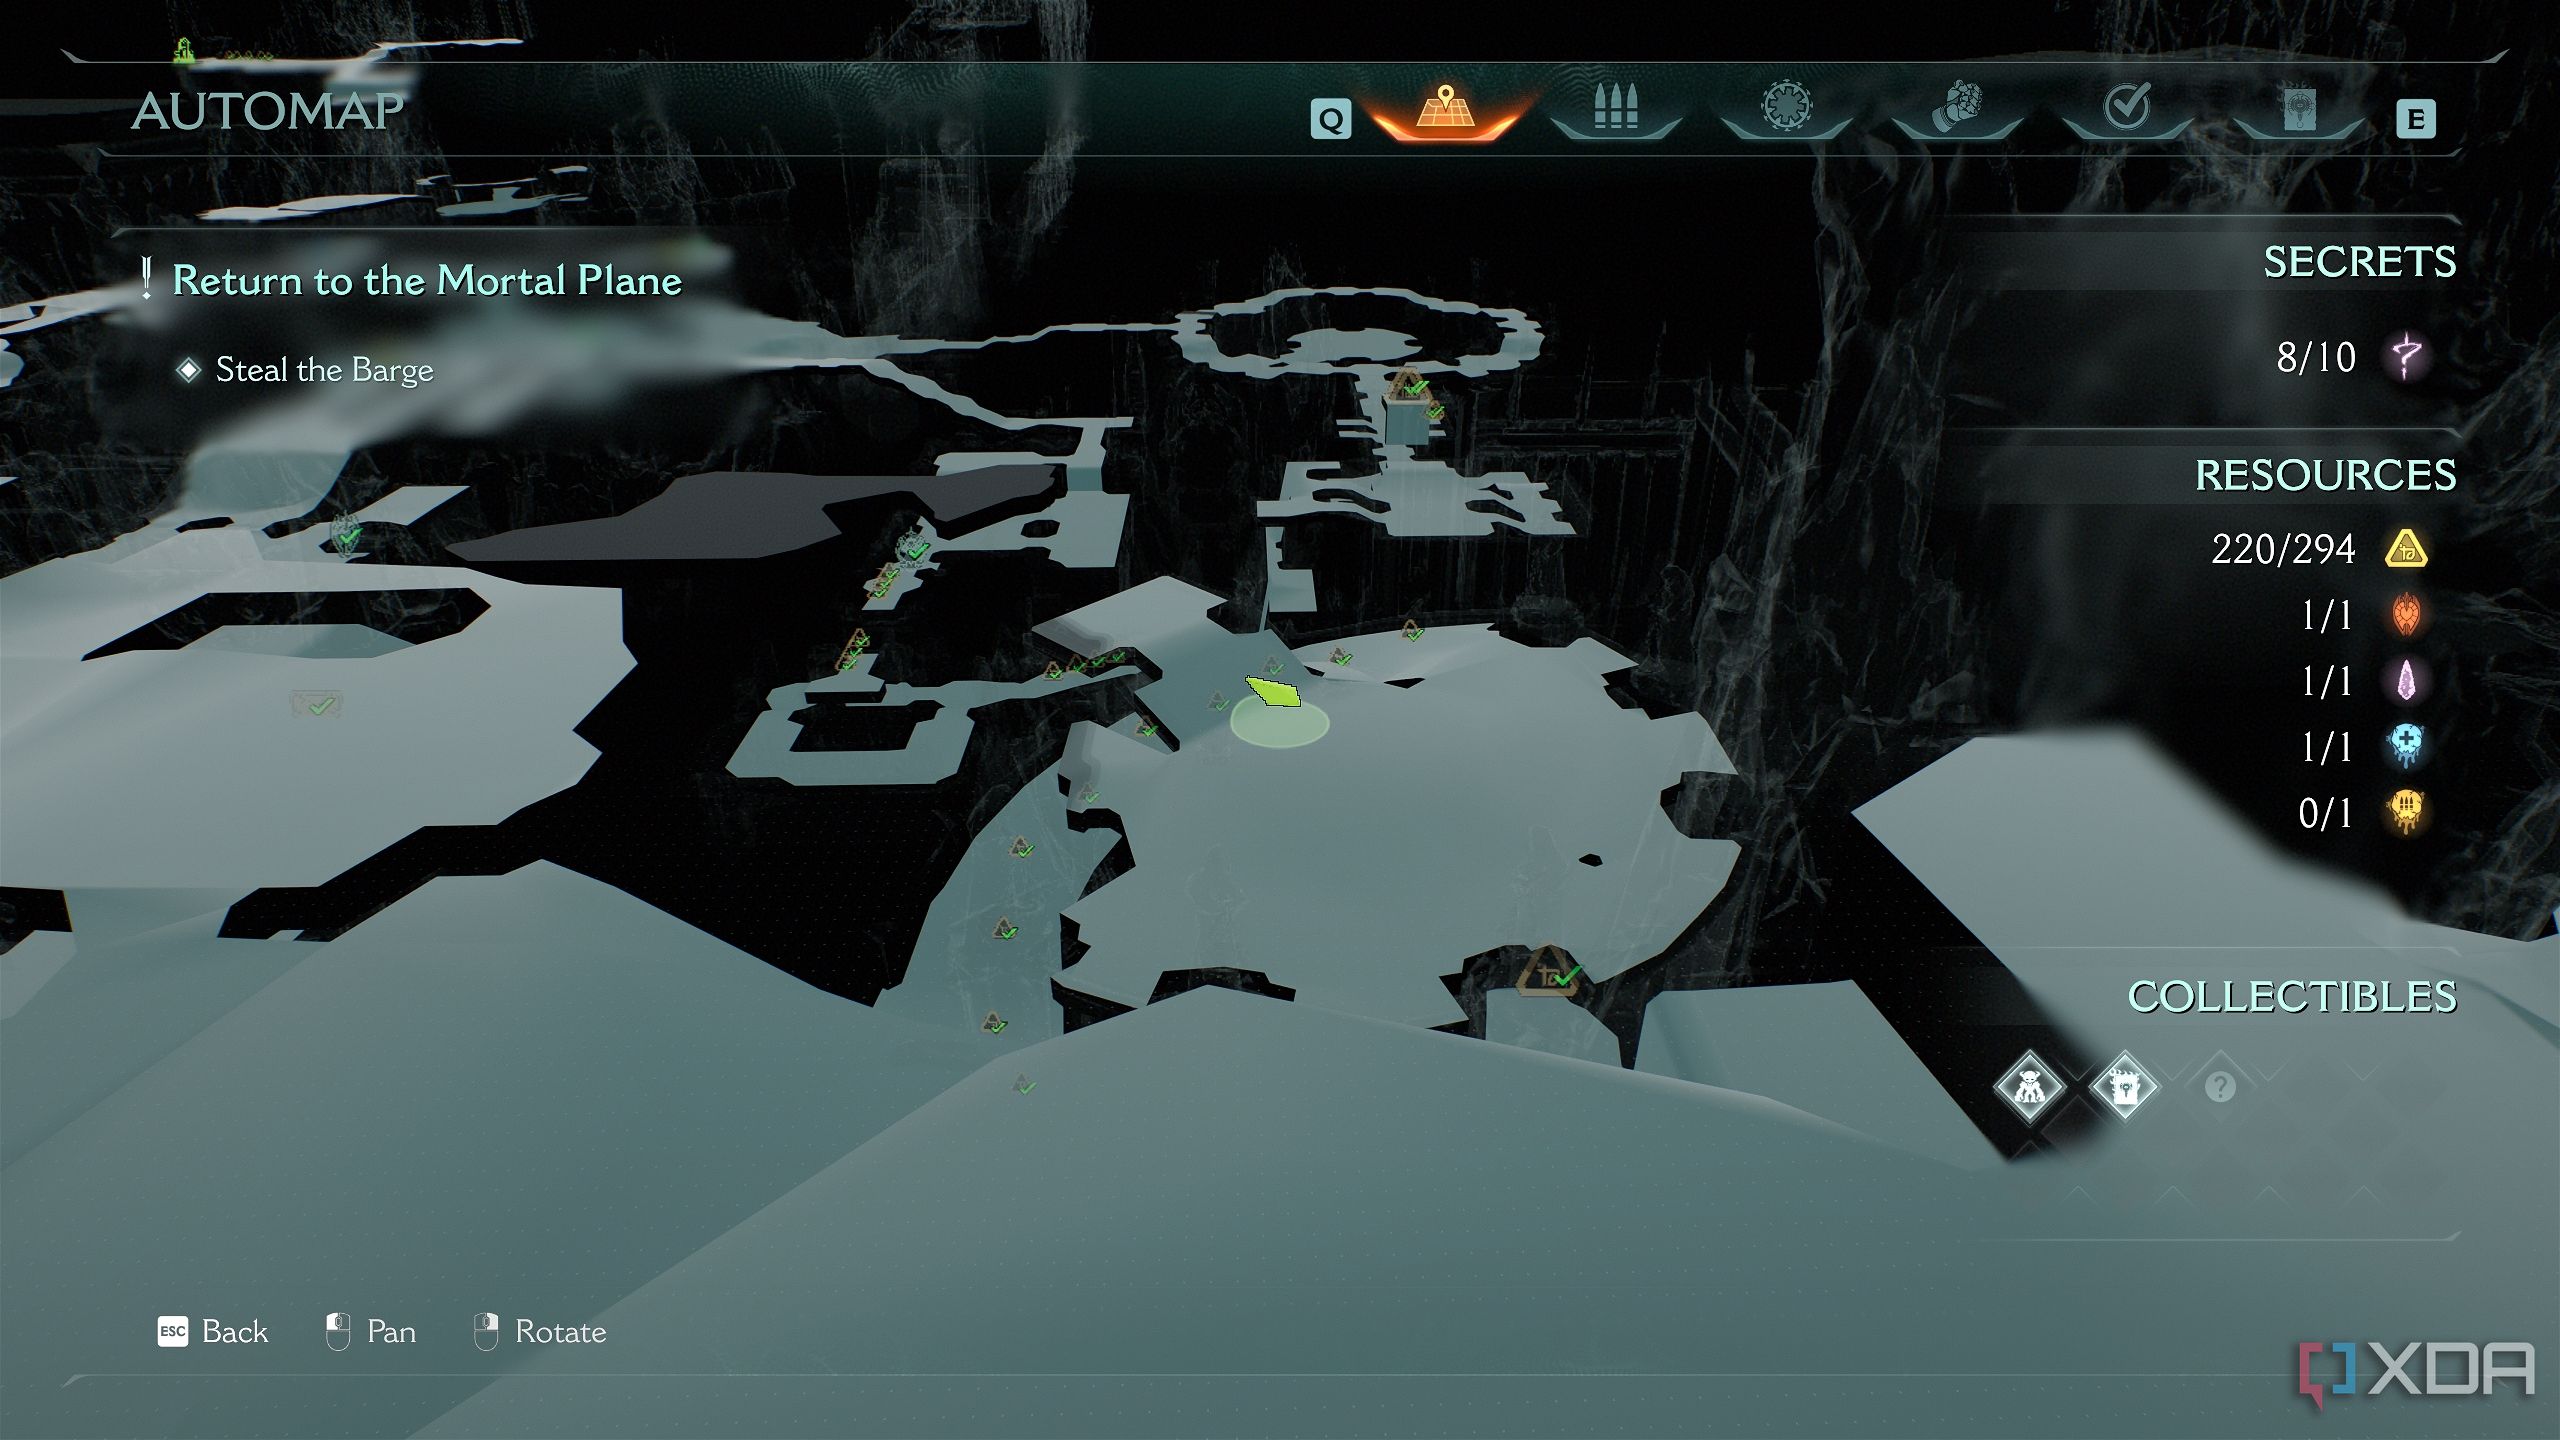
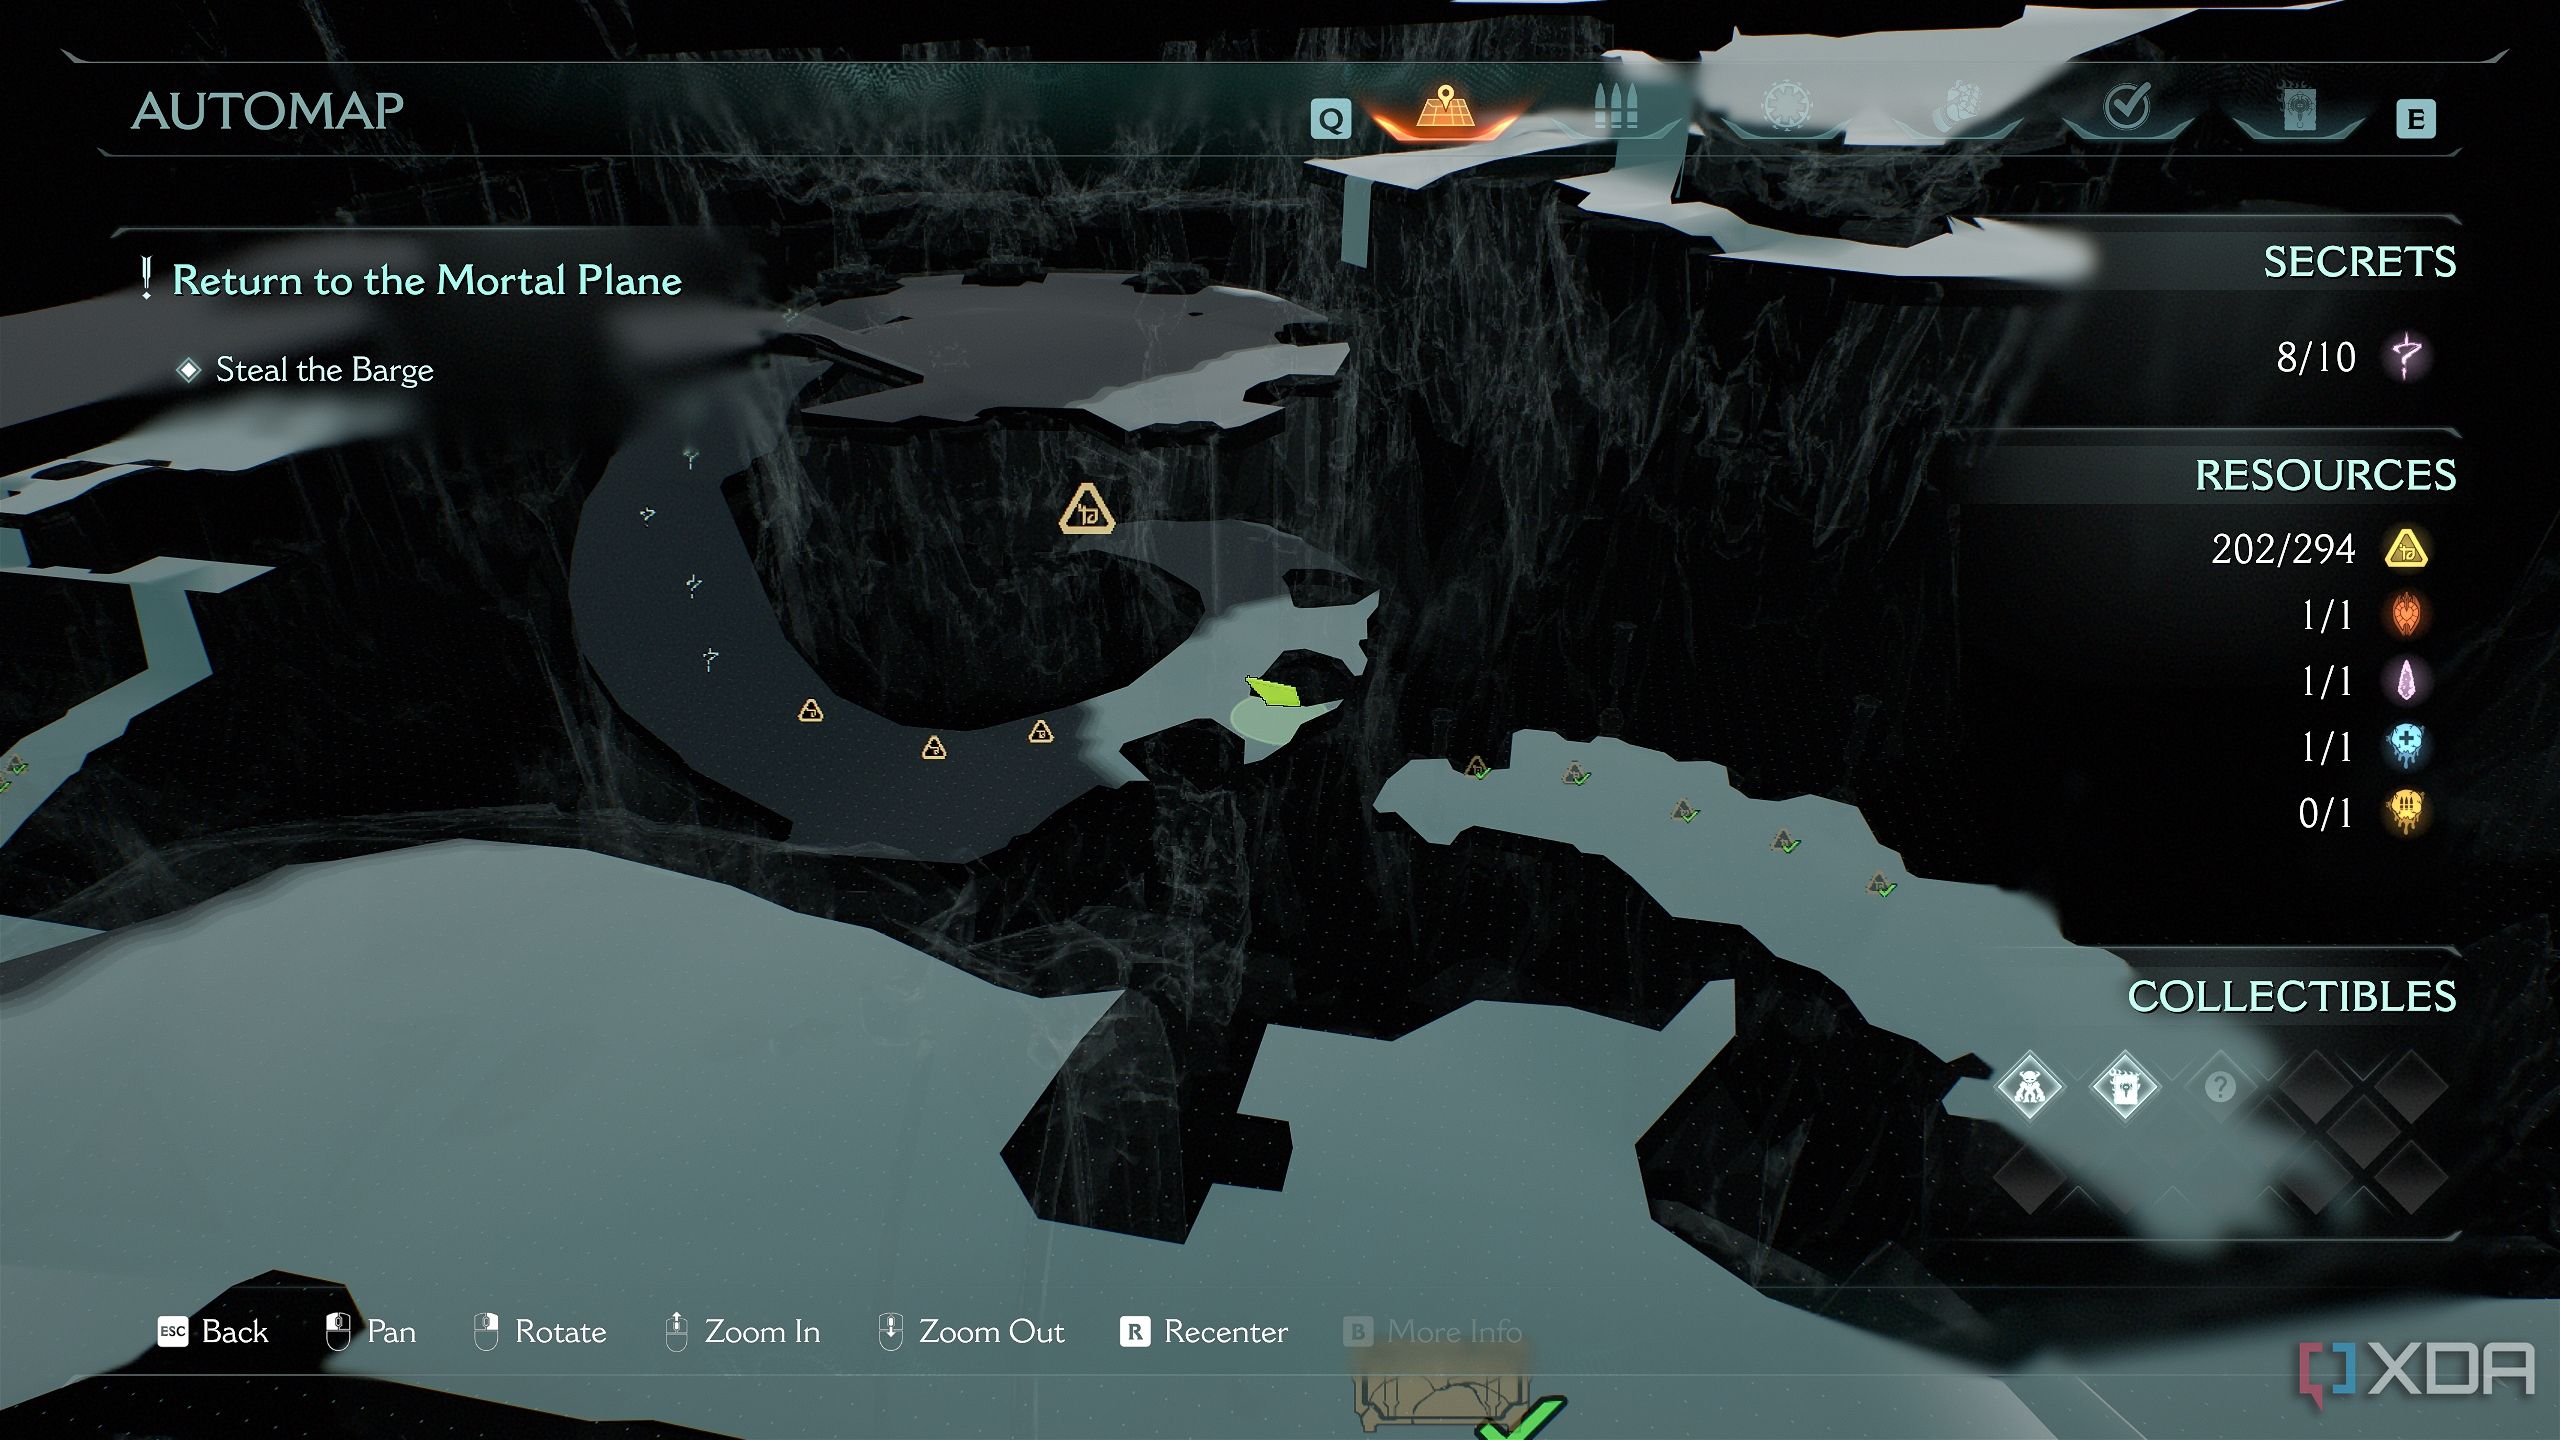
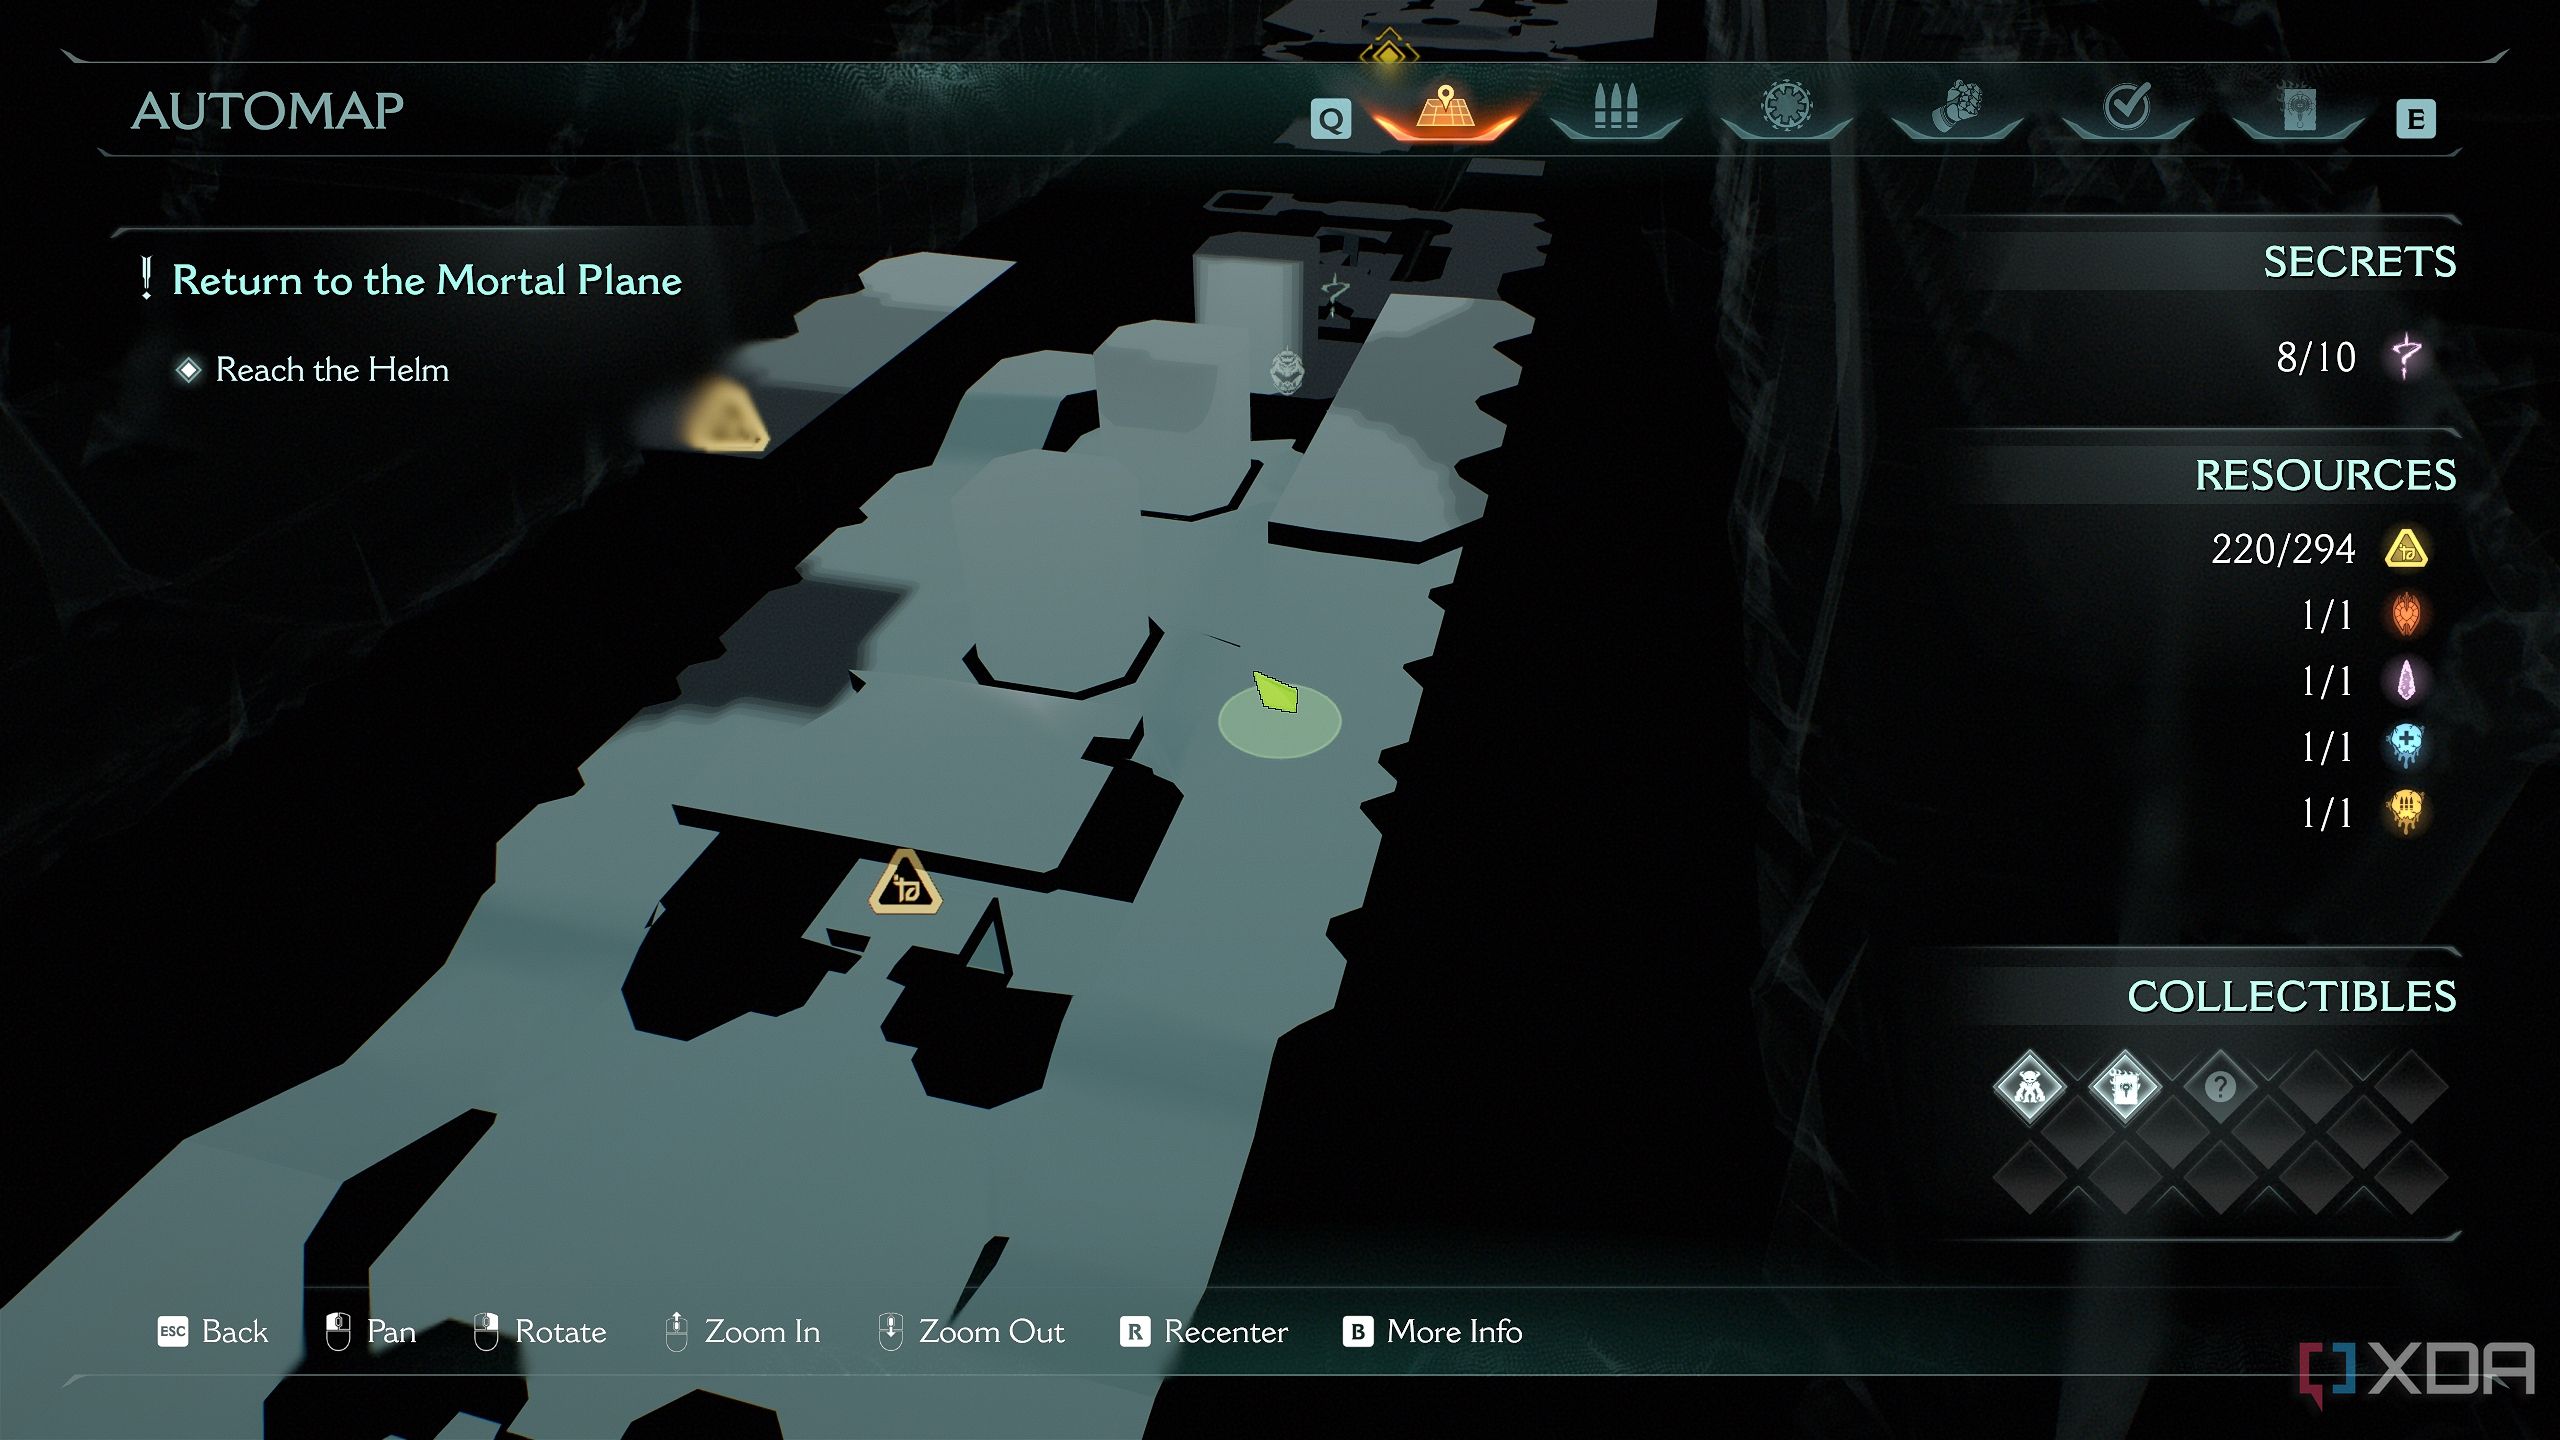
Next, you’ll find yourself onboard a boat as the Slayer attempts to get back to the Mortal Plane. The first encounter here will be a morale encounter with a leader Pinky Rider. Odds are that you wouldn’t have finished the Berserker mission challenge yet — this is the best place to get it over with.
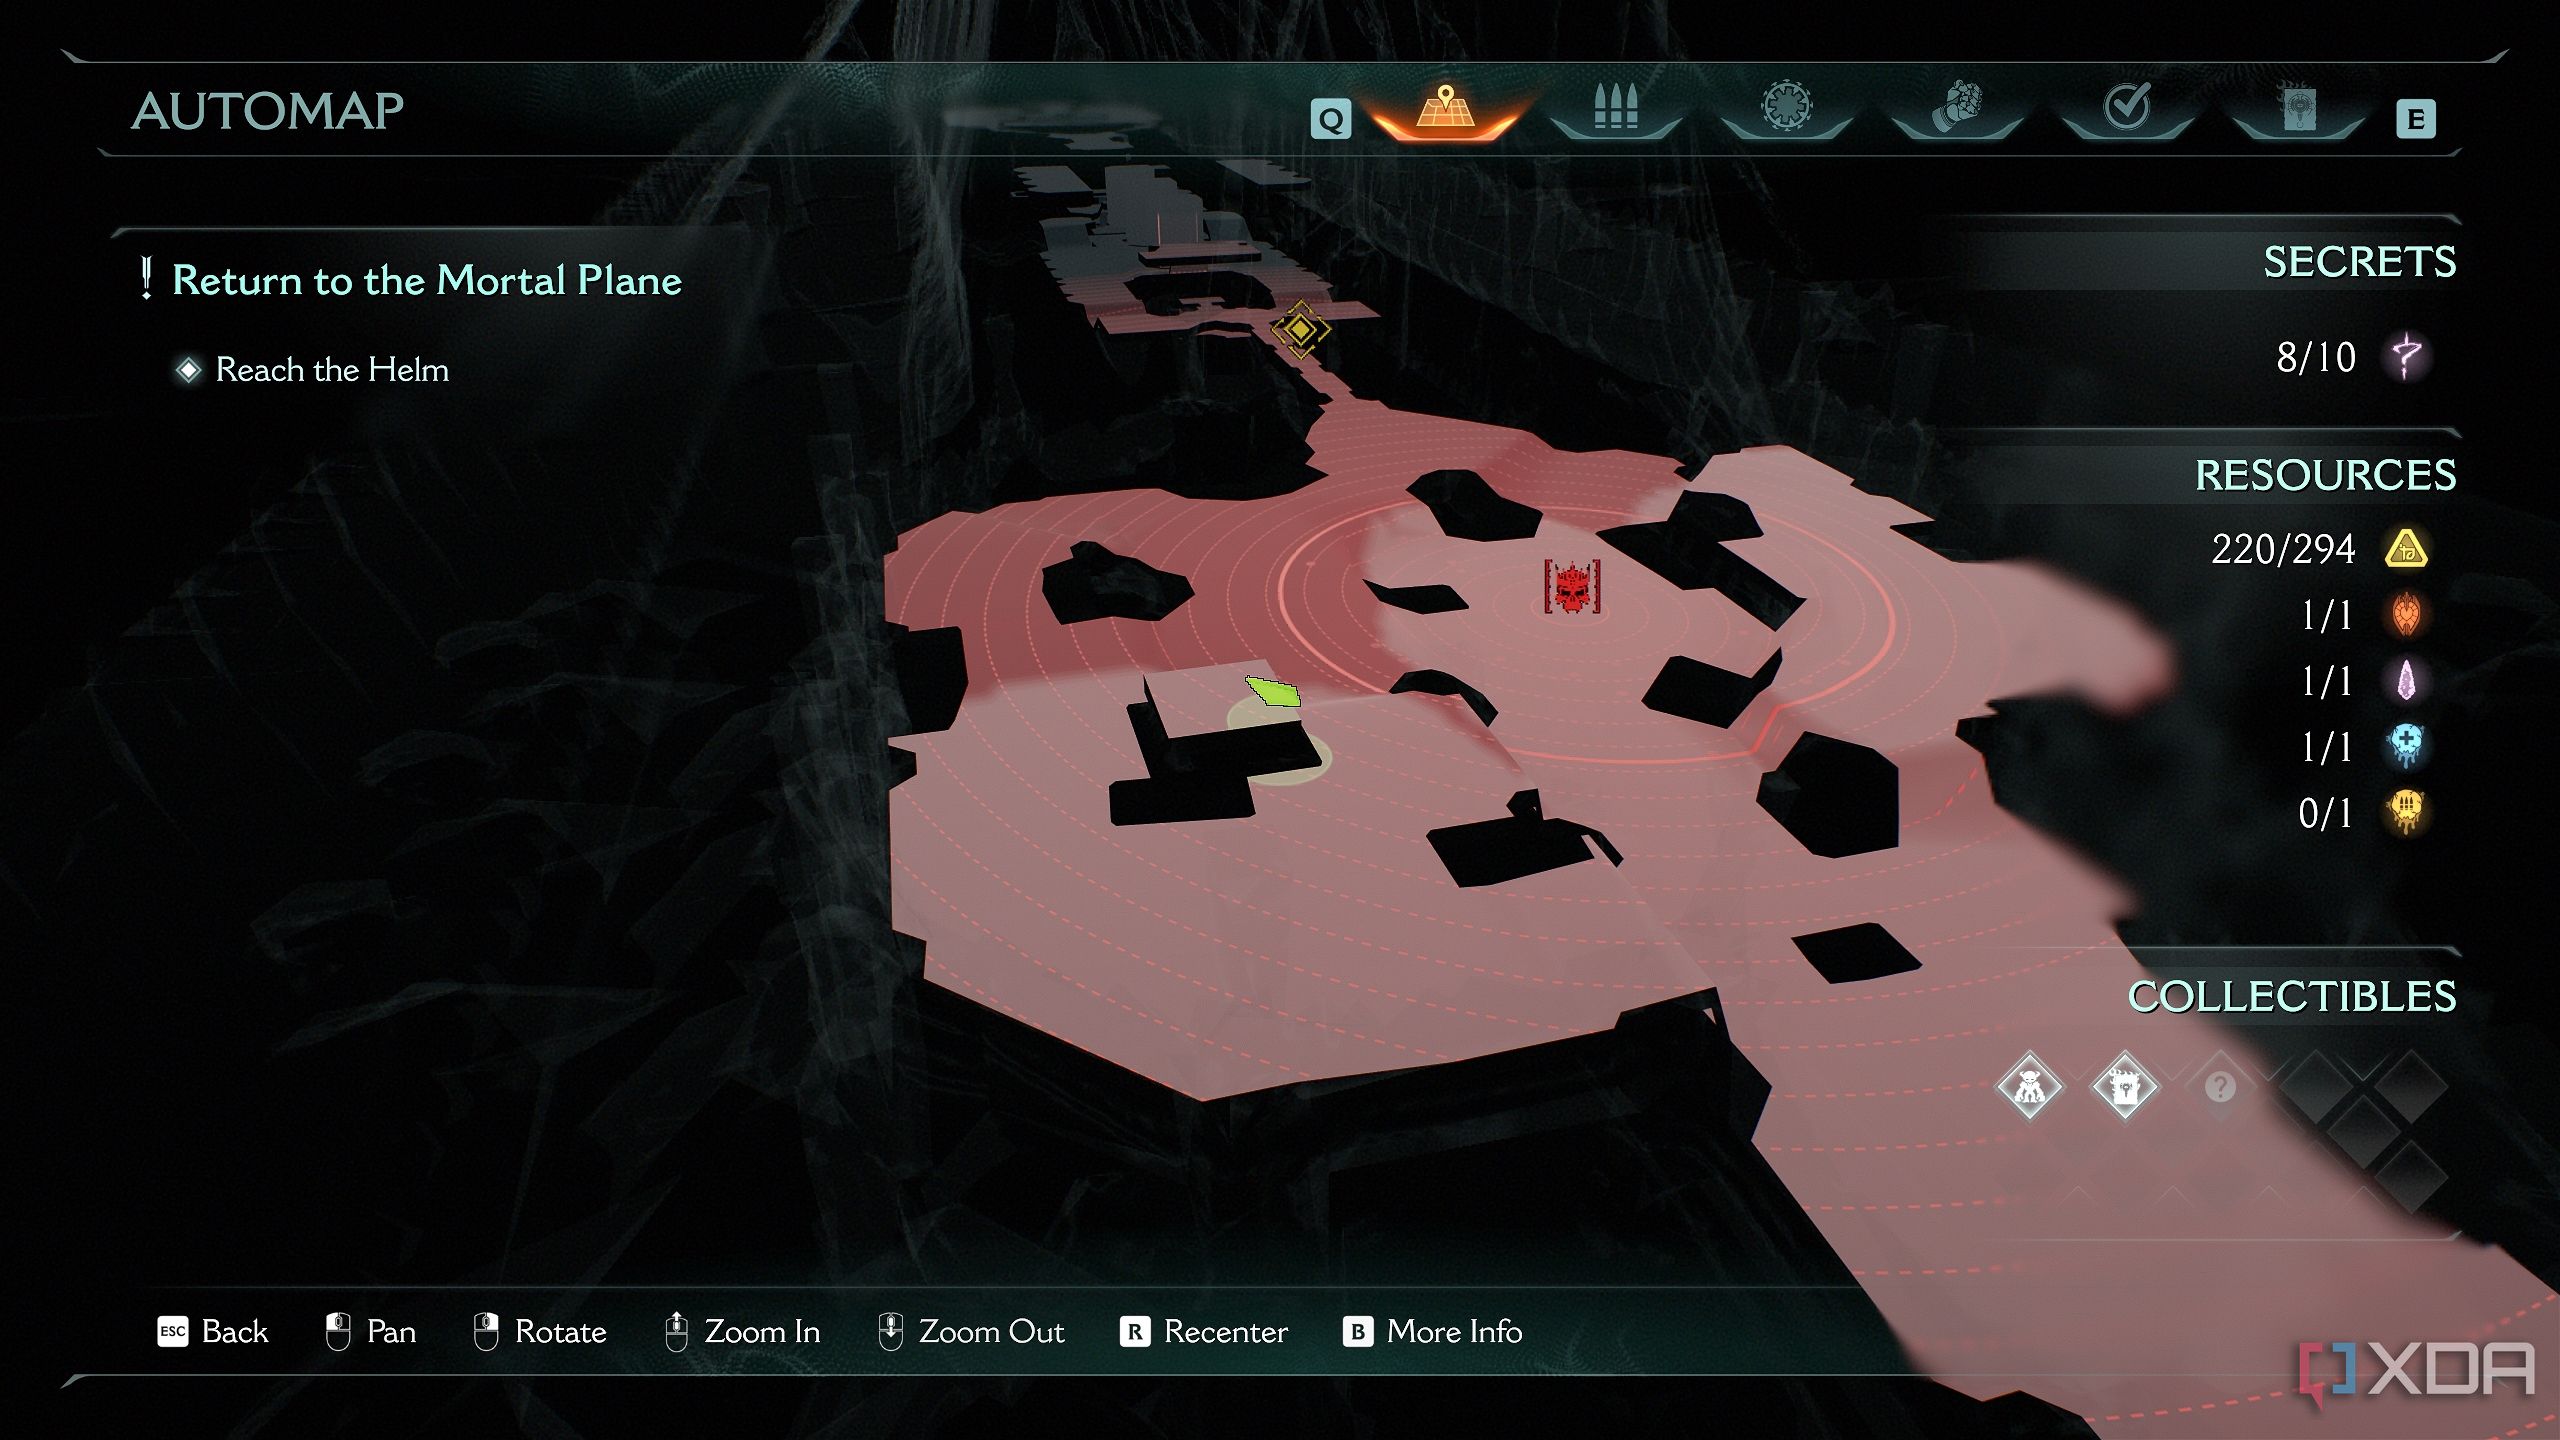
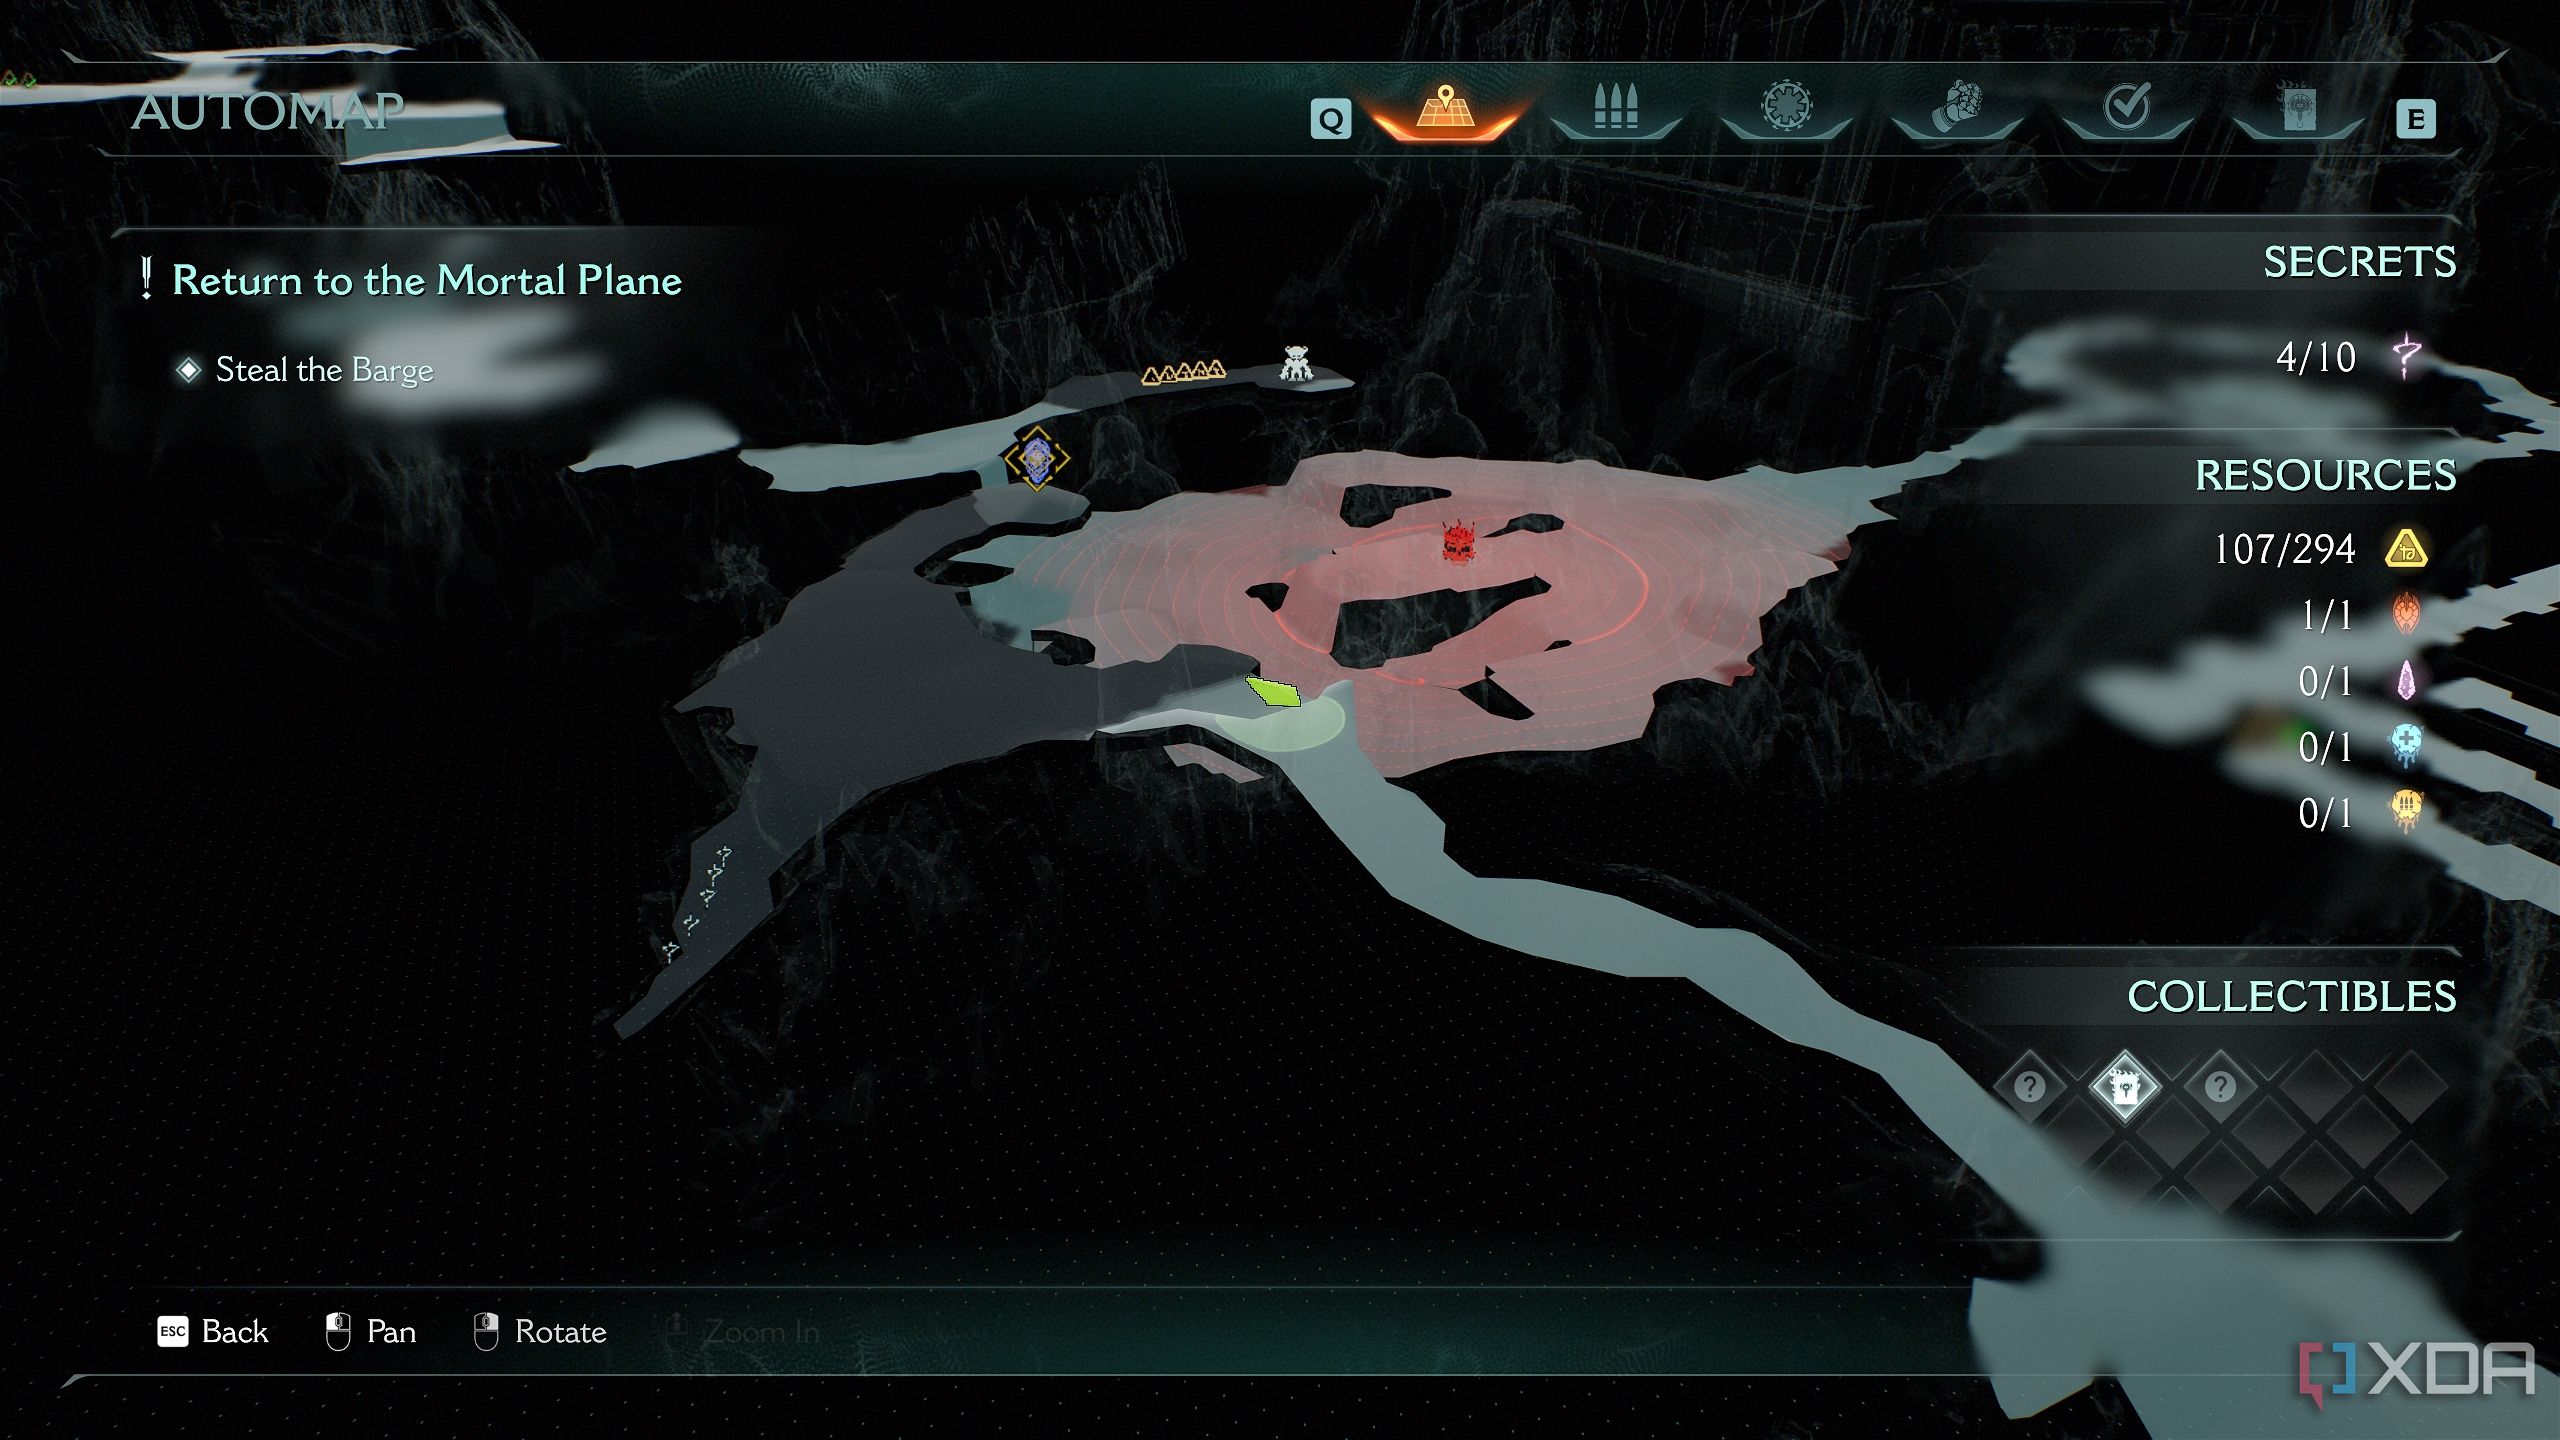
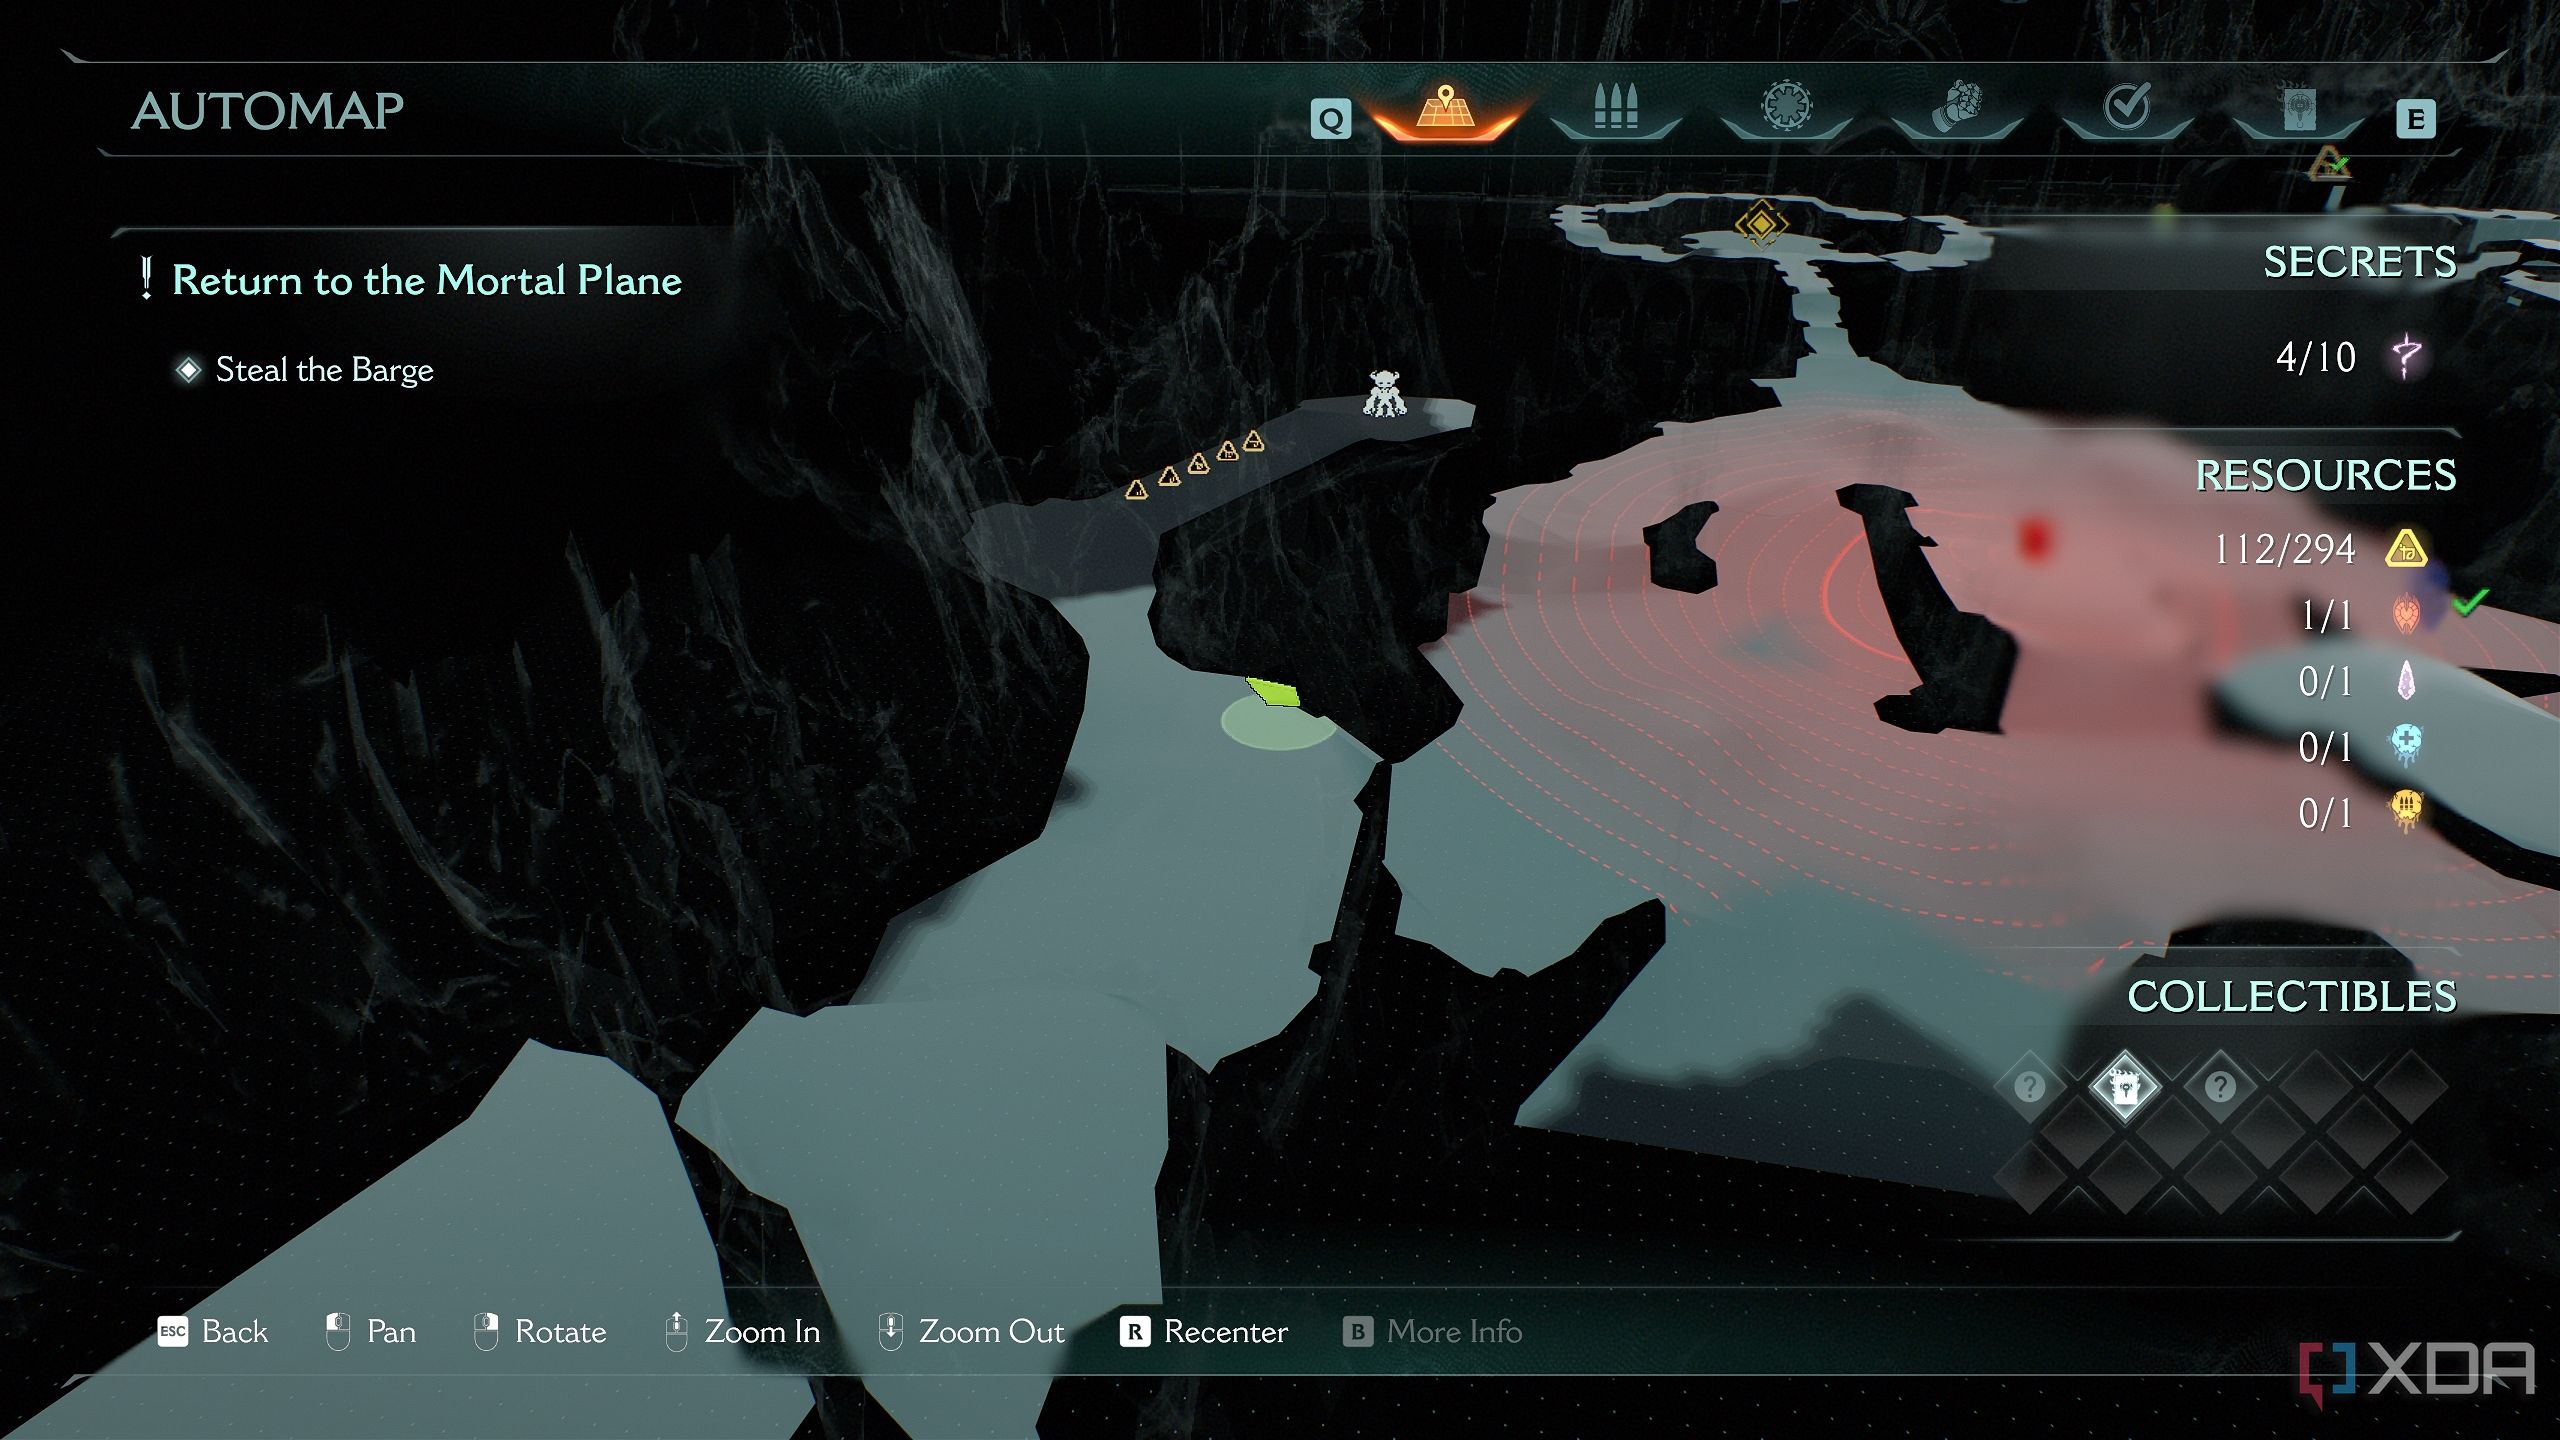
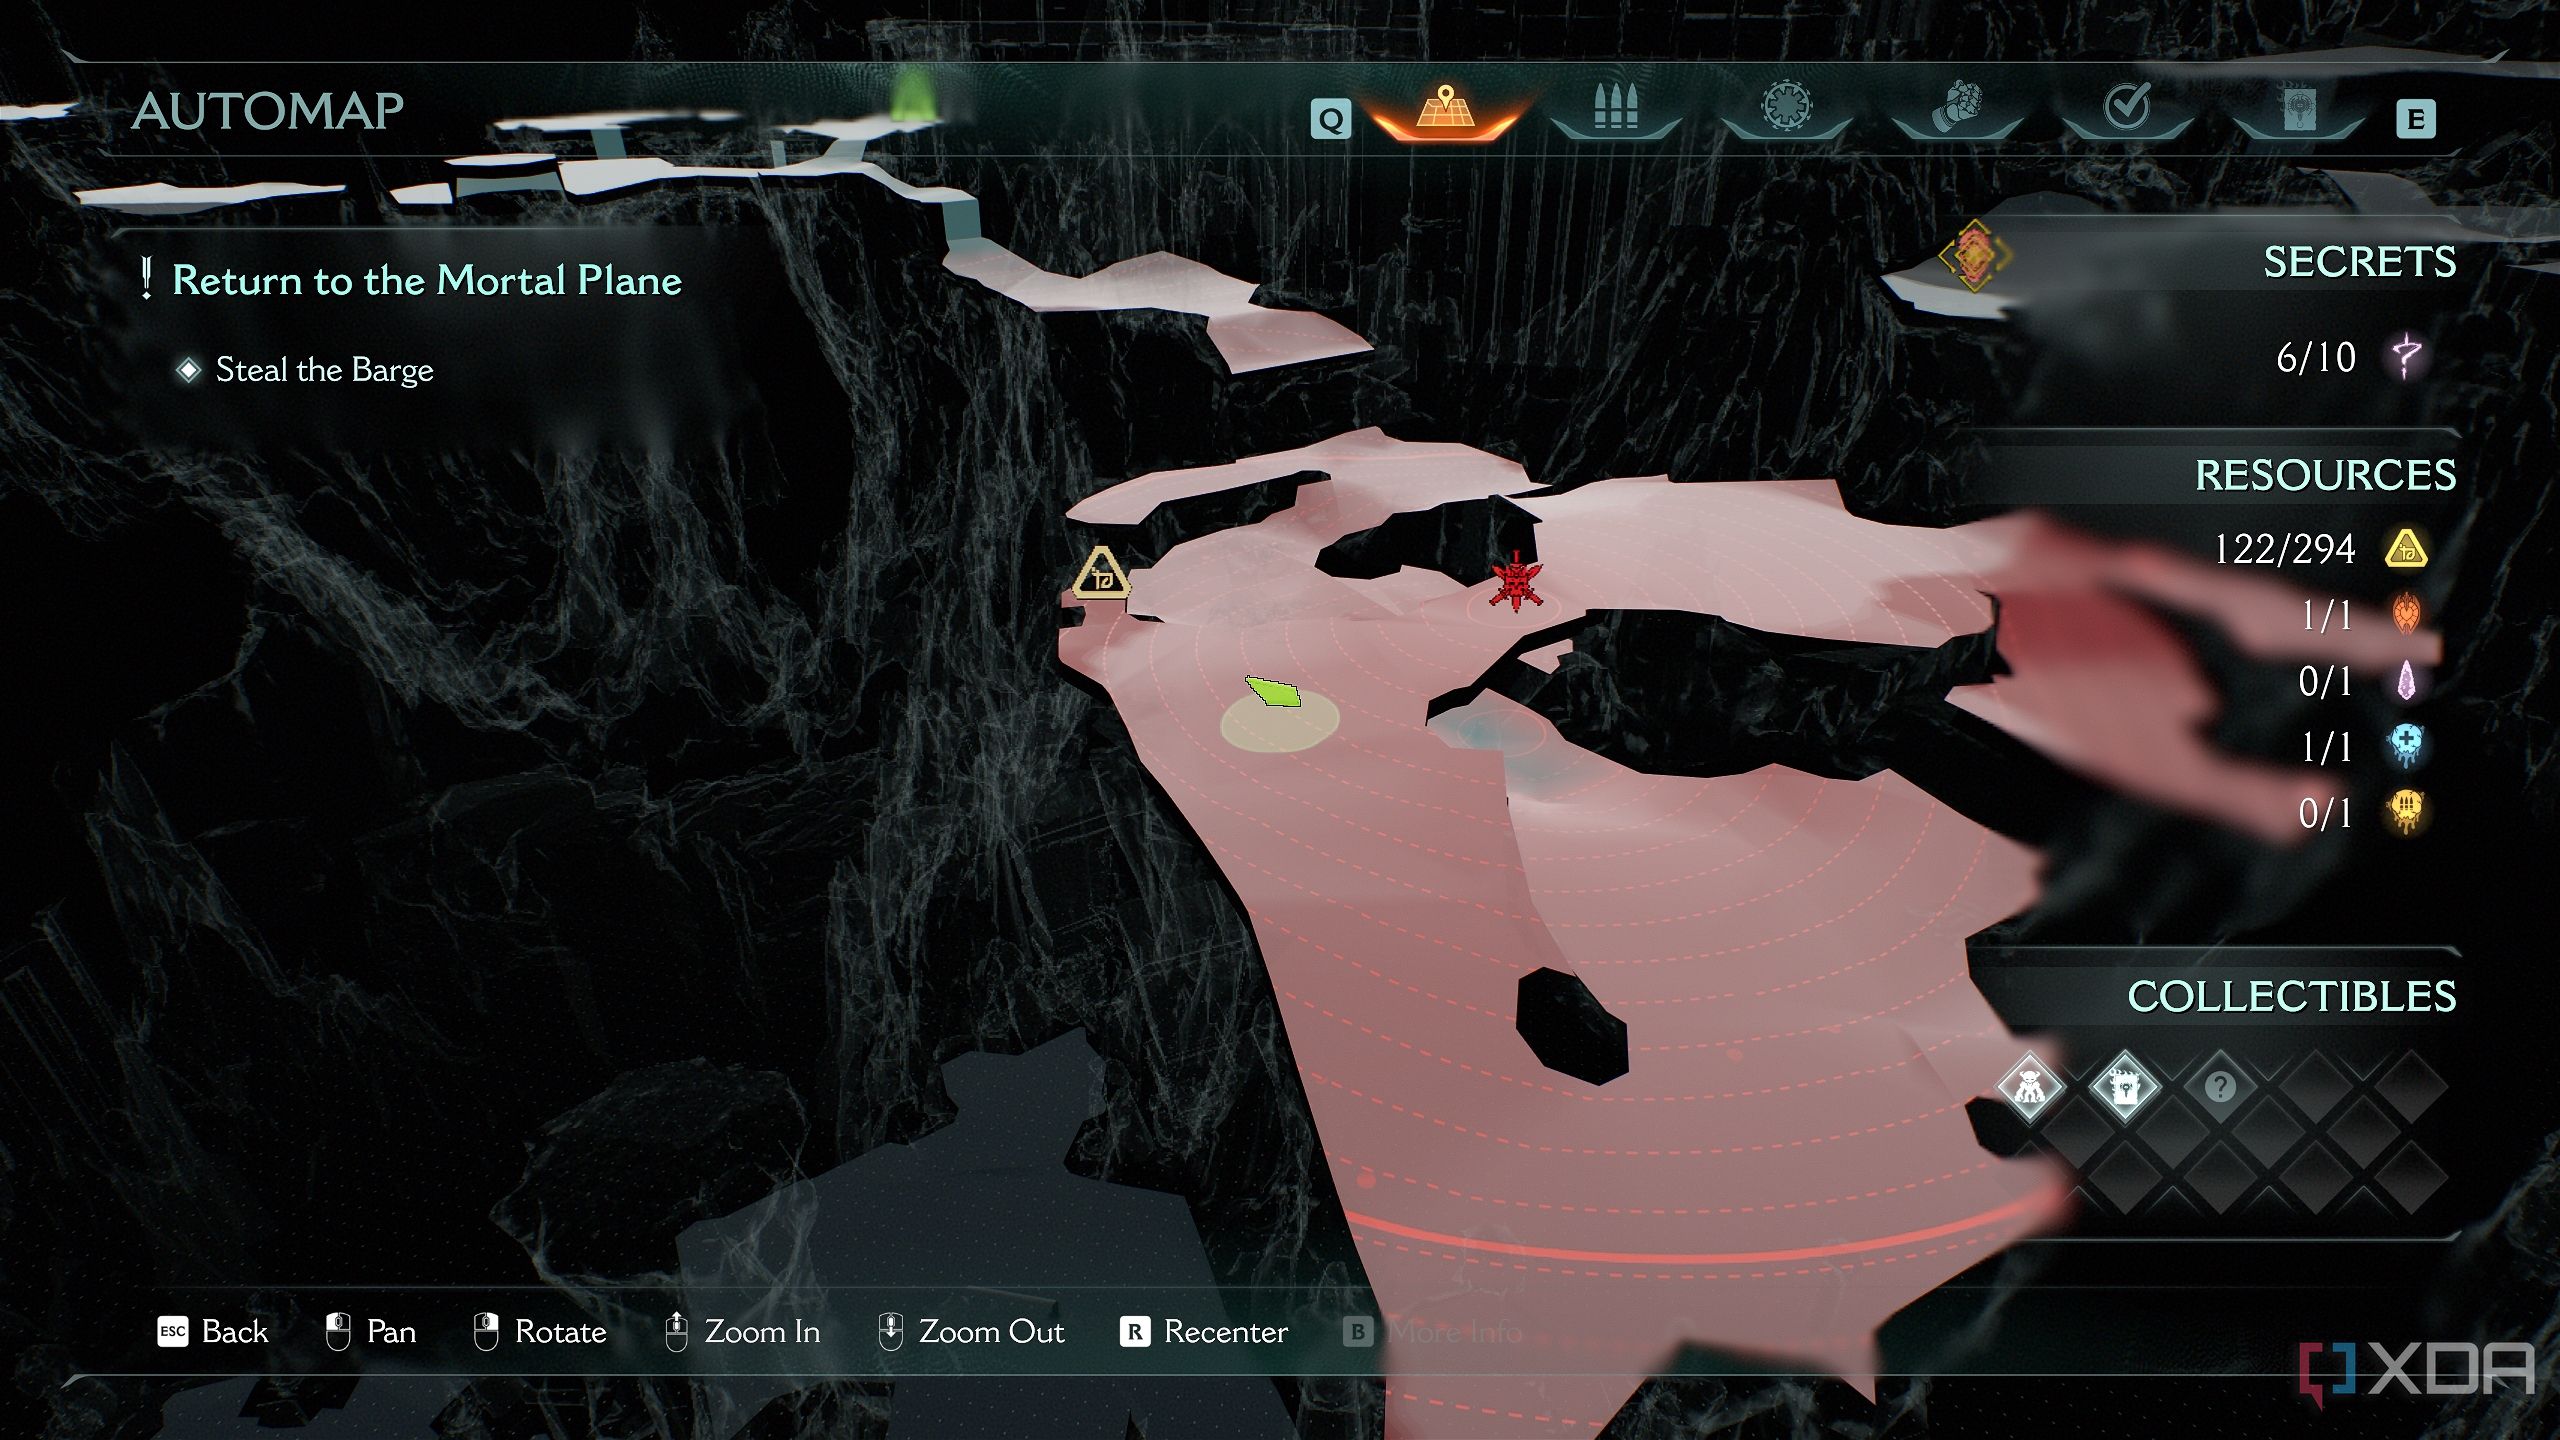
Once the fight begins, head left to this exact area shown on the map above.
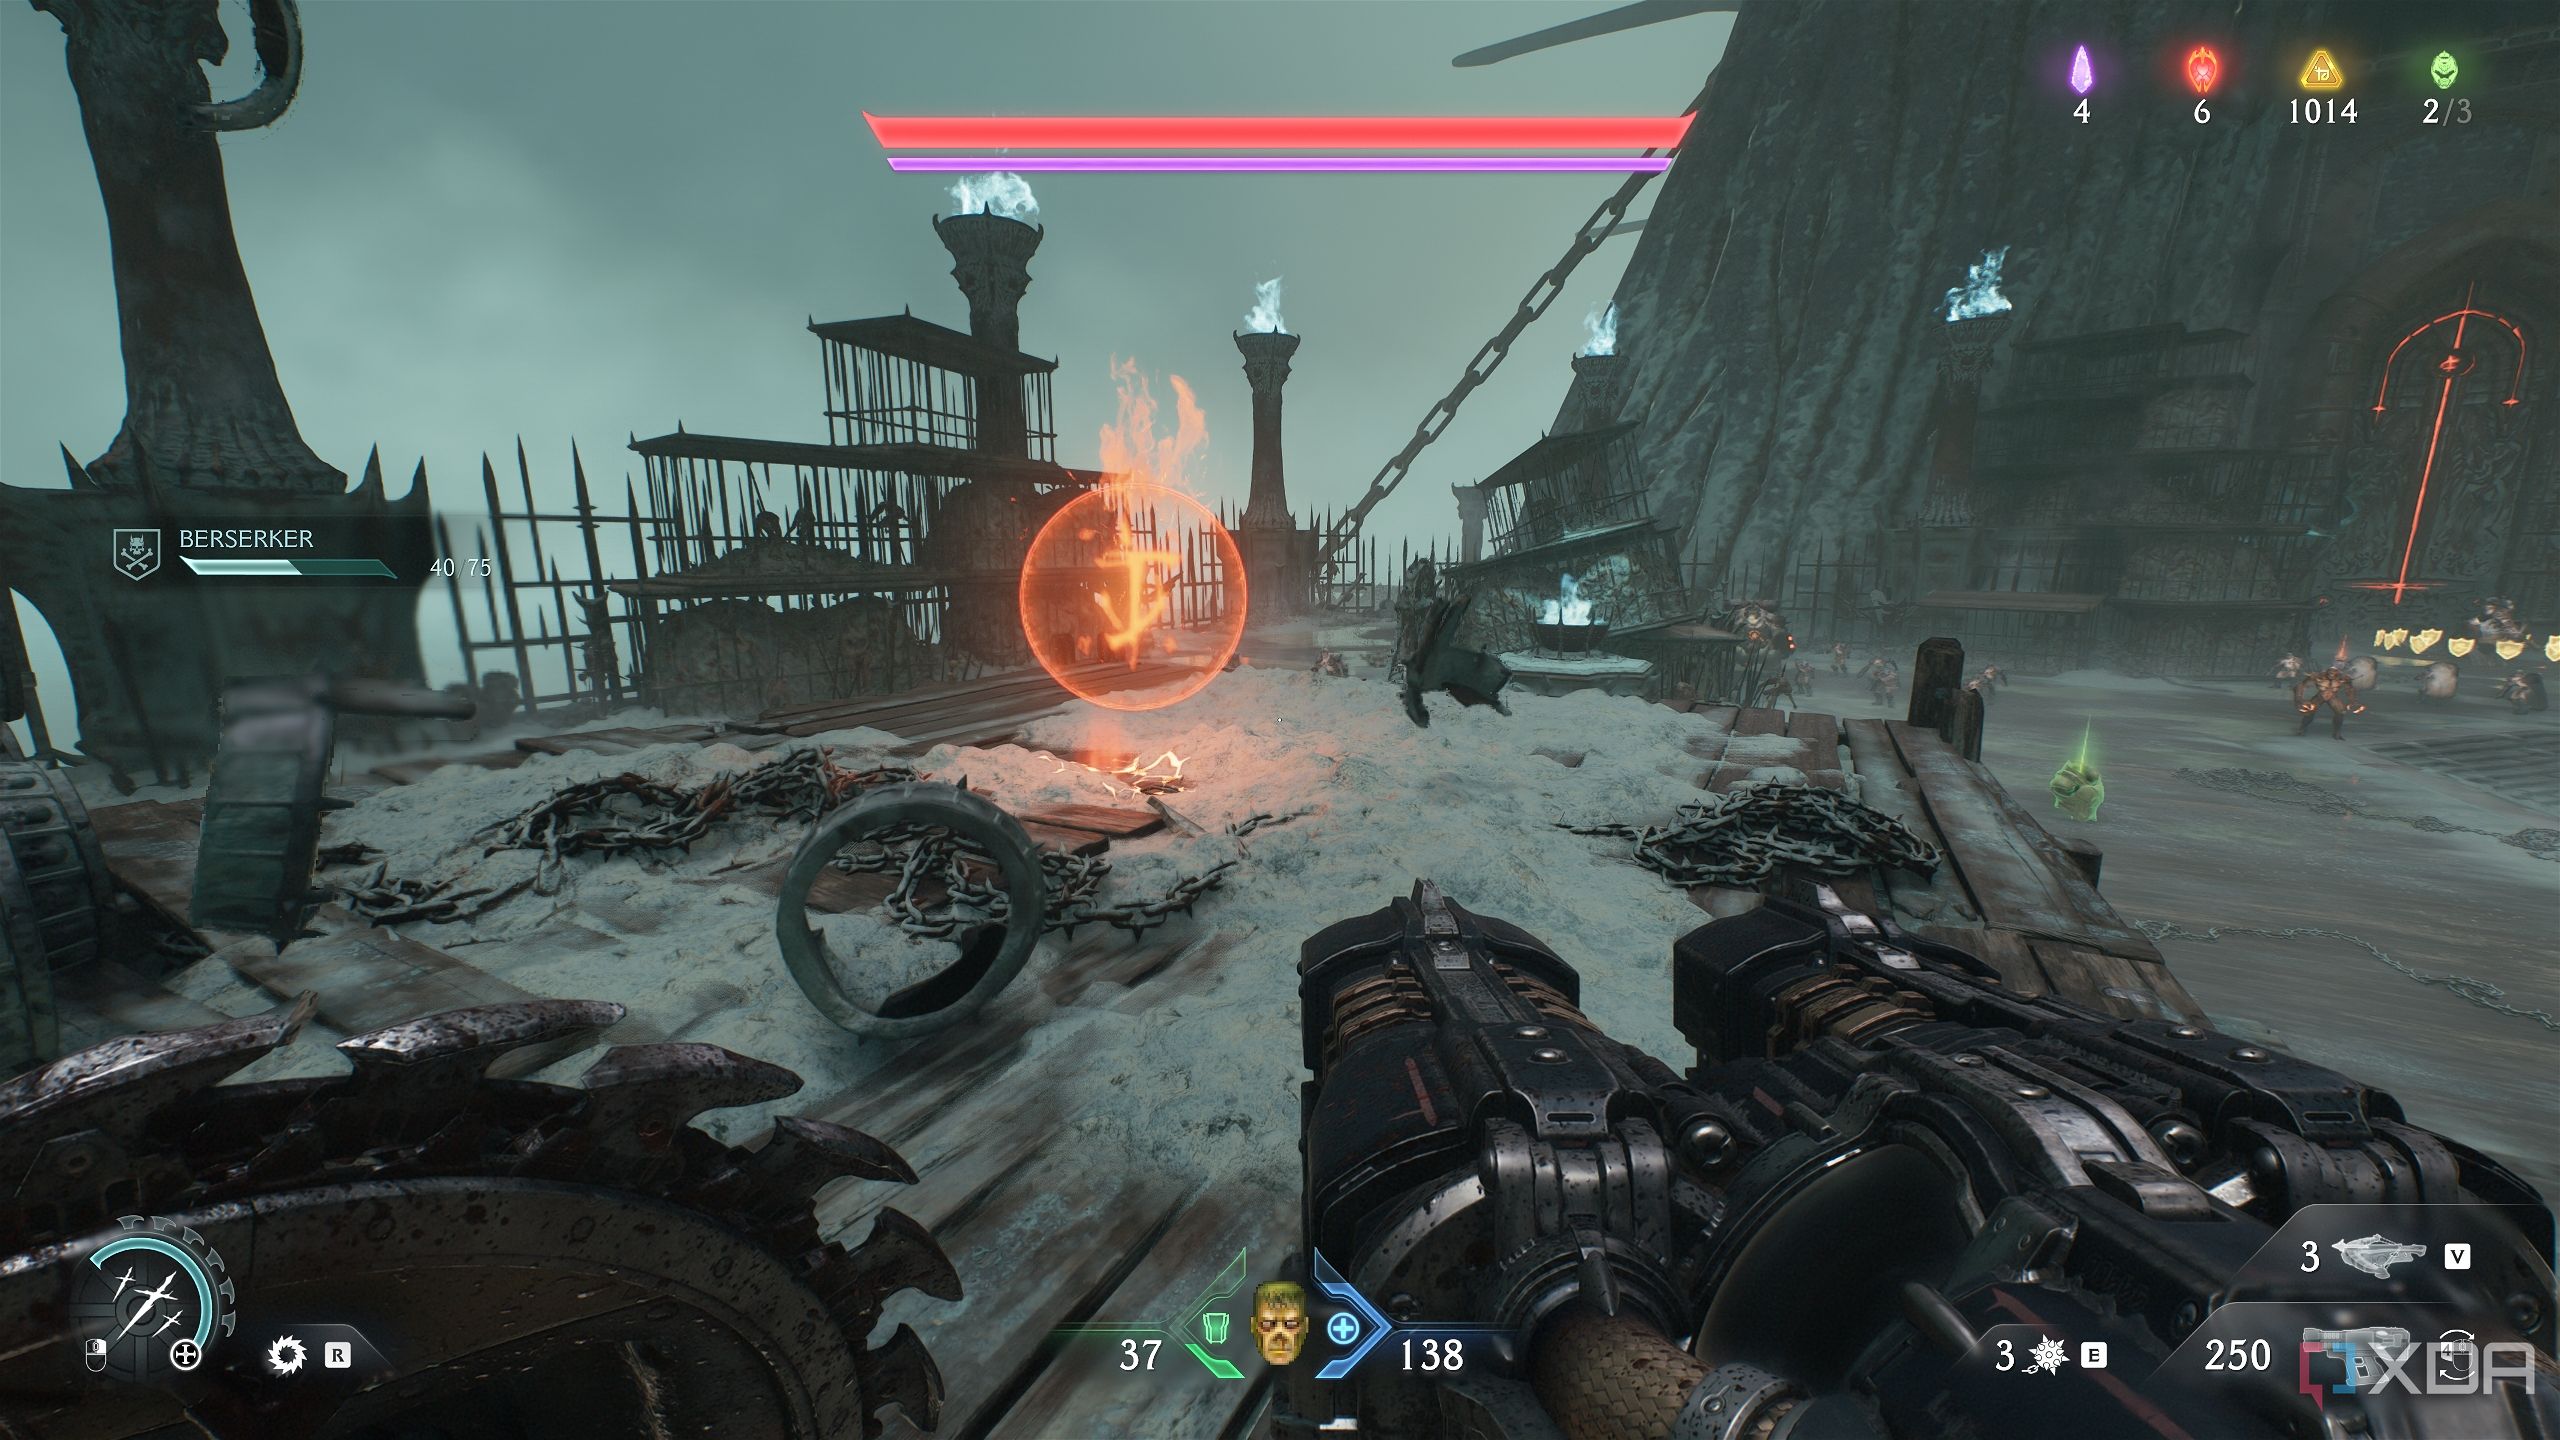
Approach the Berserker pickup, and go crazy. There are tons of fodder demons around you, so the Grenade Launcher with its cluster grenades would work best here.
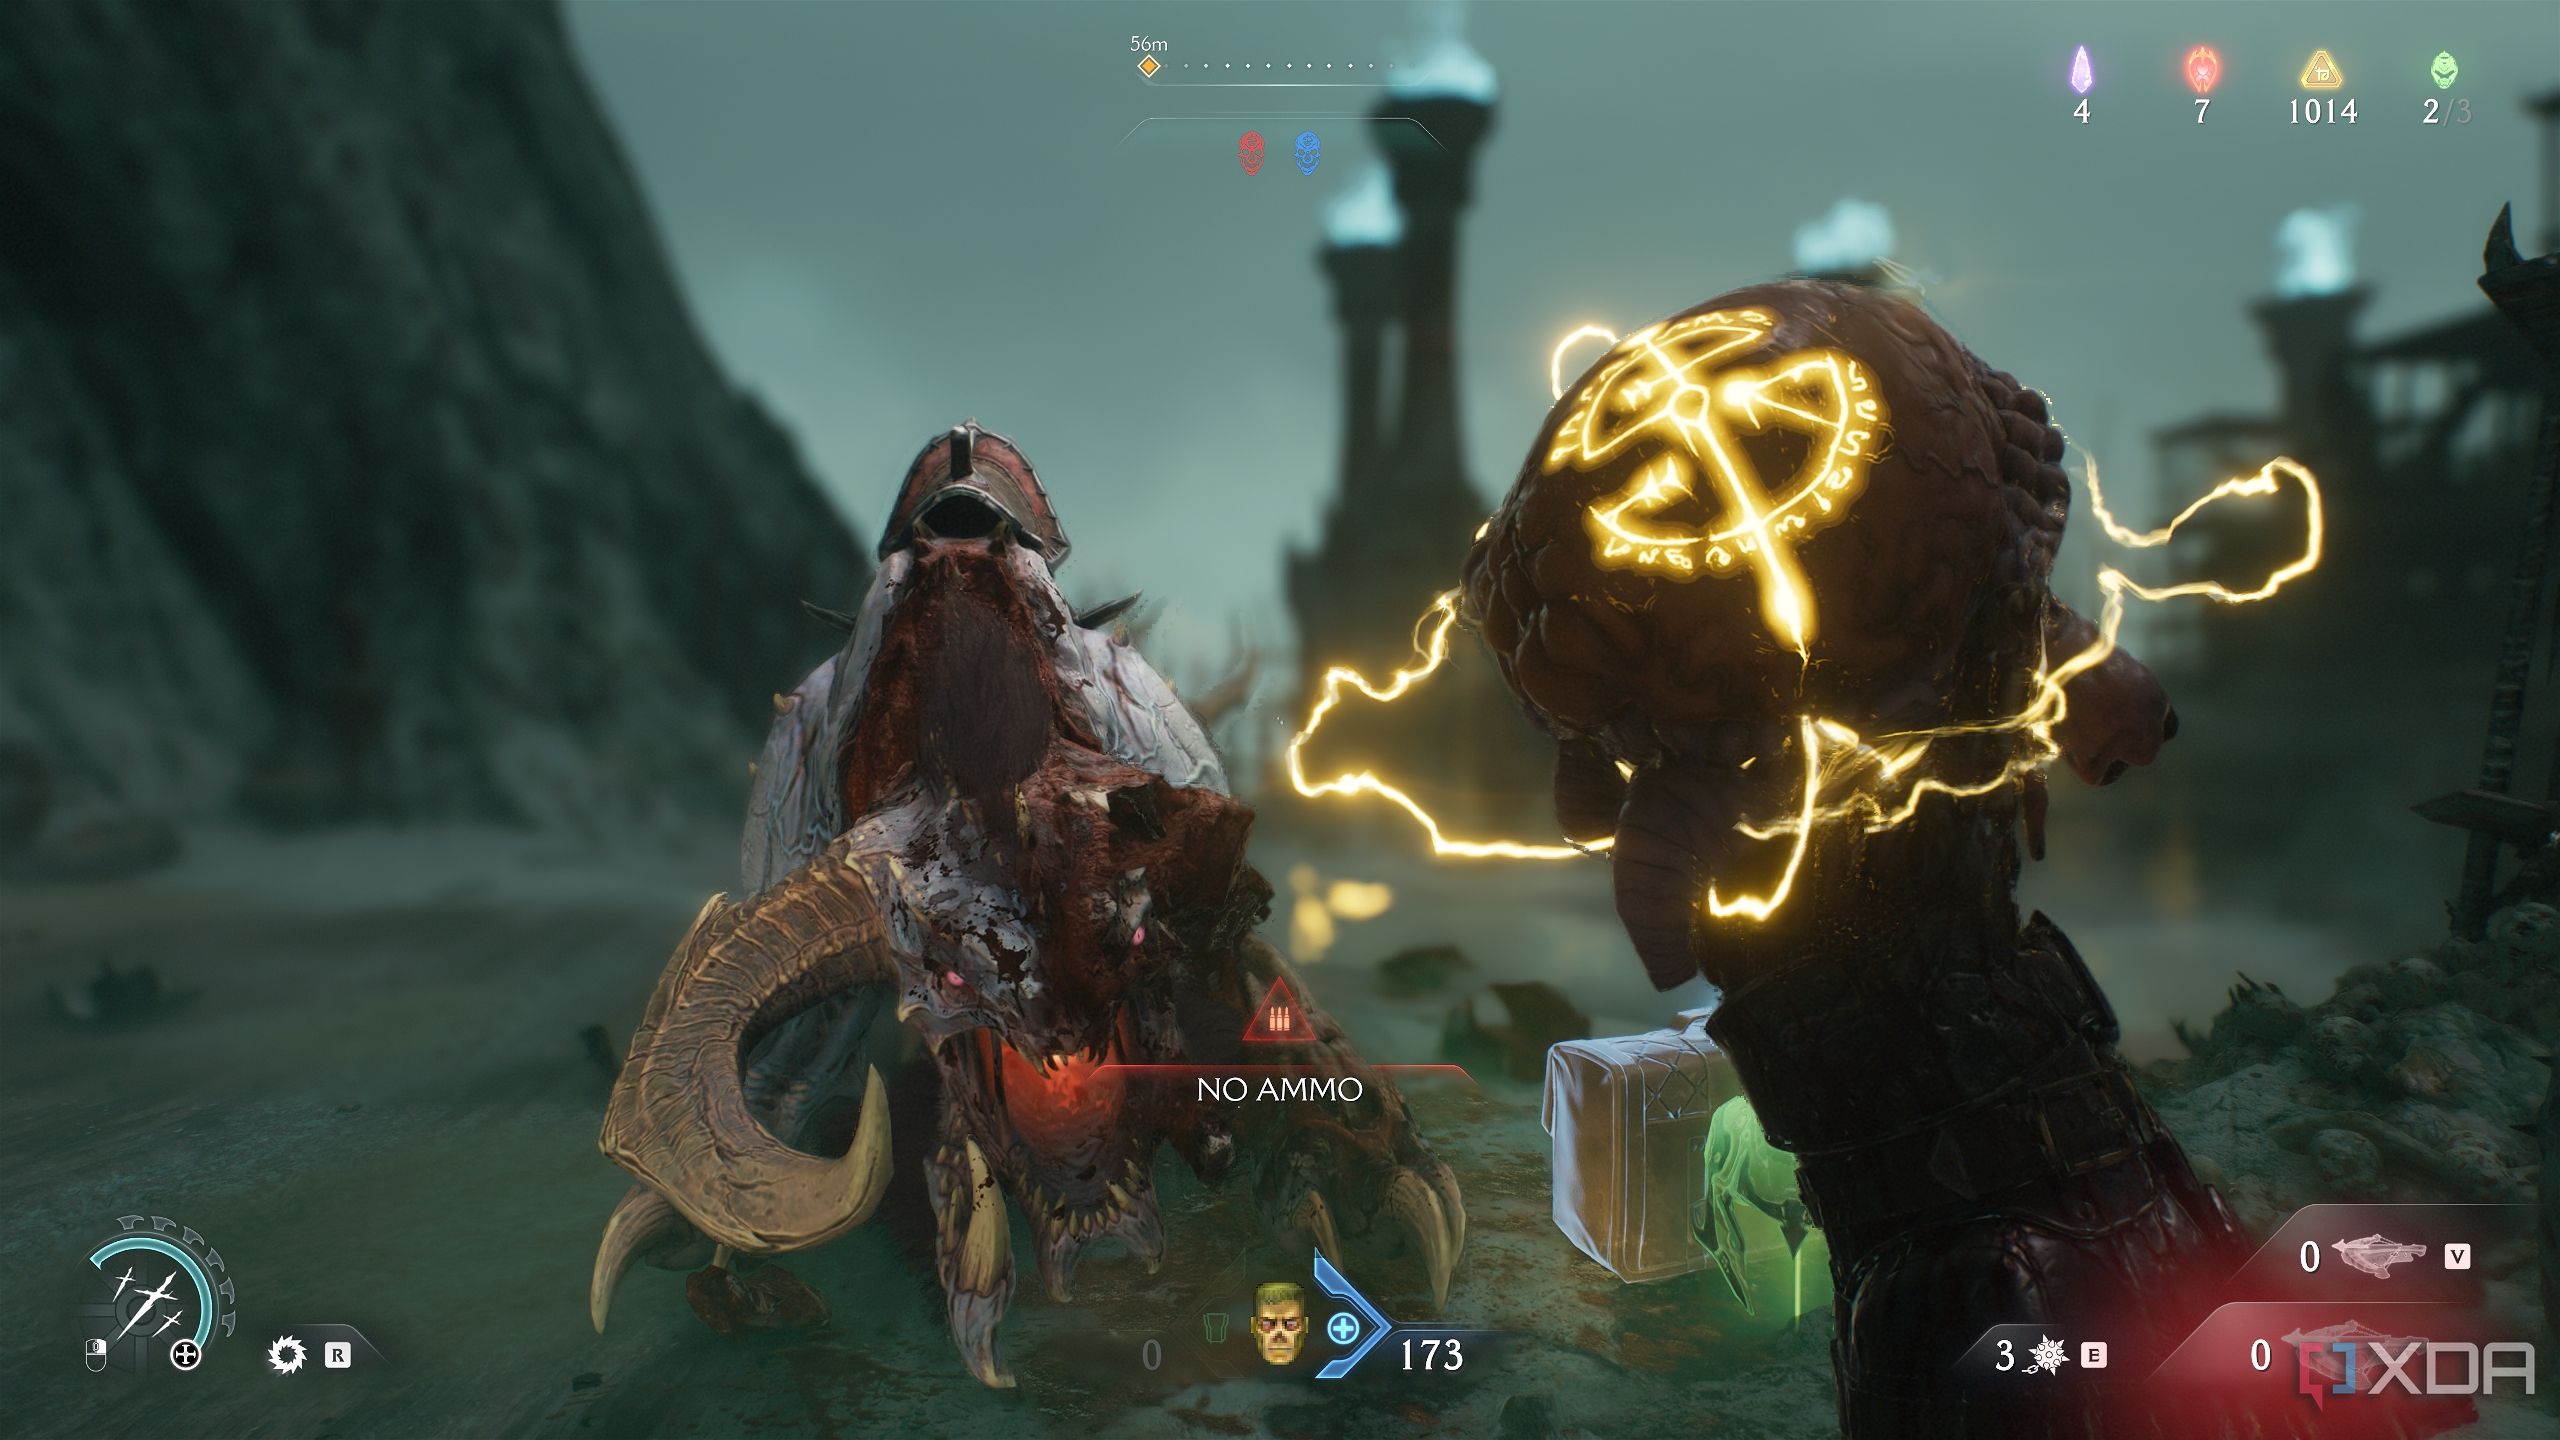
Soon, you’ll have finished the mission challenge, and the encounter will end with the Slayer ripping the Pinky Rider’s heart out to collect Demonic Essence for maximum ammo.
An easy trick to finish this challenge is to use the Berserk pickup and kill as many demons as possible until the Berserk timer runs out. If the challenge isn’t finished, simply choose the “Restart Map from Checkpoint” option from the pause menu, and repeat the process. Your Berserker kills from before reloading won’t go anywhere, and you’ll easily finish the mission challenge.
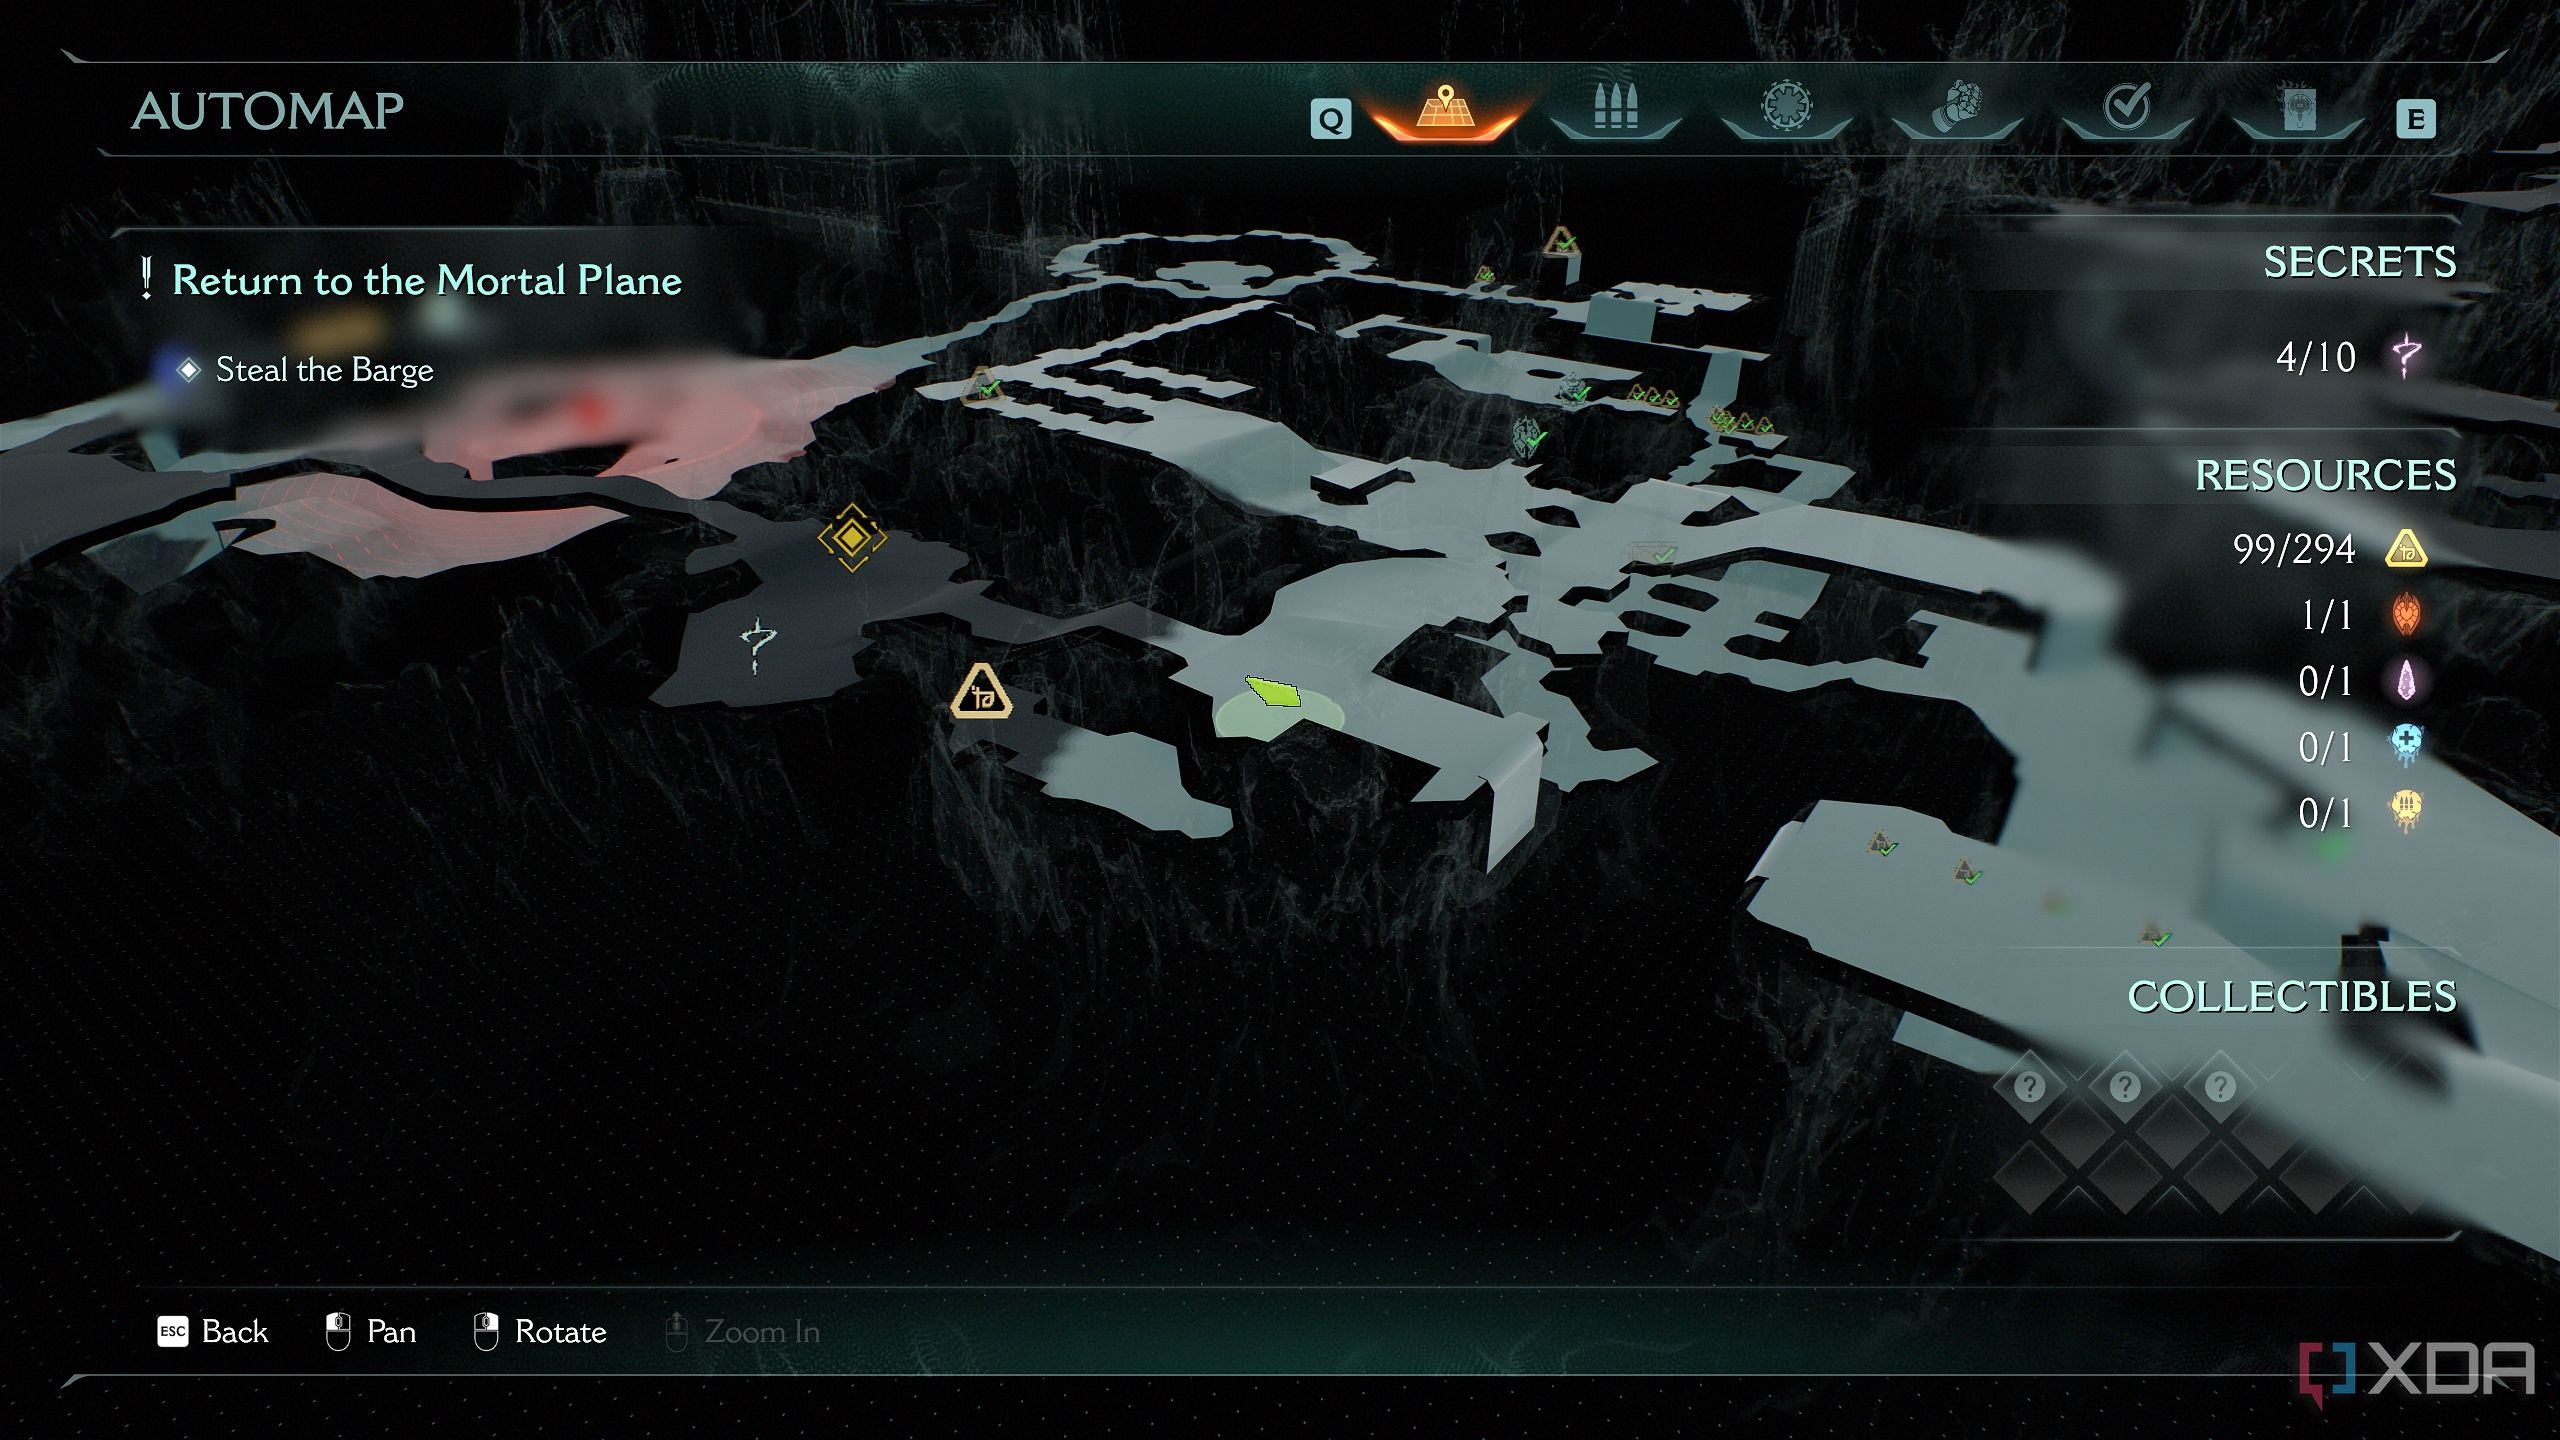
Secret area 9 and a gold stack
Treasures underneath the main deck
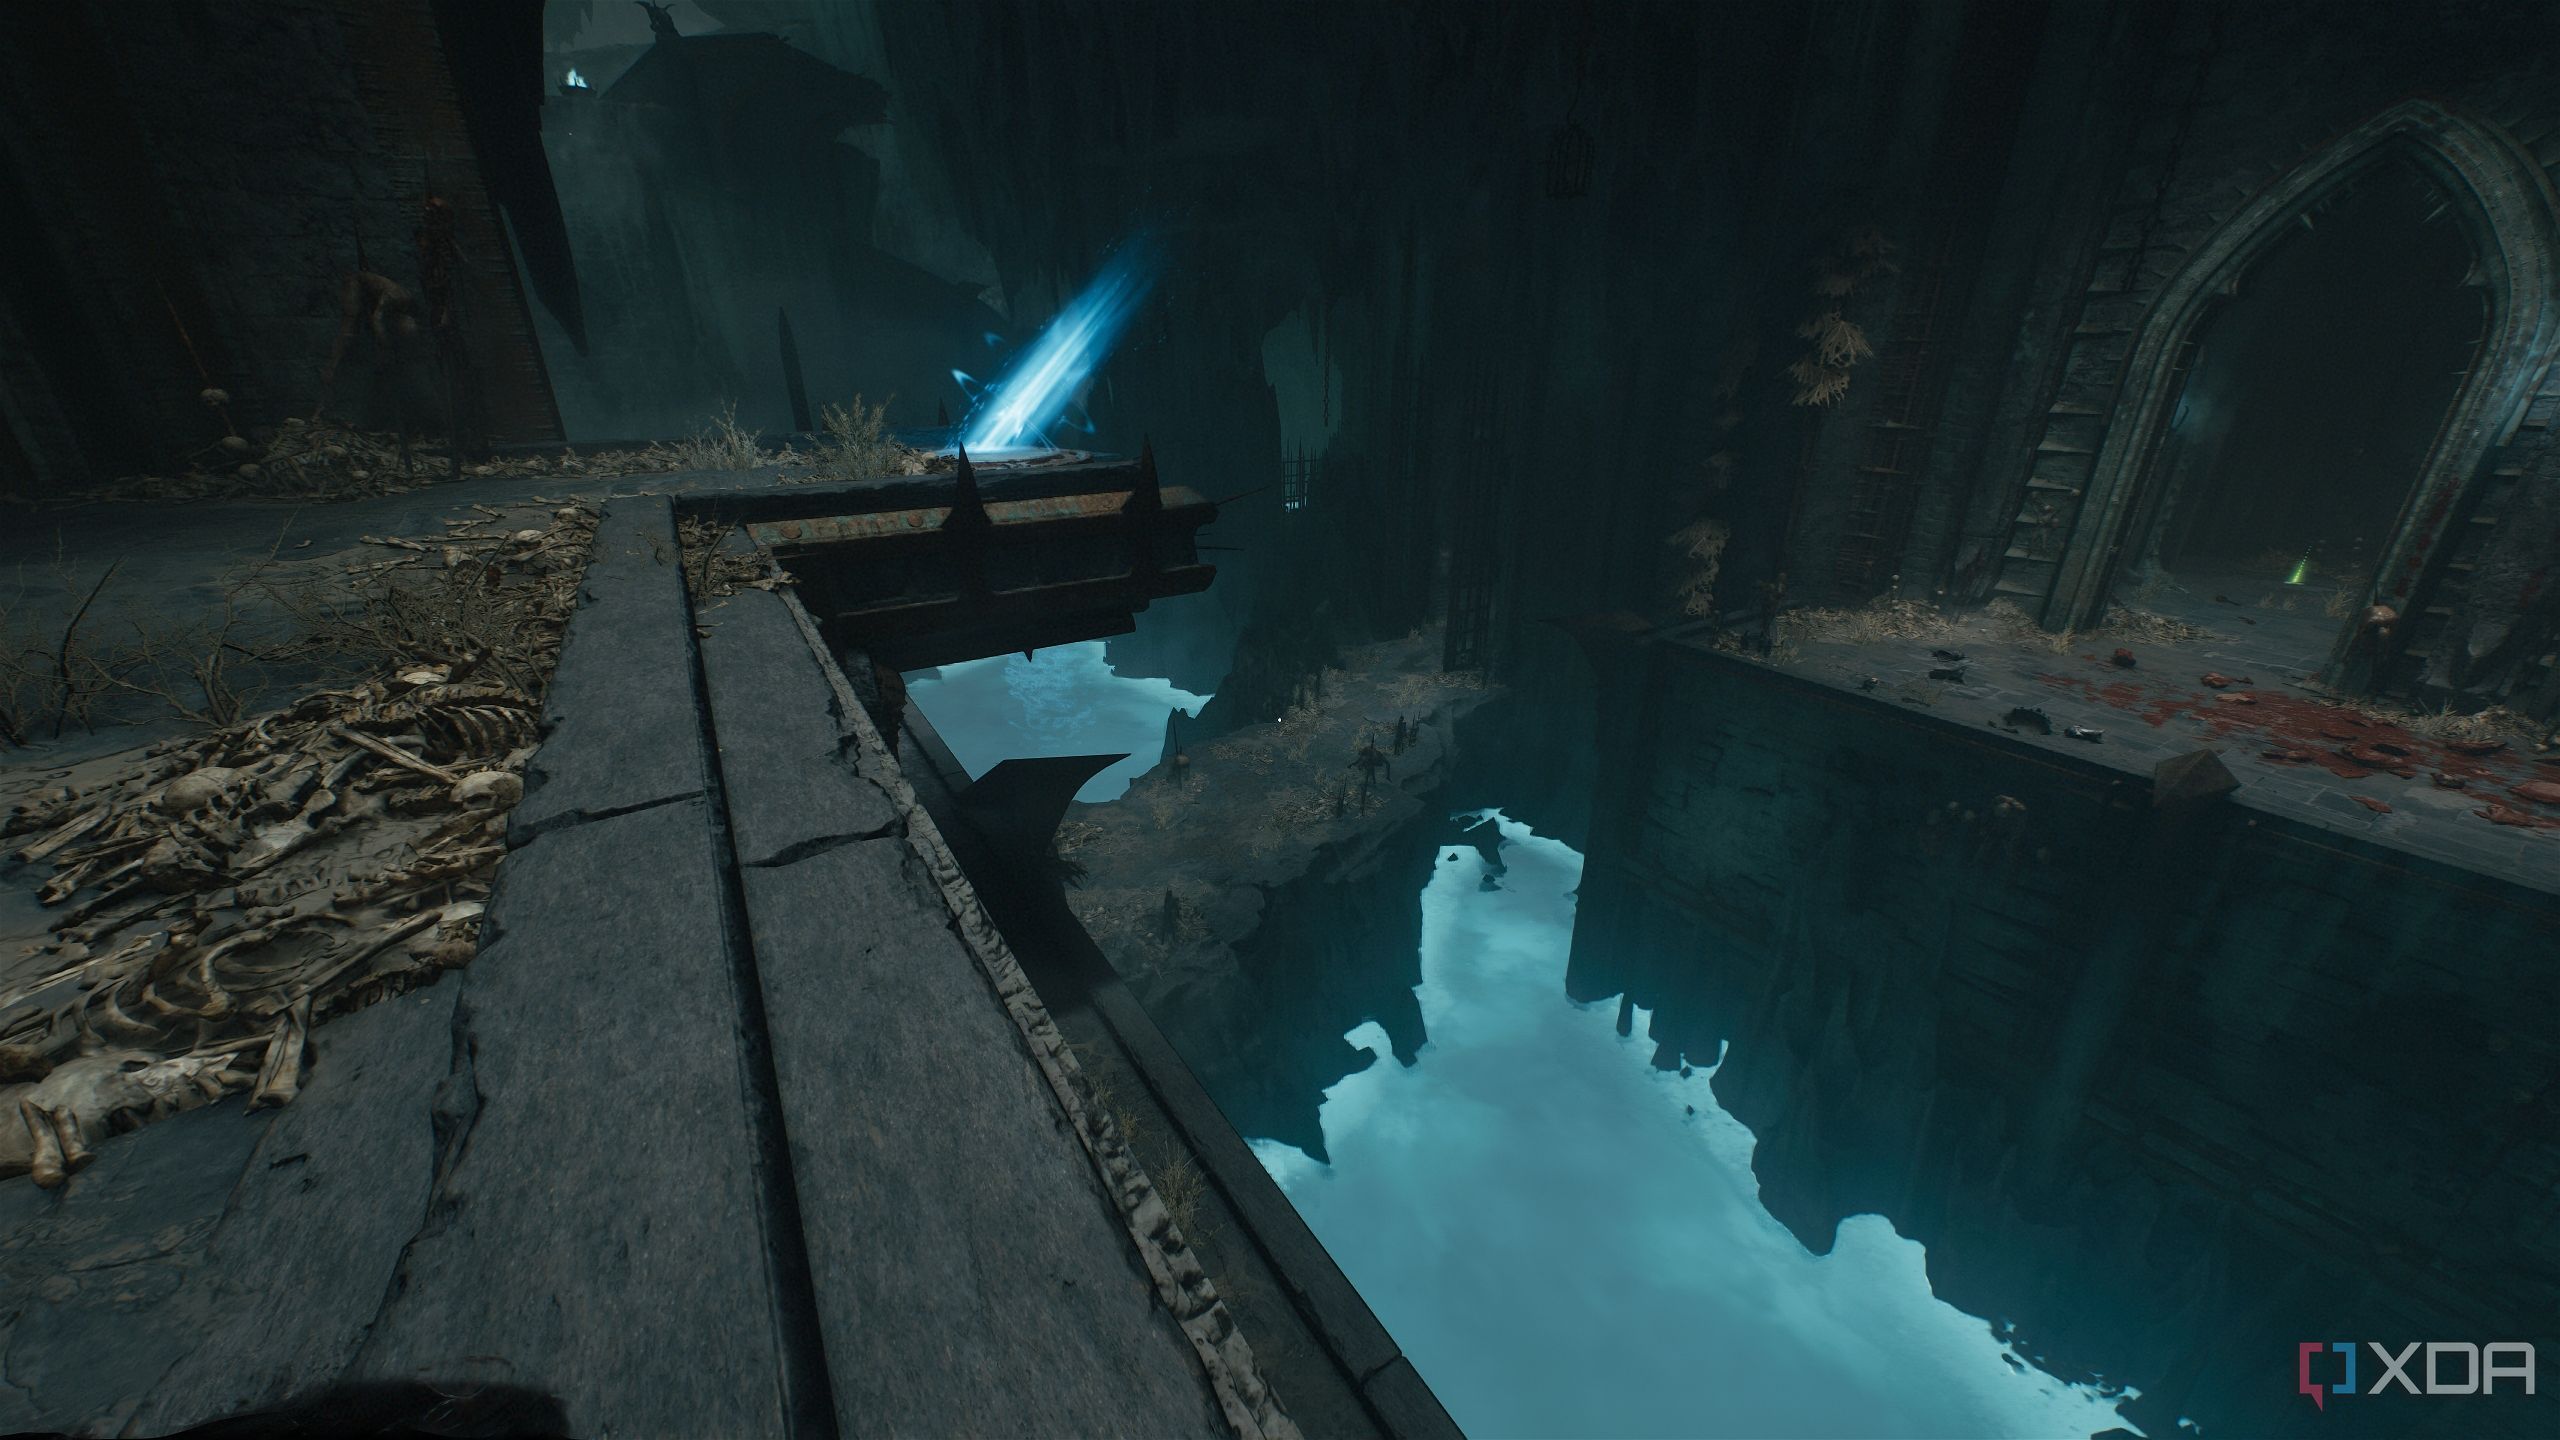
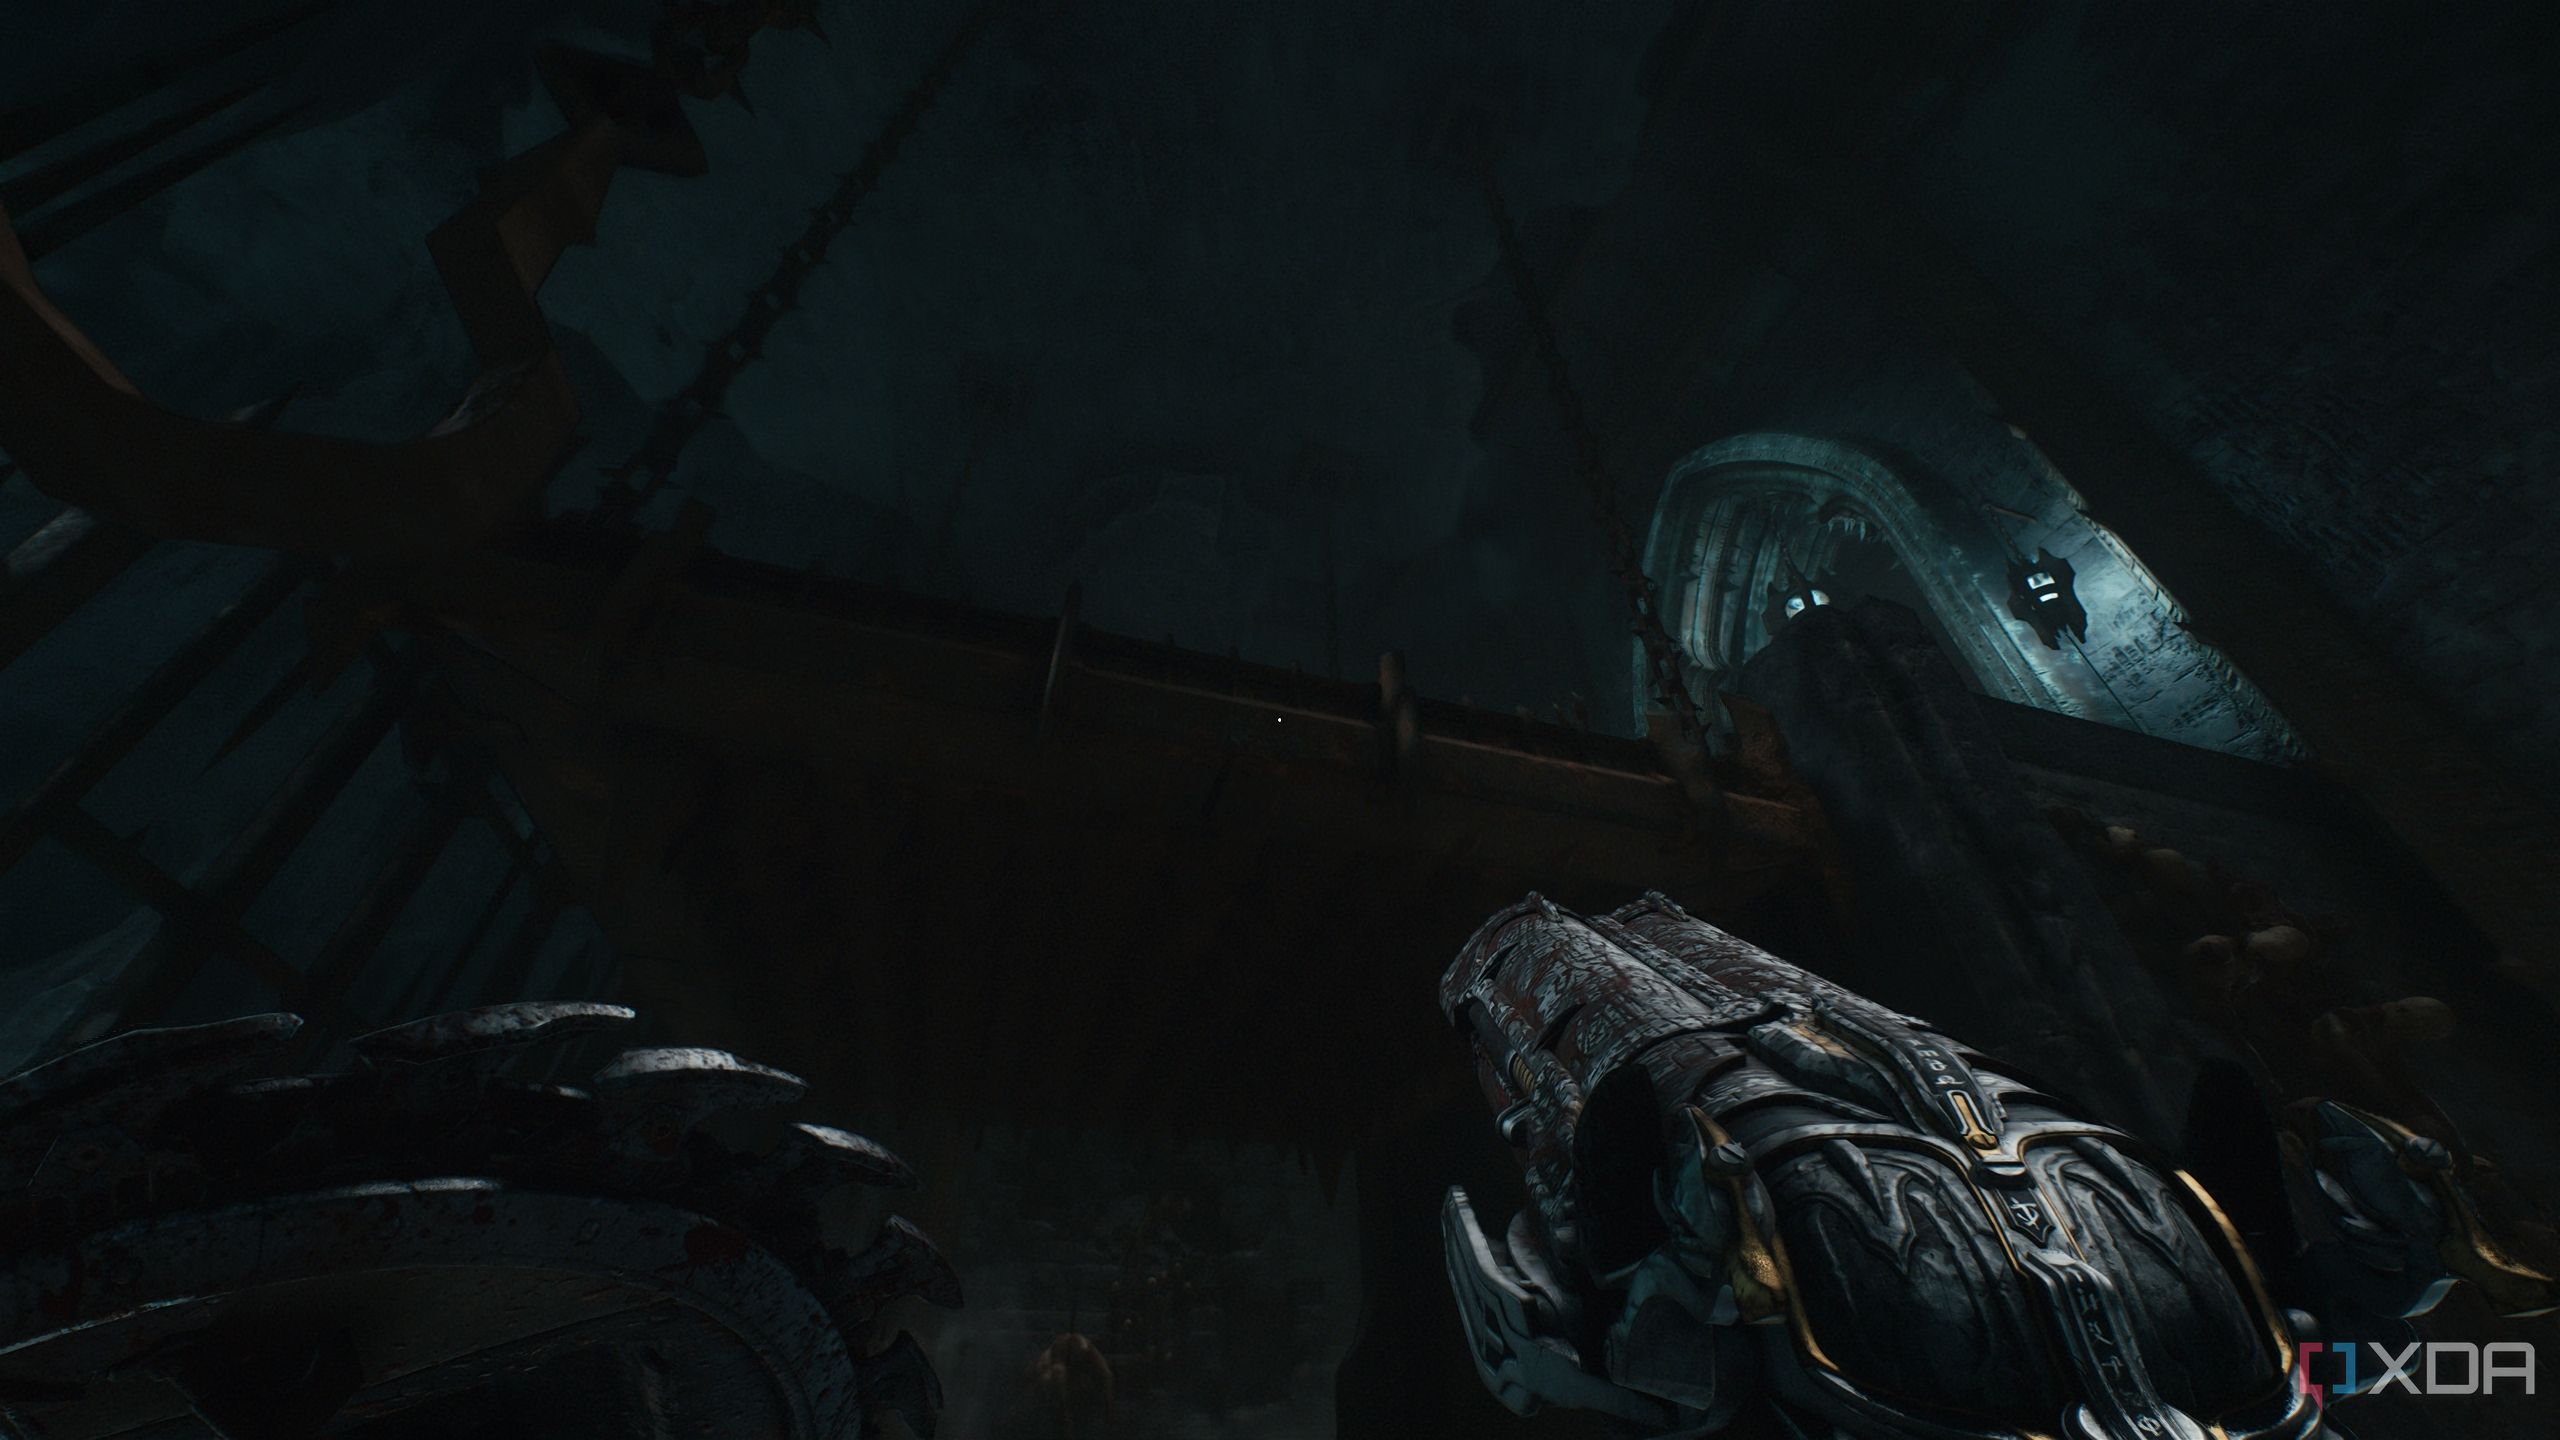
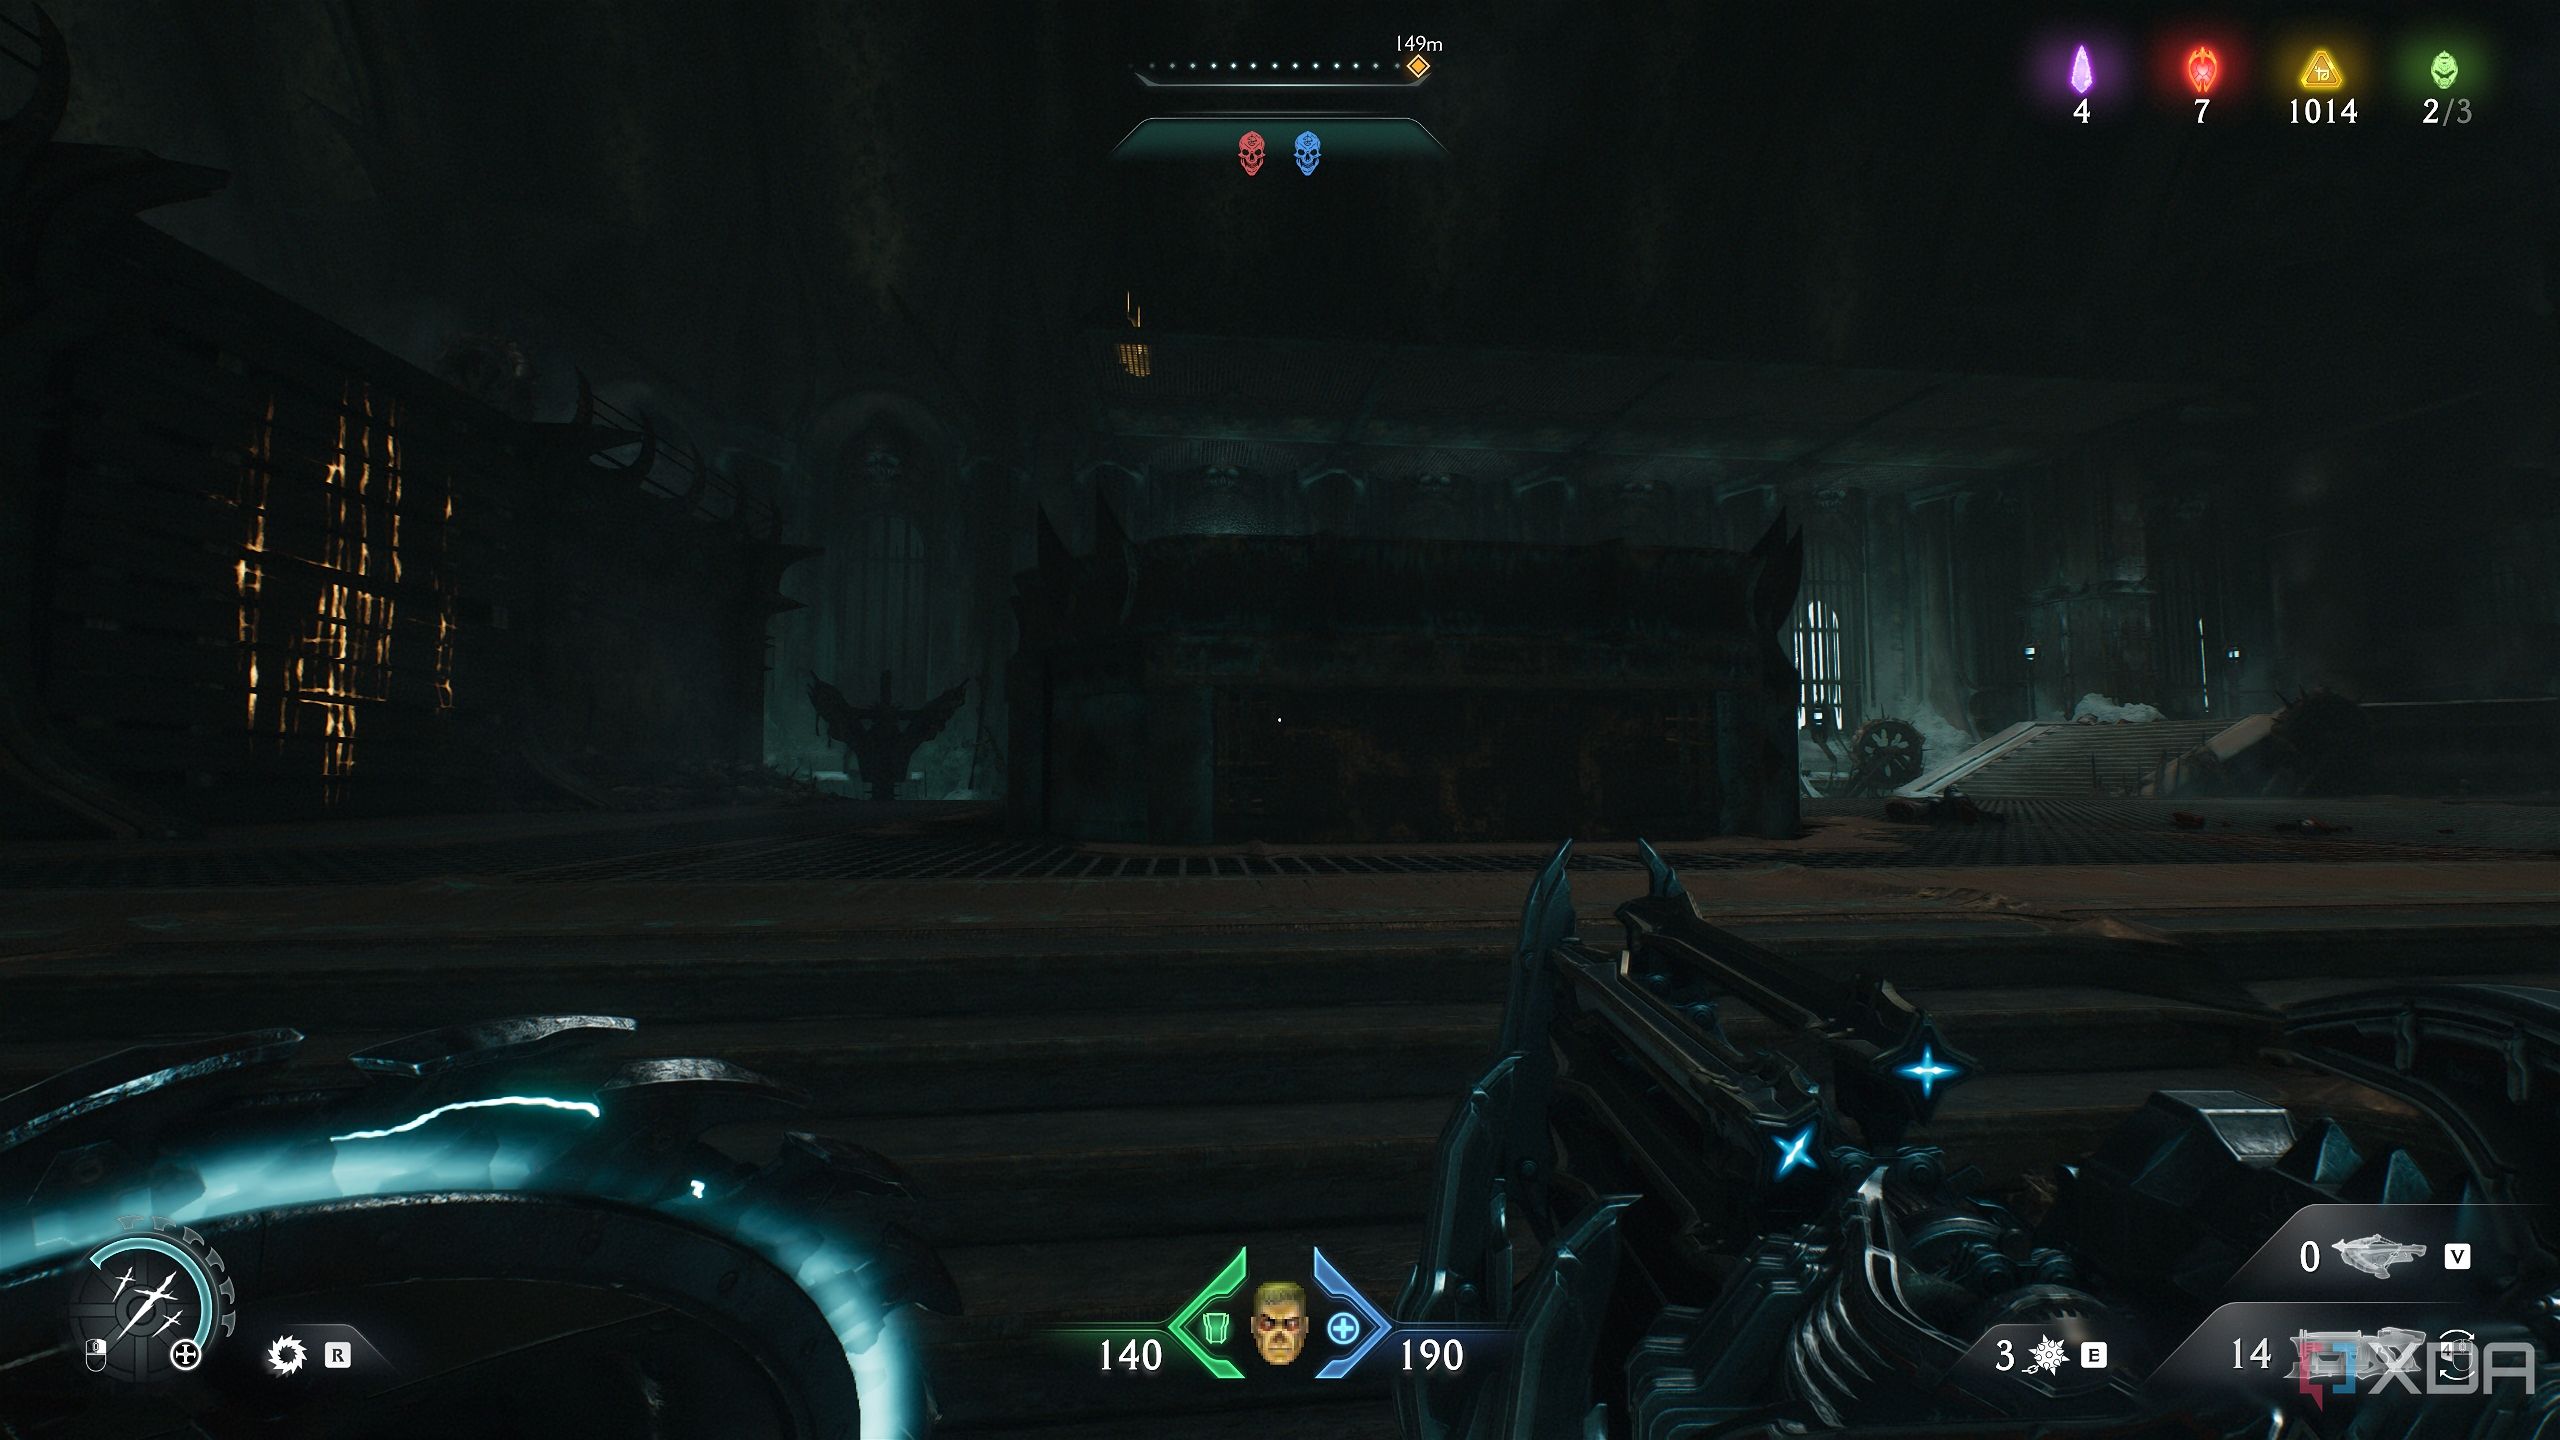
You’ll enter the interior of the ship you’re on now, and, of course, there are more demons to kill. Dispatch them all, and then head to this location on the map. Here, you’ll see two big platforms acting like pistons, going in and out of the ship’s floor.
Stand next to the moving platform closest to the scramble wall, and wait for it to go down.
Once it’s at its lowest, drop down to it, and look ahead to see an area you can jump to.
Get there, climb up the scramble wall, and pick up a gold stack. The gate ahead will open automatically for you to get back to where you were.
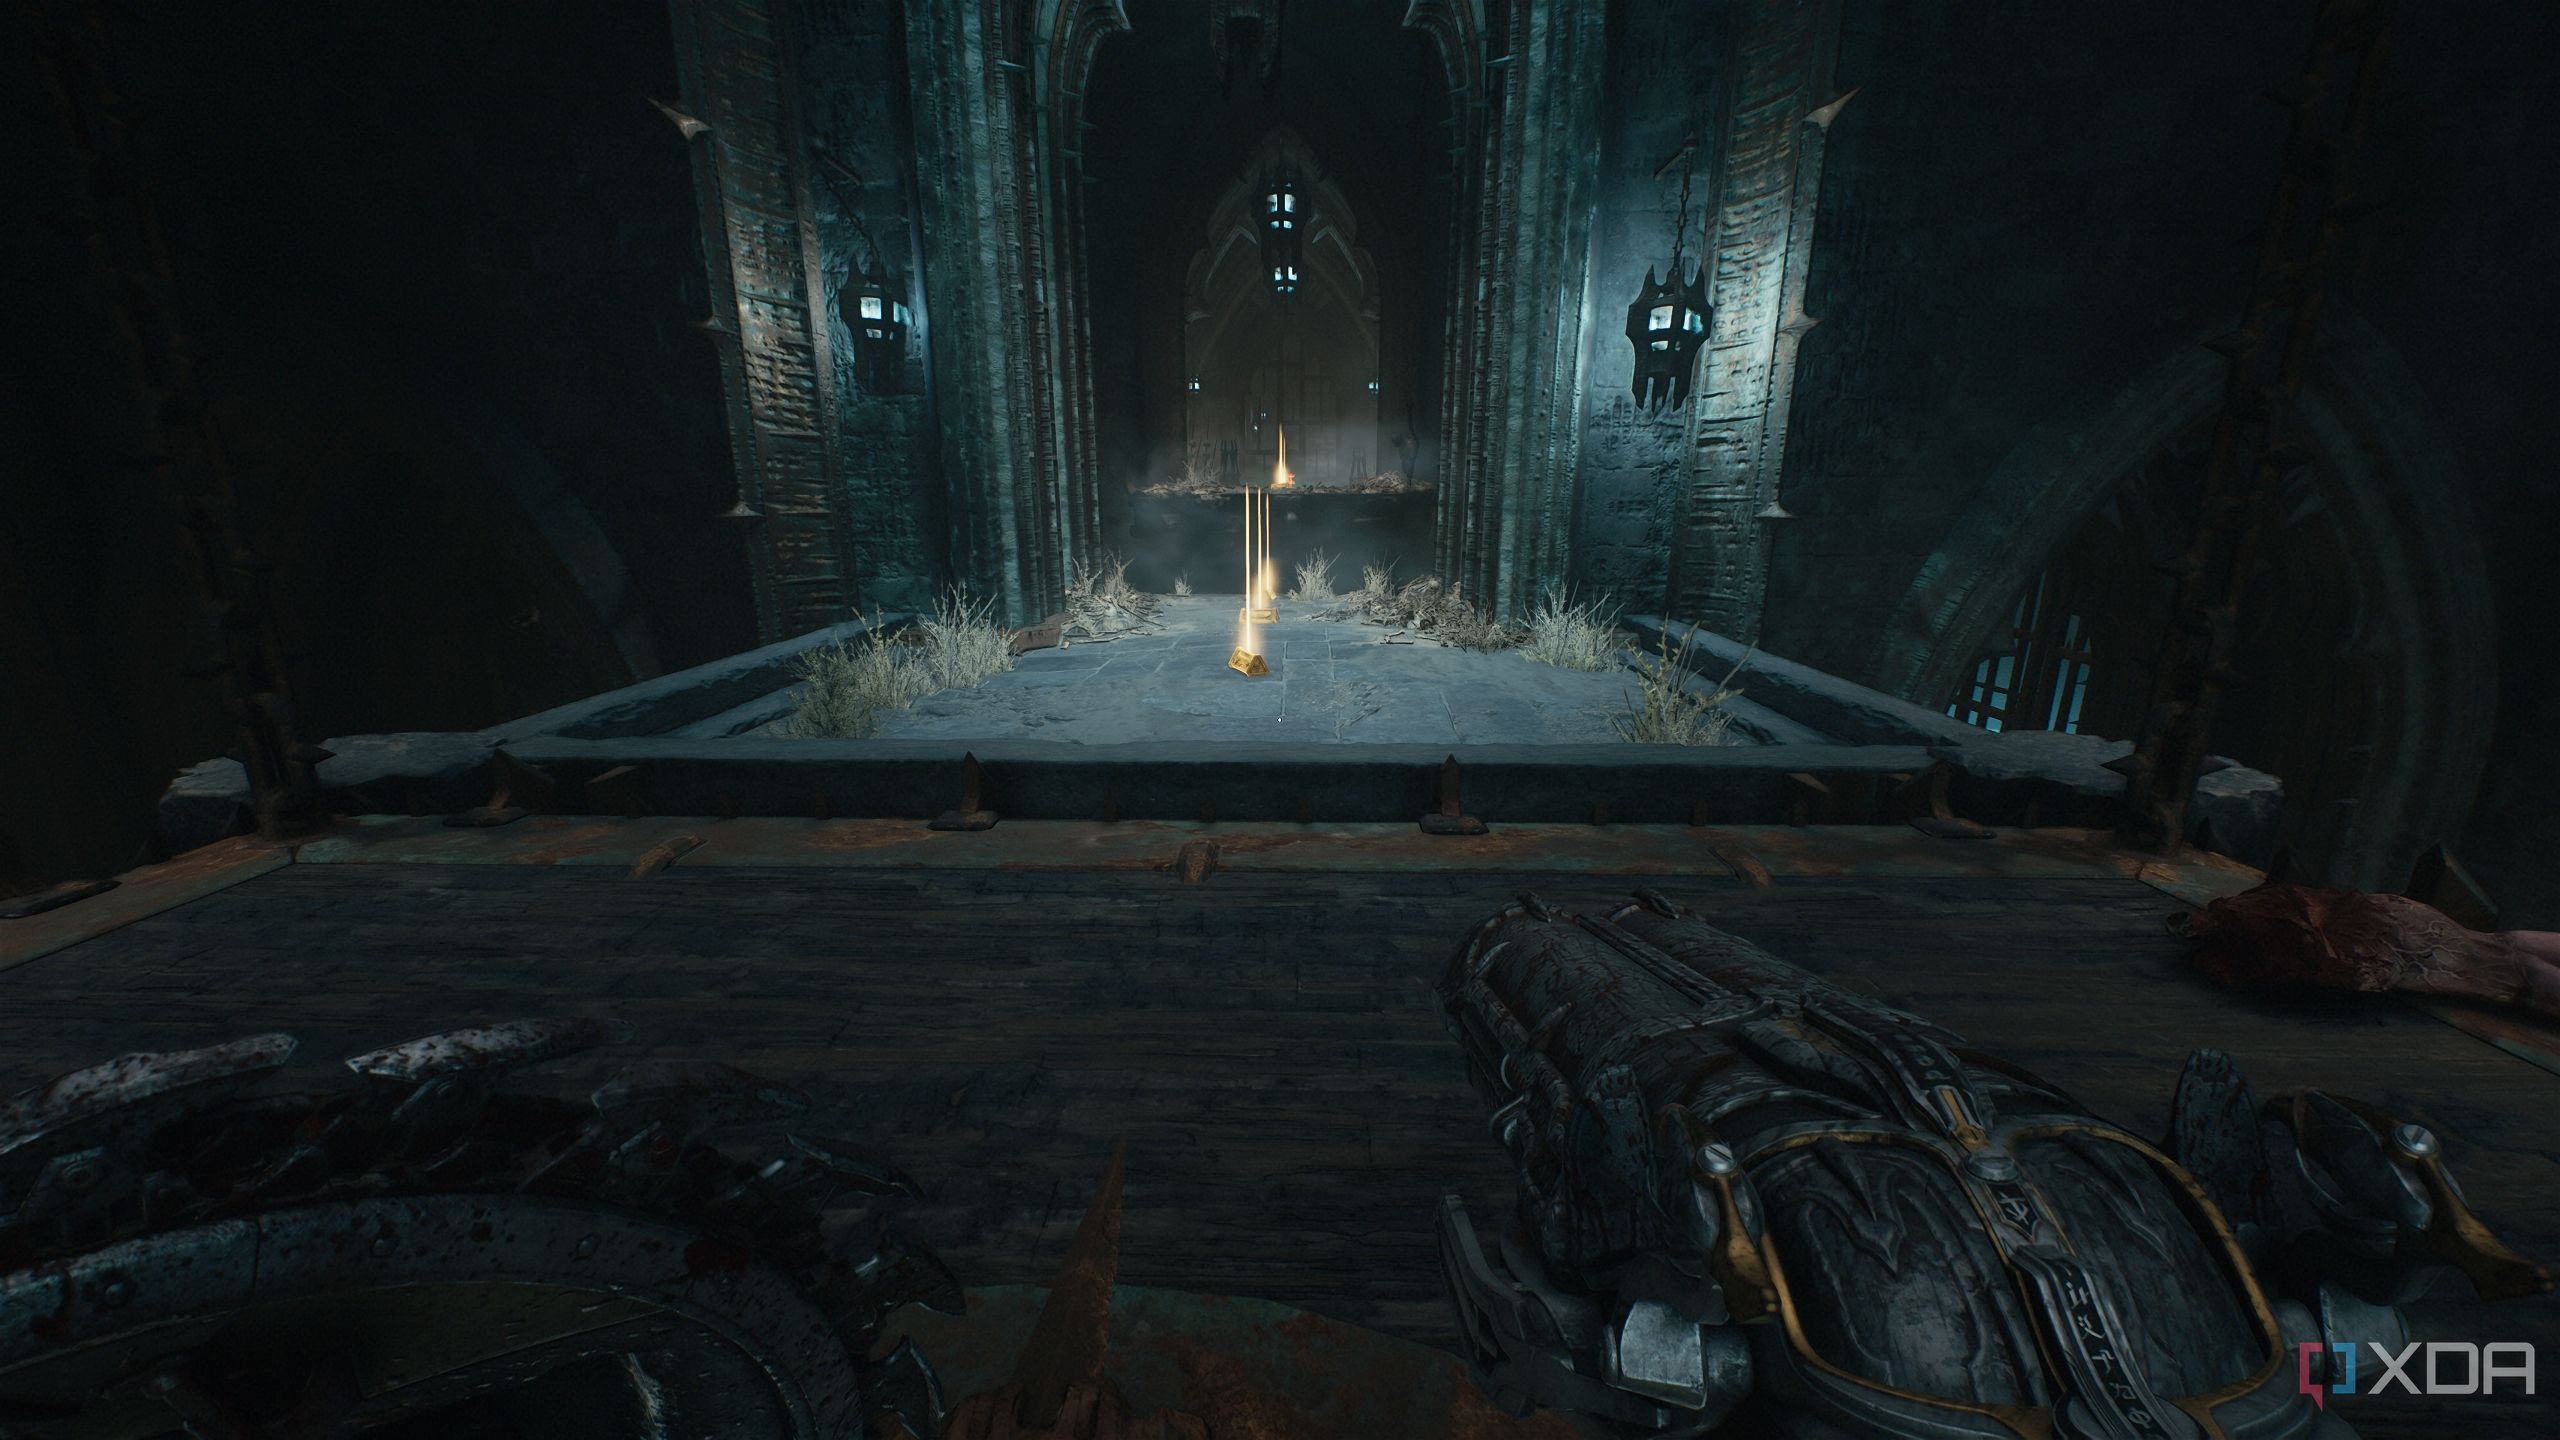
Now, get back to the same platform, and this time, get on it and wait for it to get up. Once it is at its highest, look to the side and you’ll see a metal walkway you can jump onto with a gleaming gold stack on it.
Jump to it, and you’ll unlock secret area 9 and the gold stack you just saw.
Related
The Mech and Dragon levels in Doom: The Dark Ages feel like missed opportunities
Doom: The Dark Ages is another stellar Doom game, but the new mech and dragon levels don't live up to the high standards of the series.
Secret area 10, final gold chest, and a Codex Page
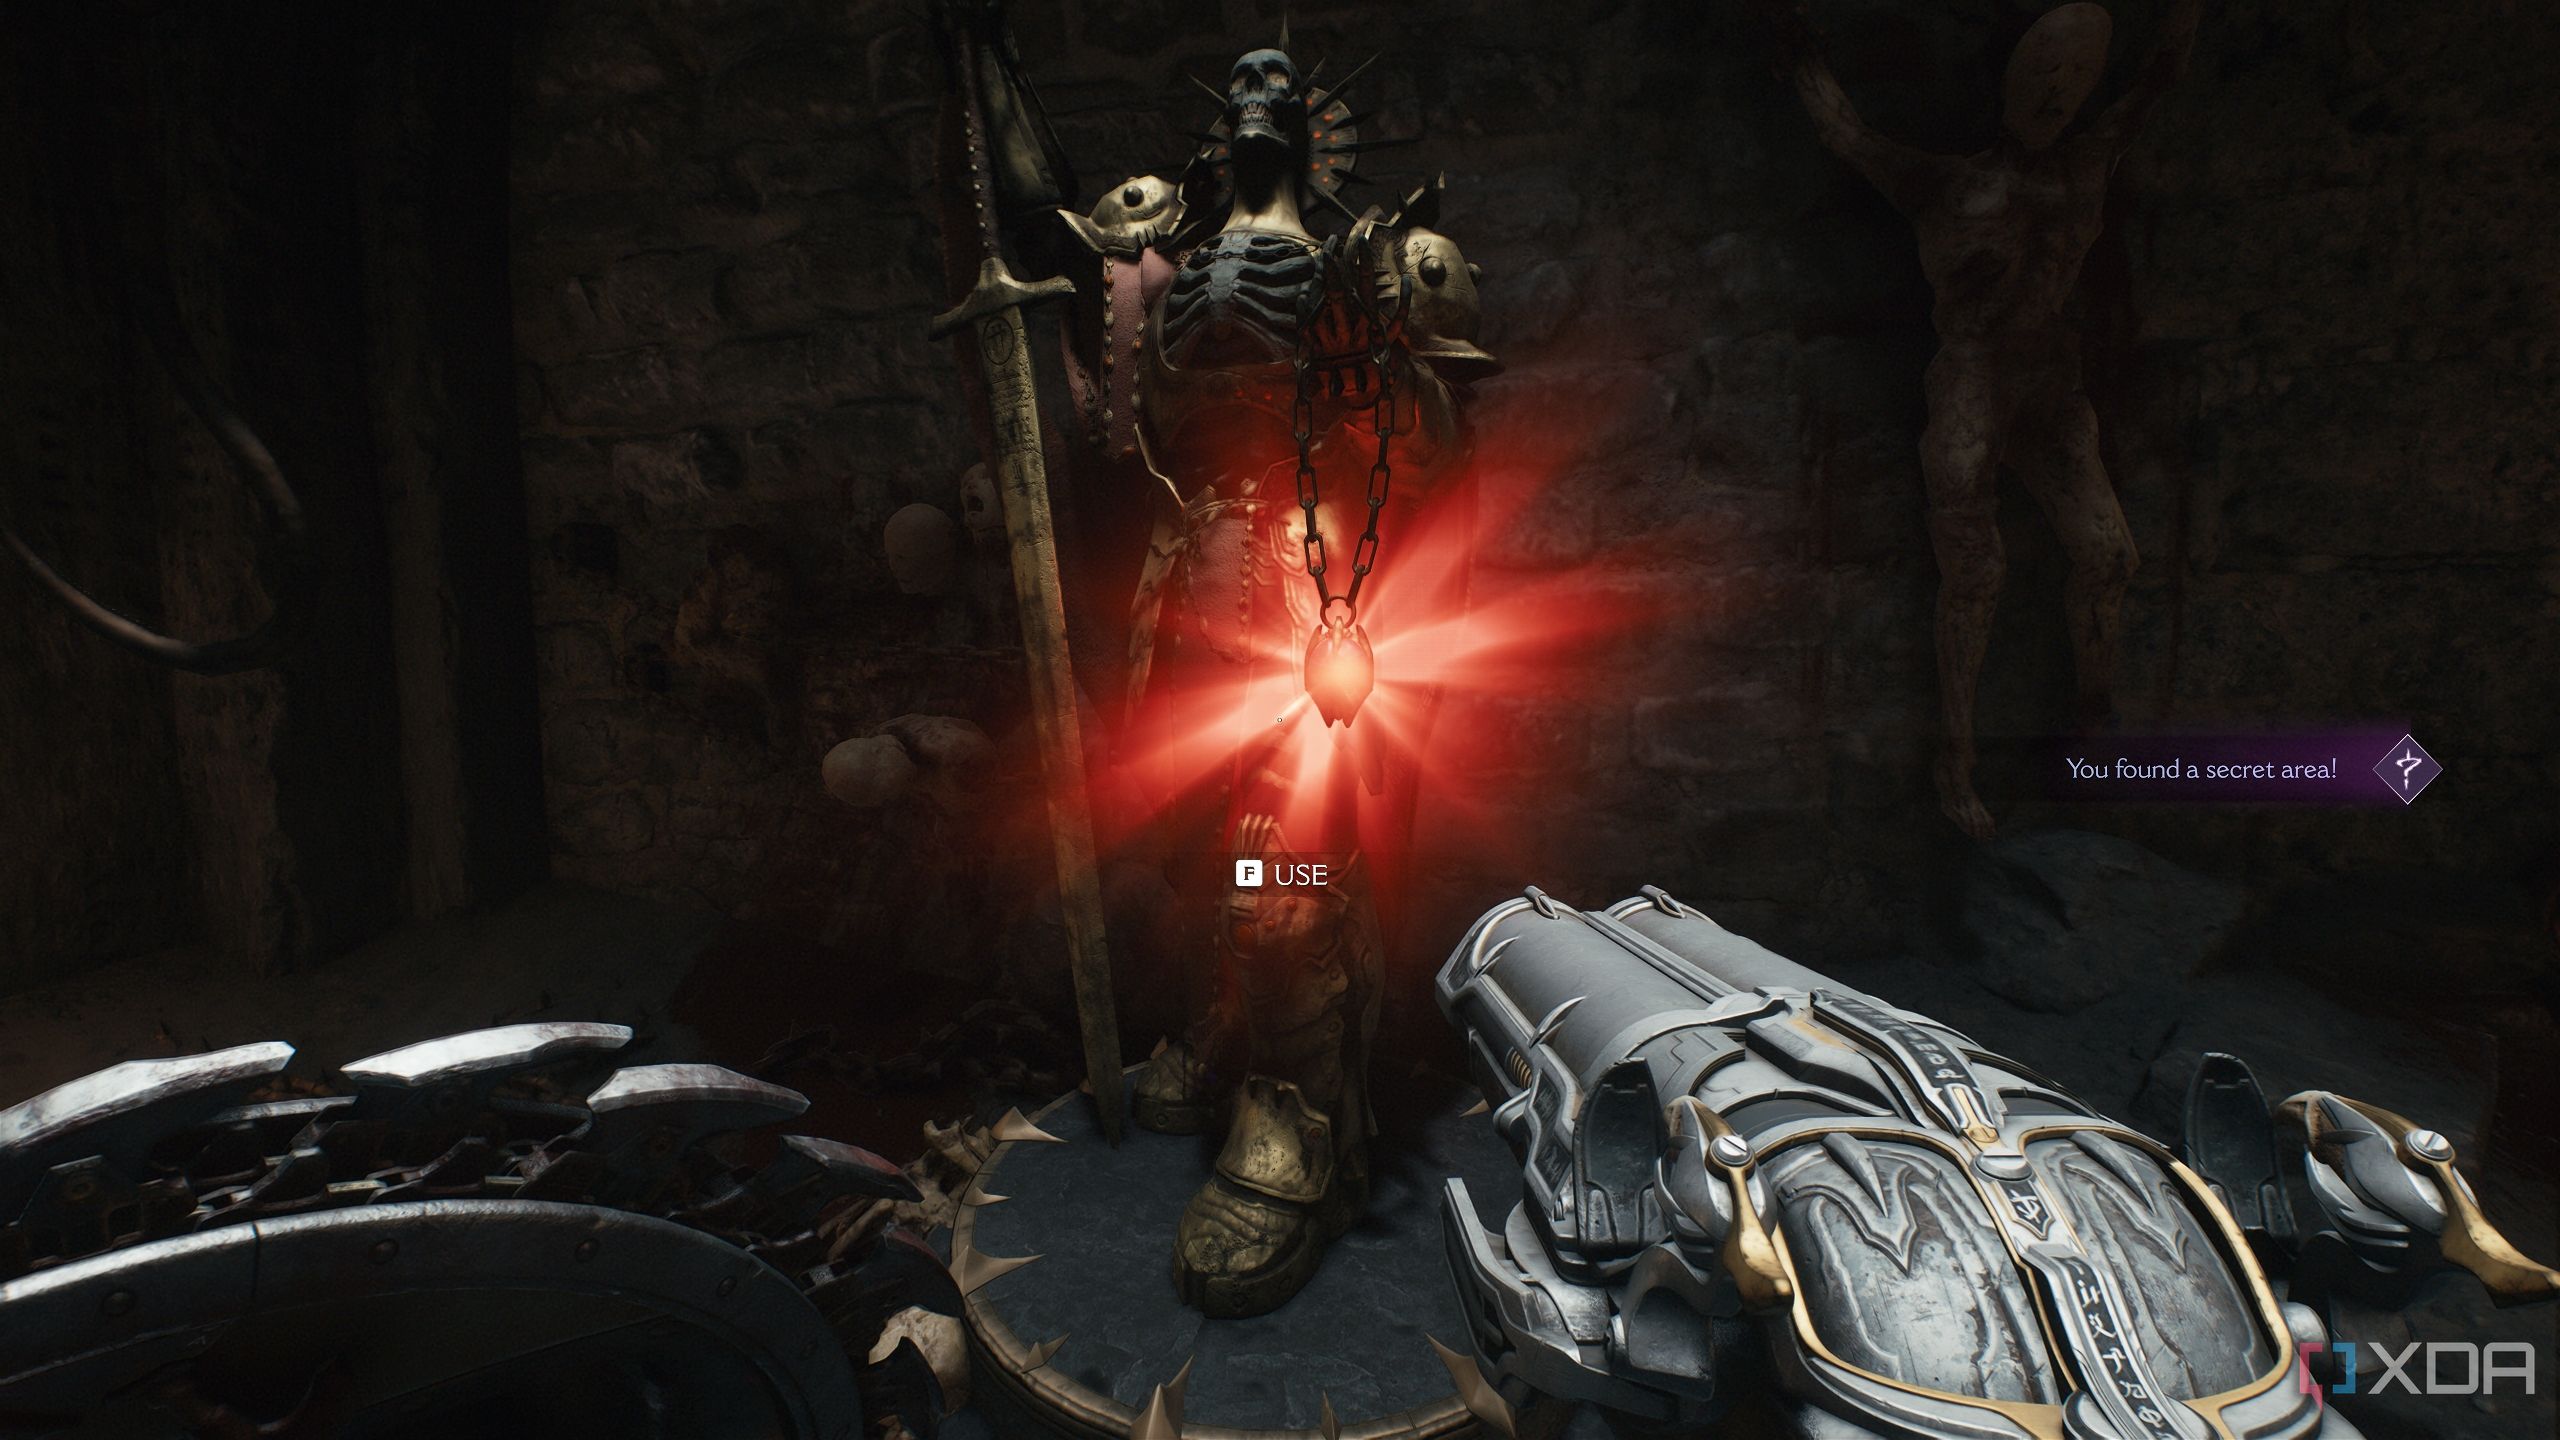
Finding out more about the guy you just shot in the head
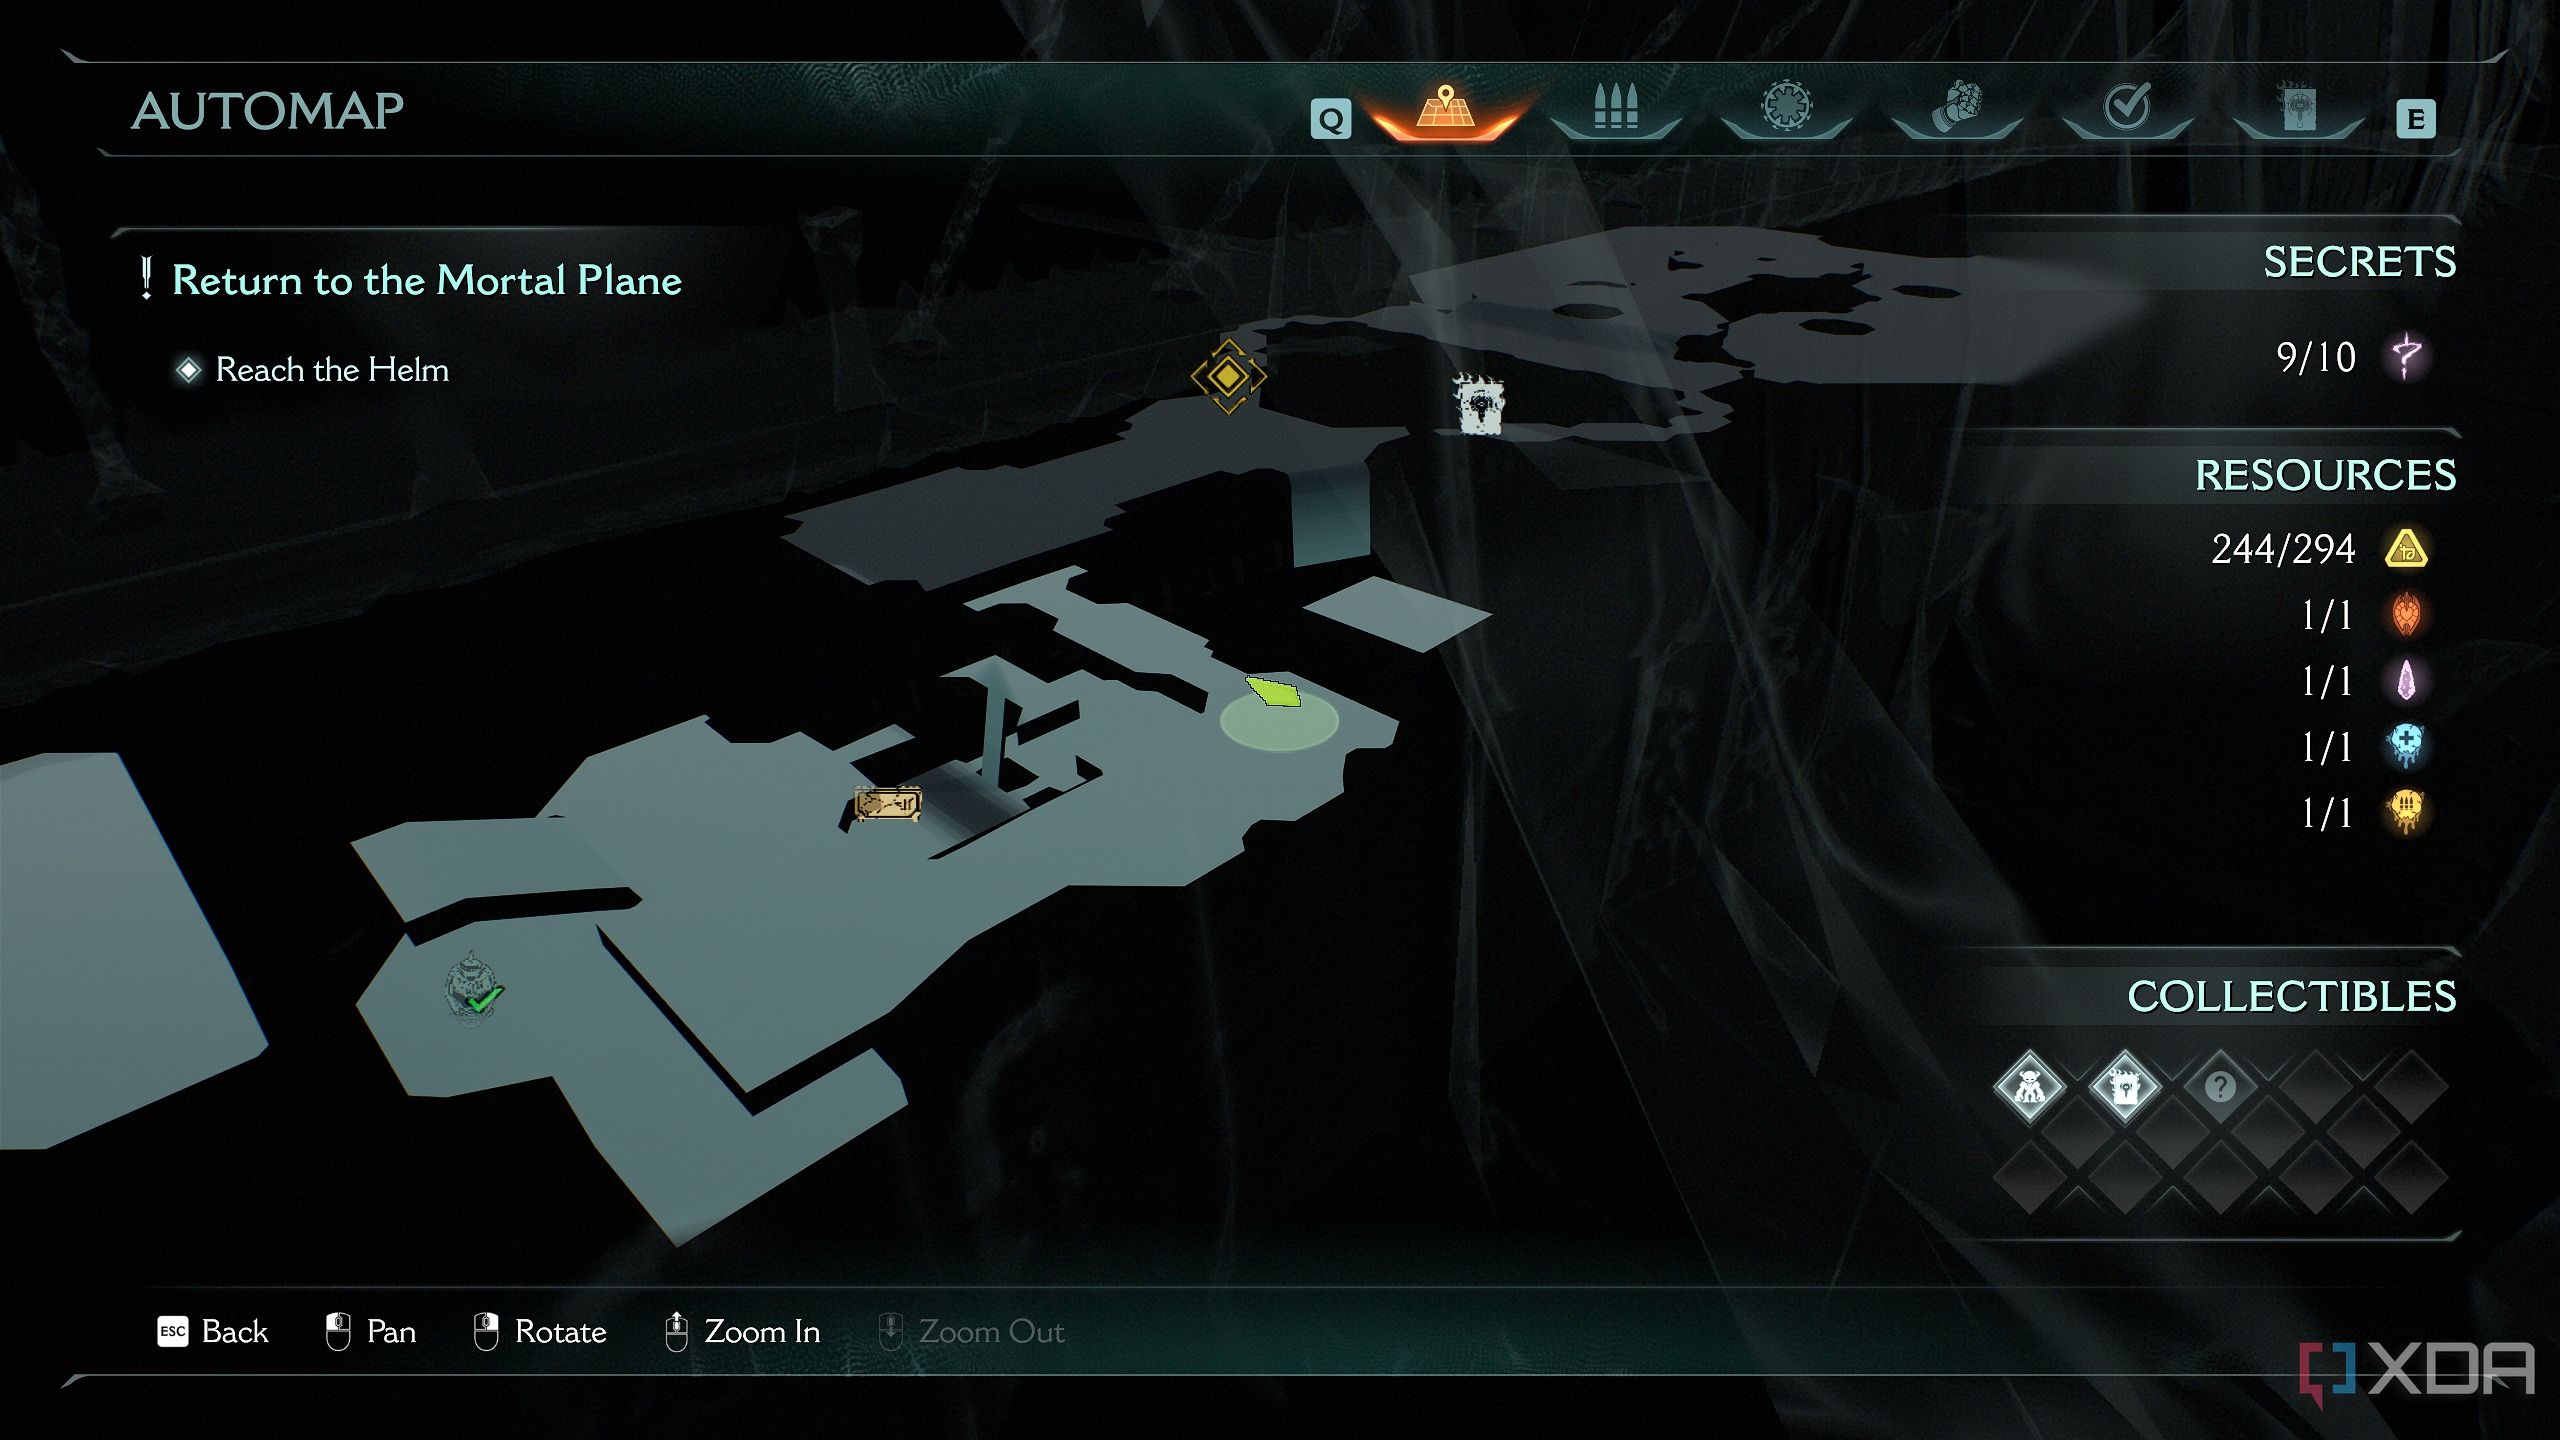
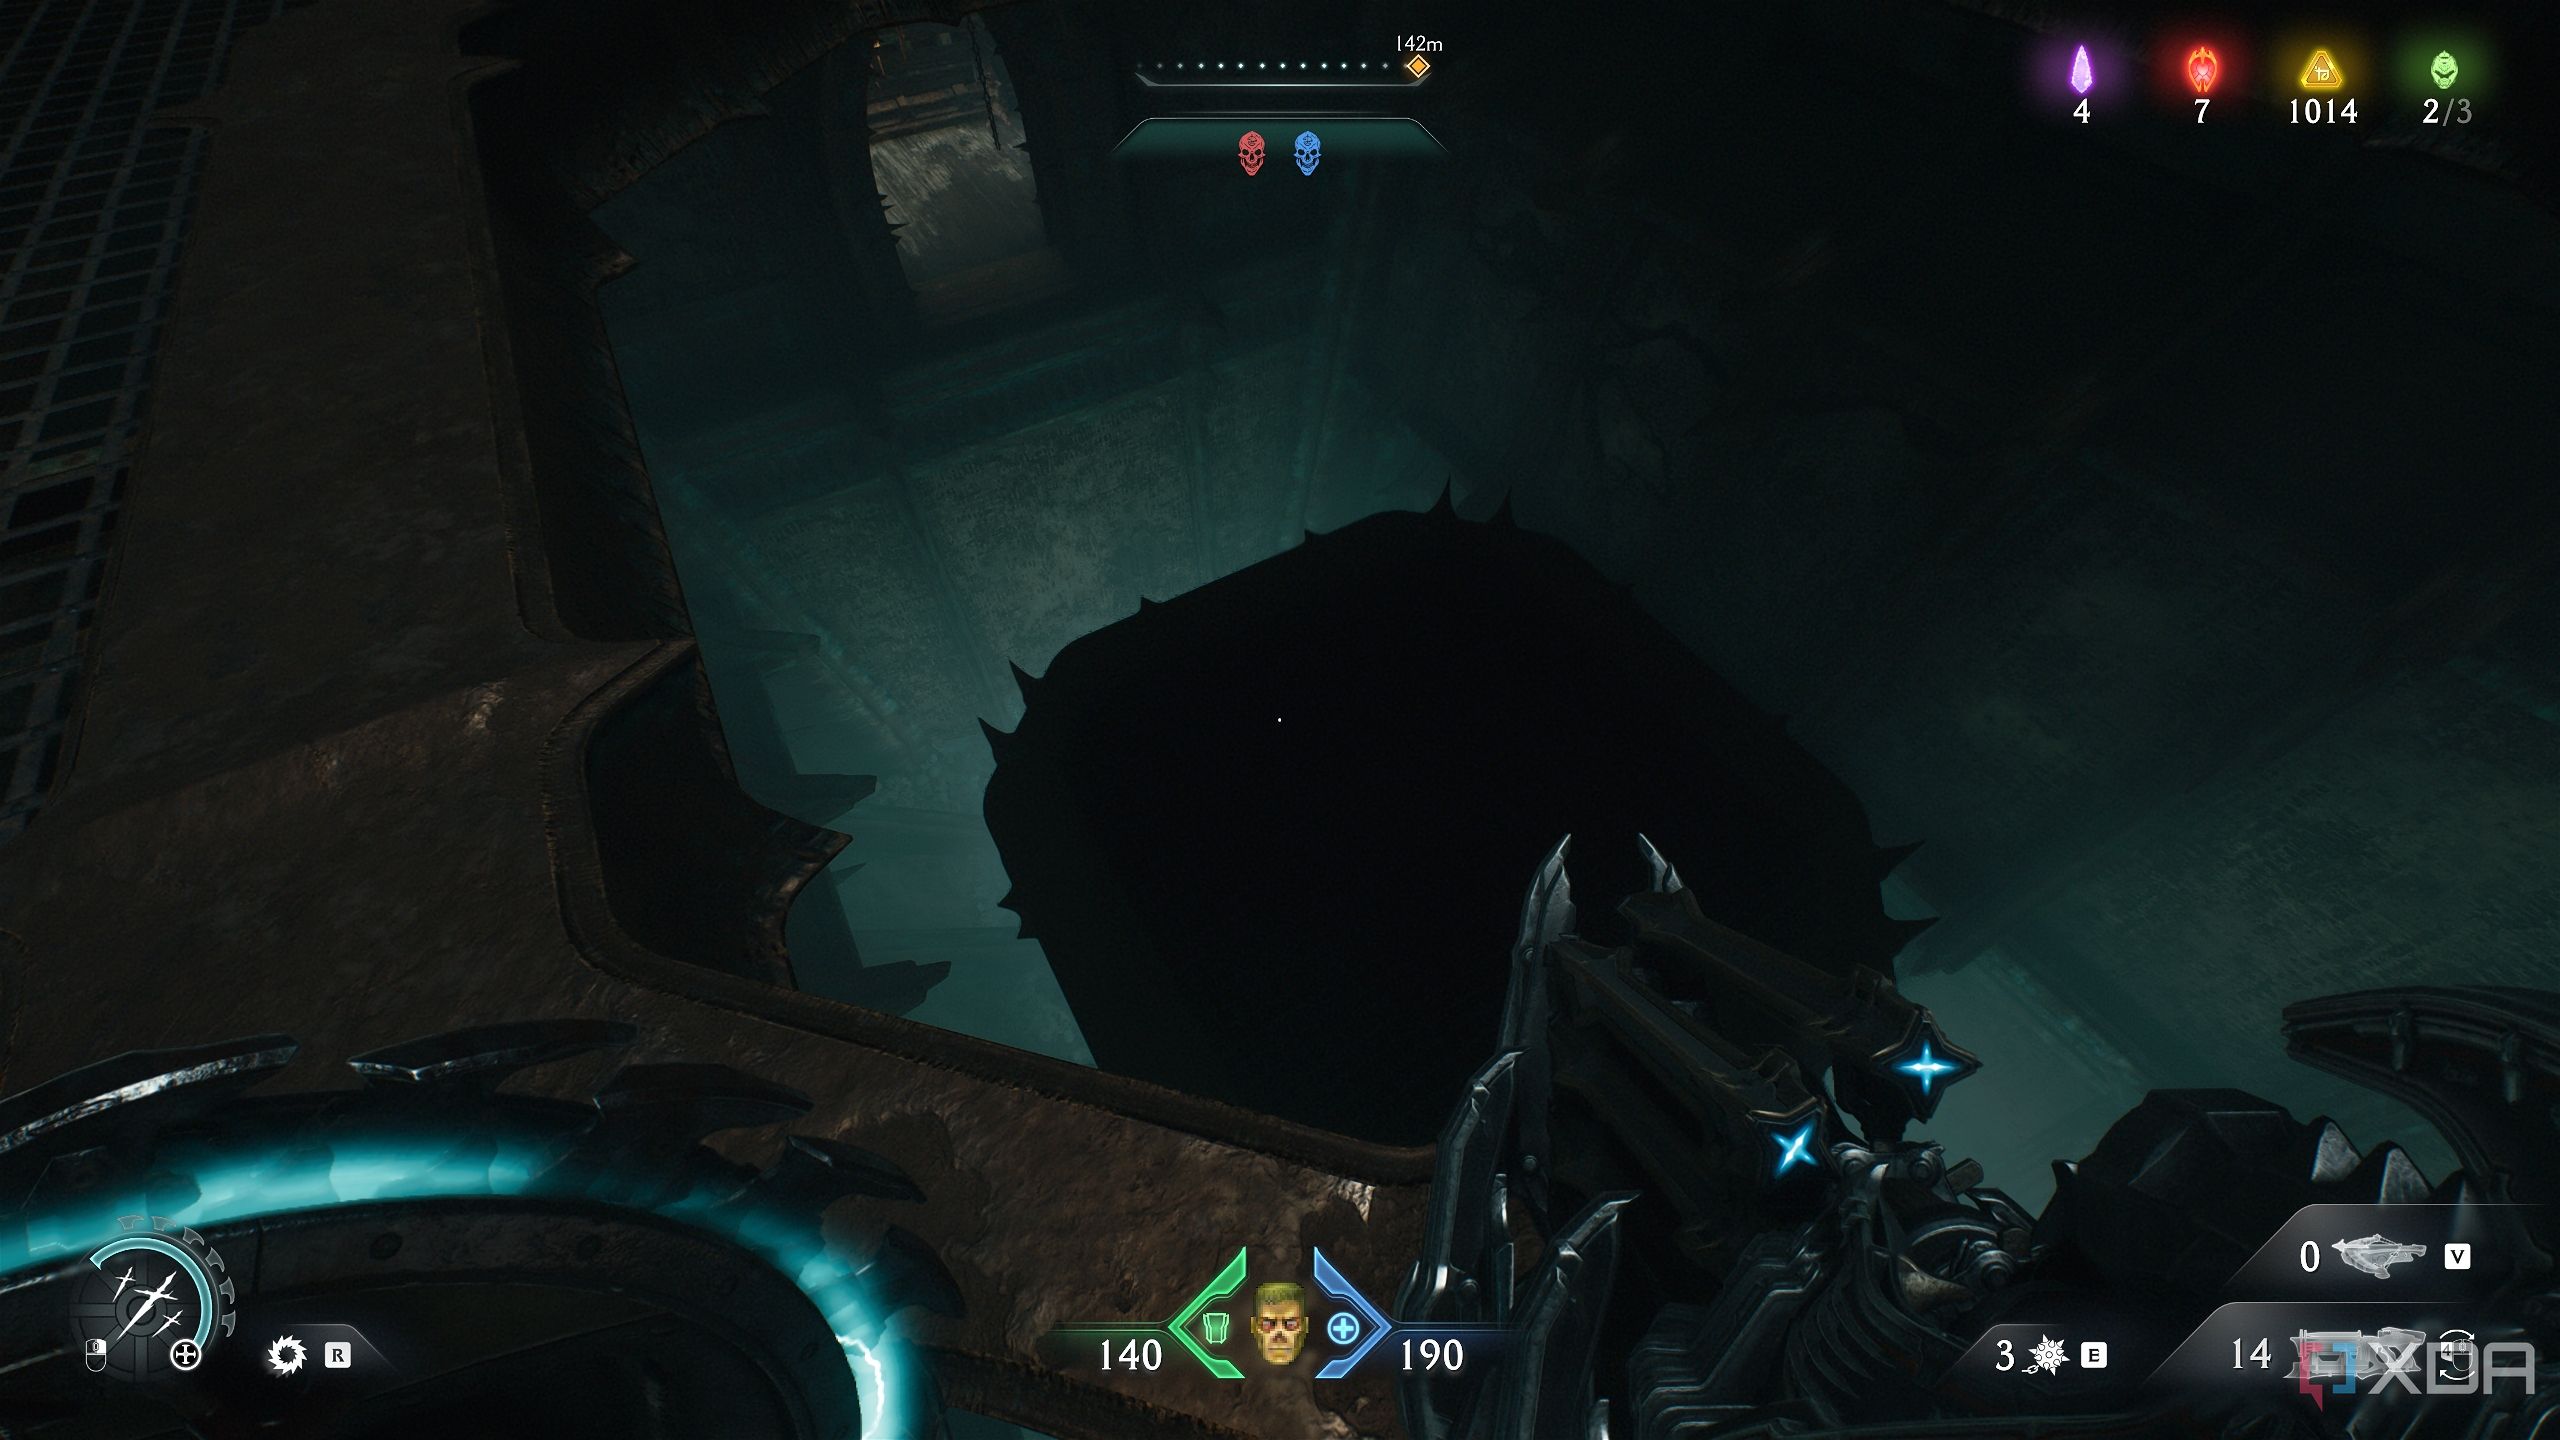
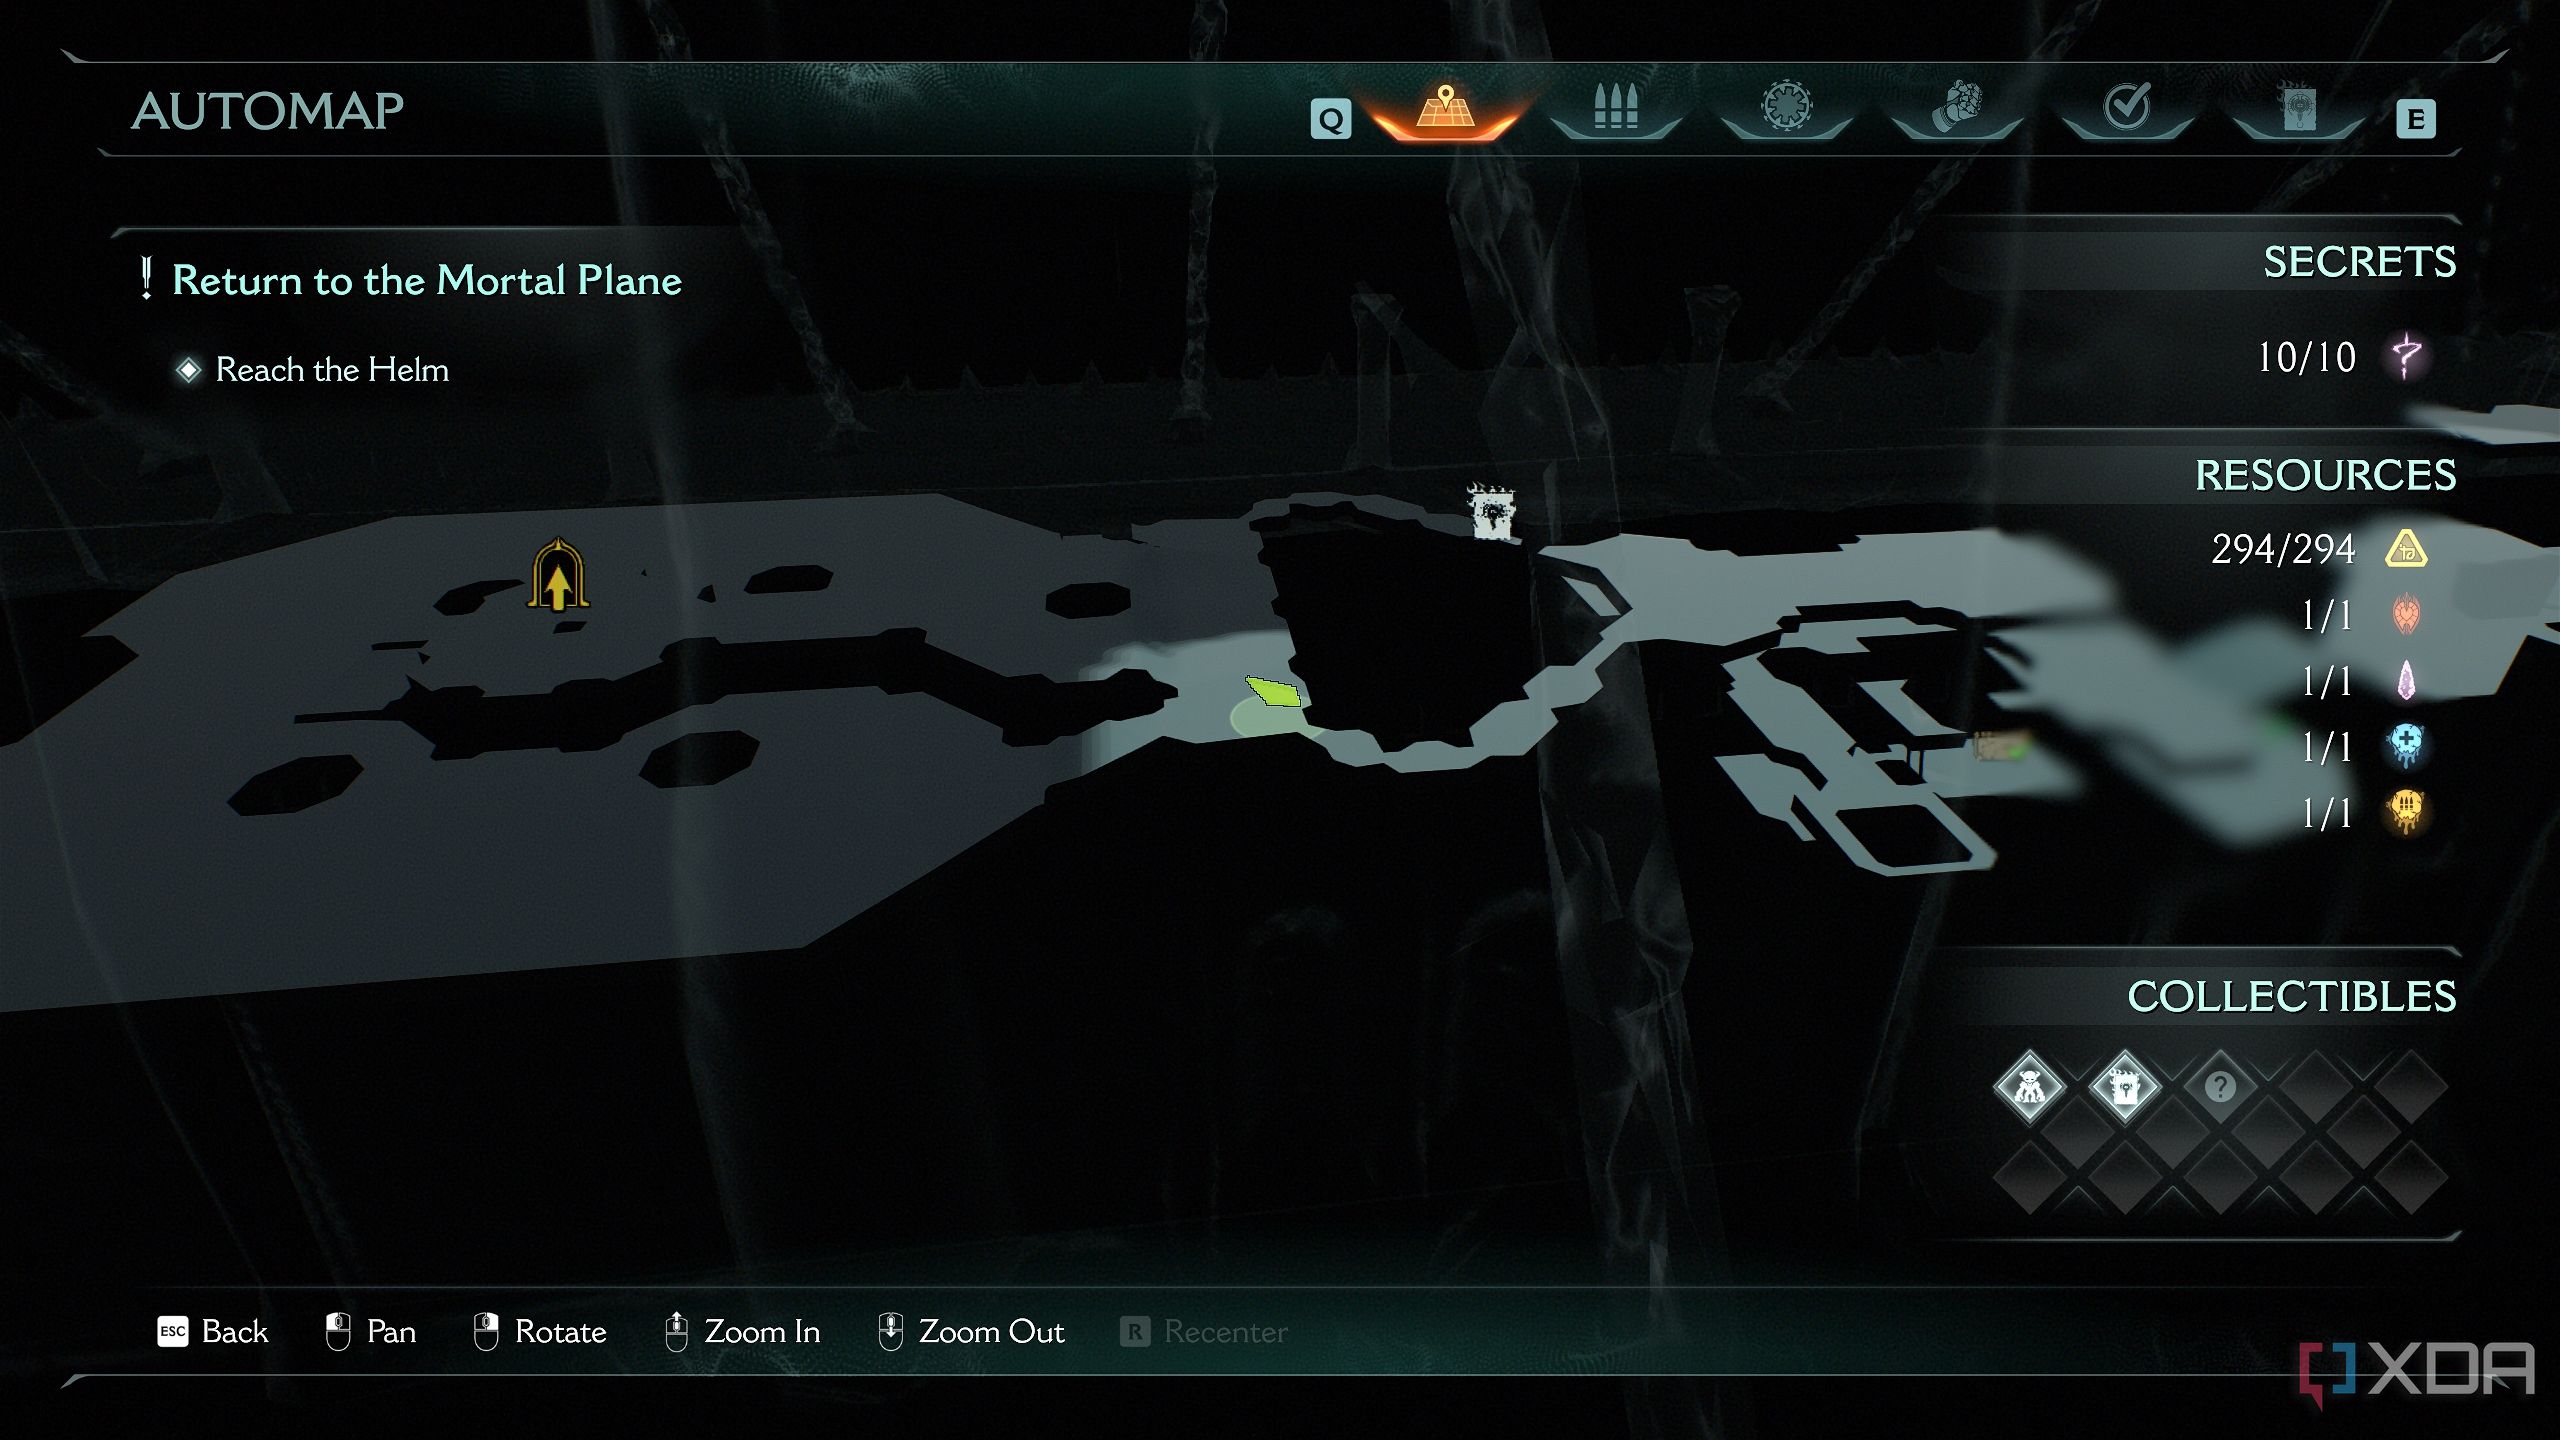
Move forward in this area to reach this location on the map.
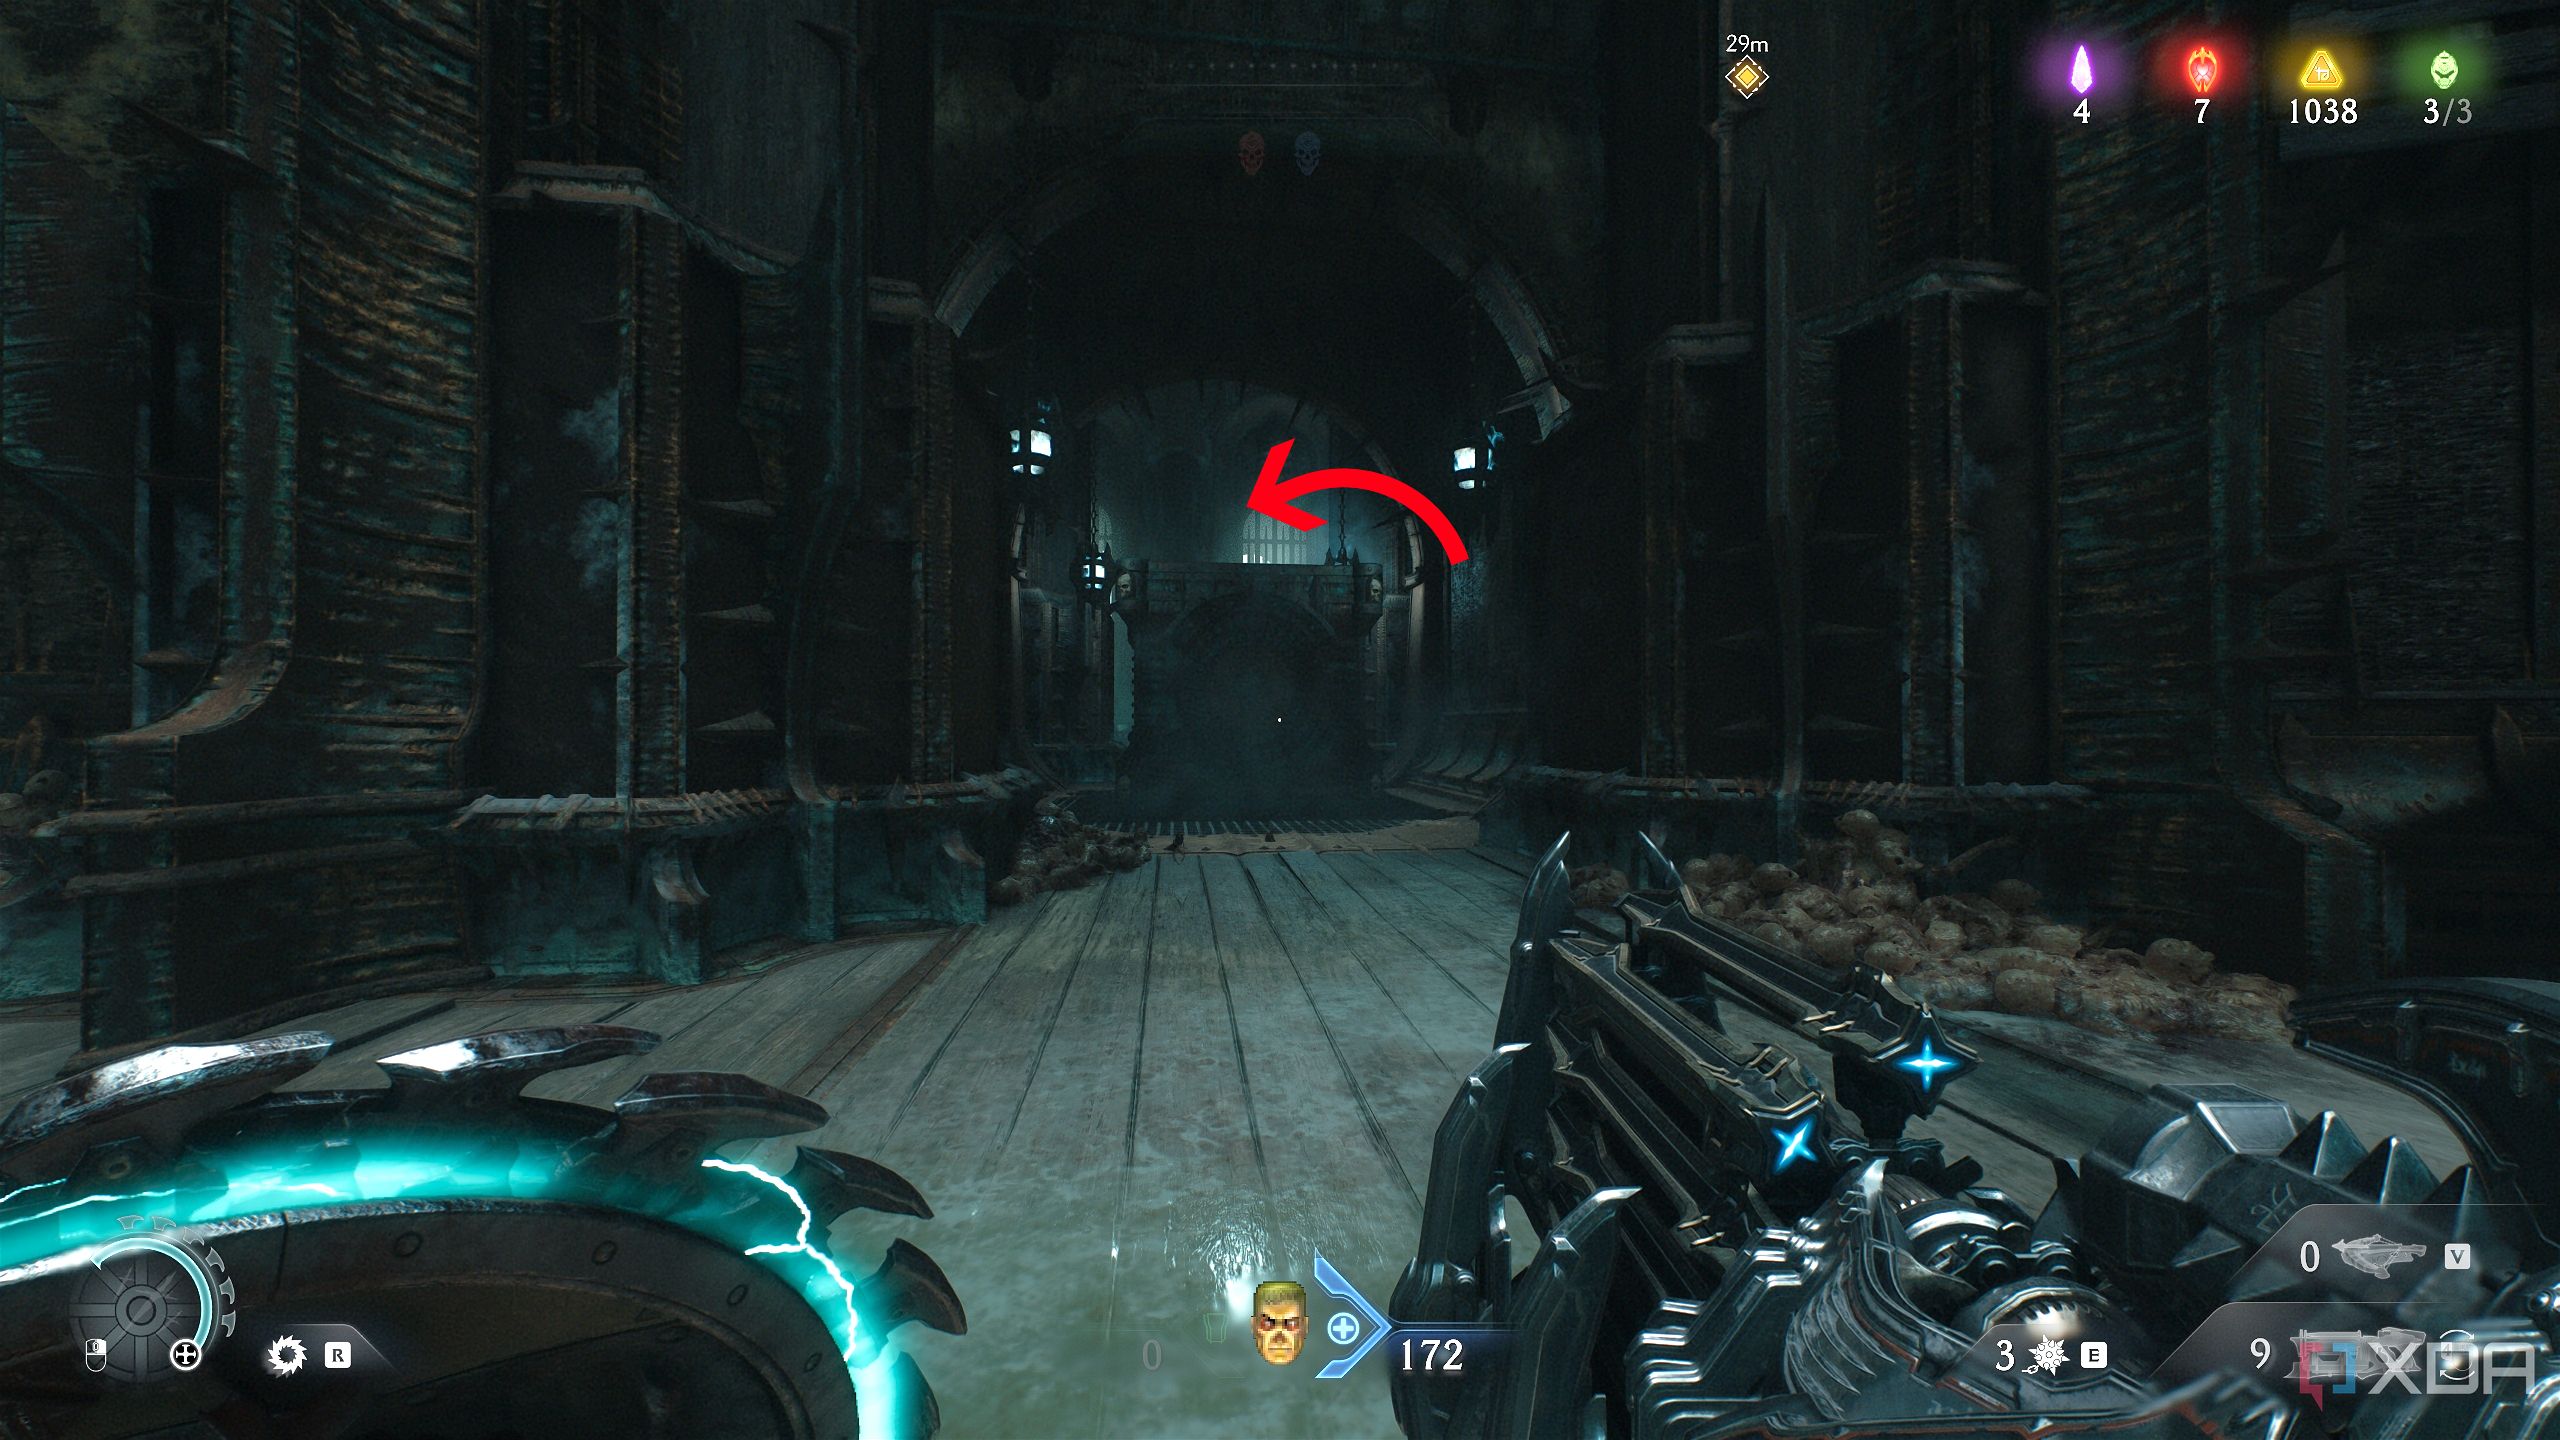
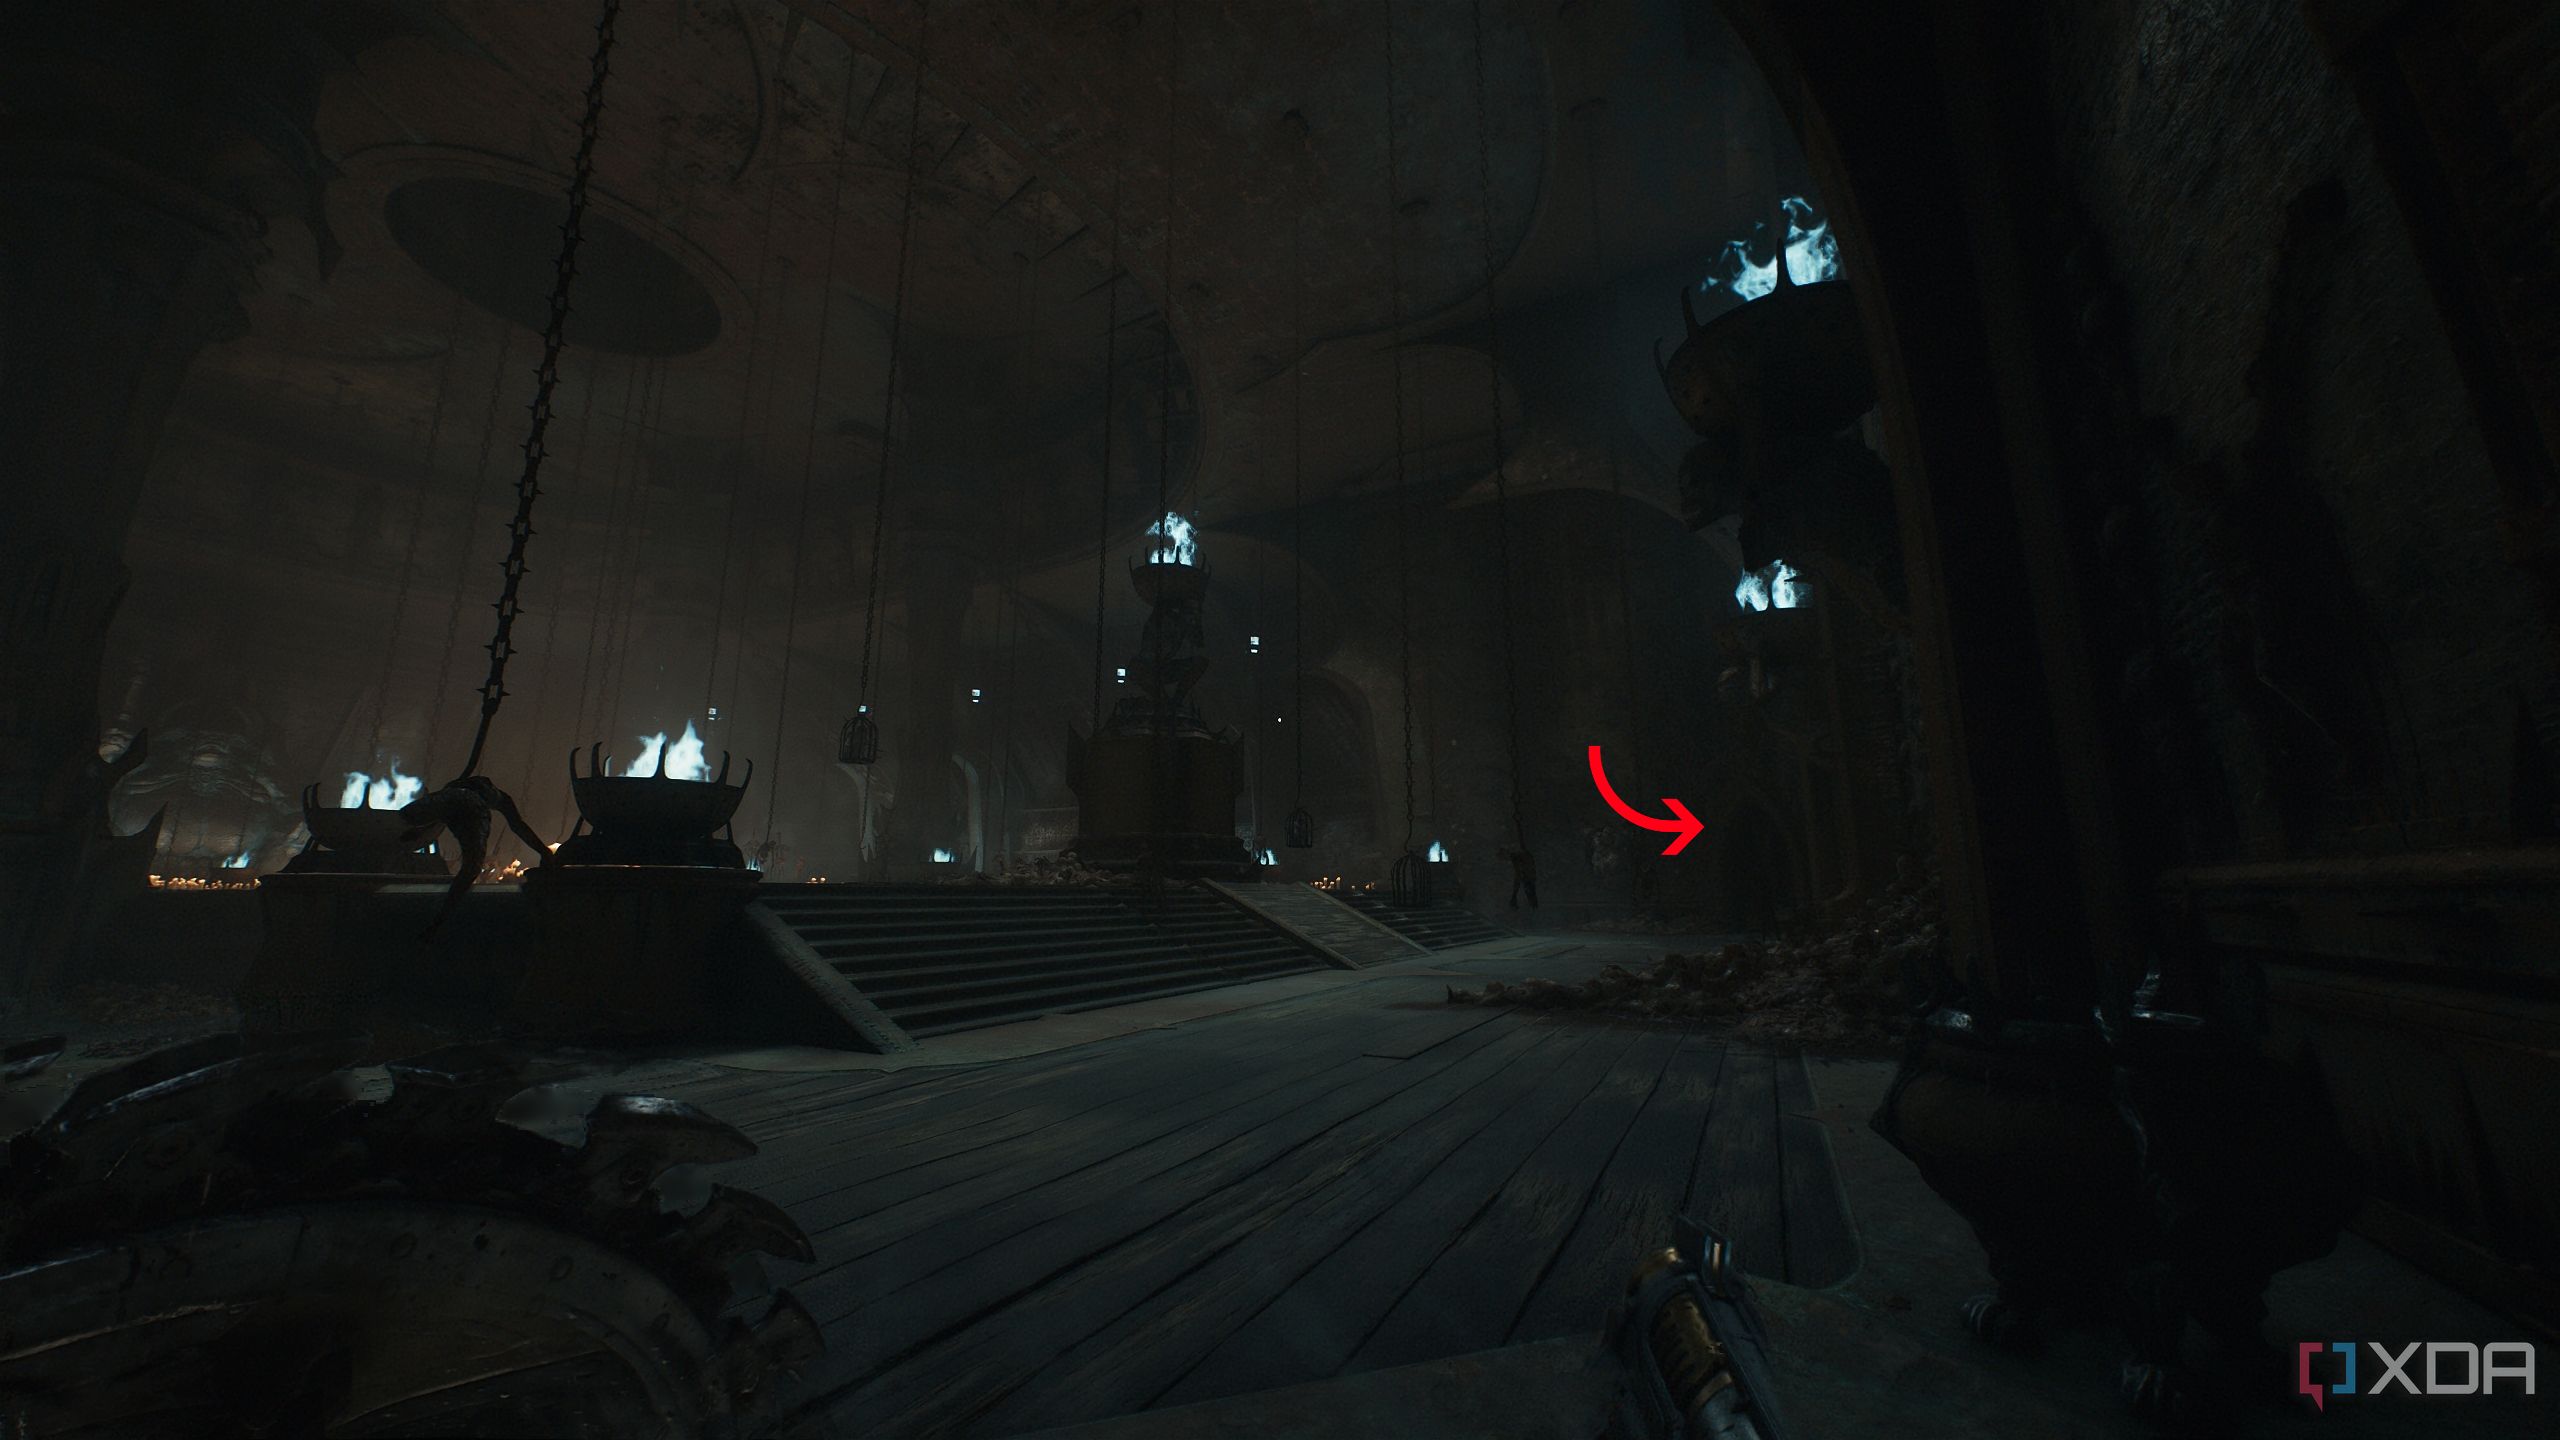
You’ll see a big box ahead. Climb over it, and move past it to reach an opening in the floor.
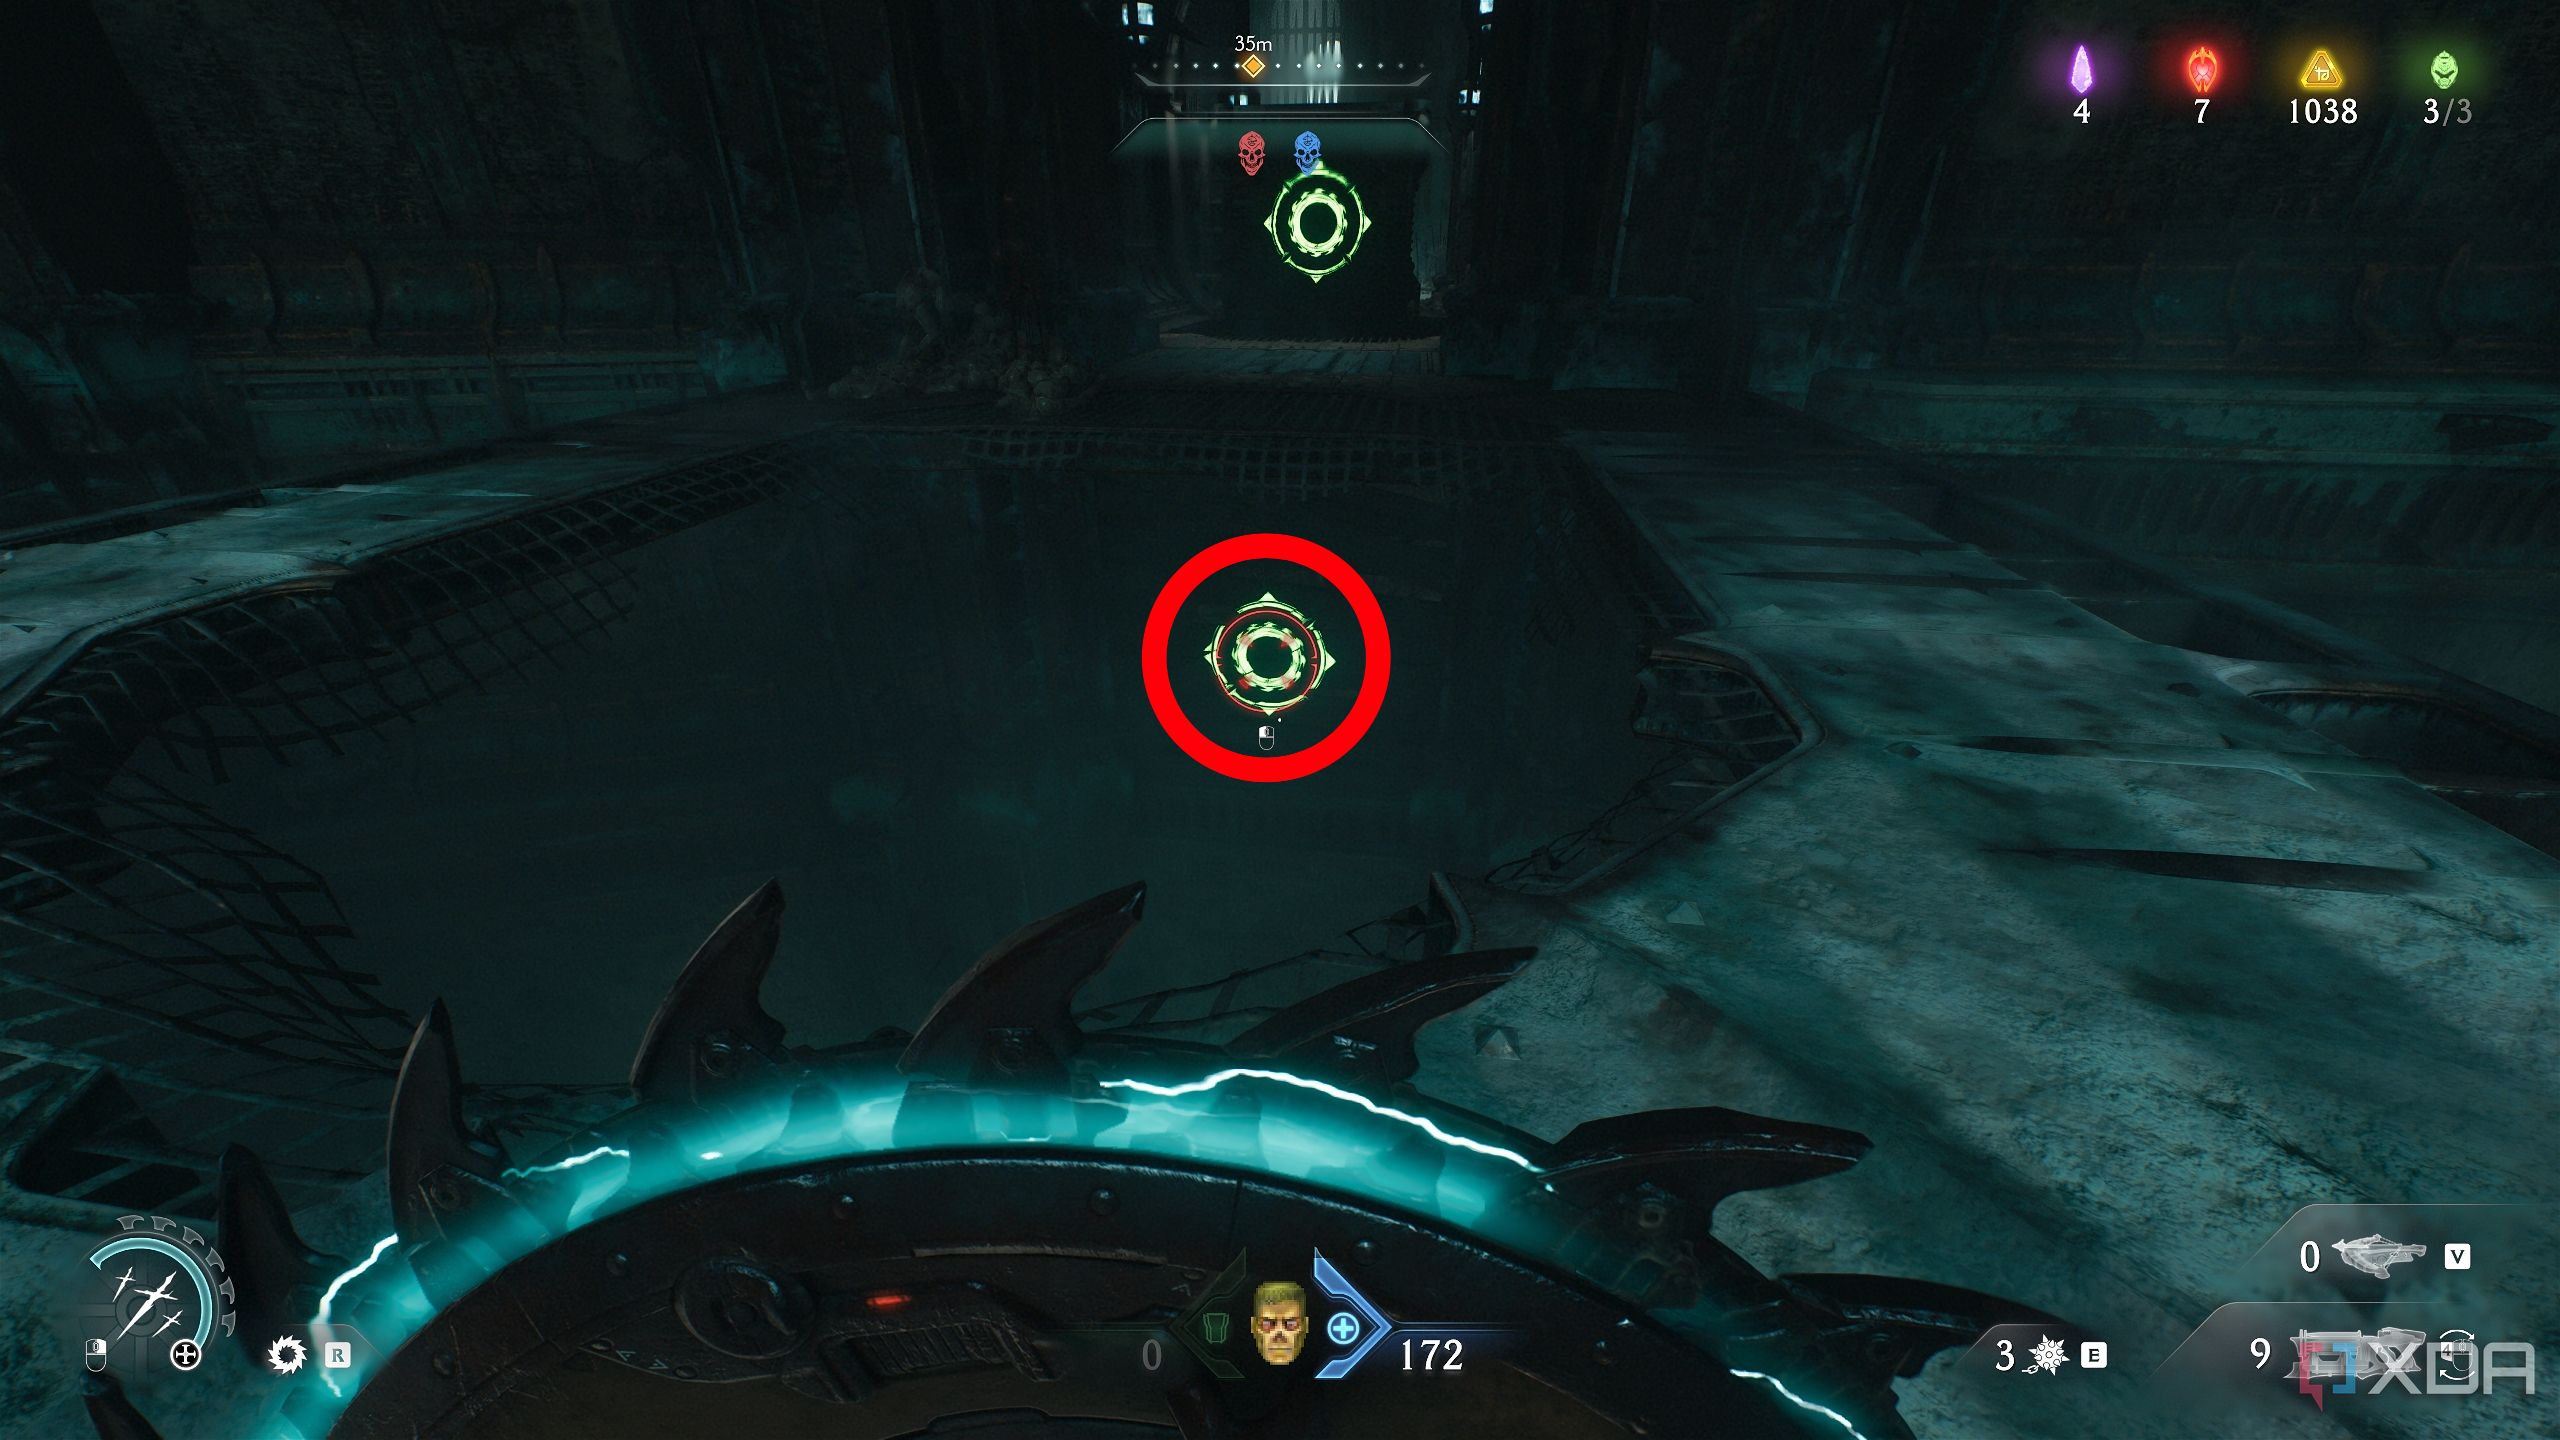
Turn back around towards the box, and you’ll see two Shield Charge symbols — one on the box, and one on the floor below it.
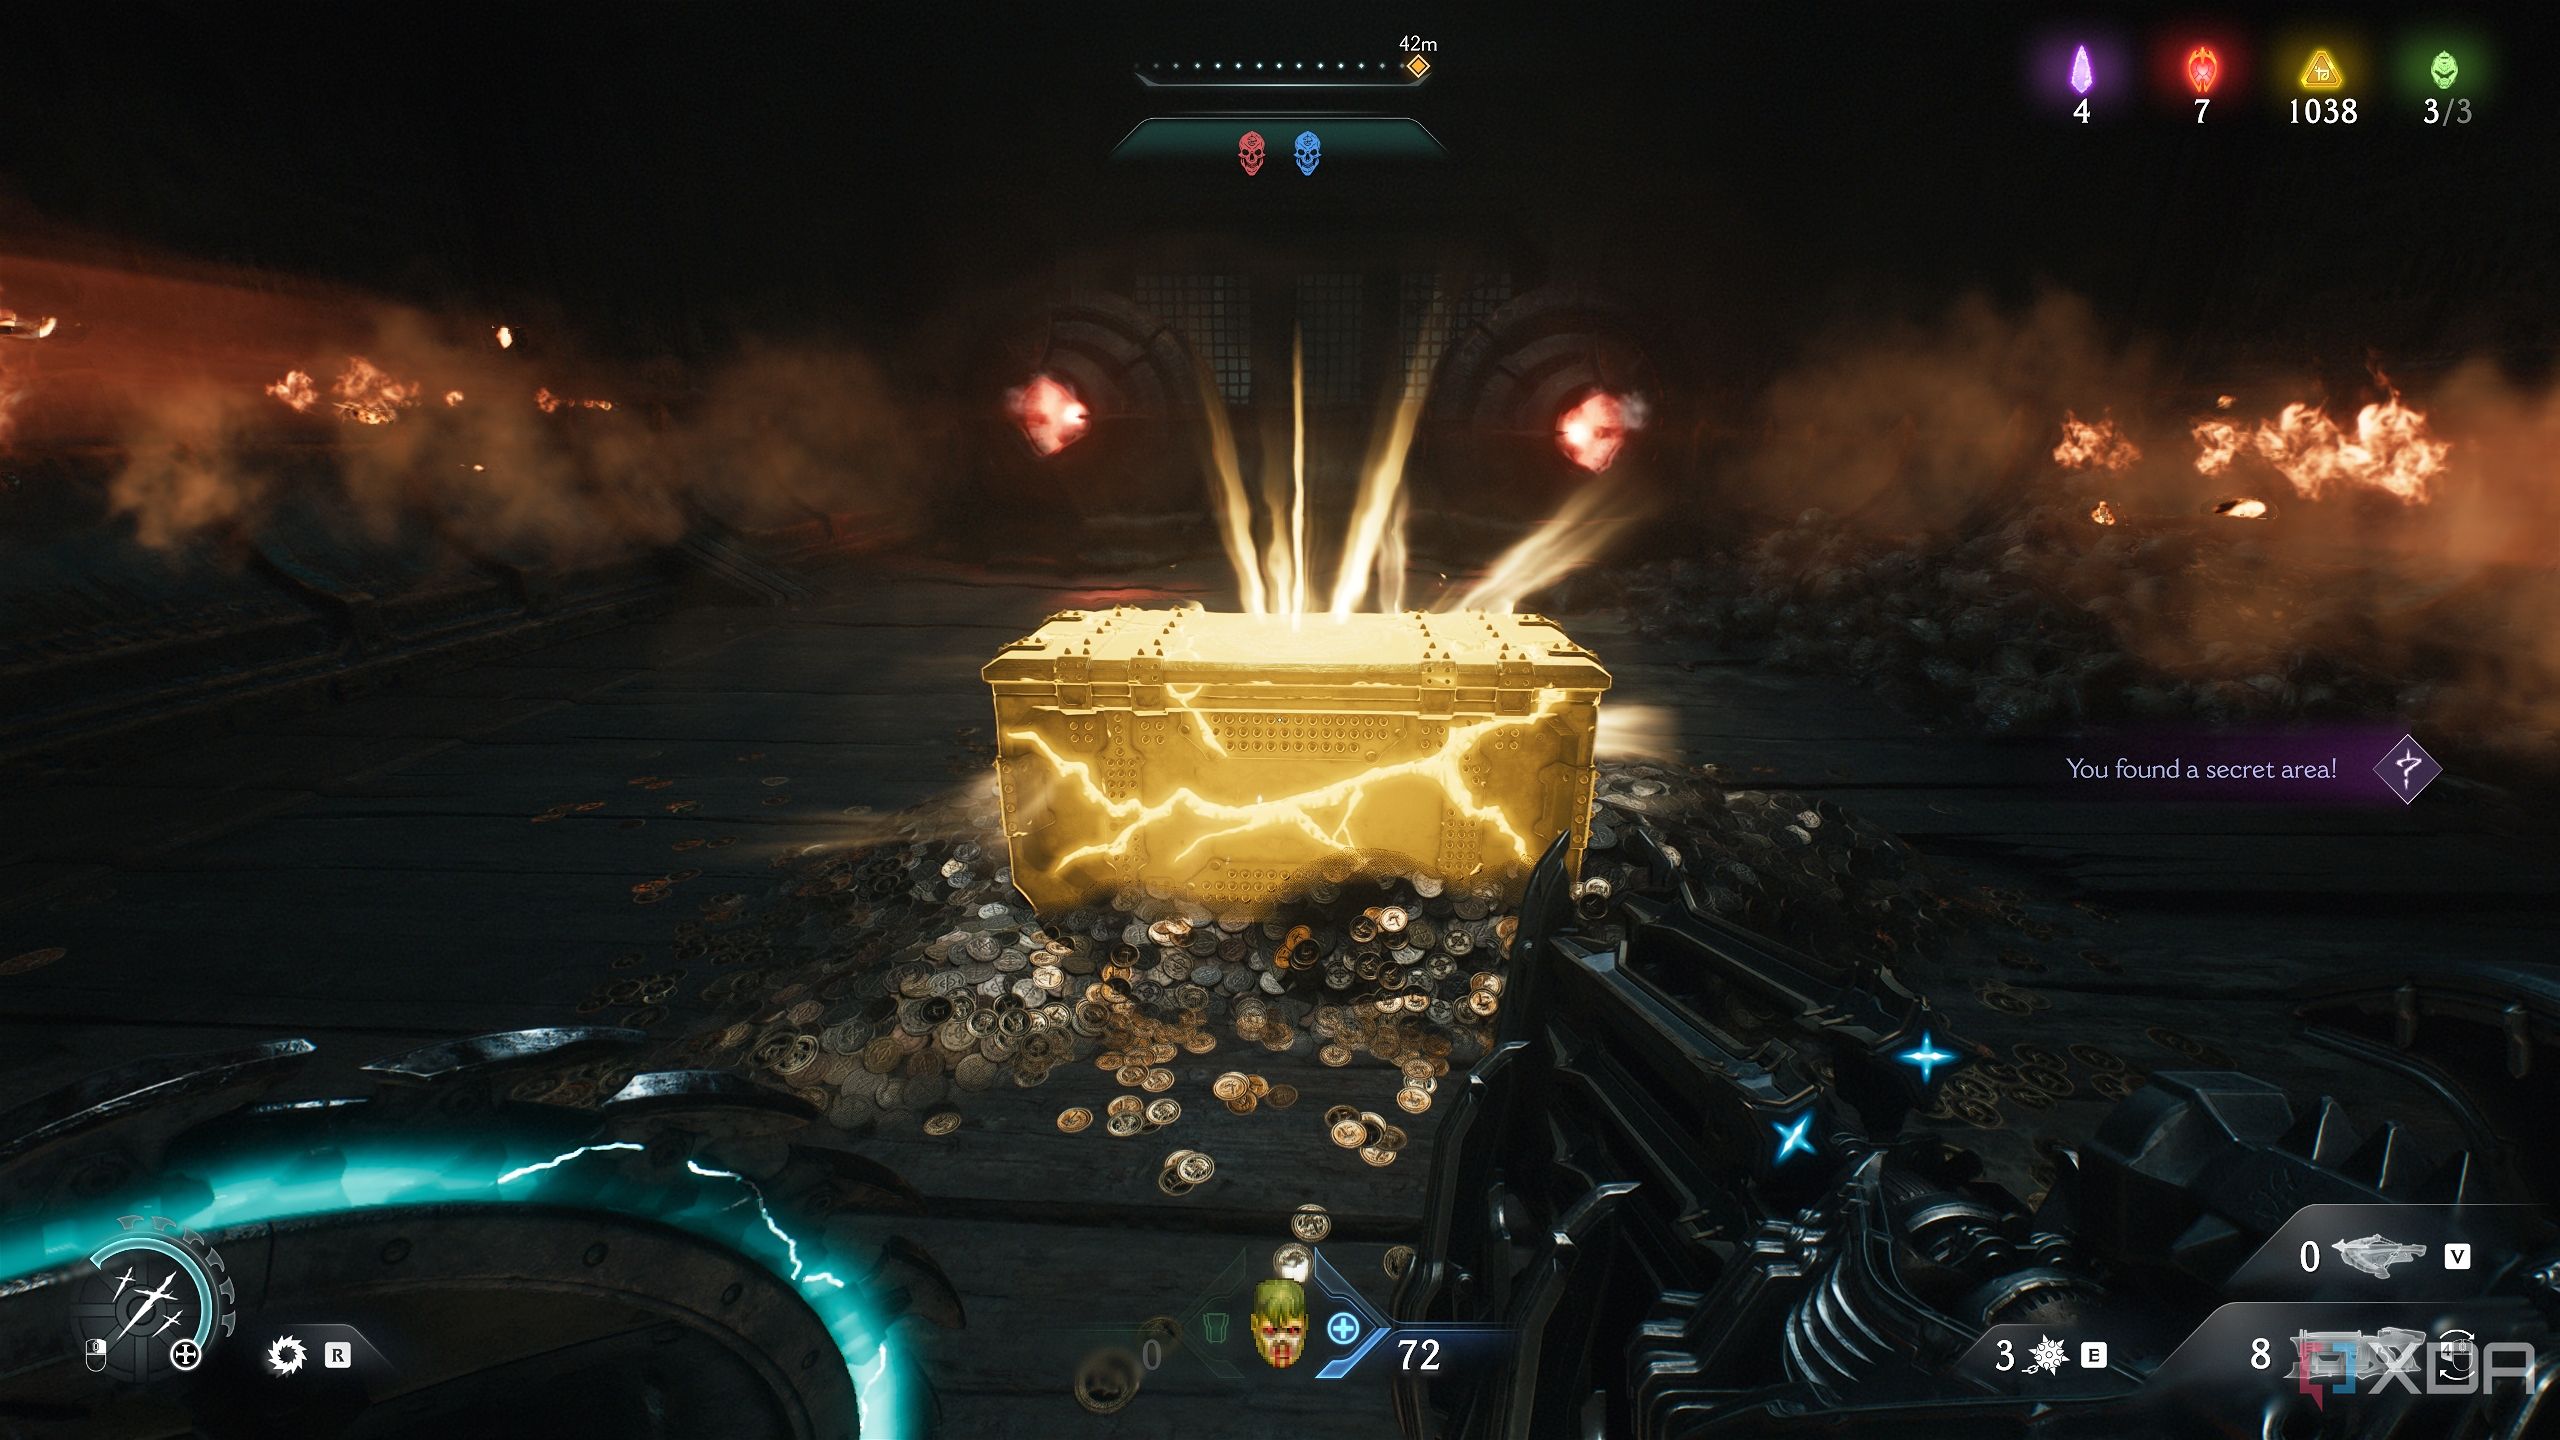
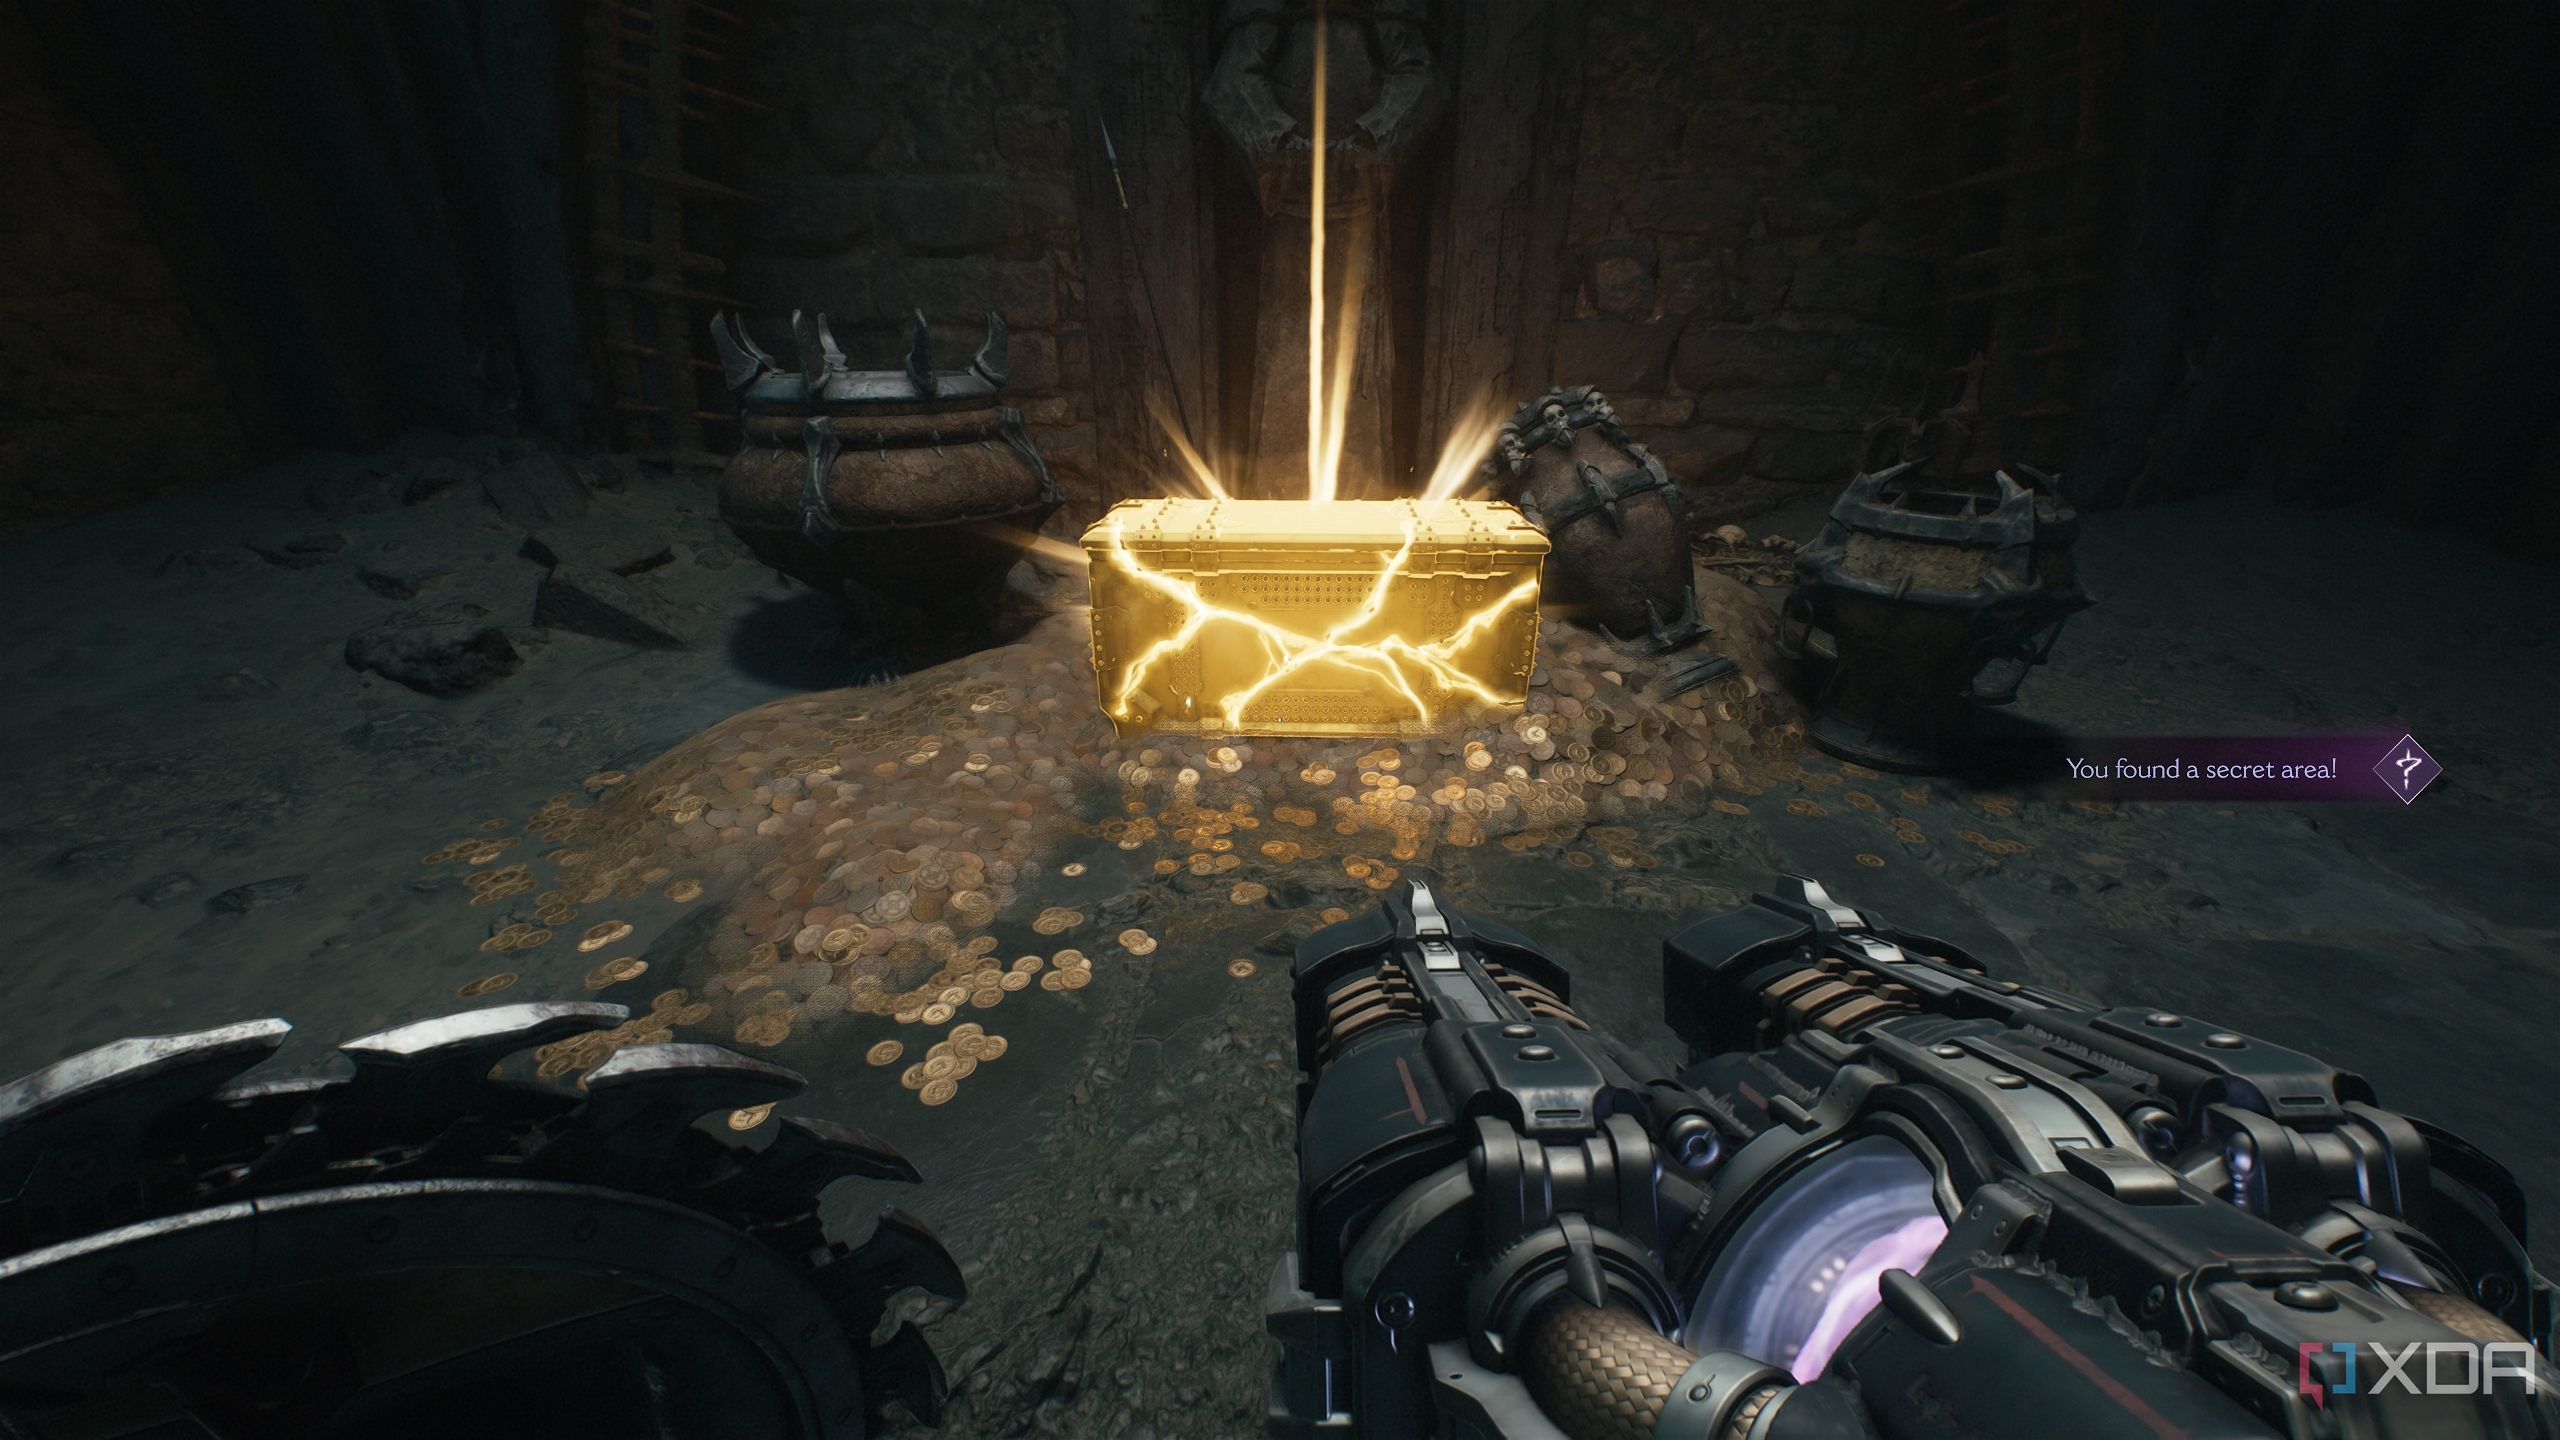
Charge through the one on the bottom, and you’ll unlock secret area 10. Here, there’s the third gold chest of the chapter, collecting which will wrap up the Dragon Hoard mission challenge as well.
Head back up, hit the box with your Shield Charge, and go up the scramble walls. You’ll see a Codex Page to your right, but it’s not accessible yet.
So, just head through the left path, and it will open up to a larger chamber, as shown above.
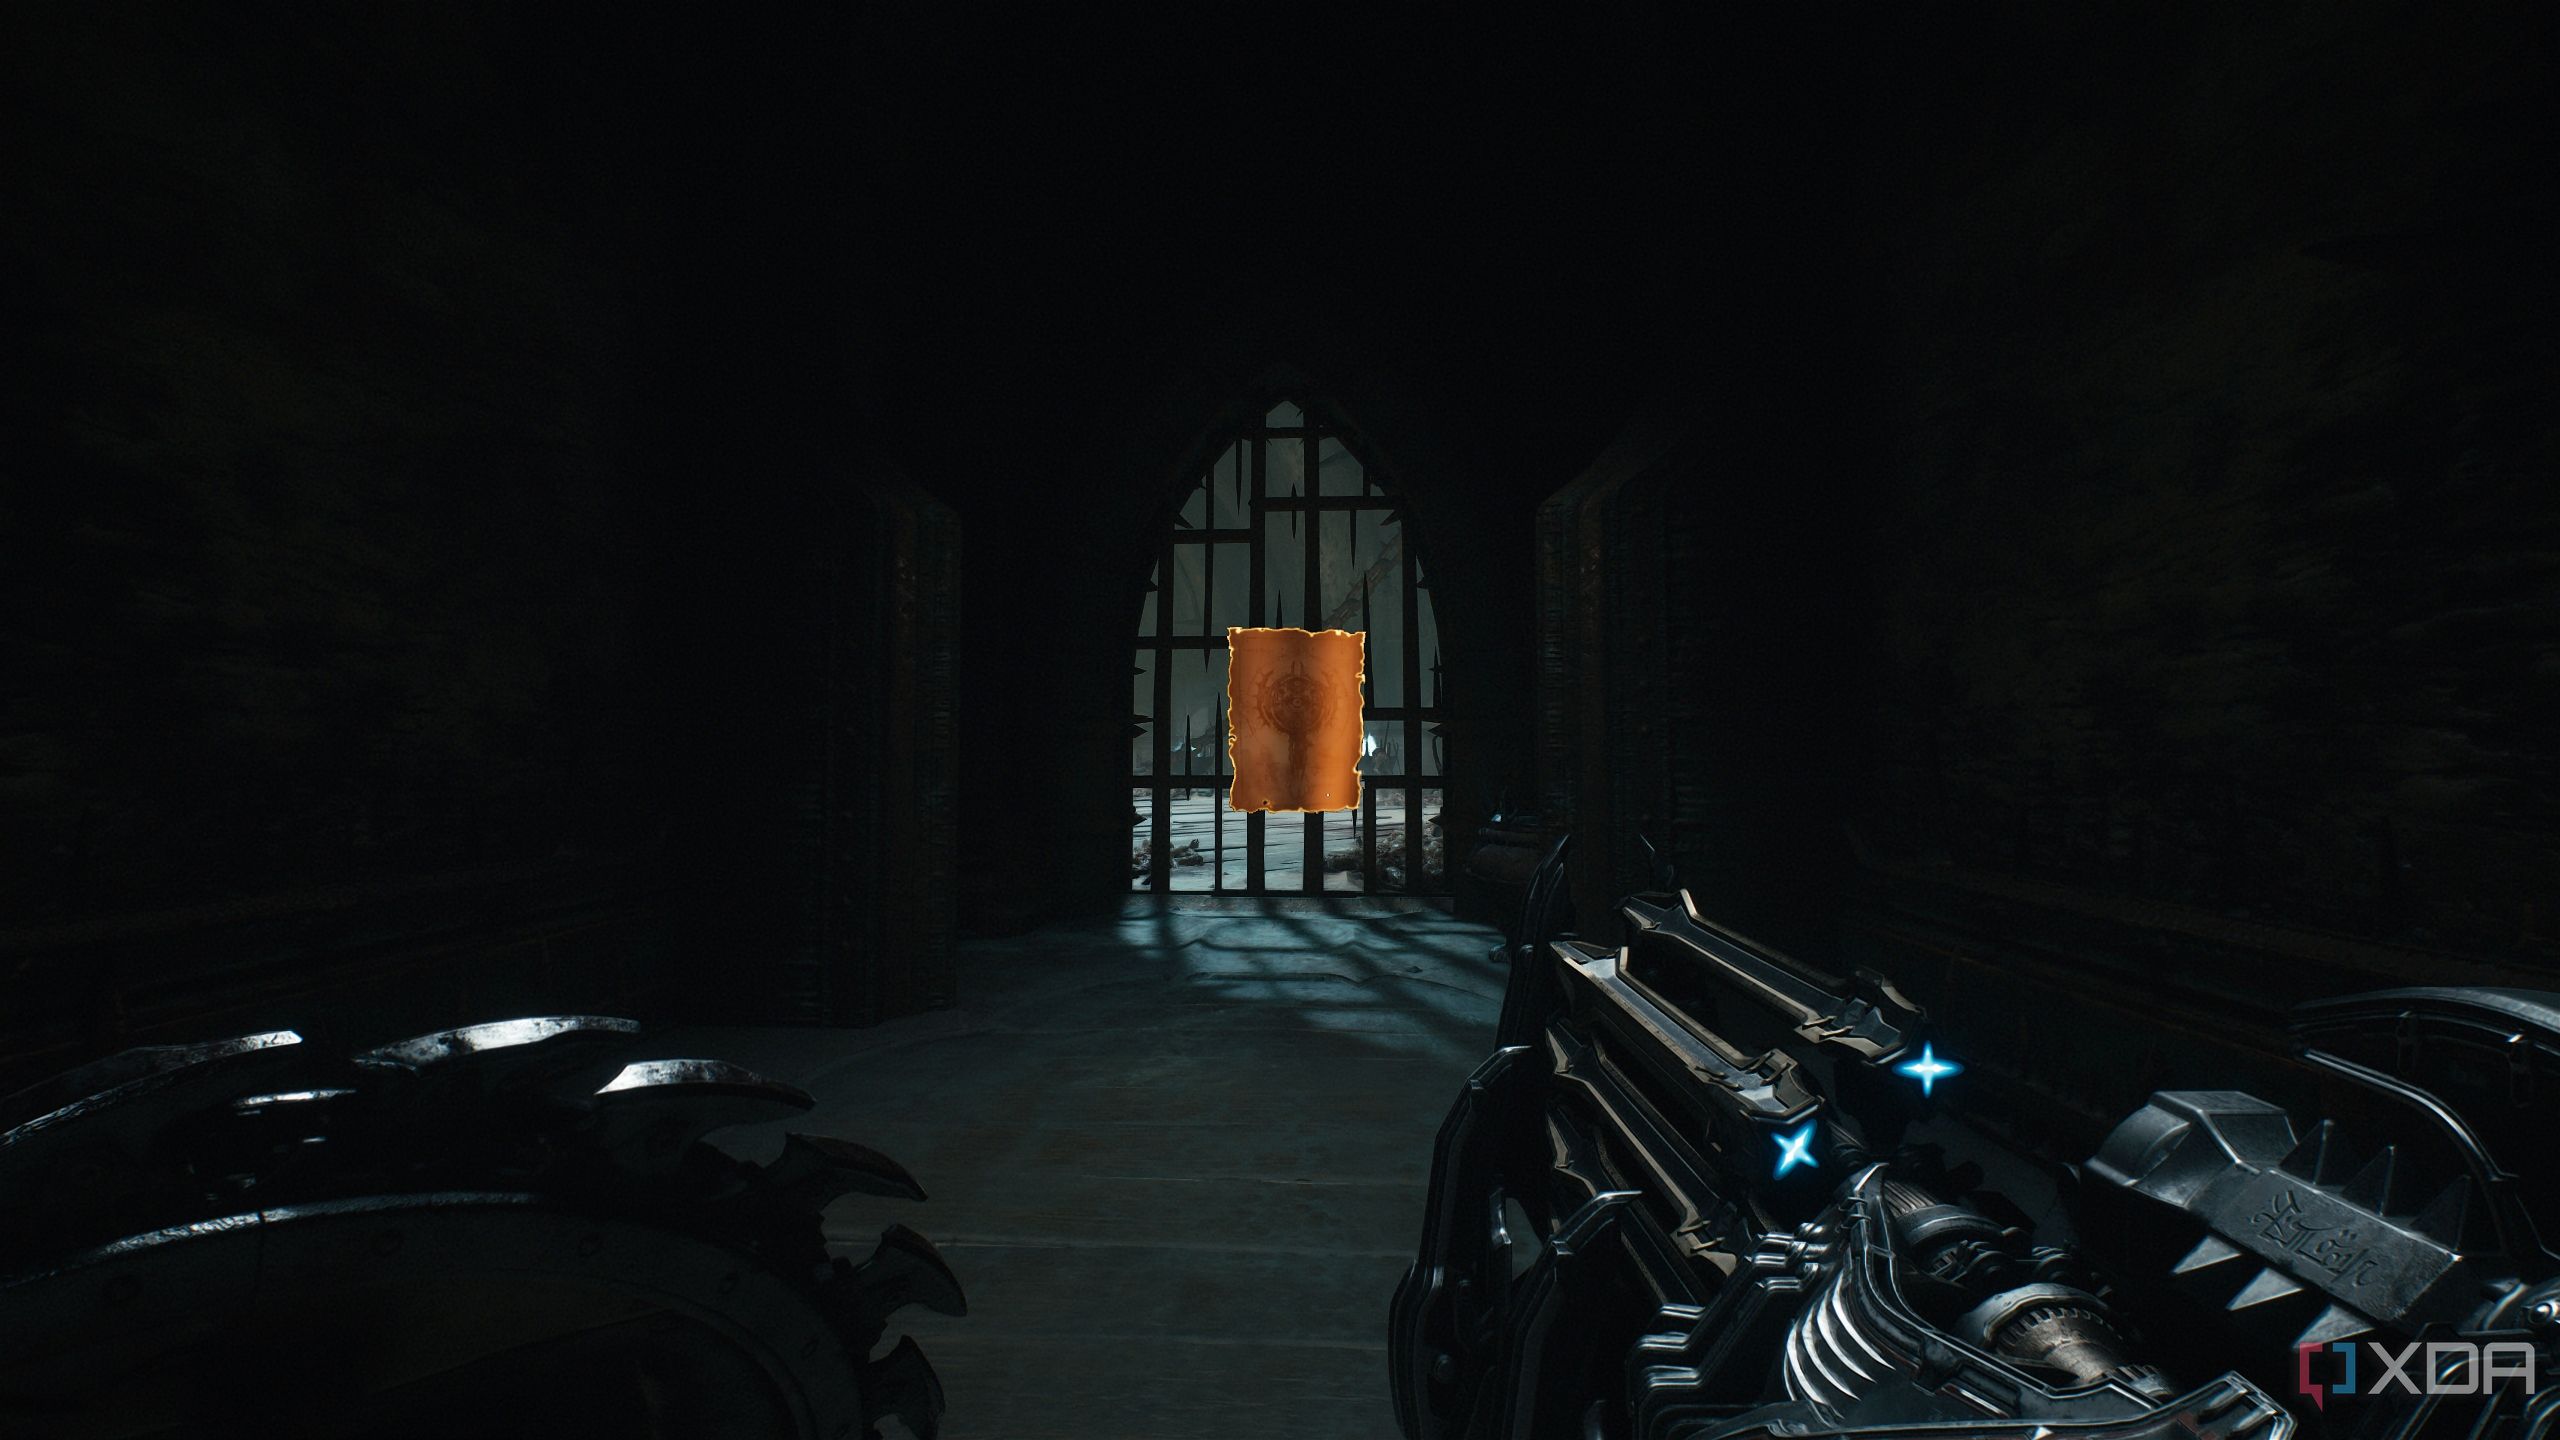
Instead of going towards the objective, head across the room to the opposite side to enter the path that leads to the Codex Page about Hell Priests.
All collectibles in Chapter 19: Harbor of Souls in Doom: The Dark Ages
Once that’s done, Chapter 19 of Doom: The Dark Ages will be complete, and you’ll finally have the 100% completion achievement for this level.
|
Achievements in Chapter 19: Harbor of Souls |
|
|
Gold |
294 |
|
Rubies |
1 |
|
Wraithstone |
1 |
|
Demonic Essence |
2 |
|
Secret Areas |
10 |
|
Codex Entries |
2 |
|
Collectible Toys |
1 |
DOOM: The Dark Ages
Released May 15, 2025
ESRB m
Developer(s) id Software
Publisher(s) Bethesda Softworks
Engine id Tech
Multiplayer Online Multiplayer
Franchise DOOM


 English (US) ·