.png)
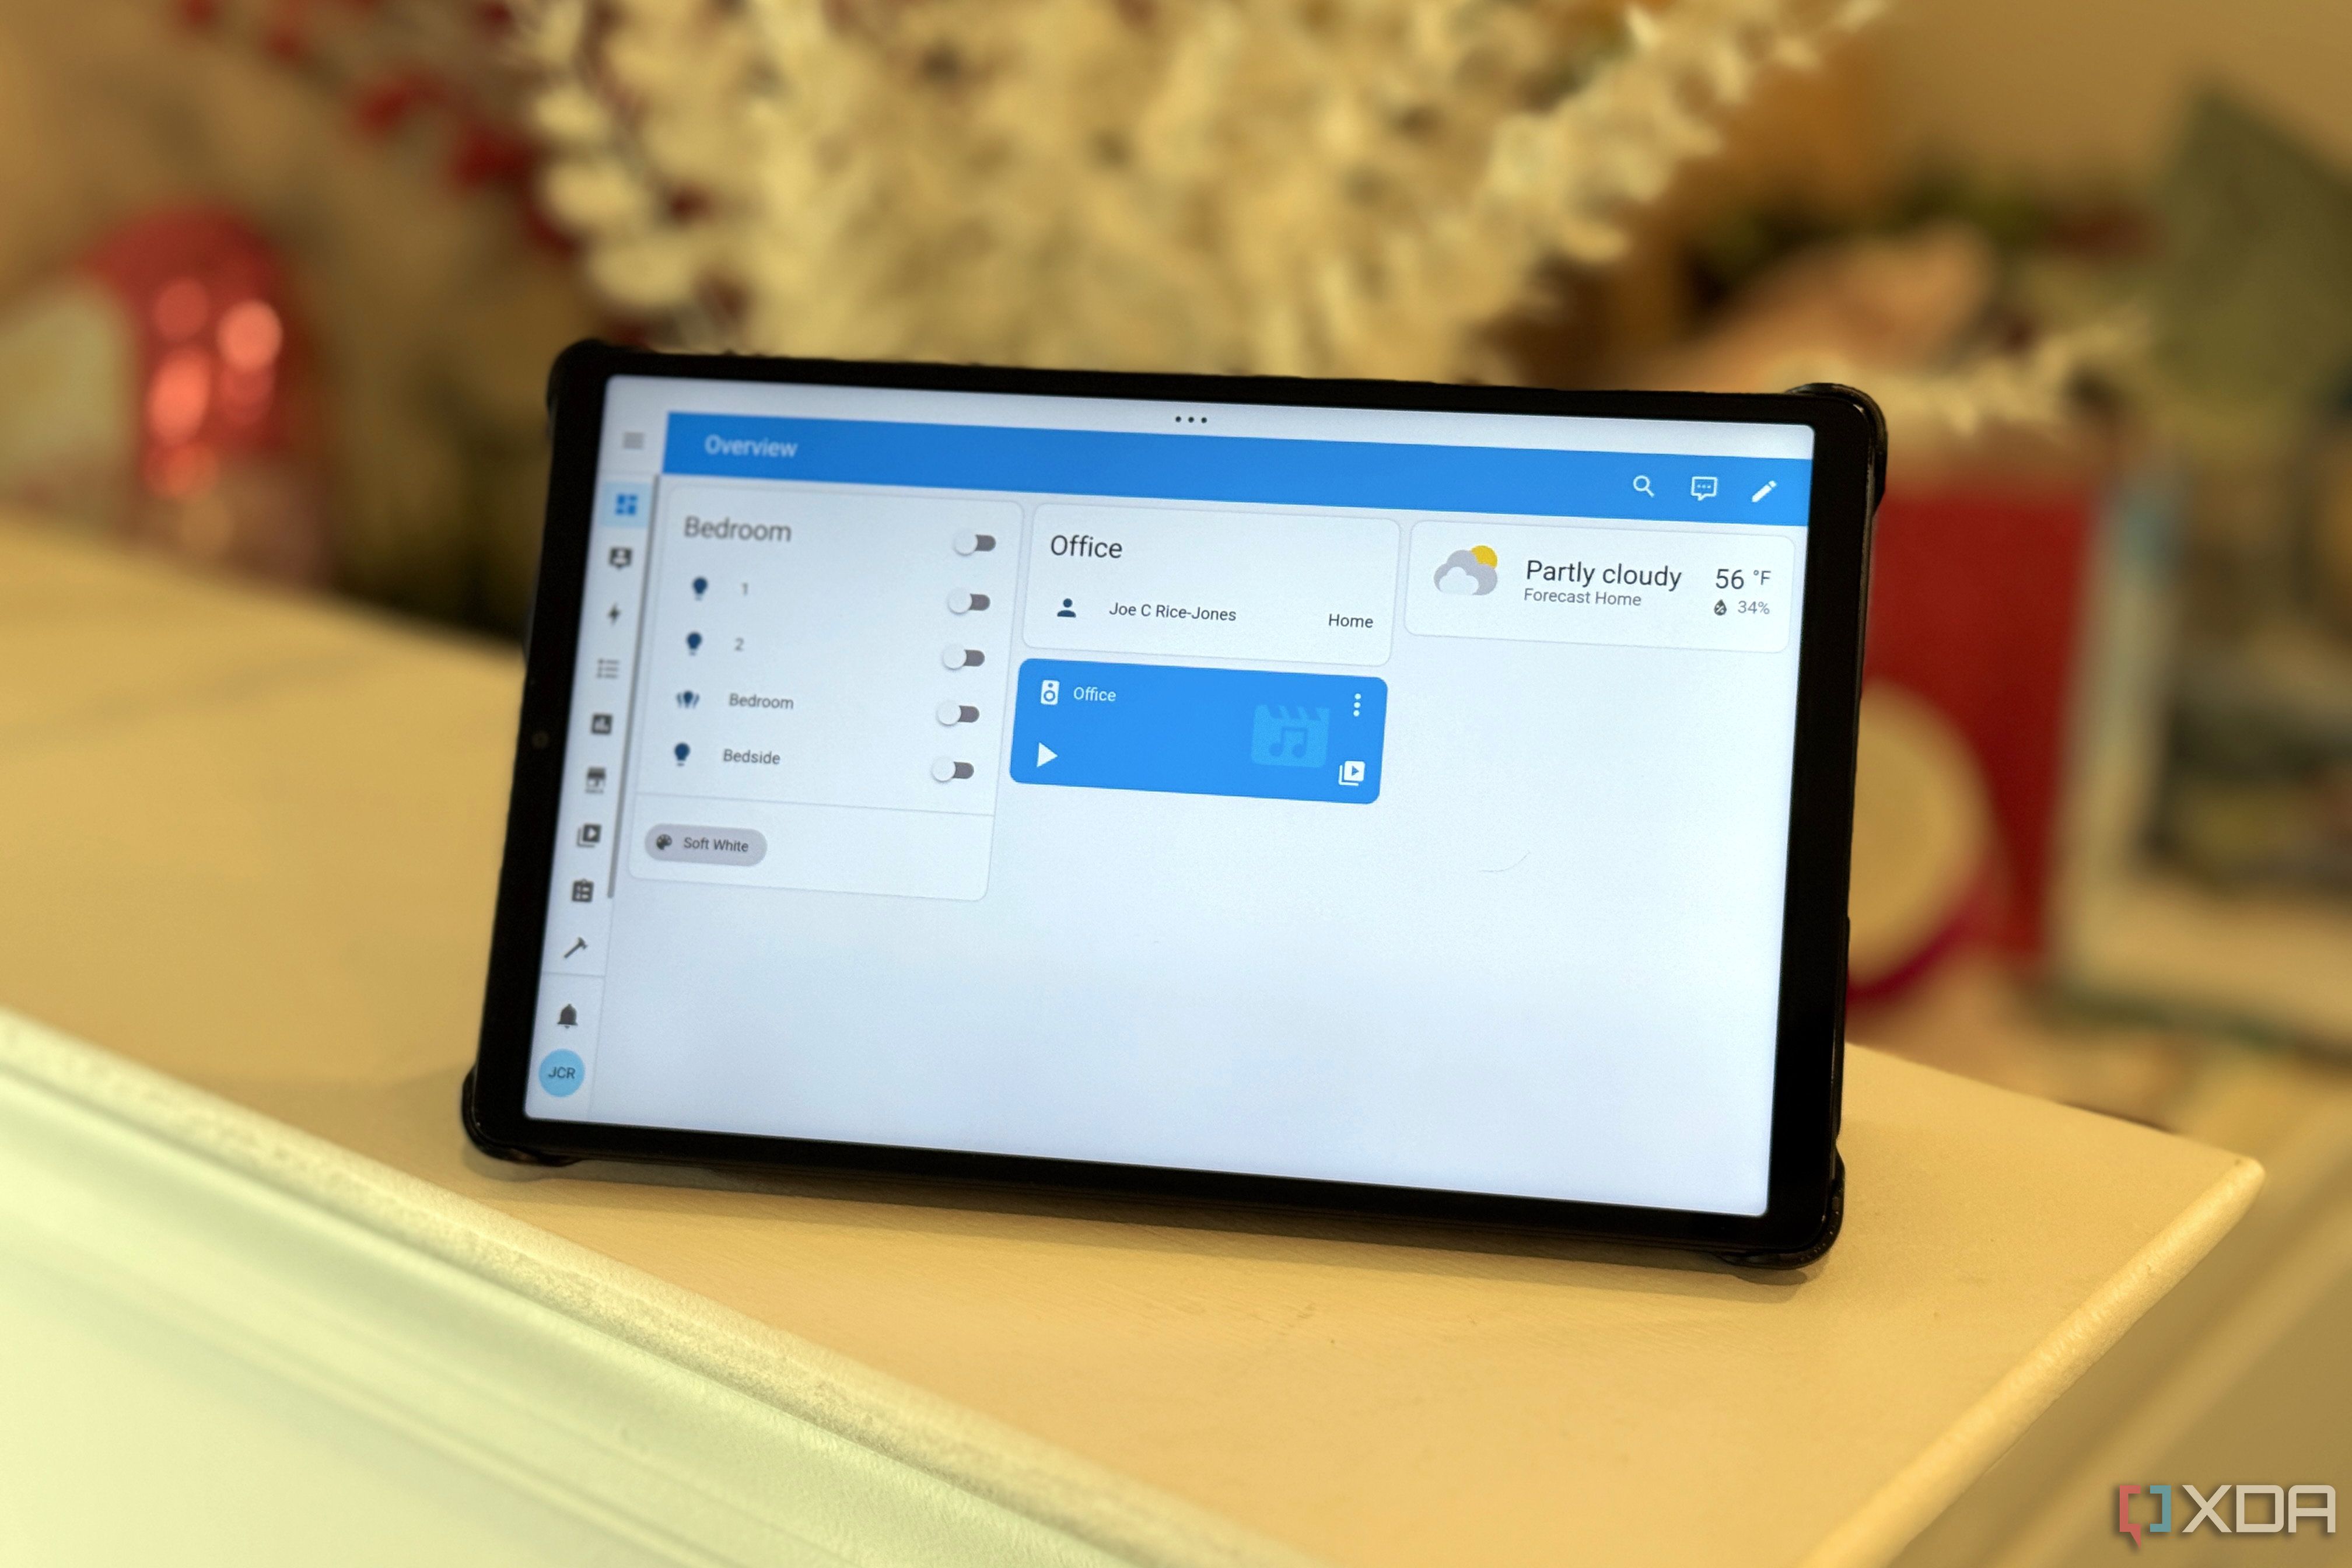
Old PCs may lack the necessary firepower for Triple-A gaming and hardcore video editing tasks, but they’re a great option when you want to dip your feet into computing projects. Sure, a rig with multiple cores and ungodly amounts of memory can run a plethora of services in tandem, but you can also reuse old consumer-grade hardware for some neat utilities like, say, Home Assistant.
Since I had a semi-functional laptop from the early 2010s, I figured I might as well use it to control my smart home by configuring a HASS instance on the dinosaur machine. So, here’s a quick rundown of my (mis)adventures with harnessing the power of Home Assistant on a laptop that’s been with me since my teenage years.
Related
Choosing the HASS installation method for my dinosaur laptop
I took the bare-metal path, and that made all the difference
The average self-hosted service can be deployed in several ways, and Home Assistant dials this number up a notch. There’s HAOS, for folks who wish to run it inside a virtual machine or a bare-metal platform. Meanwhile, if you wish to run Home Assistant as a container, you can choose between the minimalist Core edition or the Supervised variant. The latter offers the ability to access the add-on store (though you can just as easily pair these services with the Core version after hosting them inside separate containers).
Initially, I was gravitating toward the Proxmox method for installing Home Assistant. After all, installing the HAOS virtual machine (or HASS LXC, for that matter) is a walk in the park on Proxmox, and I could tinker with other services while hosting Home Assistant. Unfortunately, the laptop I’m using is a decade-old Lenovo G510, which has a mere 4GB memory and an underpowered 2-core, 4-thread Intel i5-4200U processor.
I also contemplated installing Debian on the machine and using Podman to host a HASS container, but eventually decided a bare-metal setup would be ideal for the best performance.
Flashing HAOS on a spare drive
For safety reasons, I ended up removing the battery
The first step in this hour-long journey was booting into Debian (or any other Linux distro), so I could download the Home Assistant image and leverage the Disks utility to “restore” it onto another storage drive. So, I flashed a pen drive with a Debian image before mashing the F2, F10, and Delete keys.
Since the flash drive wasn’t visible initially, I disabled Secure Boot and re-entered the BIOS. During this time, I also came across an annoying quirk: the laptop didn’t have a feature to restrict the battery percentage in the BIOS. Although a built-in battery may save my HASS instance from going down during a power outage, constantly powering the battery can end up making it puffy, thereby turning it into a potential fire hazard.

Restricting the charge level to 80% can counteract this issue. But since the ancient Lenovo laptop didn’t have such an option, I manually removed the battery. Unlike modern laptops that require a full disassembly just to reach the battery, this dinosaur laptop used a simple locking mechanism to hold the battery in place, so I was able to unmount it in less than the time you’d take to finish reading this sentence.
The installation process was quite snappy thanks to Debian
Next up, it was time to boot into the live version of Debian. Unlike the laptop’s terrible performance while running Windows 10, Debian felt a lot snappier to use, though I couldn’t let myself get side-tracked into tinkering with the Linux distro.
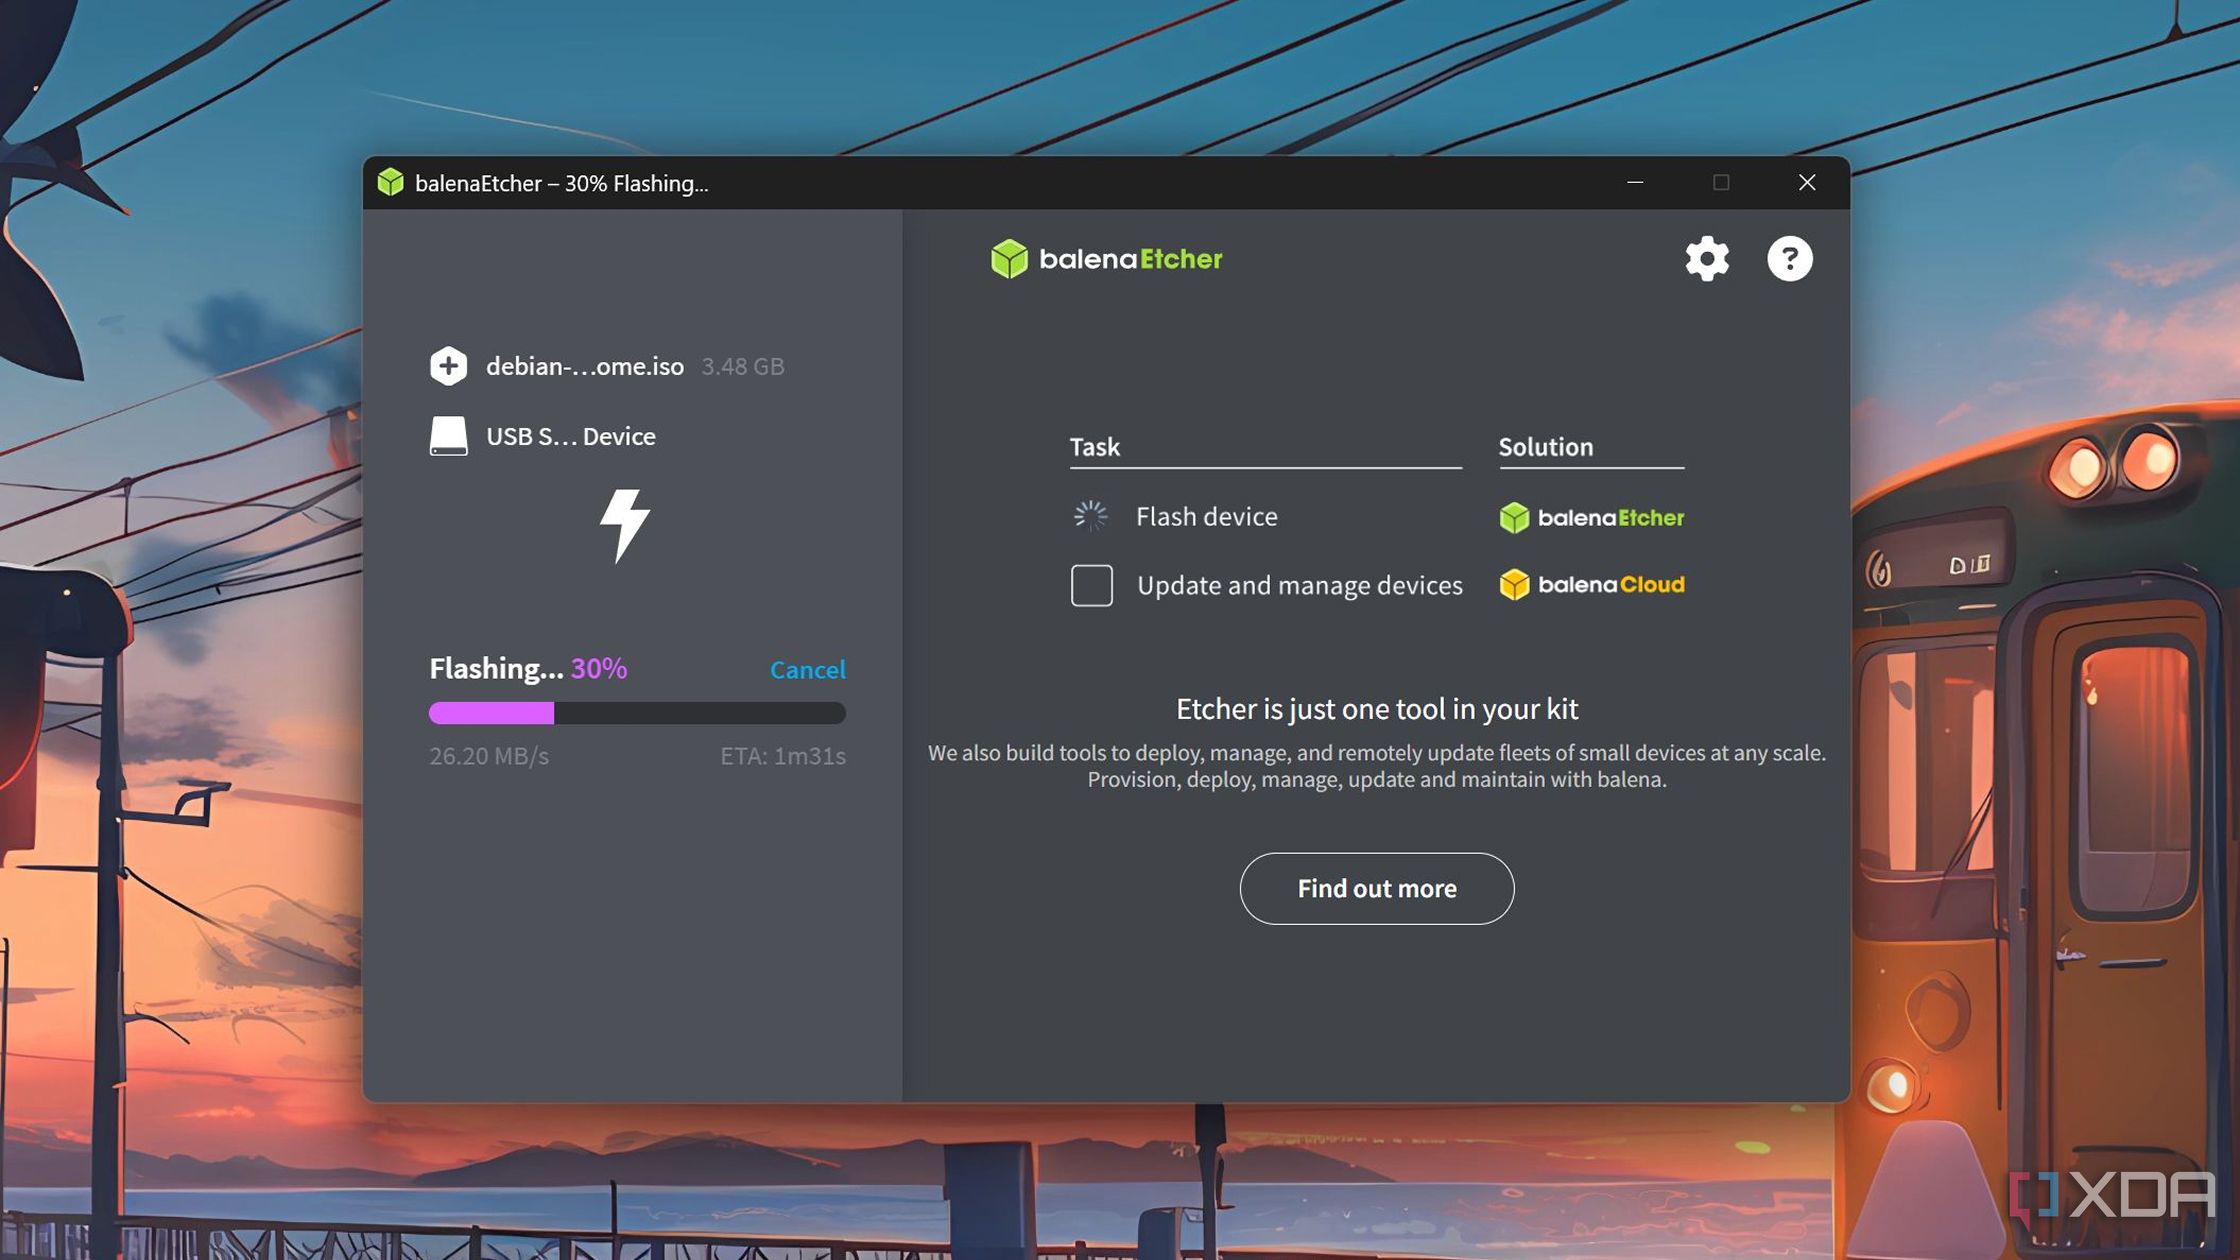
So, I navigated to Home Assistant’s website and downloaded the x86-64 image for the utility. After that, I opened the Disks app and used the restore option to flash the ISO onto an SSD I’d plugged into the USB port. An internal SSD might have been the better option, but I wasn’t going to tear-down the laptop just to replace the storage drive, as doing so would make this project go over the 1-hour limit.
The flashing process was complete in a few minutes, and it was time to bid adieu to Debian and boot into Home Assistant. So, I shut down the system, unplugged the flash drive, and powered it on again for the last phase of the project.
Moving my Home Assistant setup to the laptop
HASS' restore option makes the transition a cakewalk
For some odd reason, the laptop ended up booting into the default Windows 11 installation, so I had to spend another five minutes turning it off and booting into the BIOS. After that, I simply rearranged the Boot order to include the EFI-based HAOS drive at the top.
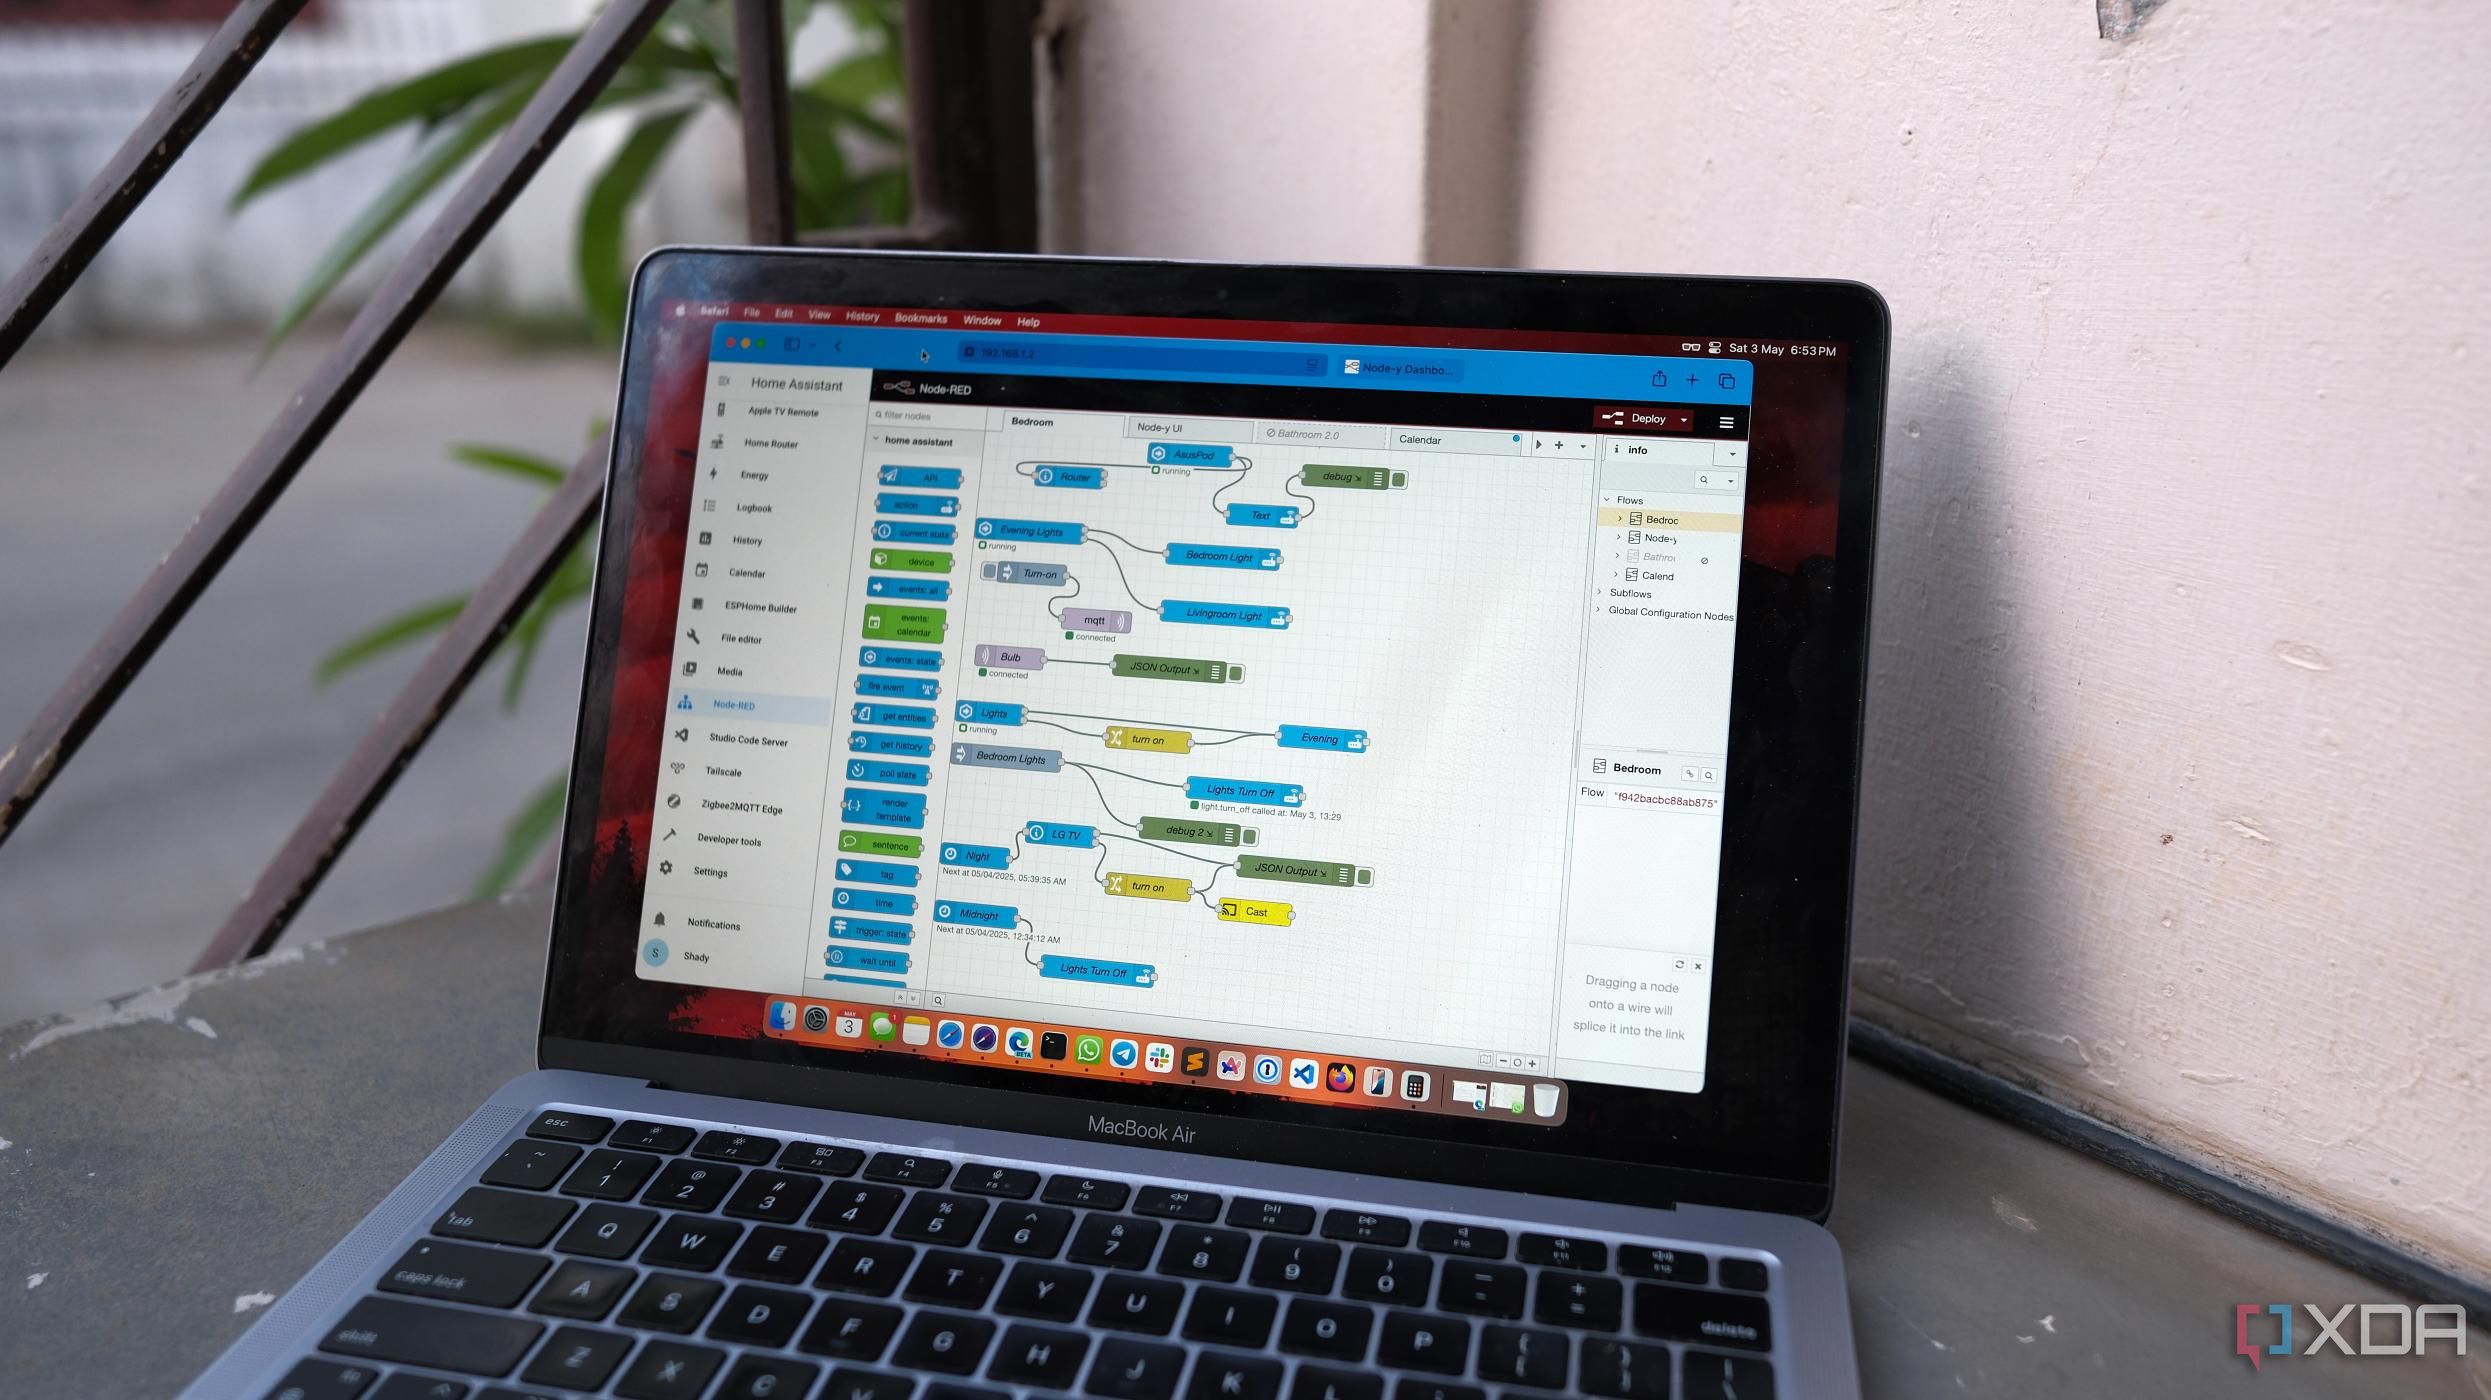
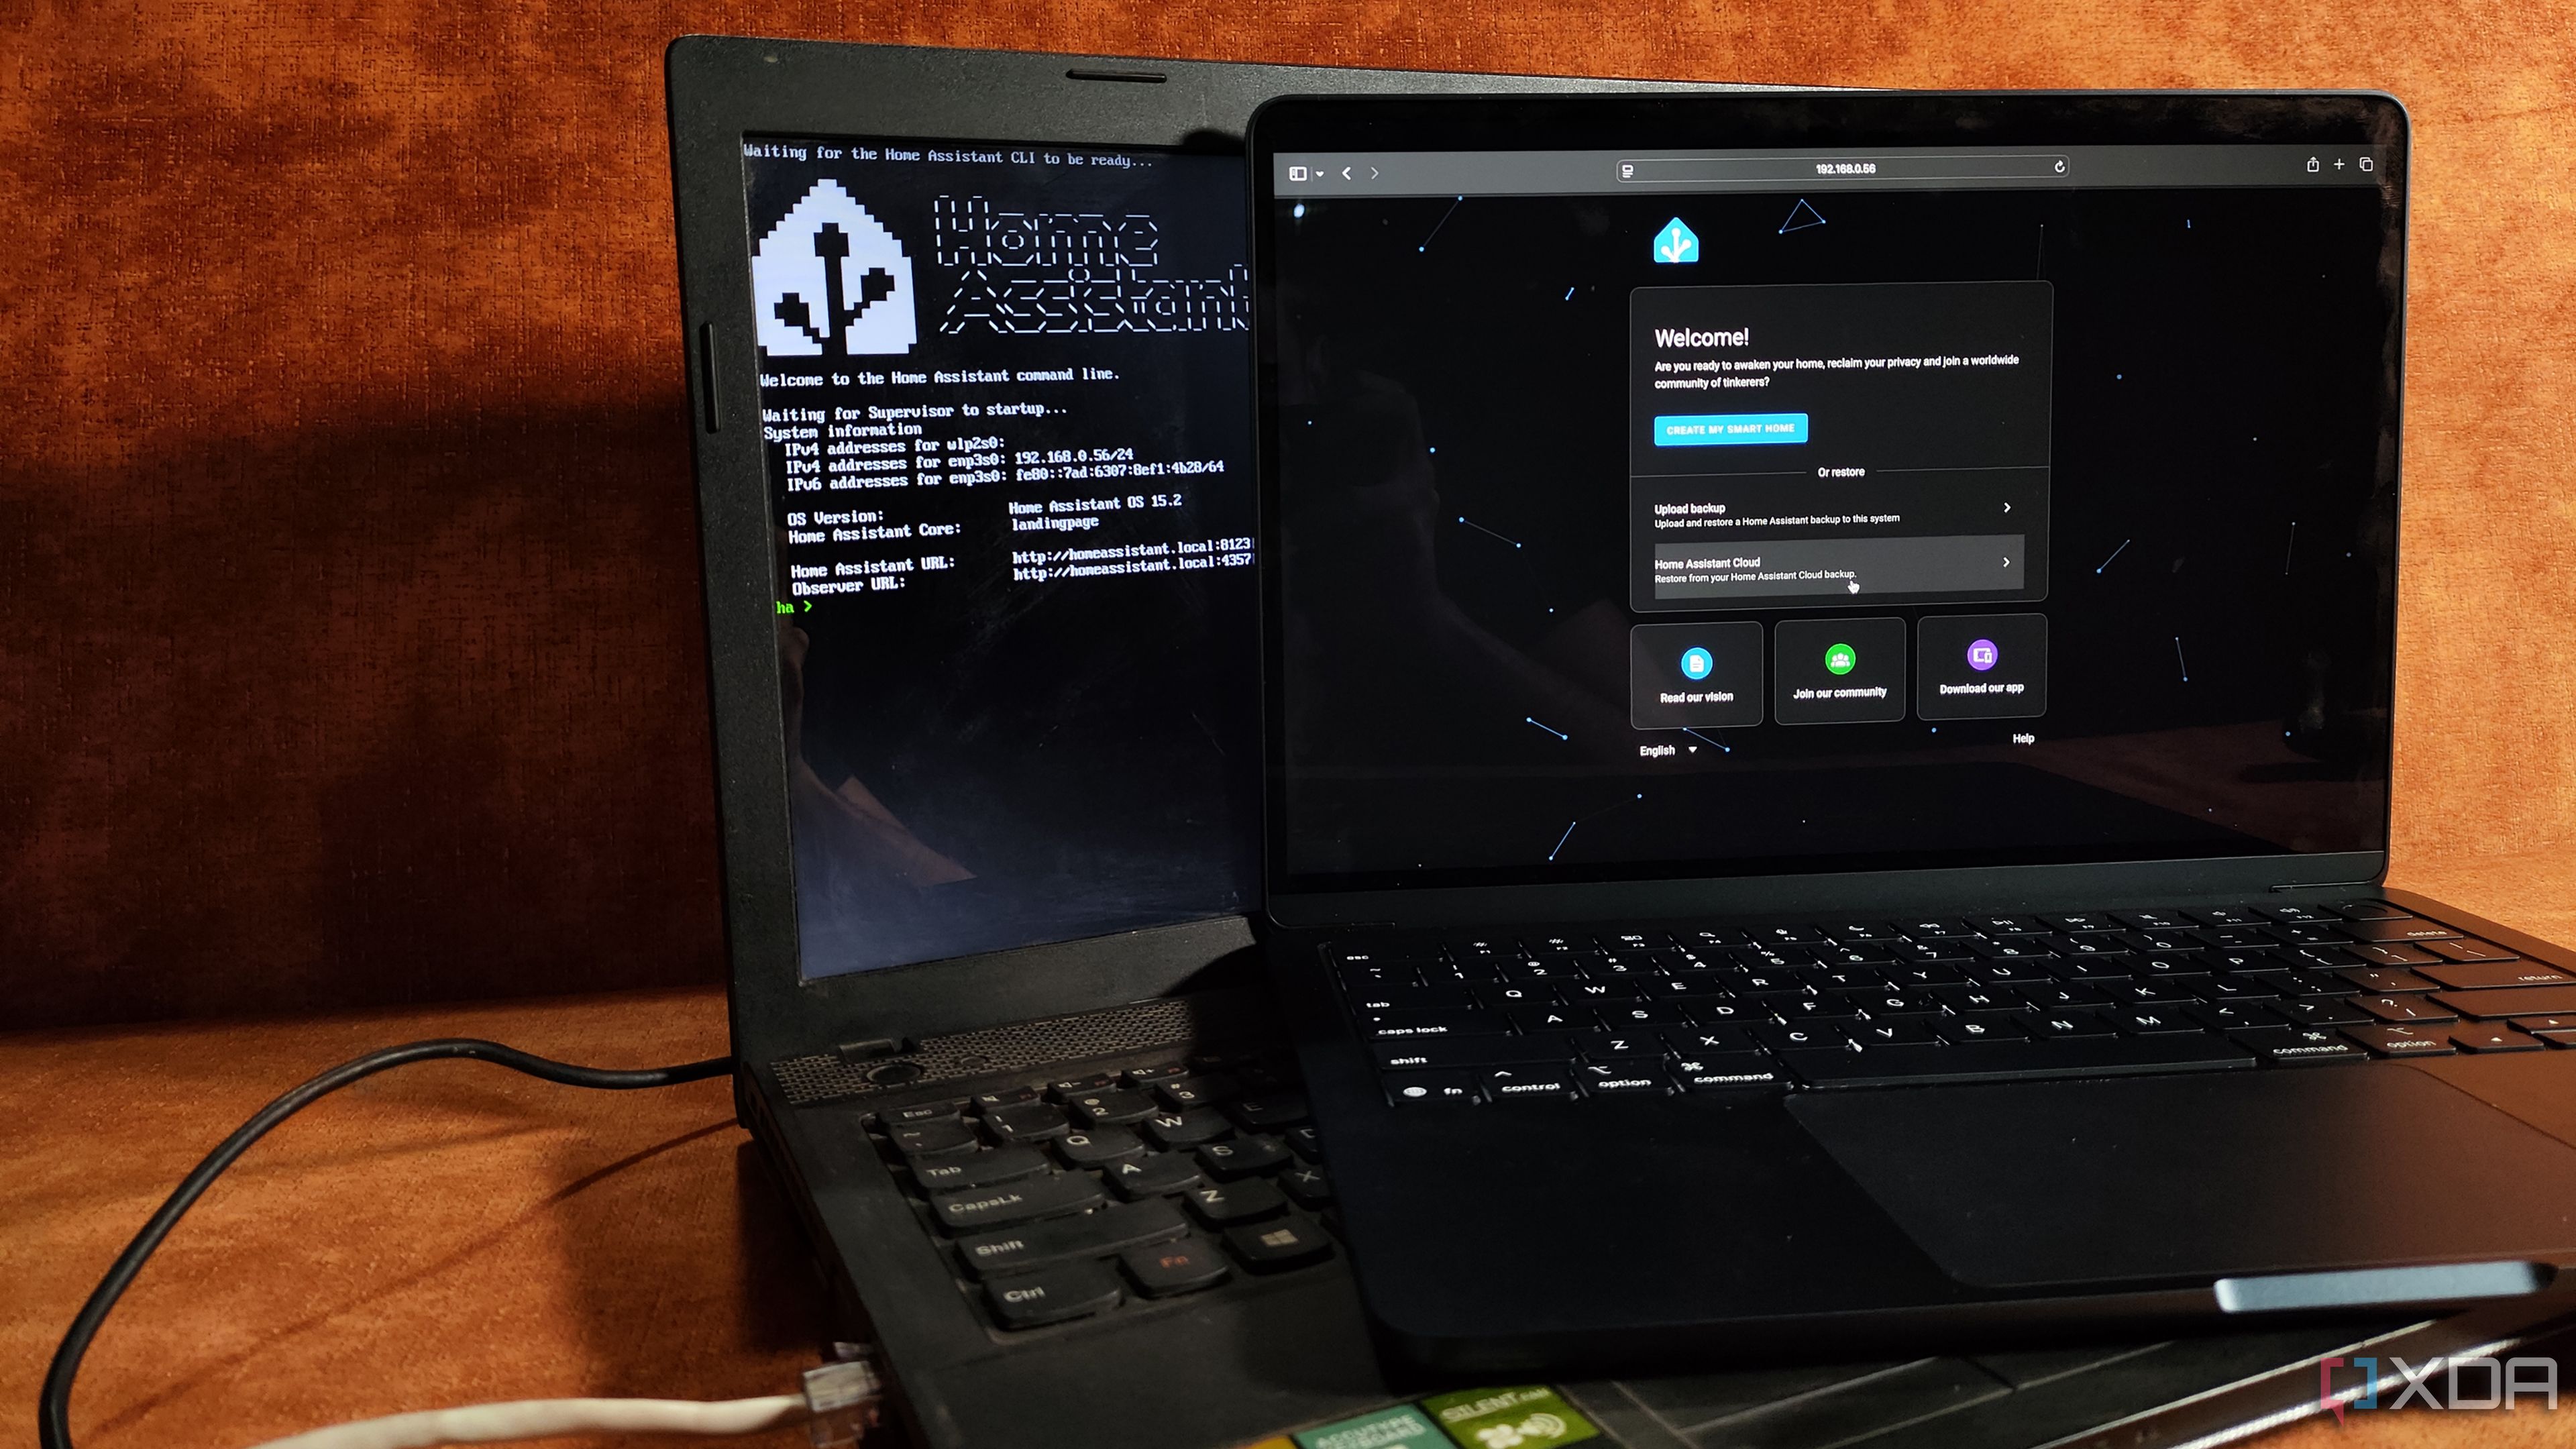
Thanks to the high-speed SSD, Home Assistant booted up instantly, and I used the IP address displayed on the laptop to access the HASS instance from my MacBook. Sadly, I had to wait another couple of minutes for the initial installation wizard to prepare the files. Once that was done, I downloaded the config files from my primary Proxmox-based Home Assistant node and used the Upload button to replicate the setup on my freshly-configured HASS instance.
It works better than I expected
Running Home Assistant on my old laptop hasn’t let me down so far. The UI is as snappy as running HASS inside a Proxmox virtual machine, and my add-on collection works pretty well, too. I have a couple of other projects for the dinosaur machine in mind, so I might end up moving HASS back to my primary Proxmox server at some point.
That said, there are a couple of tidbits I wanted to bring up before wrapping up the article. The laptop I’m using doesn’t really consume a lot of power, and coupled with the low energy prices in my area, I don’t have to worry about the dinosaur machine contributing to my electricity bills. So, it’s a neat way to repurpose hardware that I’d otherwise label as e-waste into a smart home control system.
Related
6 advanced Home Assistant features every smart home enthusiast needs to know
Home Assistant hides these amazing features behind its easy-to-use interface


 English (US) ·